

Have you ever opened Canva with a great idea, then closed it twenty minutes later feeling more confused than when you started? This post fixes that. I’m going to walk you through the exact Canva Etsy workflow I use to design, mockup, and deliver digital products — no design background required.
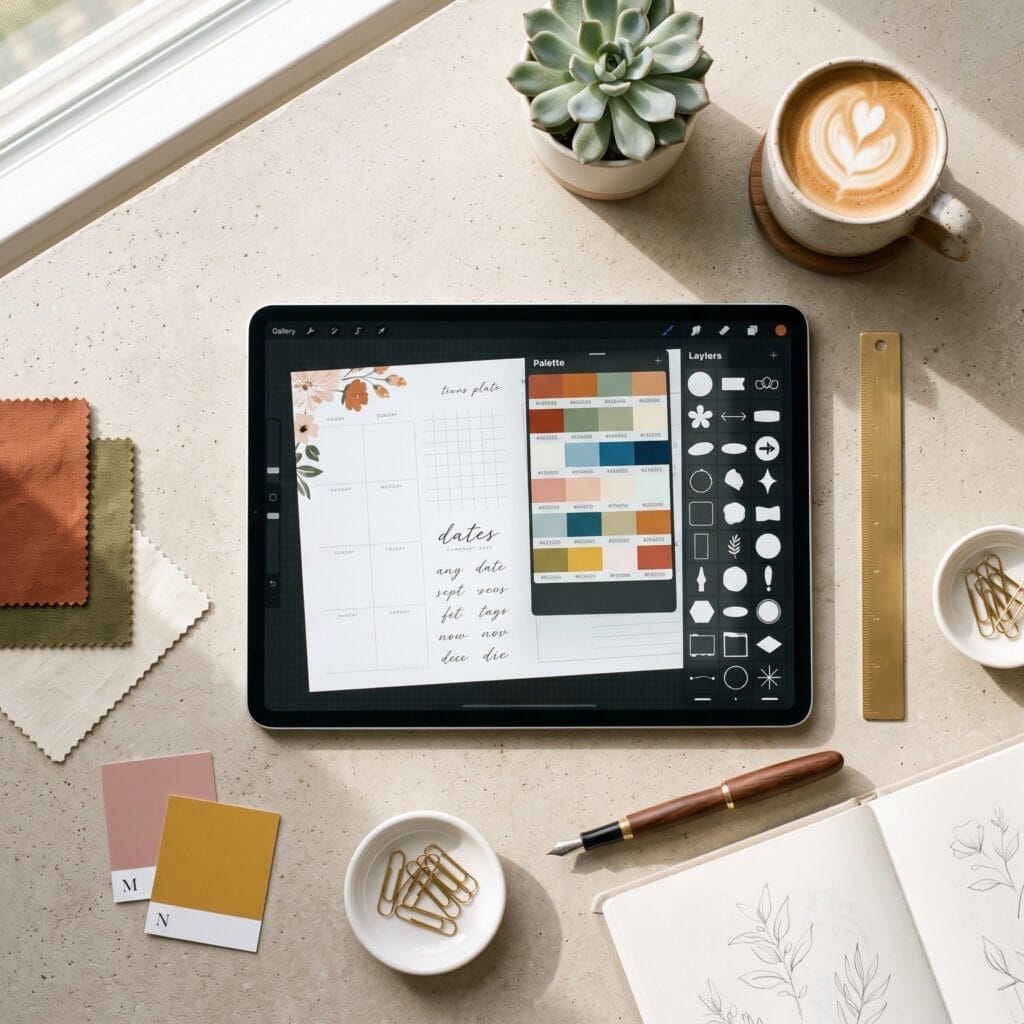
Canva and Etsy are one of the best free-to-low-cost combos out there. But most sellers only use about 20% of what a real Canva Etsy workflow can do. They design one file. They export it. They upload it. Then they call it a day. The real magic happens in the system you build around that single file, not the file itself.
Below, you’ll find the full six-step Canva Etsy workflow, plus three case studies showing how different sellers apply it in their own niche.
Affiliate Disclosure: This post contains affiliate links. As an Amazon Associate, I earn from qualifying purchases. If you buy through these links, I may earn a commission at no additional cost to you.
Key Facts:
- Technique: Canva Etsy workflow
- Difficulty: Easy
- Best for: Digital product sellers
What You’ll Need for This Canva Etsy Workflow
- Canva — Design workspace for brand kits, listings, and mockups | Visit Canva
- Etsy Seller Account — Your shop, listings, and checkout in one place | Visit Etsy Seller Account
Why This Canva Etsy Workflow Works So Well
Before we get into the steps, it helps to know why this pairing works so well:
- No design background required. Drag-and-drop templates let you build professional-looking products. You never have to touch Illustrator or Photoshop.
- Built-in print-ready sizing. Canva has preset dimensions for A4, US Letter, and social graphics. This matters for printables and mockups.
- Magic Resize and Bulk Create. These features turn one design into dozens of variations in minutes.
- Direct export options. You can go from design to Etsy-ready file without leaving your browser.
Before diving into the full framework, you can discover other amazing applications to pair with your design suite in our guide to the 4 best Etsy tools to explode your shop growth fast.
Now let’s get into the actual steps.
The Full Canva Etsy Workflow, Step by Step
1. Build a Brand Kit First
This is the step almost everyone skips. It’s also the reason so many Etsy shops look inconsistent. Before you design a single product, set up a Canva Brand Kit with:
- 2–3 primary colors and 2–3 accent colors
- One heading font and one body font
- A simple logo or wordmark, even a text-based one
Every product you make afterward pulls from this kit. As a result, the payoff shows up fast. Your shop starts to look like a brand instead of a pile of random files. That consistency builds trust. It also increases conversion on your listings.
2. Design With Templates, Not From Templates
Search Canva’s template library for your product type — planner, worksheet, wall art, whatever fits. But treat the template as a skeleton, not the finished product. Swap in your brand fonts. Adjust the colors. Rearrange the layout. This keeps your product from looking identical to five other shops using the same template.
This one habit alone separates shops that blend in from shops that stand out.
3. Use Bulk Create for Variations
Does your product come in multiple color themes, sizes, or versions? Canva’s Bulk Create tool solves this fast. Connect a data sheet, and it generates every variation automatically. No more manually duplicating and editing each file one by one.
In fact, this single feature is the biggest time-saver in the entire Canva Etsy workflow. What used to take hours now takes minutes.
If you want to find the exact search phrases to fuel your bulk variations before designing, check our step-by-step tutorial on how to find profitable Etsy keywords using live market data.
4. Design Mockups Inside Canva
Skip the separate mockup tool. You can build simple mockup scenes right inside Canva:
- Frame your printable inside a laptop, tablet, or picture-frame mockup
- Add lifestyle backgrounds — a desk, a coffee cup, a small plant — using Canva’s photo library
- Keep your first listing photo clean and product-focused. Save photos 2–5 for lifestyle context and for showing what’s included
Etsy’s algorithm and human buyers both respond to strong, clear thumbnails. This step directly affects your click-through rate from search.
5. Export the Right File Type
This trips up more sellers than anything else. Follow these rules to avoid support messages and refund requests:
- PDF Print for anything you plan to print physically, like planners or worksheets
- PNG with transparent background for stickers, clipart, or overlay elements
- JPG for lifestyle mockup images in your listing photos — never send this as the actual product file
- Always confirm your export uses a CMYK-safe color range if you intend the product for professional or home printing
6. Build a Delivery System You Don’t Have to Manage
Once you export your files, organize them first. Use a clean, labeled folder structure before you upload to Etsy: a short “How to Print” guide, the main files, and a thank-you note. This one step cuts down on buyer confusion messages fast. That matters, because confused-buyer messages are exactly what eats your time as your shop scales.
Real Case Studies: Three Shops, Three Different Approaches
Case Study 1: The Planner Shop
A seller focused entirely on digital planners used Canva’s Bulk Create to turn one weekly planner layout into 12 seasonal color variations. It took her a single afternoon. Rather than listing each color separately, she bundled all 12 into one “Planner Vault” listing. That single decision became her best-selling product. Why? It solved the “which color do I want” hesitation that buyers often feel.
Workflow takeaway: when your product has natural variations, bundling beats splitting.
Case Study 2: The Wall Art Shop
A print-on-demand shop selling minimalist wall art built a Canva template with placeholder text boxes for custom quotes. When a buyer requested a personalized version, the seller duplicated the template, swapped the text, and re-exported. The whole task took two minutes instead of starting from scratch.
Workflow takeaway: design your first product as a reusable template, not a one-off file. Future customization requests become fast instead of painful.
Case Study 3: The Educational Worksheets Shop
A shop selling classroom worksheets used the same Canva brand kit across 40+ products. Two different collaborators designed them over eight months, yet the shop still looks cohesive. Why? Both worked from the same brand kit and template structure. As a result, buyers browsing the shop see one trustworthy source instead of a mixed bag.
Workflow takeaway: a shared brand kit keeps a growing catalog from feeling chaotic, especially once you bring on help.
Common Mistakes in a Canva Etsy Workflow
- Using a template with zero customization. Etsy buyers see the same templates over and over. Unedited templates hurt differentiation and can even cause listing similarity issues.
- Exporting at the wrong resolution. Always export at the highest quality setting Canva offers, especially for print products.
- Skipping the license check. Canva doesn’t clear every element for resale or commercial use. Always verify an element’s license before you sell it.
- Ignoring mobile preview. Most Etsy browsing happens on mobile. Preview your listing photos at small sizes before you publish.
Bringing Your Canva Etsy Workflow Together
The real value here isn’t any single Canva feature. It’s the fact that each step feeds the next one. A brand kit makes your templates cohesive. Cohesive templates make bulk variations fast. Fast variations make bundling possible. Bundling increases your average order value. In short, it’s a system — not a pile of disconnected tasks.
That said, don’t try to build all six steps perfectly on day one. Pick one product. Build your brand kit first. Let the rest of your Canva Etsy workflow grow around it as your shop grows too.
Which step of this workflow do you struggle with most — design, mockups, or delivery? Let me know in the comments and I’ll dig deeper into it in a future post.