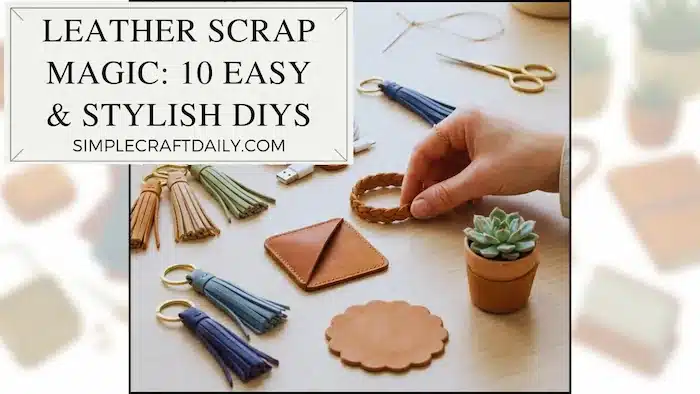
Do you need a quick way to organize your entryway table? Specifically, creating a No-Sew Leather Valet Tray is the perfect solution for your home organization. Indeed, this elegant catchall provides the ideal resting place for keys and glasses. Furthermore, it allows you to achieve a high-end look without complex stitching. Because of this, even beginners can finish this project quickly. In addition, it utilizes minimal tools.
Many leathercraft projects require specialized tools and hours of hand-sewing. This tutorial offers a sleek minimalist alternative. Therefore, today we are making a beautiful 3D no-sew leather valet tray. We will use a single piece of scrap leather.
Specifically, we use a simple pinch-fold technique and strong contact cement. This transforms an irregular offcut into a high-end organizational piece. It takes under 15 minutes of active crafting time.
Materials Needed for Your No-Sew Leather Valet Tray
To keep this project beginner-friendly, we are keeping the tool list minimal. First, you need a piece of thick scrap leather. It must be large enough to cut a perfect square.
Ideally, look for genuine full-grain leather with a pebbled texture. It is rigid enough to hold a sturdy 3D shape for your no-sew leather valet tray. Additionally, gather a metal steel ruler and a rotary cutter. These provide a clean, smooth edge.
Furthermore, clear leather contact cement is absolutely crucial. We aren’t sewing. Thus, a high-quality leather adhesive must hold the tension permanently. Finally, grab a thin wooden stick for precise glue application. You also need four binder clips to clamp the corners.
Step-by-Step No-Sew Leather Valet Tray Instructions
Step 1: Prep and Cut Your Leather Geometry

To begin, the beauty of this project is its scrap-busting nature. Start with an irregular piece of thick leather. Lay it flat on your cutting mat with the smooth grain side facing up.
Next, firmly press down with your metal steel ruler. Slice a perfect square out of the scrap using your rotary cutter. The size of your no-sew leather valet tray is up to you. However, an 8×8 inch or 10×10 inch square works great. Ensure your cuts are clean and straight. These raw edges will be visible.
Step 2: Apply the Contact Adhesive Precisely
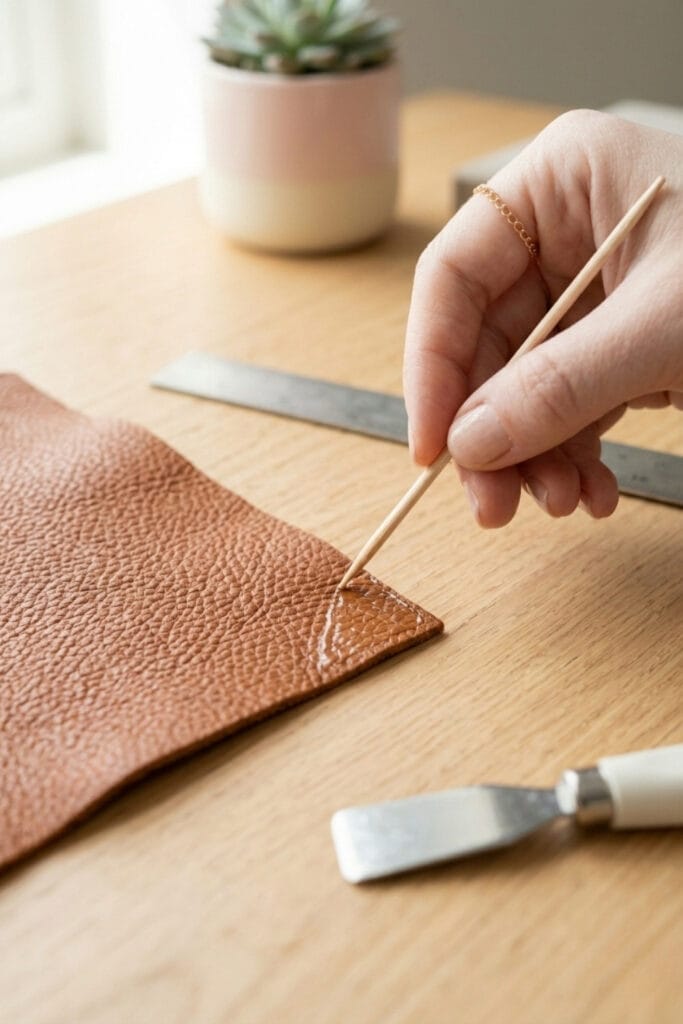
This is the most critical step for a successful no-sew leather valet tray. Consequently, we must be precise. Take a corner and gently pinch it outwards. This helps visualize where the two inner flesh sides meet.
Then, use your thin wooden stick. Apply a thin, even layer of clear leather contact cement. Keep this strictly inside the V-shaped crease. Importantly, do not get any glue on the flat base. The adhesive should only coat the inner suede-like walls of the tab.
Crucial Tip: Do not get any glue on the flat base of the tray. The adhesive should only coat the inner suede-like walls of the small “ear” or tab you are forming. Follow the instructions on your specific contact cement (most require you to wait a few minutes until it gets tacky before pressing the pieces together).
Step 3: Pinch and Clamp the Corners of Your No-Sew Leather Valet Tray
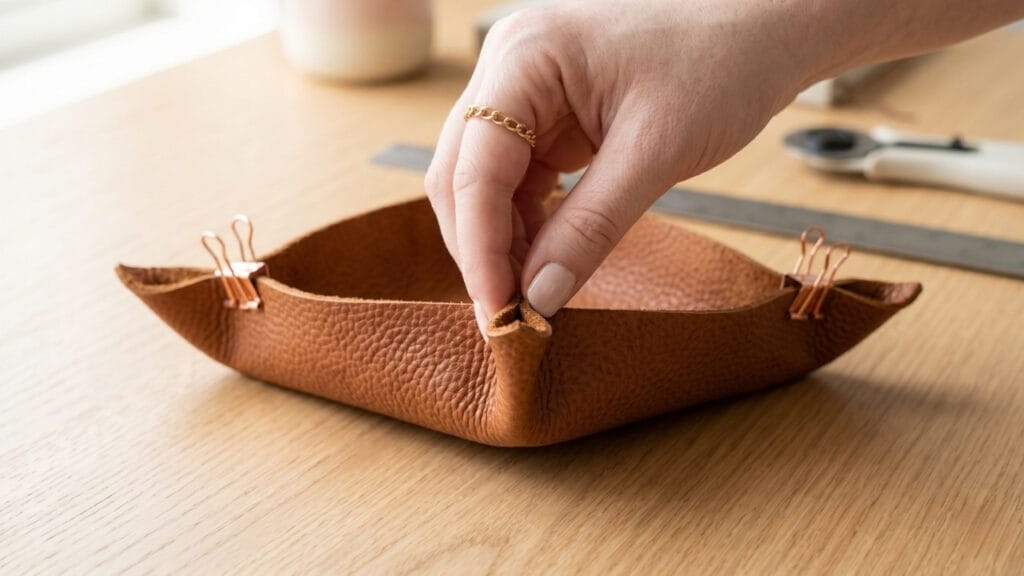
Once your adhesive is tacky, firmly pinch the glued inner sides together. Check your specific glue’s instructions for wait times. The leather will buckle slightly. This raises the straight edges to form the walls.
Thick leather naturally wants to lay flat. Because of this, the adhesive needs time to cure under pressure. Therefore, take your binder clips and clamp the pinched fold securely. Ensure the clip sits directly over the glued seam. Afterward, repeat these steps for all four corners.
Step 4: Let Dry and Style Your No-Sew Leather Valet Tray

Finally, leave the tray clamped for the full curing time. Usually, leaving it overnight yields the best results. Once fully dry, carefully remove the binder clips.
The structural tension of those four glued corners is strong. It will now independently hold the tray in its elegant 3D form. Consequently, place your finished no-sew leather valet tray on your desk. It is instantly ready to hold your everyday carry items.
Conclusion
Creating high-end home decor doesn’t require complicated techniques. In fact, this no-sew leather valet tray proves a great point. With the right materials and geometry, you can quickly create something beautiful and functional.
Furthermore, if you enjoyed the simplicity of our previous Beginner Polymer Clay Guides.
If so, you will definitely love the upgraded aesthetic of this craft! If you try this tutorial out, let us know in the comments below. Happy crafting!