Old CDs can catch light again long after they have stopped playing music or storing files. Their silver backing flashes blue, violet, and green when it turns near a window, which makes a scratched disc useful for wind chimes, sun catchers, ornaments, and mosaic details. A stack that has been sitting in a drawer can become a pile of bright, hard-wearing craft material with a little cutting, glue, and patience.
Affiliate Disclosure: This post contains affiliate links. As an Amazon Associate, I earn from qualifying purchases. If you buy through these links, I may earn a commission at no additional cost to you.
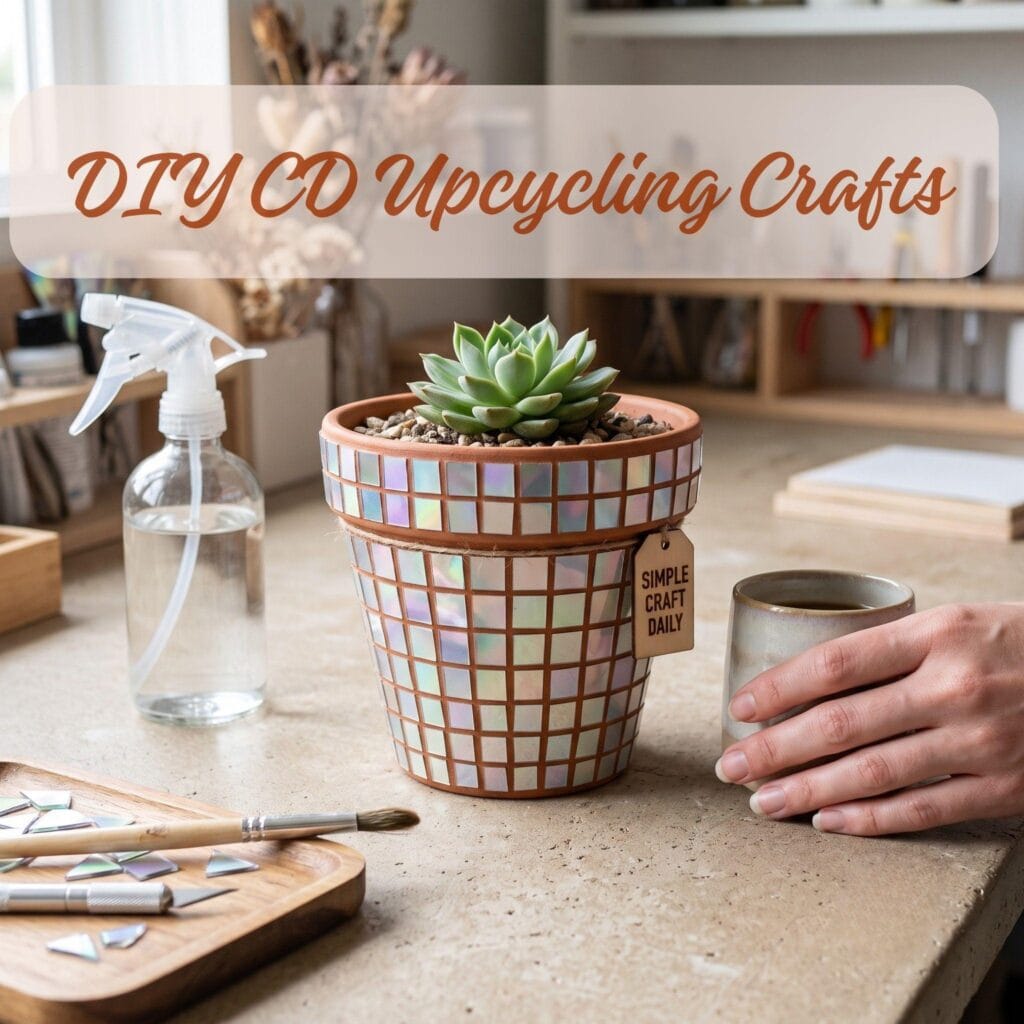
CD upcycling crafts cost very little because the main material is already on hand. Gather scratched discs, outdated software discs, or duplicate albums, then add a few workshop basics such as strong adhesive, ribbon, beads, and a pair of dedicated craft scissors. The finished pieces work especially well near windows, porch doors, and lamps where the reflective surface has room to throw light around.
The eight projects below move from quick hanging crafts to more hands-on mosaic work. You will find practical tips throughout, along with a safety section farther down. Read that section before cutting, drilling, or handling broken CD pieces, since the hard plastic edges can be unexpectedly sharp.
What You’ll Need for CD Upcycling Crafts
A handful of core supplies cover most of these projects:
- Old CDs or DVDs (scratches don’t matter — they won’t show once you’re done) | View on Amazon
- Strong craft glue or a hot glue gun | View on Amazon
- Fishing line, twine, or ribbon for hanging pieces | View on Amazon
- A drill or a hole punch designed for plastic, if a project calls for a hole | View on Amazon
- Small beads, sequins, or mirror tiles for extra sparkle | View on Amazon
- Acrylic paint or spray paint, for projects that call for color | View on Amazon
- Wire cutters or sturdy scissors | View on Amazon
Pro tip: Wipe each CD down with glass cleaner before you start. The reflective coating attracts fingerprints and dust, and a clean surface makes glue and paint stick far better.
1. CD Wind Chimes
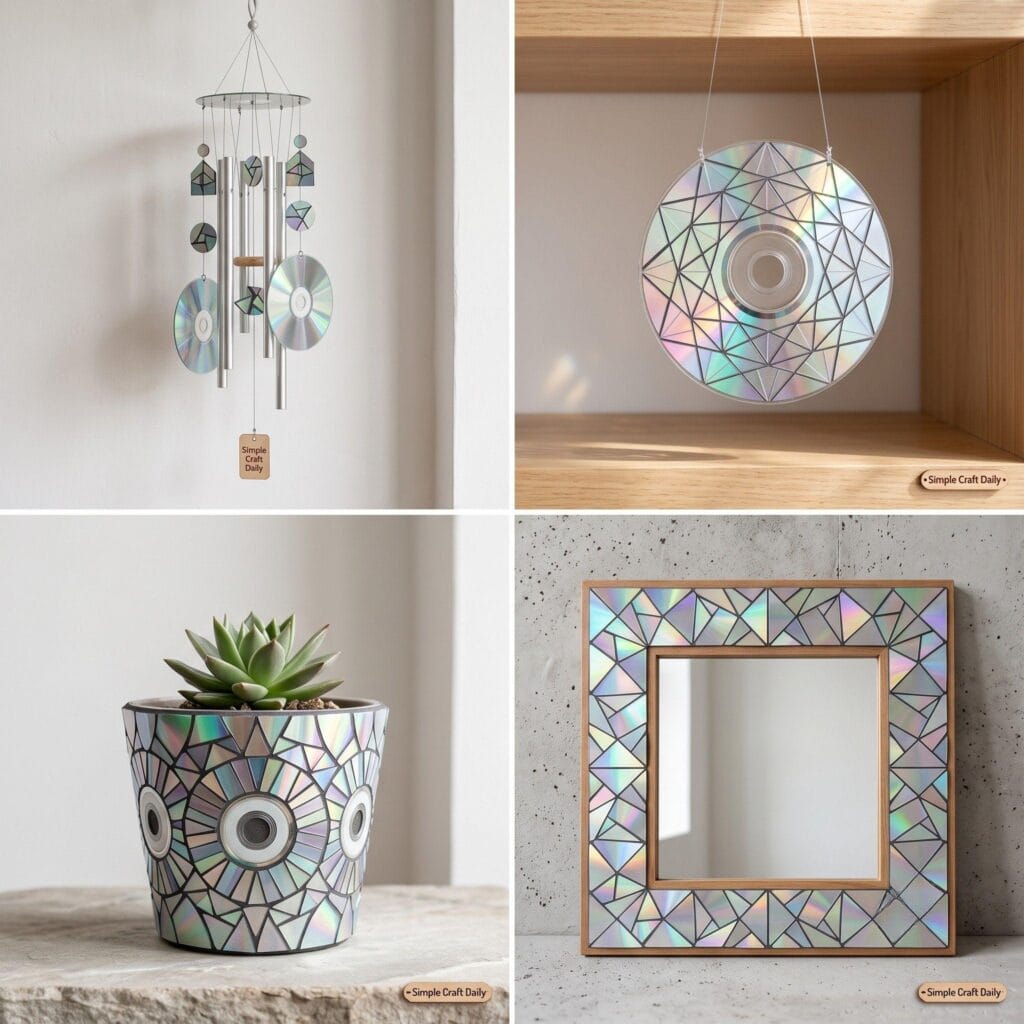
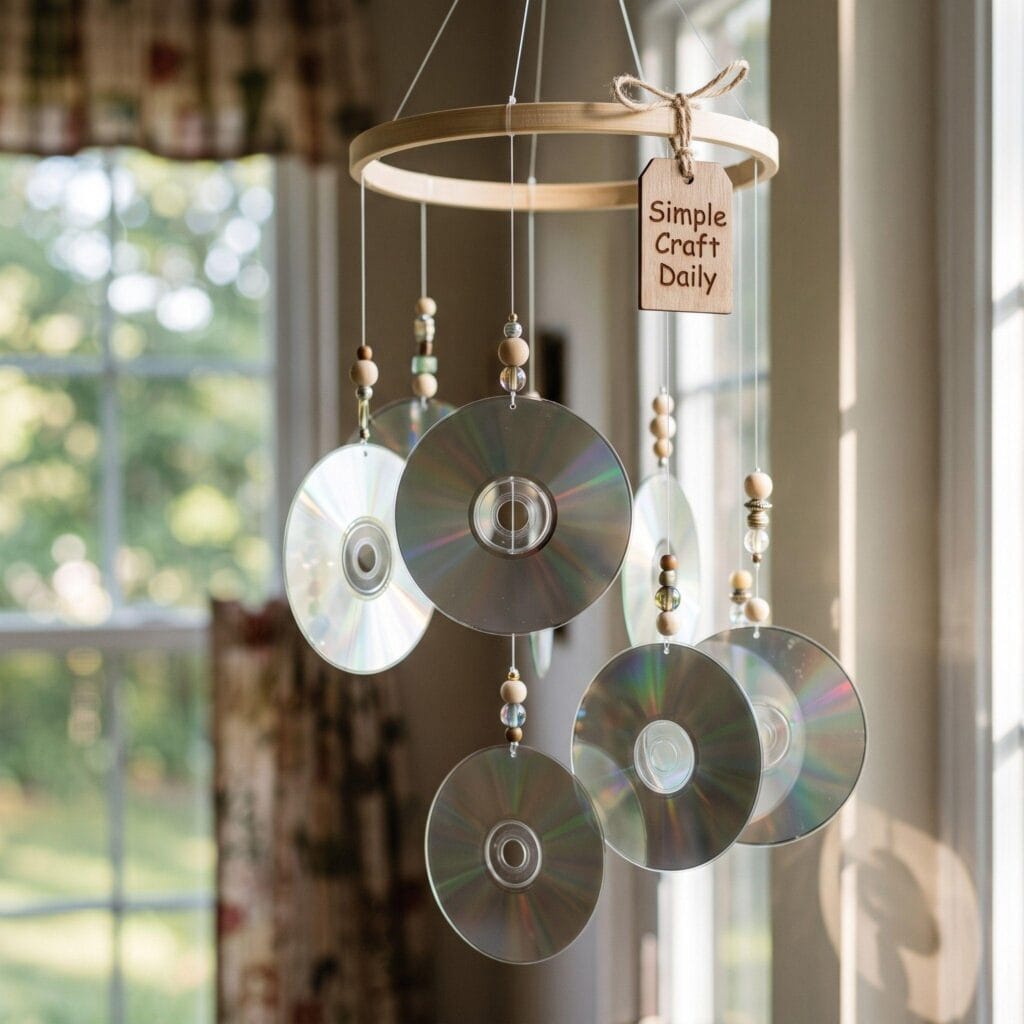
A CD wind chime makes an easy first project. Drill a small hole about 1/4 inch in from the edge of several discs, then thread clear fishing line, waxed cord, or narrow ribbon through each hole. Tie the CDs at different lengths from a wooden ring, smooth branch, or 8-inch embroidery hoop. String a wooden bead above and below each disc to keep the knots from slipping, and leave 2 to 3 inches between hanging pieces so they can turn freely in the breeze. The discs make a light plastic clatter when they touch, while their mirrored faces flicker in the sun.
Pro tip: Vary the hanging lengths instead of lining every CD up evenly. Uneven lengths catch more light from different angles as they spin.
2. CD Sun Catchers
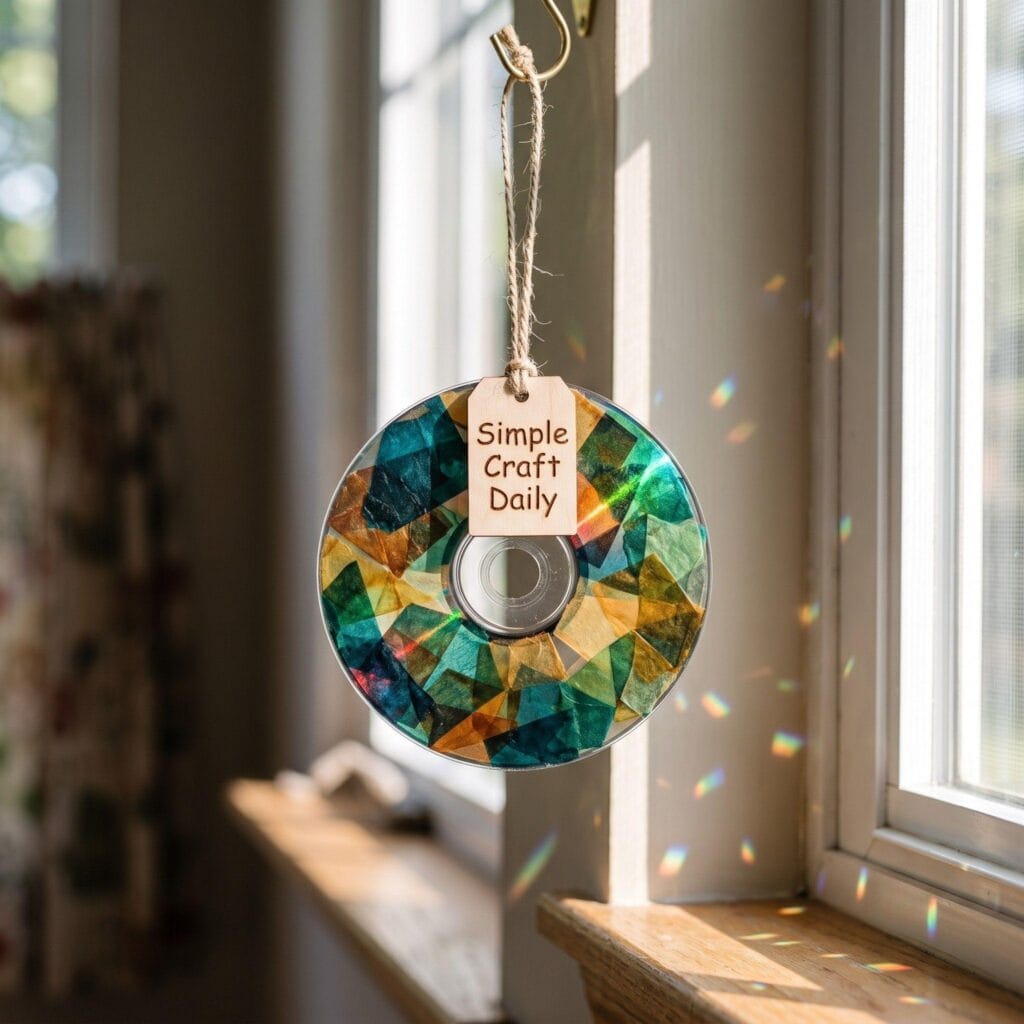
Make a window sun catcher by brushing one side of a CD with a thin, even coat of Mod Podge. Lay torn or cut pieces of clear colored tissue paper over the wet adhesive, smoothing each piece with a soft brush so wrinkles stay shallow. Brush on a second light coat, allow it to dry flat for at least 30 minutes, and trim the overhang with sharp scissors. Punch or drill a hole near the top, add a ribbon loop, and hang the piece in a sunny window. Light passing through the tissue paper and bouncing off the disc creates small colored reflections on nearby walls and tabletops.
3. Mosaic Mirror Frame
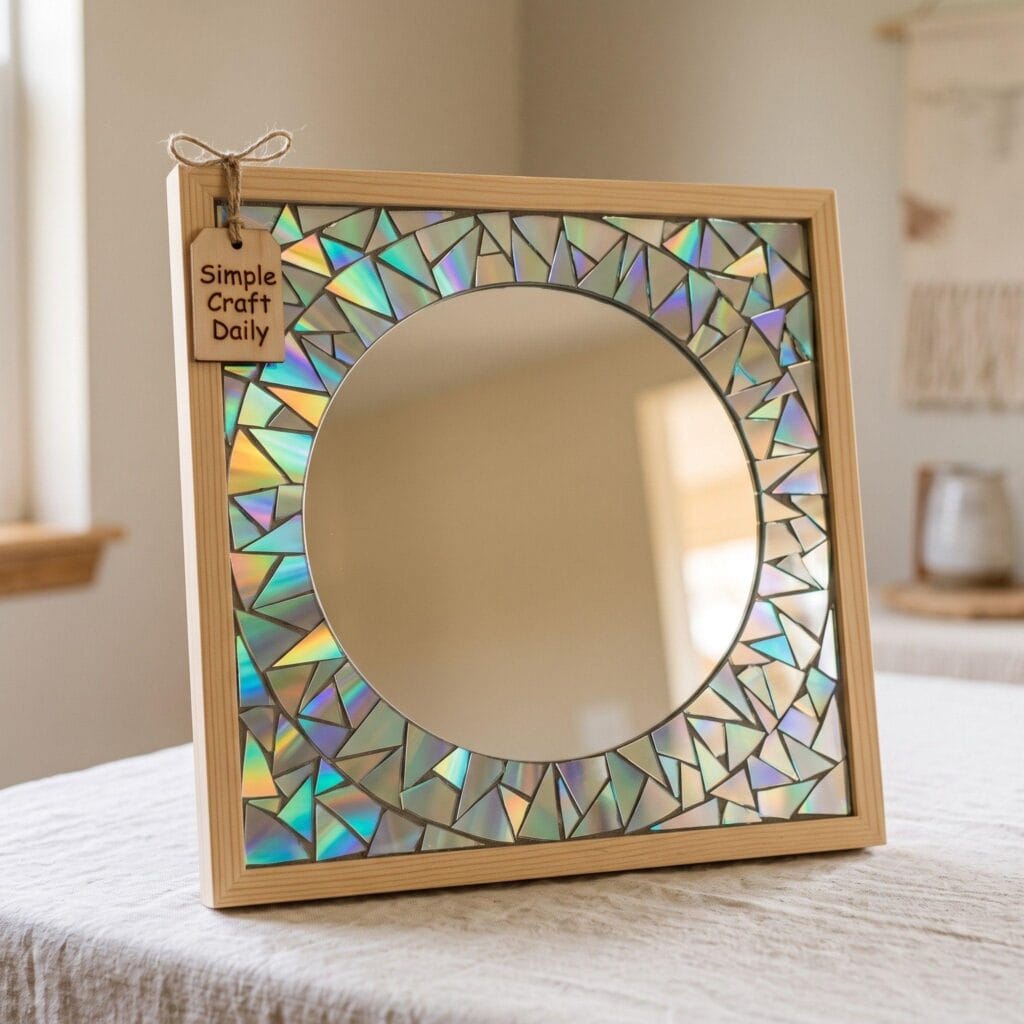
Turn a plain mirror frame into a reflective mosaic by cutting CDs into small pieces and gluing them around the border as you would ceramic tile. Work with pieces between 1/2 inch and 1 inch wide, and set them with narrow gaps so the individual flashes of color remain visible. A black, silver, or white painted frame gives the fragments a tidy background. Use a clear-drying strong craft adhesive, press each piece down firmly, and allow the frame to dry flat overnight before hanging it. If you enjoyed this kind of detailed tile work, you’ll probably also like our guide to creative mosaic art ideas, which uses ceramic tile for a similar layered finish.
Pro tip: Score each CD lightly with scissors before snapping it, rather than trying to cut all the way through in one motion. This gives you cleaner breaks and fewer sharp, uneven edges.
4. Mini Disco Ball
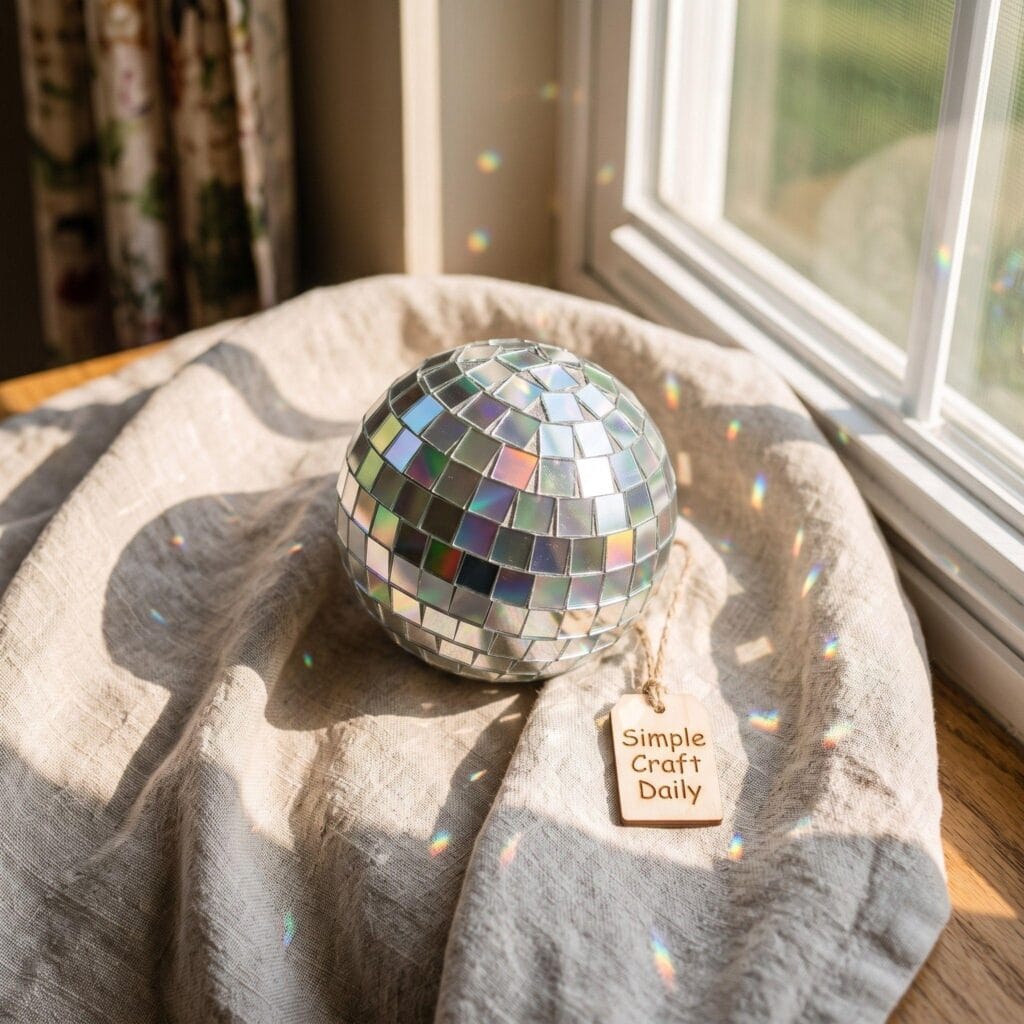
A mini disco ball takes a little longer, though the repetition is pleasantly simple. Cut several CDs into roughly square pieces about 3/4 inch wide. Glue the pieces onto a foam ball in overlapping rows, beginning at the bottom and working upward so each row slightly covers the upper edge of the row beneath it. Rotate the ball often and keep the gaps narrow for fuller coverage. Once the adhesive has cured, push a screw eye into the top with a dab of glue, hang the ball near a window or lamp, and let the angled pieces toss tiny moving reflections across the room.
5. CD Mosaic Plant Pot
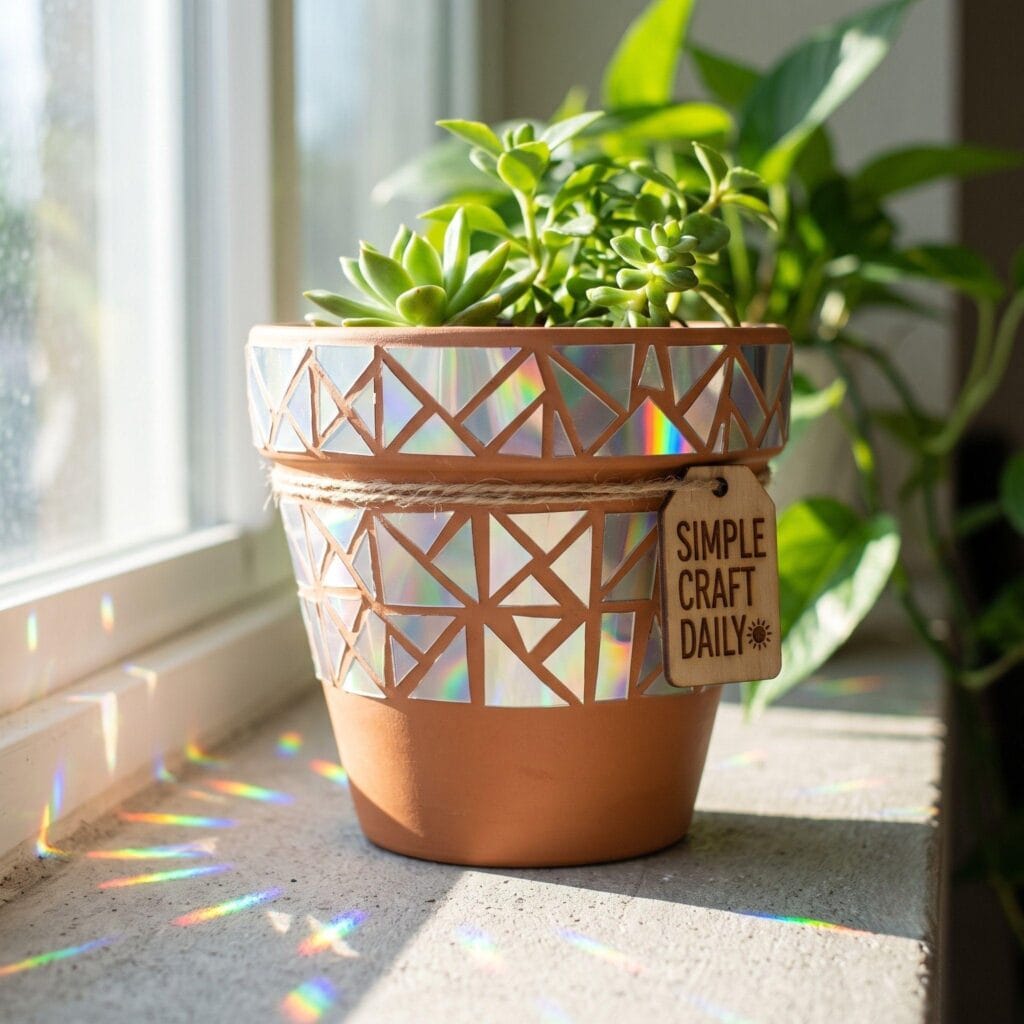
Give a plain terracotta or ceramic plant pot a bright mosaic skin with random CD shards. Wipe the outside of the pot clean, let it dry completely, and arrange the pieces before gluing so the larger fragments sit comfortably around the curved surface. Leave a 1/8-inch gap between pieces, especially near the rim and base, where crowding can cause edges to lift. Bond the pieces with an adhesive rated for ceramic, then let the pot cure for the full time listed on the label. A thin coat of clear water-resistant sealant helps protect the reflective surface from soil splashes and watering drips. Keep the mosaic on the outside only, away from the drainage hole and the pot’s interior.
Pro tip: Work from the top rim downward, leaving tiny gaps between the pieces to give it an authentic mosaic look without overcrowding the design.
6. Shimmering CD Ornaments
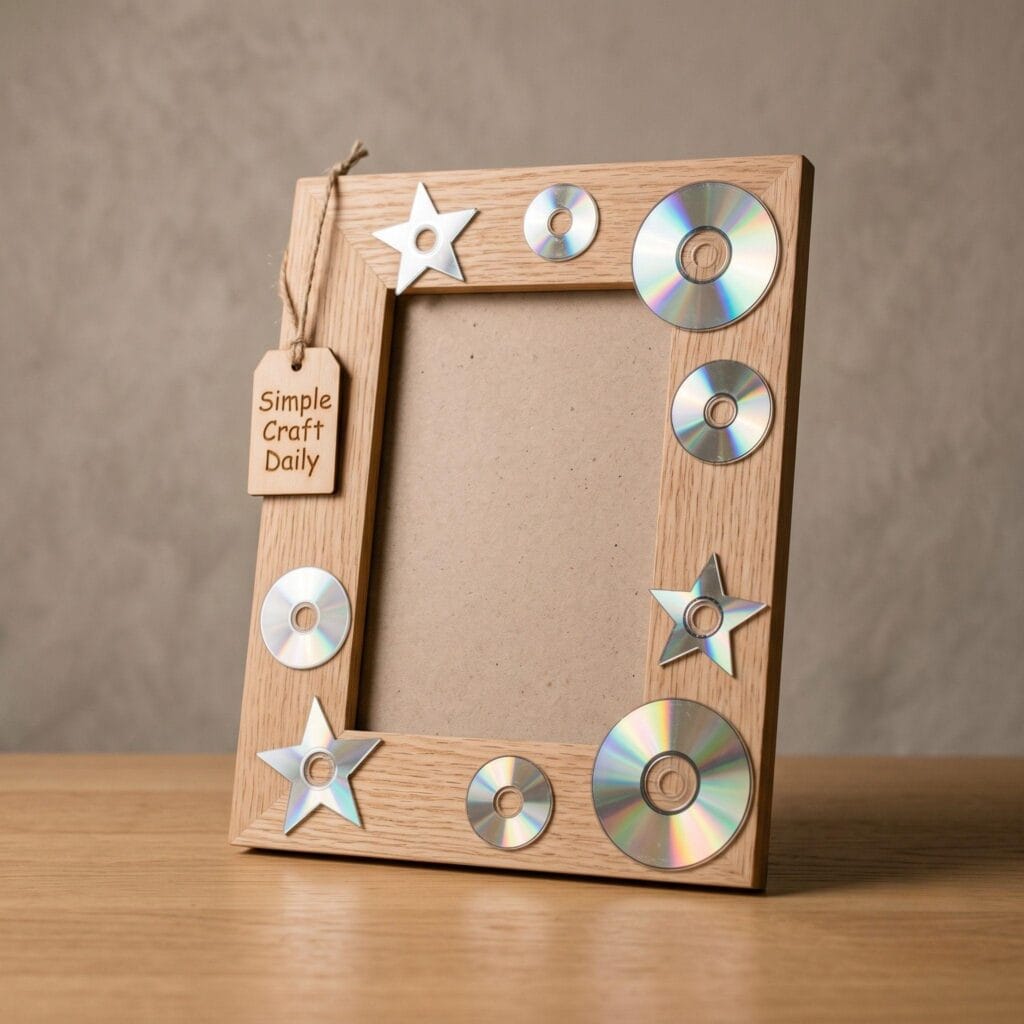
CD ornaments are easy to make in batches for a tree, window, gift topper, or houseplant. Use a permanent marker to draw simple shapes such as circles, stars, or snowflakes, then cut slowly along the lines with sturdy craft scissors. Sand any rough points with 220-grit sandpaper, wipe away the dust, and add a small hole for ribbon or twine. A short loop of velvet ribbon gives the shiny plastic a softer finish, while jute twine suits a more rustic branch display. Lay several finished shapes in a row before hanging them so the colors and reflections have a pleasing mix.
7. CD Mosaic Candle Holder
A glass tealight holder becomes much more interesting with a narrow band of CD mosaic around its outer wall. Cut uniform geometric pieces, then glue them onto the outside of a plain clear glass holder with tiny, even gaps between each fragment. Keep the top edge clear by at least 1/2 inch, and use only a battery-operated LED tealight inside. The small light bounces against the mirrored pieces and gives the glass a warm, broken-up shimmer without exposing adhesive or plastic to candle heat. Most holders can be finished in under 30 minutes, plus drying time.
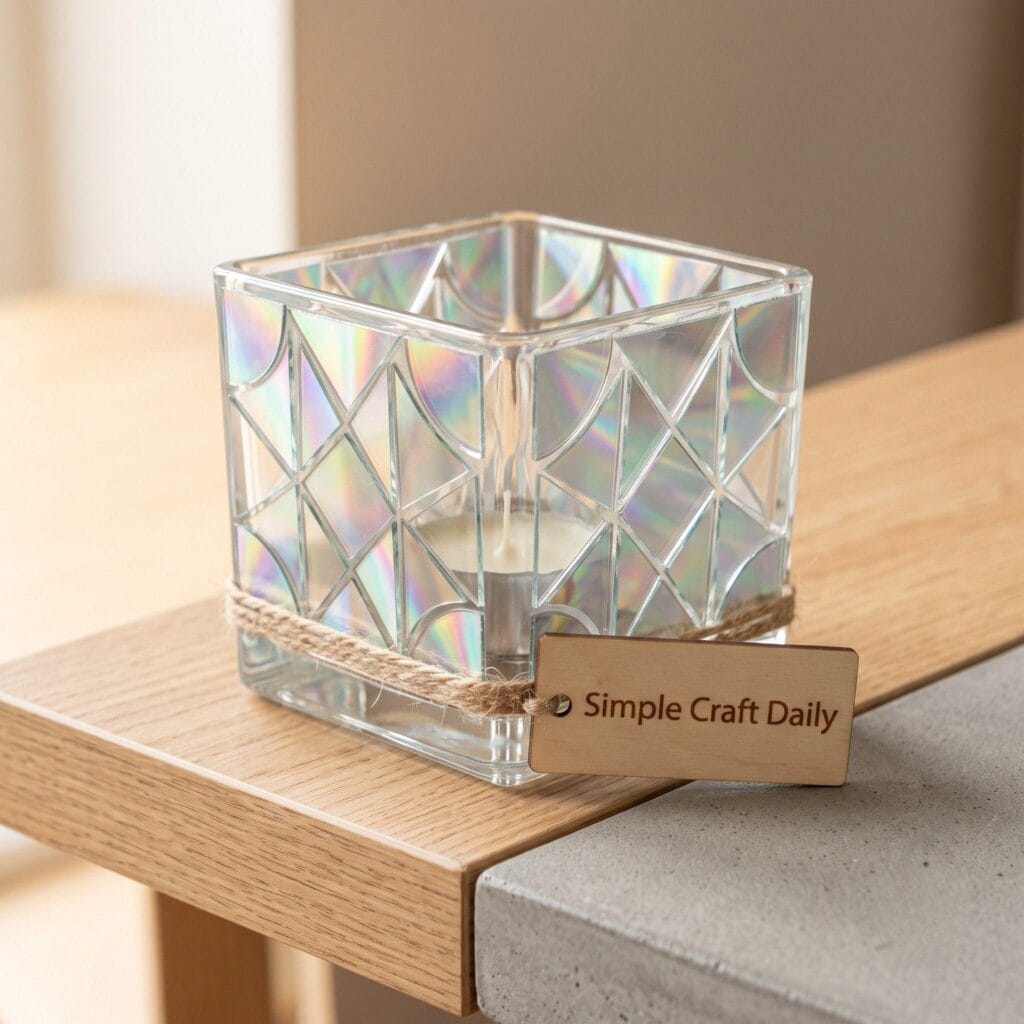
Pro tip: Use a battery-operated LED tealight instead of a real candle if you want to avoid heating the glass and adhesive over long periods.
8. CD Mosaic Kinetic Sculpture
For a moving wall piece, build a hanging sculpture from several lightweight wooden panels covered with CD mosaic. Cut thin plywood or basswood into rectangles and squares of different heights, sand the edges smooth, and paint the backs in a color that suits the room. Glue flat CD fragments onto the front faces in simple geometric groupings, such as triangles, narrow stripes, or offset squares. After the glue cures, drill small holes at the tops and bottoms of the panels and join them with short lengths of thin craft wire. Attach the uppermost panel to a smooth wooden dowel with two evenly spaced hanging points. Near a bright wall or window, the panels turn gently when air moves through the room and send shifting flecks of color across the surface behind them.
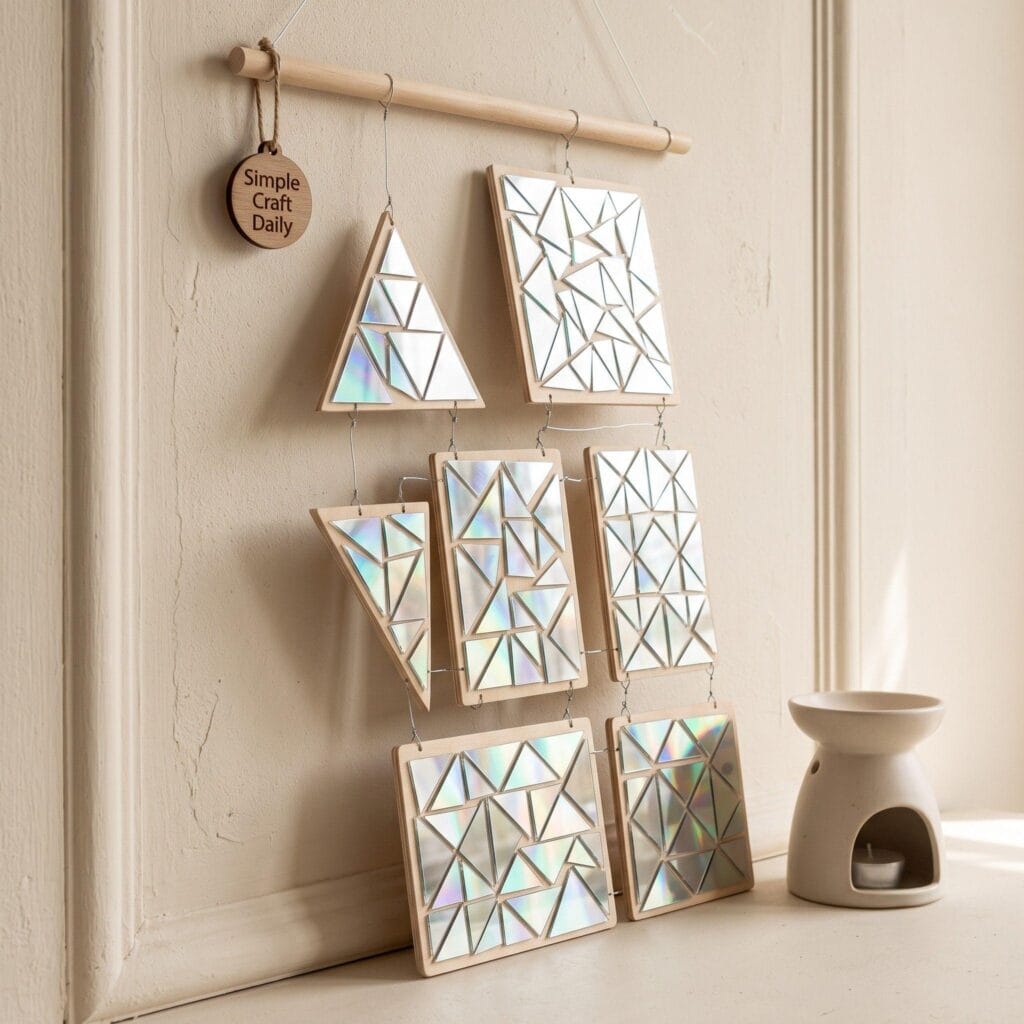
Pro tip: Use strong craft adhesive rather than hot glue to ensure the small mosaic pieces stay firmly bonded to the wood, allowing the sculpture to spin safely without pieces coming loose.
More Eco-Friendly and Found-Material Craft Ideas
If you enjoy turning ordinary materials into decorative pieces, our seashell crafts and decorations guide uses a similar found-material approach with beach treasures in place of old discs. For makers who prefer animal-themed projects, our marine animal crafts guide offers another hands-on idea for the craft table.
Turning CD Upcycling Crafts Into a Digital Income Stream
You can sell finished sun catchers and wind chimes at local craft markets, especially when the display catches direct daylight. Fragile CD mosaics need careful packaging, though, and the audience for finished pieces remains fairly specialized. Digital products offer a practical way to earn from the same design work without wrapping and mailing delicate fragments.
The value often sits in the layout you developed: the spacing of a sunburst, the placement of wind chime holes, or a repeatable mosaic cutting plan. Package those choices as a printable pattern, cutting template, or illustrated instruction sheet. Another maker can download the file immediately, while the original CD mosaic stays safely on your wall rather than traveling through the mail.
Many crafters build income this way by turning their process into a clear printable PDF. Photograph each stage in good daylight, include measurements and supply lists, and show close-up views of the tricky parts, such as hole placement and edge finishing. If this route interests you, our guide on how to make money selling Etsy printables covers the basics of getting started, and our Canva + Etsy workflow guide explains how to design and export templates for buyers.
You can also photograph completed work and sell the images as art prints without keeping physical inventory. A well-lit photograph of a sunburst wall piece, for example, can work as a print once the reflective surface has been captured clearly. Our print-on-demand tools guide explains platforms that print, pack, and ship orders for you.
When you are ready to list a first pattern or print, finding profitable Etsy keywords can help buyers find it through search.
Important Crafting Safety Notes for CD Upcycling Crafts
A few precautions deserve extra attention when working with CDs:
- Cut CDs carefully. Broken or cut CD edges can be sharp, almost like glass. Wear safety glasses when scoring or snapping discs, and consider light gloves if you’re cutting several at once.
- Watch for small plastic shards. Cutting CDs can send tiny plastic fragments flying. Work over a tray or cloth you can shake out afterward, away from bare feet and curious pets.
- Drill slowly, if drilling holes. CDs can crack under pressure from a fast drill bit. Use a slow speed and light pressure, or switch to a specialty hole punch made for plastic.
- Ventilate your space for spray paint or strong adhesives. Fumes build up quickly in small rooms, so work near an open window or outdoors when possible.
- Keep small, cut pieces away from young children. Small CD fragments and beads are choking hazards, so supervise closely if kids are helping with this project.
Frequently Asked Questions
Do I need special tools to cut a CD? A sturdy pair of dedicated craft scissors or heavy-duty household scissors can cut many CDs, especially for small mosaic pieces. Wear safety glasses and work slowly, since brittle plastic can crack without warning. Avoid scoring and snapping a disc by hand; that method can send sharp pieces outward. Smooth every cut edge with 220-grit sandpaper before using the piece in a hanging craft.
Can I use scratched or damaged CDs for these projects? Yes. Surface scratches, damaged labels, and unreadable data do not stop the reflective layer from catching light. Skip discs that are deeply split from the center hole to the outer edge, since those cracks can spread while cutting or drilling. A scratched disc often looks even better once it has been broken into small mosaic pieces, where the tiny marks disappear among the reflections.
Are these projects safe to do with kids? Most can work well as supervised family crafts. An adult should handle cutting, drilling, sanding, and any strong adhesive with fumes. Children can sort pieces, brush on water-based glue, place large rounded fragments, thread beads, and tie hanging loops. Use blunt-edged pre-cut pieces for younger makers, and sweep the work surface carefully when the project is finished.
Final Thoughts on CD Upcycling Crafts
Old CDs still have plenty to offer at the craft table. With sharp scissors, suitable glue, and an afternoon of making, they can become wind chimes, sun catchers, ornaments, and reflective wall pieces that bring movement to a sunny corner. Begin with a wind chime or tissue-paper sun catcher to get comfortable handling the material, then move on to the mirror frame or disco ball once you have practiced cutting, sanding, and arranging small pieces.
Which CD upcycling craft are you trying first? Share a photo in the comments once it catches the light — I’d love to see how it turned out.