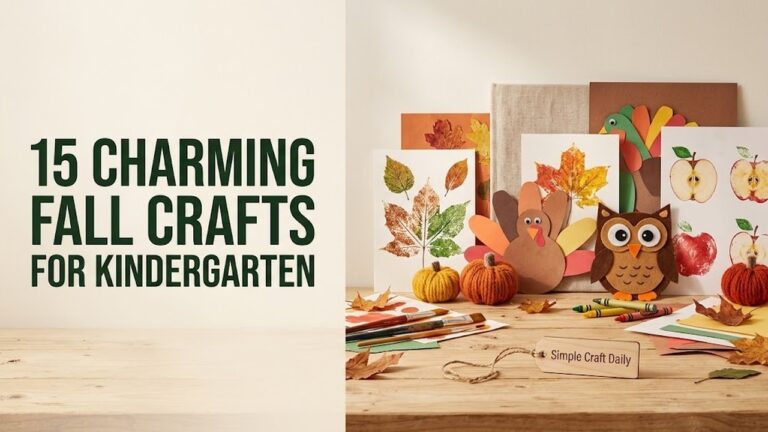
Generic giveaway totes look forgettable. These DIY tote bags use sturdy cotton canvas, washable finishes, and measured placement so an errand bag, library tote, teacher gift, or market carryall feels deliberately made.
Each of these five designs is an independent project with its own supply list and set time. For extra confidence choosing colors and simple painted motifs, browse our DIY fall canvas painting ideas before opening your paint bottles.
Affiliate Disclosure: This post contains affiliate links. As an Amazon Associate, I earn from qualifying purchases. If you buy through these links, I may earn a commission at no additional cost to you.
Essential Materials for DIY Tote Bags
A heavyweight cotton canvas blank gives paint, heat-transfer vinyl, embroidery floss, and applique a firm washable base. Keep a 12 in × 14 in sheet of clean cardboard inside every tote before painting, gluing, or heat pressing so color, adhesive, and heat do not reach the back panel.
Choose fabric-specific products whenever possible. In addition, ordinary craft acrylic can turn stiff and crack where a tote repeatedly folds, while heat-set textile paint and flexible fabric adhesive move more naturally with the canvas.
🎨 DIY Tote Bag Paint, Canvas, and Color Supplies
- Natural Cotton Canvas Tote Bags — A 14 in × 15 in sewn cotton blank provides a sturdy, paint-ready surface for each design | Check Price on Amazon
- Heat-Set Fabric Paint Set — Textile paint bonds to cotton fibers after the label-directed heat-setting process and stays more flexible at fold lines | See Fabric Paint Set on Amazon
- Fabric Paint Medium — Mix only with compatible artist acrylic according to the medium label when you need a custom color that remains washable | View Fabric Paint Medium on Amazon
- Permanent Adhesive Heat Transfer Vinyl — Fabric-compatible HTV makes sharp names and initials without the brush control required for hand lettering | Find Heat Transfer Vinyl on Amazon
- Cotton Embroidery Floss — Colorfast six-strand floss separates into smooth two- or three-strand lengths for lettering and small floral details | Check Latest Price on Amazon
- No-Sew Fabric Adhesive — A washable flexible textile adhesive secures applique patches without leaving a brittle edge | View on Amazon
✂ DIY Tote Bag Lettering, Stencil, and Stitching Tools
- Heat-Erase Fabric Marking Pens — Fine fabric-safe lines make it easier to center names, initials, and stitched outlines | Check Heat-Erase Marking Pens on Amazon
- Reusable Mylar Alphabet and Motif Stencils — Washable stencil film gives monograms crisp edges and can be used for repeat projects | See Mylar Stencils on Amazon
- Fabric Paint Brushes and Foam Pouncers — Low-shed brushes handle details, while foam pouncers apply thin controlled layers through stencil openings | View Fabric Paint Tools on Amazon
- Embroidery Needles and 6-Inch Wooden Hoop — Sharp needles pass cleanly through canvas, and a small hoop holds the stitch area even | Find Embroidery Hoop Set on Amazon
- Metal Ruler, Rotary Cutter, and Self-Healing Cutting Mat — This protected cutting set keeps applique patch edges straight and square | Check Rotary Cutting Set on Amazon
- Canvas Tote Bag Decorating Starter Kit — A coordinated starter kit can provide compatible blanks, paints, stencils, and brushes for a first project | See Price on Amazon
🏆 Workshop Upgrades and Precision Equipment
- Electronic Cutting Machine Bundle — A precision cutter repeats names, monograms, and small vinyl graphics with clean, consistent cuts | View Electronic Cutting Machine on Amazon
- Clamshell Heat Press Machine — Controlled heat and pressure help makers apply HTV consistently across several cotton canvas projects | Find Heat Press Machine on Amazon
- Daylight LED Magnifying Craft Lamp — Bright adjustable light makes fine stitch placement, vinyl weeding, and edge inspection easier on the eyes | Check Daylight Craft Lamp on Amazon
Scissors, rotary cutters, and heat tools each have separate jobs. Use scissors for thread, a rotary cutter only on a self-healing mat, and an iron or heat press only with the temperature and protective-sheet instructions supplied by the paint or HTV manufacturer.
Five DIY Tote Bags to Make Step by Step
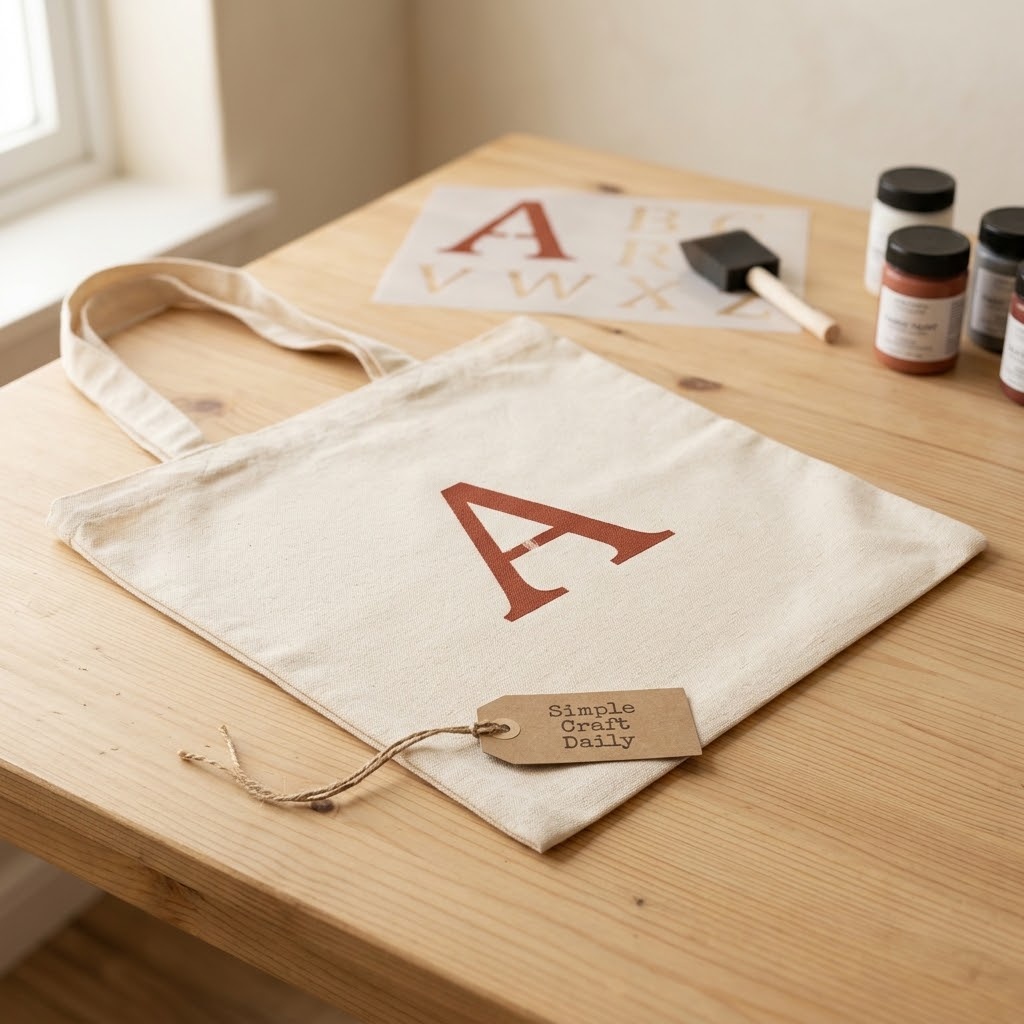
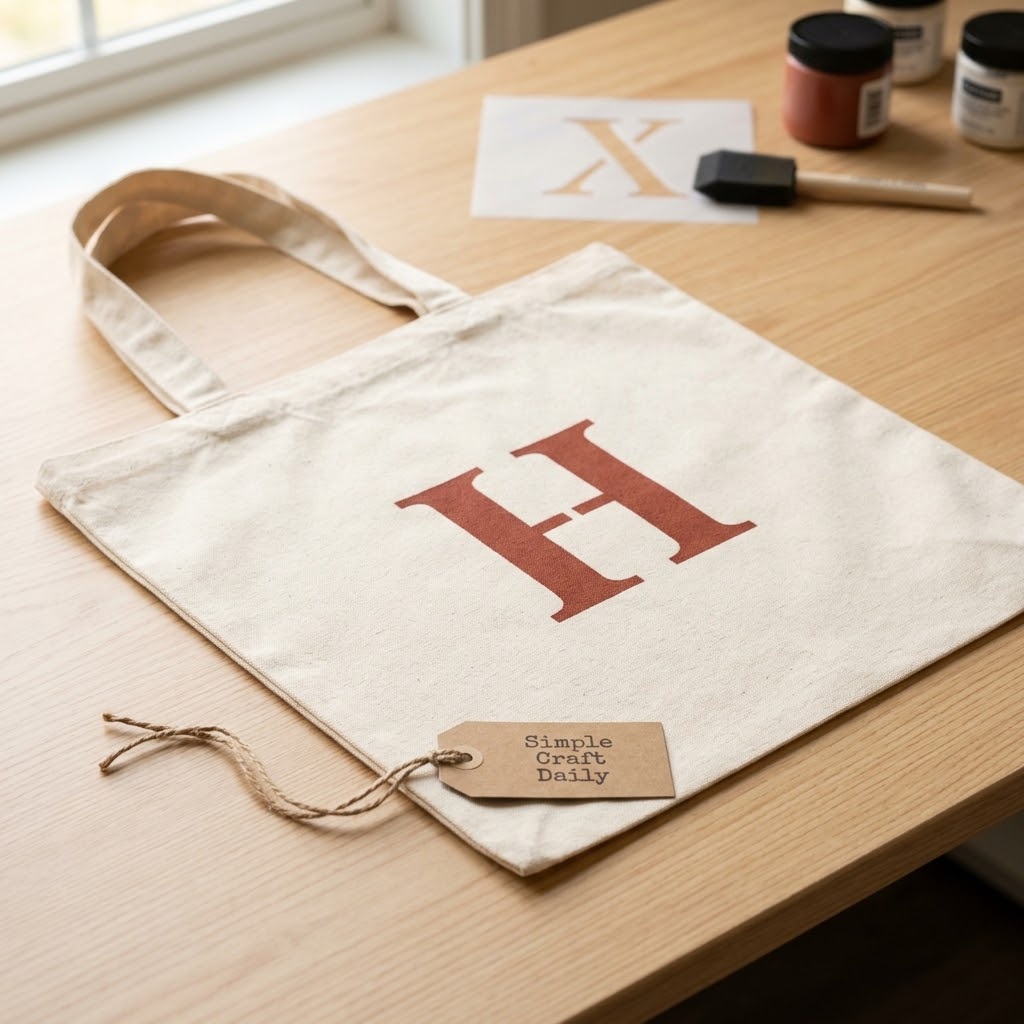
1. Stenciled Initial DIY Tote Bag
Supplies Needed: Natural Cotton Canvas Tote Bag, Heat-Set Fabric Paint Set, Reusable Mylar Alphabet Stencil, Foam Pouncer, Heat-Erase Fabric Marking Pen, 12 in × 14 in Cardboard Insert, Household Iron or Heat Press.
First, prewash and dry the cotton tote only if its manufacturer recommends it. Press the front panel smooth, slide the 12 in × 14 in cardboard insert inside, and lay the bag flat with the handles pointed away from your work area.
Measure the tote front panel width, mark its vertical center with the heat-erase pen, and position one alphabet stencil initial 3 in below the top edge. Hold the Mylar stencil flat against the canvas. Then load the foam pouncer with a small amount of heat-set fabric paint and dab it on a palette or scrap paper until it leaves a nearly dry mark.
Pounce two to three thin paint layers through the opening rather than brushing across it. After the last layer, lift the stencil straight upward so wet paint does not drag across the canvas. Allow the paint to air-dry for the exact label-directed period, then heat-set it with the household iron or heat press according to that paint manufacturer’s temperature, time, and protective-cloth directions.
2. Painted Birth-Flower DIY Tote Bag
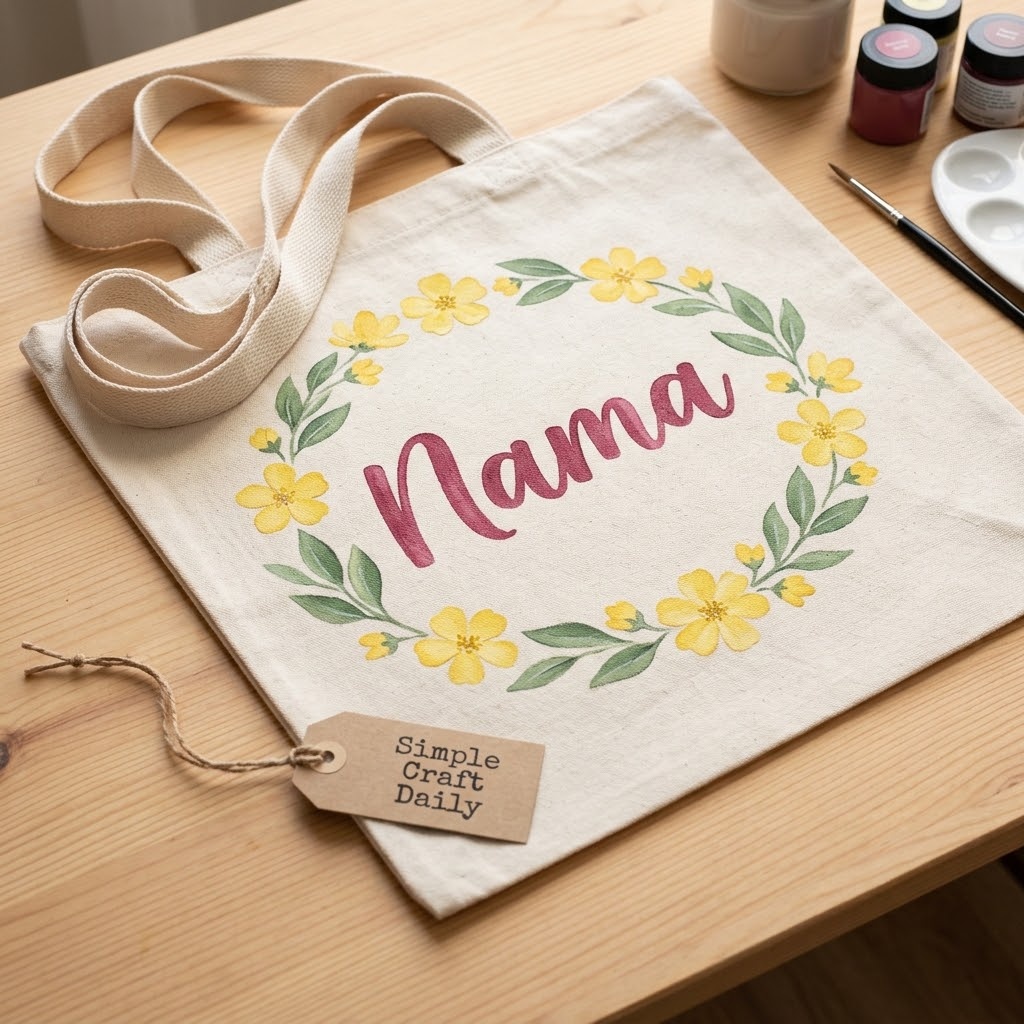
Supplies Needed: Natural Cotton Canvas Tote Bag, Heat-Set Fabric Paint Set, Fabric Paint Medium if Using Artist Acrylics, Detail Fabric Paint Brushes, Heat-Erase Fabric Marking Pen, Mixing Palette, 12 in × 14 in Cardboard Insert, Household Iron or Heat Press.
Place the cardboard insert inside the tote, smooth the front panel, and use the marking pen to draw a 9 in wide × 2 in high guide area. Center the recipient’s name inside that rectangle. If you are mixing artist acrylic with fabric paint medium, follow the ratio printed on the medium label and blend the mixture on the palette until the color is even.
Next, paint the name with a narrow detail brush. Use two thin coats instead of one heavy coat, allowing the first coat to become touch-dry for the paint’s stated interval before adding the second. Paint simple five-petal flowers around the name, then add small leaves after the flower color is touch-dry so the edges remain clean.
These DIY tote bags look balanced when the florals frame the lettering rather than cover it. Let the finished panel dry for the manufacturer’s full pre-heat-setting window. Subsequently, heat-set the paint with the household iron or heat press exactly as directed on the product label, and wait through the stated wash-safe cure period before laundering.
3. Heat-Transfer Name DIY Tote Bag
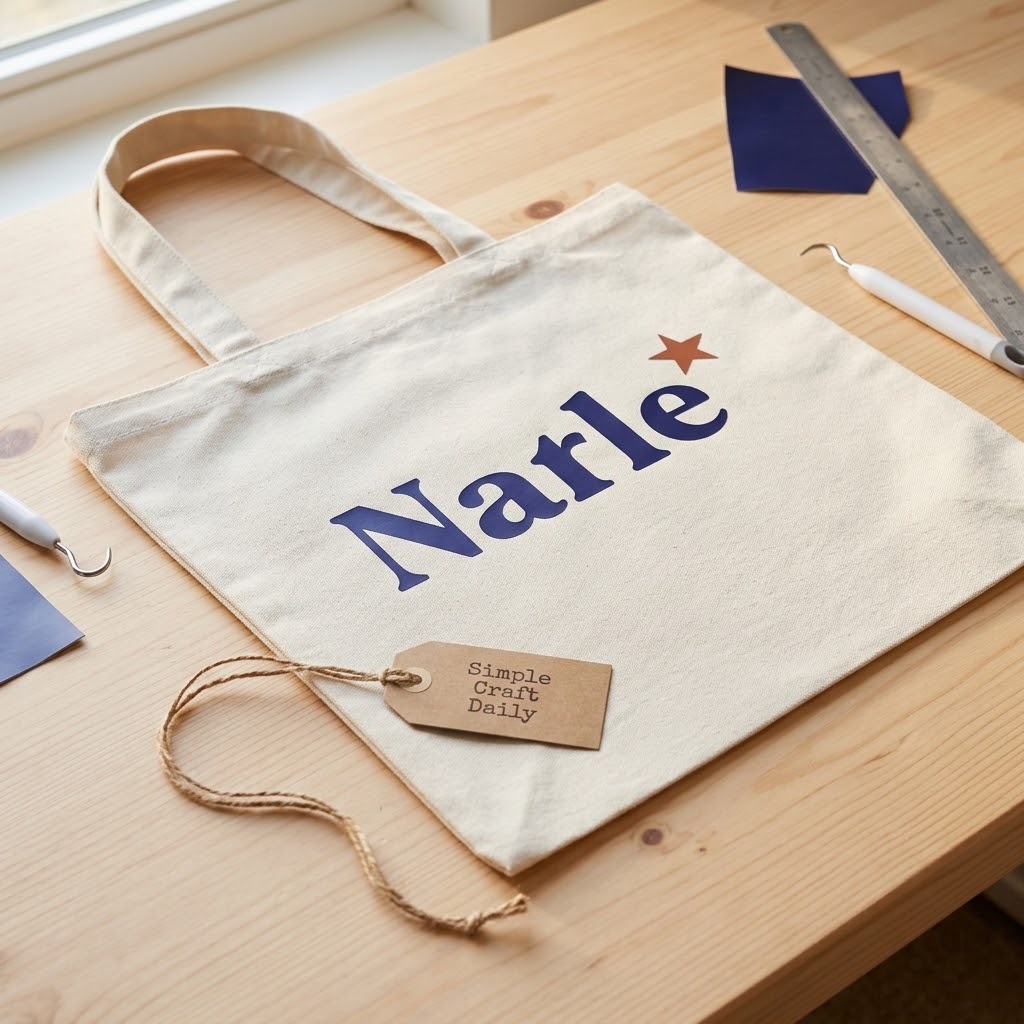
Supplies Needed: Natural Cotton Canvas Tote Bag, Permanent Adhesive Heat Transfer Vinyl, Electronic Cutting Machine or Pre-Cut HTV Letters, Weeding Tool, Metal Ruler, Heat Press or Household Iron, Parchment or Protective Pressing Sheet, 12 in × 14 in Cardboard Insert.
For this project, create a name design that fits comfortably within a 9 in wide area on the tote front. Mirror the text before cutting heat-transfer vinyl, because the vinyl is cut from its reverse side. Cut the design with the electronic cutting machine, or arrange pre-cut HTV letters face down on the tote.
Use the weeding tool to lift away every piece of excess vinyl around and inside the letters. Insert the cardboard inside the tote, then preheat the cotton canvas briefly as directed by the HTV manufacturer to remove moisture and smooth the fibers. Measure the front panel with the metal ruler and align the name from its center point.
Cover the carrier sheet with parchment or the protective pressing sheet. Press at the exact temperature, pressure, peel method, and duration printed by the HTV manufacturer; settings differ across vinyl types and tools. After this step, let the tote cool according to the label instructions, remove the carrier sheet using the required warm, cool, or cold peel method, and let the finished tote rest for 24 hours before its first wash unless the product label directs otherwise.
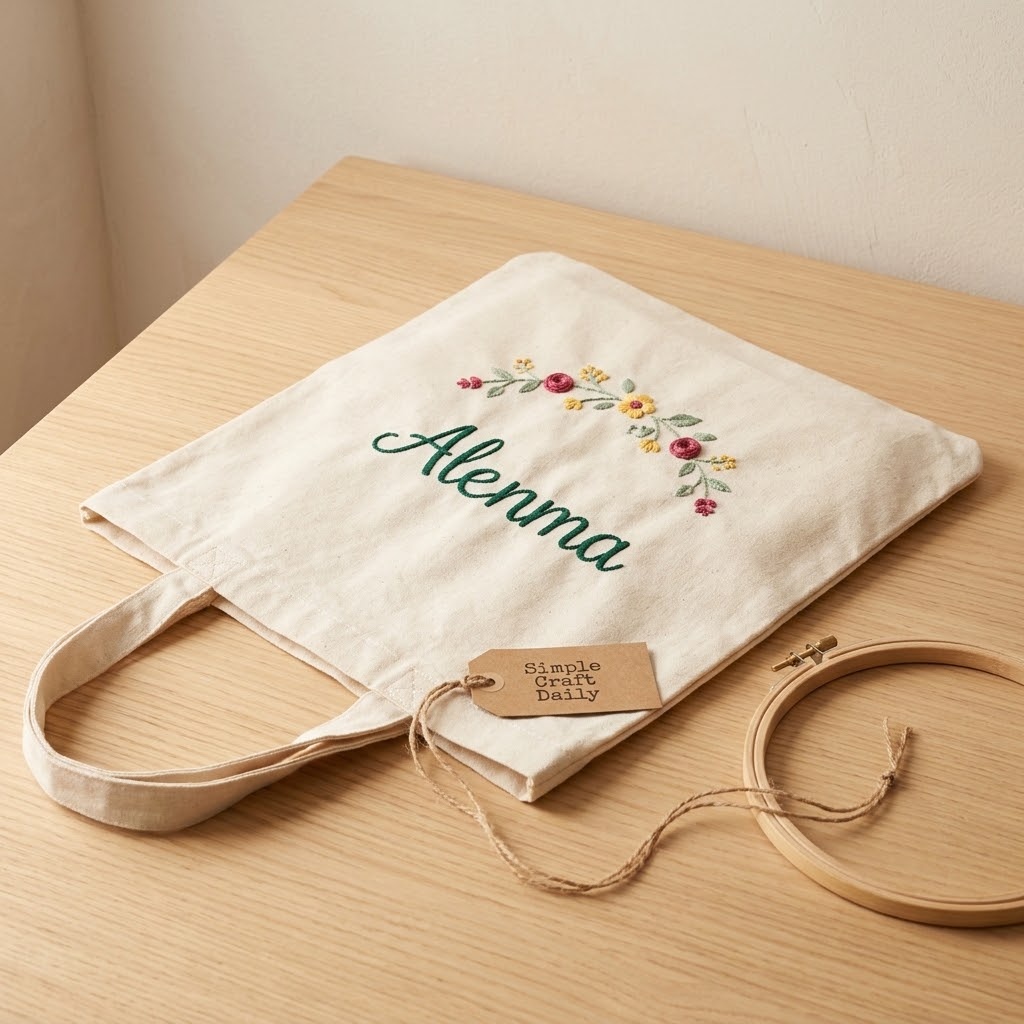
4. Embroidered Floral DIY Tote Bag
Supplies Needed: Natural Cotton Canvas Tote Bag, Cotton Embroidery Floss, Embroidery Needles, 6-Inch Wooden Hoop, Heat-Erase Fabric Marking Pen, Small Embroidery Scissors, Needle Threader.
Draw a name and a small floral vine on the tote front with the heat-erase marking pen. Place only the stitched area inside the 6-inch hoop. Tighten the hoop until the canvas is firm but do not pull the tote seams or handles into the ring, because stretched seams can pucker after the hoop is removed.
Separate a length of cotton embroidery floss into two or three strands, thread it through an embroidery needle with the needle threader, and knot the tail. Work backstitches along each letter, taking stitches about 1/8 in long for curves and 3/16 in long on straight sections. Next, use lazy-daisy stitches for five-petal flowers and short straight stitches for leaves.
Turn the bag inside out when you finish each thread length. Anchor the thread tail by weaving it beneath three to four existing stitches, then trim it to 1/4 in with the small embroidery scissors. Remove the hoop and inspect the marking-pen instructions before removing guide lines; some pens erase with heat, while others require water or air exposure. This DIY tote bag is ready for gentle washing after the pen marks are safely removed.
5. Applique Patch Personalized Canvas Tote
Supplies Needed: Natural Cotton Canvas Tote Bag, Tightly Woven Cotton Fabric Scraps, No-Sew Fabric Adhesive, Metal Ruler, Rotary Cutter, Self-Healing Cutting Mat, Embroidery Floss and Needle for Optional Edge Stitching, Wax Paper, Clean Heavy Book.
Lay a tightly woven cotton fabric scrap on the self-healing cutting mat. Use the metal ruler and rotary cutter to cut one 4 in to 5 in initial or geometric patch. Keep fingers behind the ruler edge and close the rotary cutter blade immediately after cutting.
Place wax paper inside the tote beneath the chosen patch location. Apply a thin, even layer of no-sew fabric adhesive to the reverse side of the patch, stopping 1/4 in inside every edge so glue does not squeeze out. Position the patch on the front panel, smooth it from the center outward, and cover it with another sheet of wax paper.
Set the clean heavy book on top to hold the patch flat. Leave it undisturbed for the adhesive manufacturer’s stated set time. After the adhesive has set, thread the needle with embroidery floss and add an optional running stitch 1/8 in from the patch edge, using 1/4 in stitches and matching gaps. The adhesive holds the patch in place while you stitch, and the stitched edge adds a tidy handmade outline to these DIY tote bags.
How to Wash DIY Tote Bags Without Ruining the Design
Wait through every product’s full cure period before laundering. Air-dry time, heat-setting time, adhesive set time, and wash-safe cure time are separate stages, so follow the exact instructions printed on each paint, vinyl, and adhesive package.
Then turn the tote inside out and wash it in cool water on a gentle cycle, or hand-wash it with mild detergent. Air-dry the bag whenever possible. Finally, if you use a dryer, confirm that the paint, vinyl, and adhesive labels allow it before applying heat.
Avoid bleach, aggressive scrubbing, and sharp brushes over painted, vinyl, applique, or stitched areas. For a coordinated handmade gift set, pair a finished bag with one of our charming DIY fall mason jar projects for seasonal treats or small supplies.
DIY Tote Bags FAQ
These answers help you choose compatible materials, place designs accurately, and protect handmade DIY tote bags through regular use and washing.
Can I Use Regular Acrylic Paint on DIY Tote Bags?
Fabric paint is the most dependable choice because it is formulated to remain flexible on washable textiles. If you need a custom shade, mix artist acrylic paint only with a compatible fabric medium and use the exact ratio on that medium’s label.
Apply thin coats and let each coat dry as directed. Thick opaque paint can form a stiff surface that cracks where a tote bends at the side seams, bottom folds, and handle area.
How Do I Center a Name on a Canvas Tote?
Measure the width and height of the front panel, excluding seams. Divide each measurement by two, then mark a light vertical and horizontal center line with a fabric marking pen. Measure the full width of your name design and center it from the vertical line outward.
First, cut a paper mock-up to the finished name size and tape it onto the tote. Step back several feet to check its height and spacing before committing paint, vinyl, or thread to the canvas.
How Long Should DIY Tote Bags Cure Before Washing?
The product label controls the timeline. Paint may need an air-dry period followed by heat-setting and additional wash-safe curing time. HTV often needs a rest period after pressing, while fabric adhesive needs both a set time and a full cure time.
Record the timing for every product you use before starting. Consequently, you will not accidentally wash a tote while paint is still soft, vinyl is still bonding, or adhesive is still curing beneath an applique patch.
Are Personalized Canvas Totes Good Gifts for Children?
Personalized canvas totes work well for library books, art supplies, and small outings when the decoration is securely attached. Use heat-set paint, firmly pressed HTV, or securely stitched embroidery for a child-handled bag.
Avoid loose buttons, beads, pins, detachable charms, and small metal findings. These pieces can detach during use and create choking or swallowing hazards for young children and pets.
Quick Reference: DIY Tote Bags Supplies at a Glance
For your convenience, here is a quick summary of all materials and tools used in this tutorial:
🎨 Paint, Canvas, and Color Supplies
- Natural Cotton Canvas Tote Bags | Check Price on Amazon
- Heat-Set Fabric Paint Set | See Fabric Paint Set on Amazon
- Fabric Paint Medium | View Fabric Paint Medium on Amazon
- Permanent Adhesive Heat Transfer Vinyl | Find Heat Transfer Vinyl on Amazon
- Cotton Embroidery Floss | Check Latest Price on Amazon
- No-Sew Fabric Adhesive | View on Amazon
✂ Lettering, Stencil, and Stitching Tools
- Heat-Erase Fabric Marking Pens | Check Heat-Erase Marking Pens on Amazon
- Reusable Mylar Alphabet and Motif Stencils | See Mylar Stencils on Amazon
- Fabric Paint Brushes and Foam Pouncers | View Fabric Paint Tools on Amazon
- Embroidery Needles and 6-Inch Wooden Hoop | Find Embroidery Hoop Set on Amazon
- Metal Ruler, Rotary Cutter, and Self-Healing Cutting Mat | Check Rotary Cutting Set on Amazon
- Canvas Tote Bag Decorating Starter Kit | See Price on Amazon
🏆 Workshop Upgrades and Precision Equipment
- Electronic Cutting Machine Bundle | View Electronic Cutting Machine on Amazon
- Clamshell Heat Press Machine | Find Heat Press Machine on Amazon
- Daylight LED Magnifying Craft Lamp | Check Daylight Craft Lamp on Amazon
Important Crafting Safety Notes
Crafting is a rewarding creative activity, but maintaining a safe workshop environment protects you, your family, and your pets. Review these precautions before starting a tote project.
• Personal Protective Equipment (PPE) & Safe Handling: Wear safety glasses when cutting vinyl, trimming findings, or using a rotary cutter. Use a heat-resistant mat and take care around irons and heat presses. Wear nitrile gloves when handling fabric adhesive, and use a dust mask if sanding or working with products that produce airborne particles.
• Room Ventilation & Fume Safety: Work with fabric adhesives, sealants, sprays, and heat-transfer materials in a well-ventilated room with open windows, cross-ventilation, or active exhaust. Allow adhesive-treated pieces to cure and off-gas fully in an airy space away from everyday living areas.
• Child & Pet Safety (Choking & Swallowing Prevention): Needles, rotary cutter blades, vinyl scraps, pins, buttons, beads, charms, and loose thread ends can create choking, swallowing, and injury hazards. Keep all raw materials and unfinished bags out of reach. For bags intended for young children, use painted, heat-bonded, or securely stitched details instead of detachable decorations.
• Sharp Tool Storage & Clean Work Area: Store rotary cutters, craft knives, embroidery needles, snips, scissors, and pliers in secure latching cases or high cabinets immediately after use. Lock the rotary cutter blade before setting it down. Sweep or vacuum the floor and work surface after crafting so dropped pins, blades, and vinyl scraps do not remain behind.
• Certified, Quality & Non-Toxic Supplies: Choose ACMI AP-certified non-toxic paints and adhesives when available, and follow every manufacturer instruction for temperatures, pressing times, cure times, and disposal. Keep craft chemicals and tools separate from food preparation equipment, and never reuse kitchen utensils for adhesives, paints, or other craft products.
For more detailed guidance on safe crafting practices, liability disclosures, and website usage, please review our Terms and Conditions.
“Which DIY tote bag will you personalize first, or what name, color, and motif would you put on your own? Drop a comment below—I’d love to hear what you create!”