

Every pet owner loves their furry friend. In fact, our pets are beloved family members. Therefore, we always want to spoil them. Instead of buying generic items, making handmade pet crafts is a brilliant idea. Plus, creating custom accessories matches your modern home perfectly.
Naturally, crafting for your dog or cat is very rewarding. For instance, basic leather quickly becomes a stylish collar. Luckily, you do not need advanced skills. So, you will truly enjoy these simple weekend projects.
This post contains affiliate links. As an Amazon Associate, I earn from qualifying purchases. If you buy through these links, I may earn a commission at no additional cost to you.
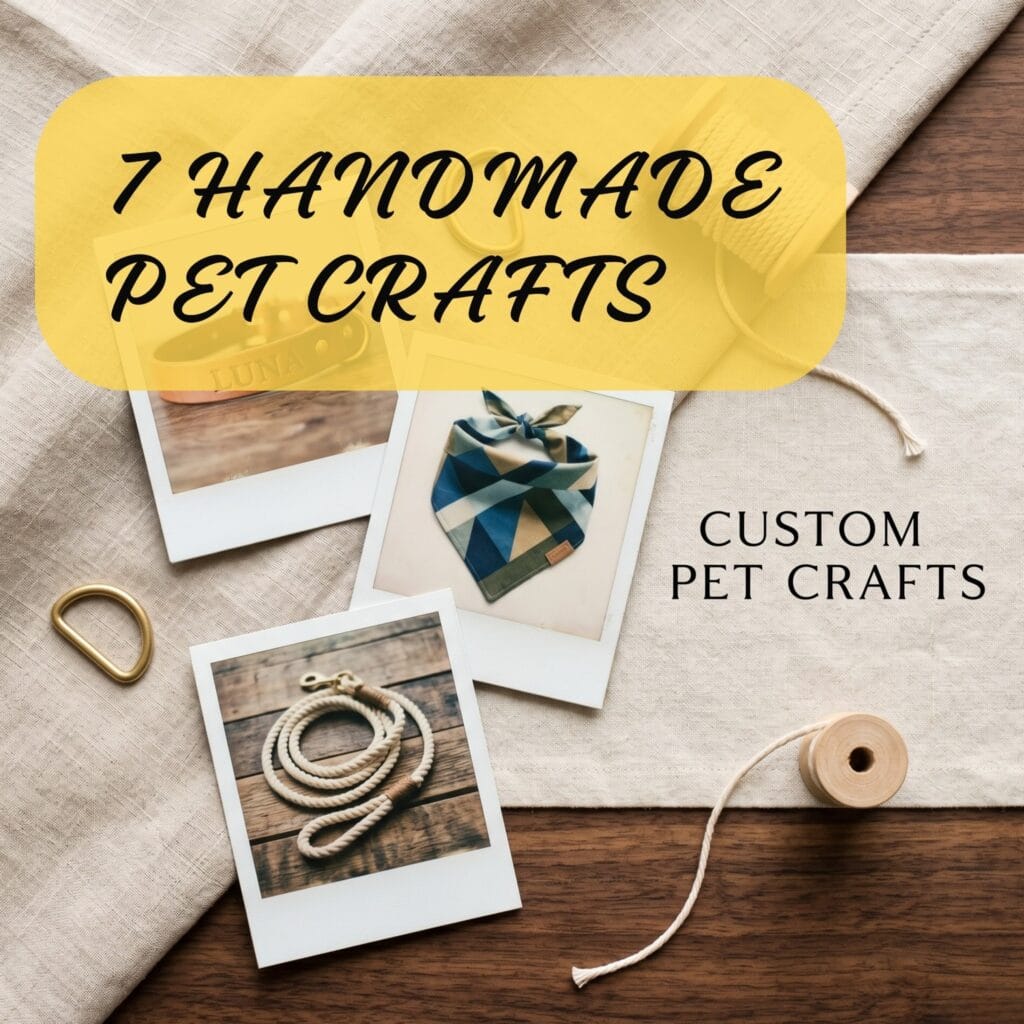
Essential Supplies for Handmade Pet Crafts
A few foundational tools are used throughout this guide, marked with a (used throughout) tag below.
🧶 LEATHER & FABRIC BASICS
Durable, pet-safe base materials form the foundation of the collar, toy, bandana, and placemat projects.
- Vegetable-Tanned Leather Strips (used throughout) — a sturdy, pet-safe natural leather ideal for custom collars, name tags, and interactive cat toys | Check Vegetable-Tanned Leather on Amazon
- Thick Natural Linen — a clean, food-safe-adjacent woven fabric base for personalized placemats | See Natural Linen Fabric on Amazon
- Fun Geometric Print Fabric — lightweight, breathable cotton fabric for stylish no-sew bandanas | Browse Geometric Fabrics on Amazon
- Plain Canvas Storage Bin — a durable, pre-made fabric container ready for custom stamping | Check Canvas Storage Bins on Amazon
🛠️ HARDWARE & STAMPING TOOLS
These turn a plain leather strip into a functional, personalized collar and give every stamped project a clean, deep impression.
- Metal Collar Hardware Set (Buckle & D-Ring) — heavy-duty metal fixtures providing secure closures and leash attachment points | Check Collar Hardware Sets on Amazon
- Metal Alphabet Stamps (used throughout) — steel letter stamps for pressing permanent, crisp names into leather and fabric | View Metal Alphabet Stamps on Amazon
- Craft Mallet — a firm rubber or wooden hammer used to strike alphabet stamps cleanly without damaging tools | See Craft Mallets on Amazon
- Craft Pattern Stamps — flexible rubber or carved wooden stamps for repeating decorative patterns | Check Craft Pattern Stamps on Amazon
🎨 PAINT, INK & FINISHING
Choose pet-safe, non-toxic formulas for every item here, especially anything near food or chew areas.
- Non-Toxic Fabric Ink — permanent, washable ink formulation designed for clear stamping on linen and canvas | View Non-Toxic Fabric Inks on Amazon
- Pet-Safe Non-Toxic Wood Paint — water-based, non-toxic paint safe for elevated feeding stations and pet furniture | See Pet-Safe Wood Paints on Amazon
- Small Detail Paintbrush — fine-bristle brushes for painting clean letters, borders, and accents on wood | Check Detail Paintbrushes on Amazon
🪵 BUILDING & SEWING SUPPLIES
Basic construction and stitching supplies for the feeding station and upcycled bed.
- Craft Wood Planks — smooth, lightweight lumber suitable for constructing elevated bowl stands | Browse Craft Wood Planks on Amazon
- Non-Toxic Wood Glue — strong, pet-safe adhesive for assembling wooden feeding stands securely | See Non-Toxic Wood Glue on Amazon
- Premium Poly-Fil Stuffing — plush, hypoallergenic polyester fiberfill for stuffing upcycled pet beds | Check Poly-Fil Stuffing on Amazon
- Sewing Needle & Heavy-Duty Thread — thick thread and sturdy needles for closing heavy fabric seams reliably | View Heavy-Duty Sewing Kits on Amazon
✂️ TOOLS
- Sharp Fabric & Craft Scissors (used throughout) — heavy-duty shears for smooth cuts through leather, linen, and canvas | Check Fabric Scissors on Amazon
- Smooth Wooden Dowel — a sturdy hardwood rod serving as the core handle for cat teaser toys | See Wooden Dowels on Amazon
- Soft Fabric Measuring Tape — flexible measuring tape to accurately measure your pet’s neck for a safe collar fit | View Fabric Measuring Tapes on Amazon
How to Create Handmade Pet Crafts Safely
Crafting is incredibly fun. However, pet safety must always come first. Specifically, follow these simple steps:
- To begin, measure your pet’s neck carefully.
- Second, leave room for two fingers under the collar.
- Next, always use non-toxic fabric dyes.
- Now, double-stitch every single seam for strength.
- Afterward, test the new accessory indoors first.
Pro-Tip: When stamping leather name tags, dampen the leather surface with water first. Consequently, your metal alphabet stamps will leave a much deeper and crisper impression.
Core Technique: Stamping Names & Patterns
This single technique covers three different projects in this guide — the leather collar, the linen placemat, and the canvas toy bin.
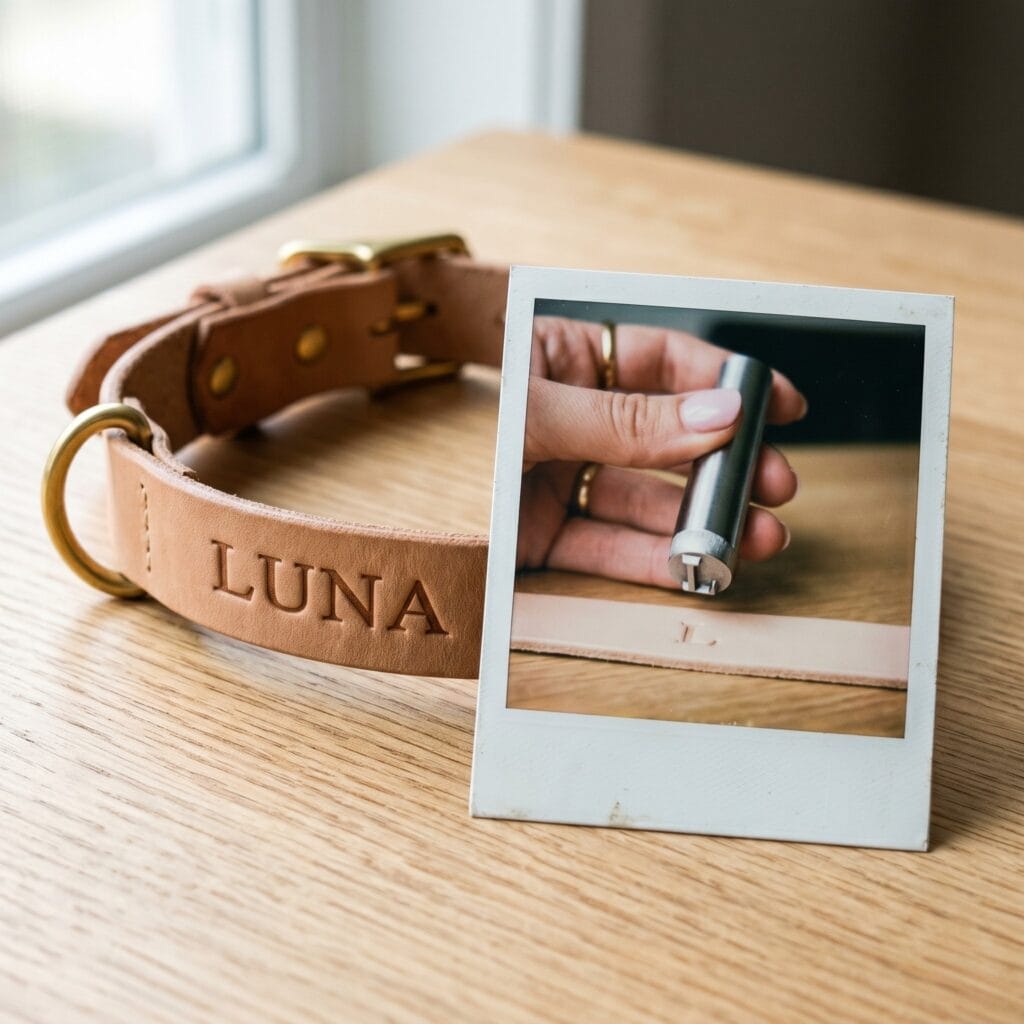
First, dampen the leather surface slightly with water if you’re stamping leather — this softens the fibers and helps the metal alphabet stamps leave a much deeper, crisper impression. Next, position your stamp firmly and strike it once with a craft mallet in one confident hit, rather than tapping multiple times, which blurs the letter. For fabric surfaces (linen, canvas), press the stamp into non-toxic fabric ink first, then apply the same firm, single-press motion. Let any stamped ink or dampened leather dry fully before handling.
Used in: Custom Leather Name Collars, Personalized Linen Pet Placemats, Stamped Canvas Pet Toy Bins.
7 Creative Ideas for Handmade Pet Crafts
1. Custom Leather Name Collars
Supplies Needed: Vegetable-Tanned Leather Strip, Metal Collar Hardware (Buckle & D-Ring), Metal Alphabet Stamps, Craft Mallet, Soft Fabric Measuring Tape, Sharp Fabric & Craft Scissors.
A classic leather collar always looks amazing. Simply cut a strip of high-quality vegetable-tanned leather. Next, use metal stamps to press their name into it. If you enjoy working with this material, you can also explore our mini leather bag charms tutorial for more sculptural ideas. As a result, you get a gorgeous, high-end look for your pet.
2. Easy No-Sew Pet Bandanas
Supplies Needed: Fun Geometric Print Fabric, Sharp Fabric & Craft Scissors, Existing Pet Collar (Household).
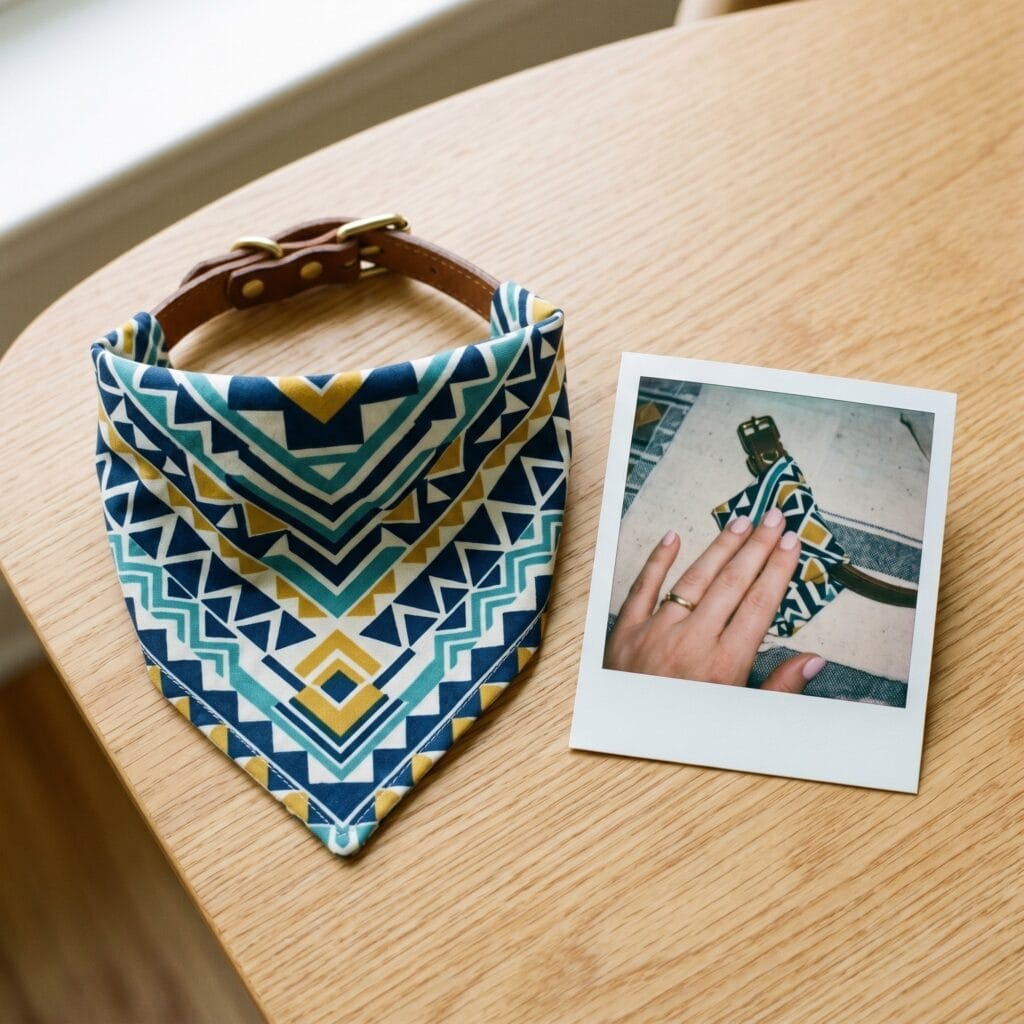
Bandanas are a fast way to dress up your pet. Simply pick a fun geometric fabric. Then, slide it directly over their existing collar. Therefore, you get a perfect fit without sewing.
3. Personalized Linen Pet Placemats
Supplies Needed: Thick Natural Linen, Non-Toxic Fabric Ink, Metal Alphabet Stamps, Sharp Fabric & Craft Scissors.
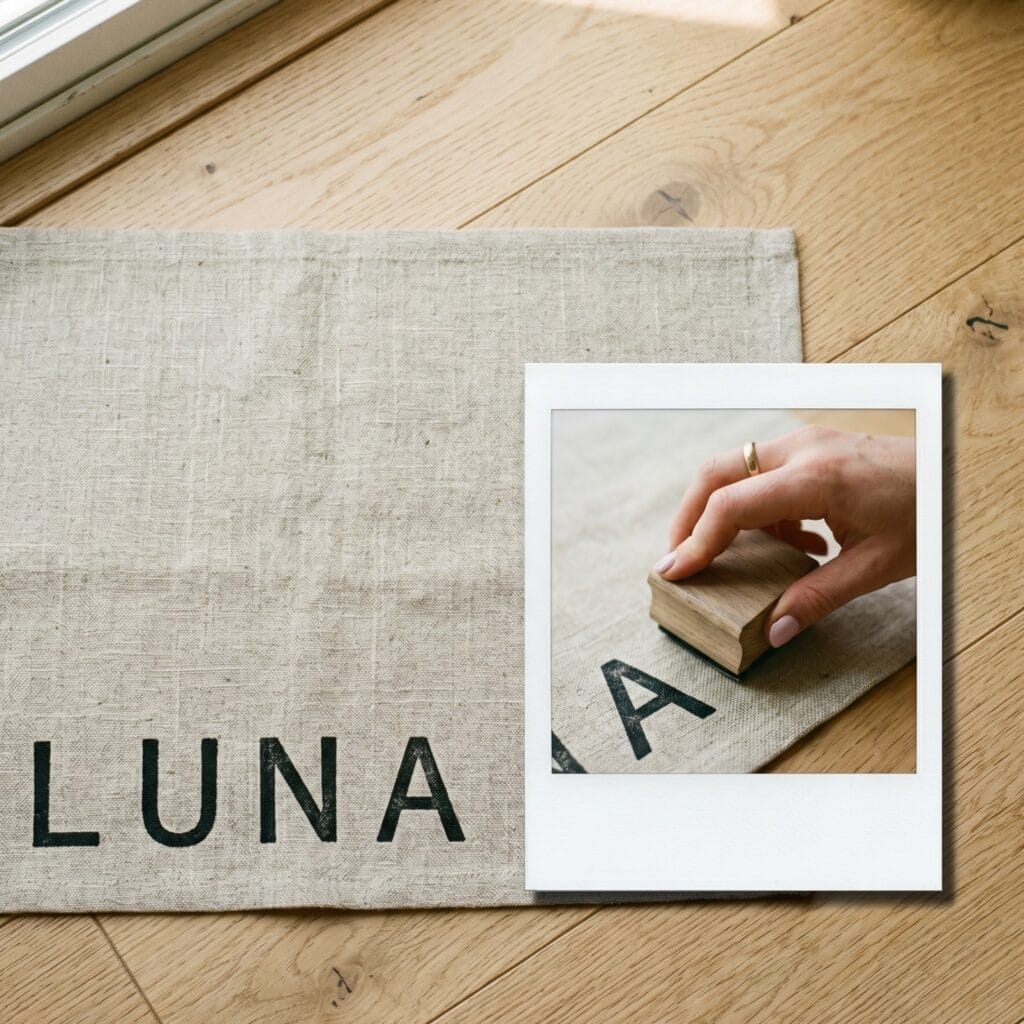
Keeping your floors clean is always important. Instead of ugly plastic mats, create a beautiful linen pet placemat. First, cut a rectangle of thick natural linen. Next, use fabric ink to stamp your pet’s name along the bottom edge. Consequently, you get a highly functional and modern mat that perfectly matches your home decor.
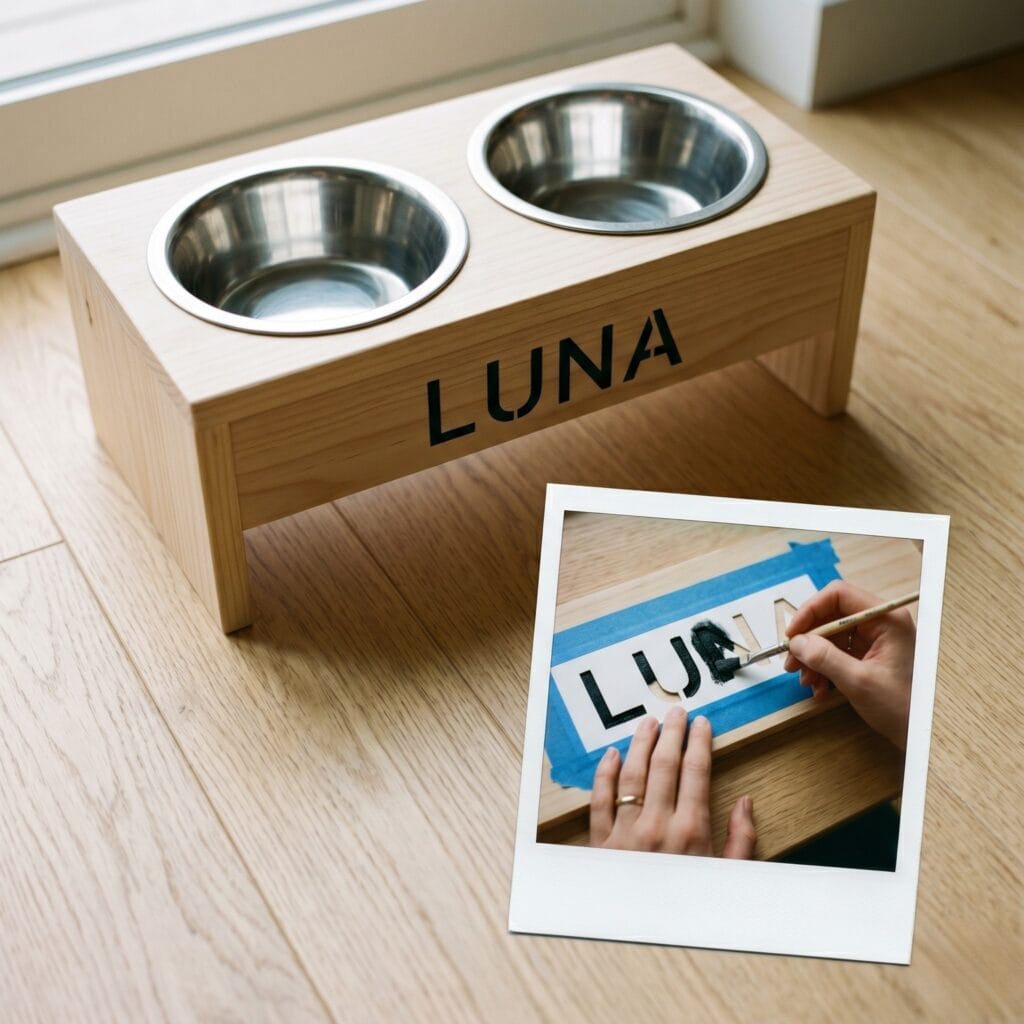
4. Wooden Elevated Feeding Stations
Supplies Needed: Craft Wood Planks, Non-Toxic Wood Glue, Pet-Safe Non-Toxic Wood Paint, Small Detail Paintbrush, Pet Food Bowls (Household).
Elevated bowls help your pet digest food better. First, build a basic stand from scrap wood. Afterward, paint your pet’s name on the front. Indeed, it looks very boutique.
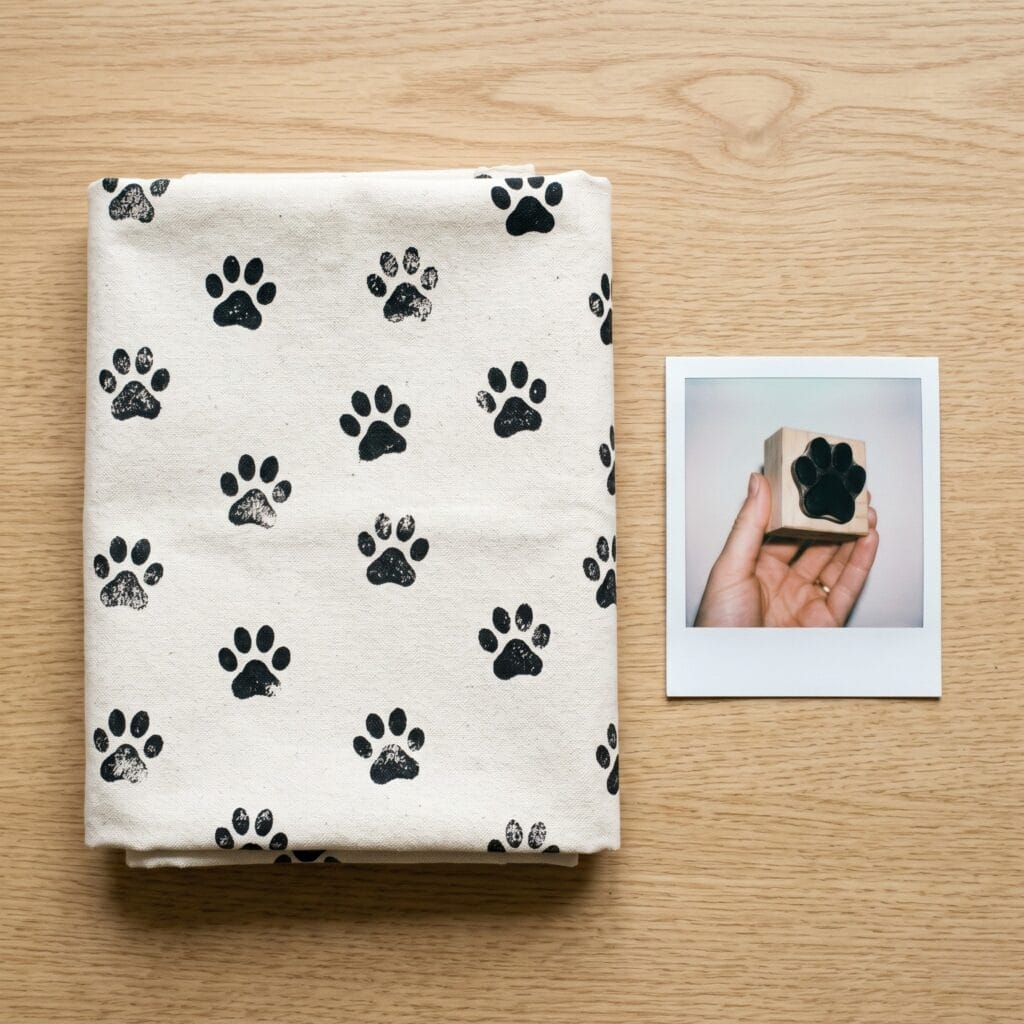
5. Stamped Canvas Pet Toy Bins
Supplies Needed: Plain Canvas Storage Bin, Craft Pattern Stamps, Non-Toxic Fabric Ink.
You need a place for messy toys. Therefore, grab a plain canvas bin. Next, stamp it with fun patterns. For stamping tips, read our DIY Stamped Napkins guide.
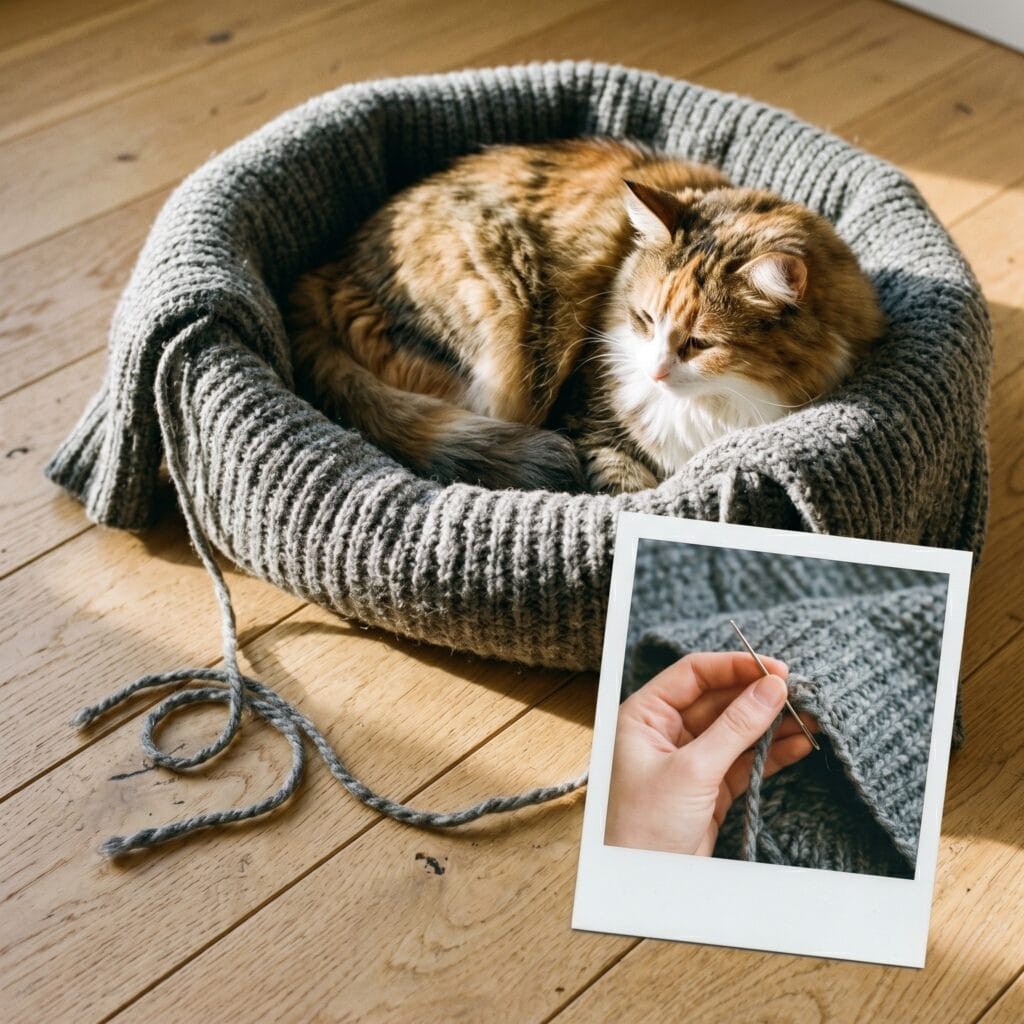
6. Upcycled Sweater Pet Beds
Supplies Needed: Old Wool Sweater (Household), Premium Poly-Fil Stuffing, Sewing Needle & Heavy-Duty Thread.
Never throw away old sweaters. Instead, stuff an old wool sweater with soft pillows. Then, sew the open edges closed. Consequently, your cat gets an incredibly cozy bed.
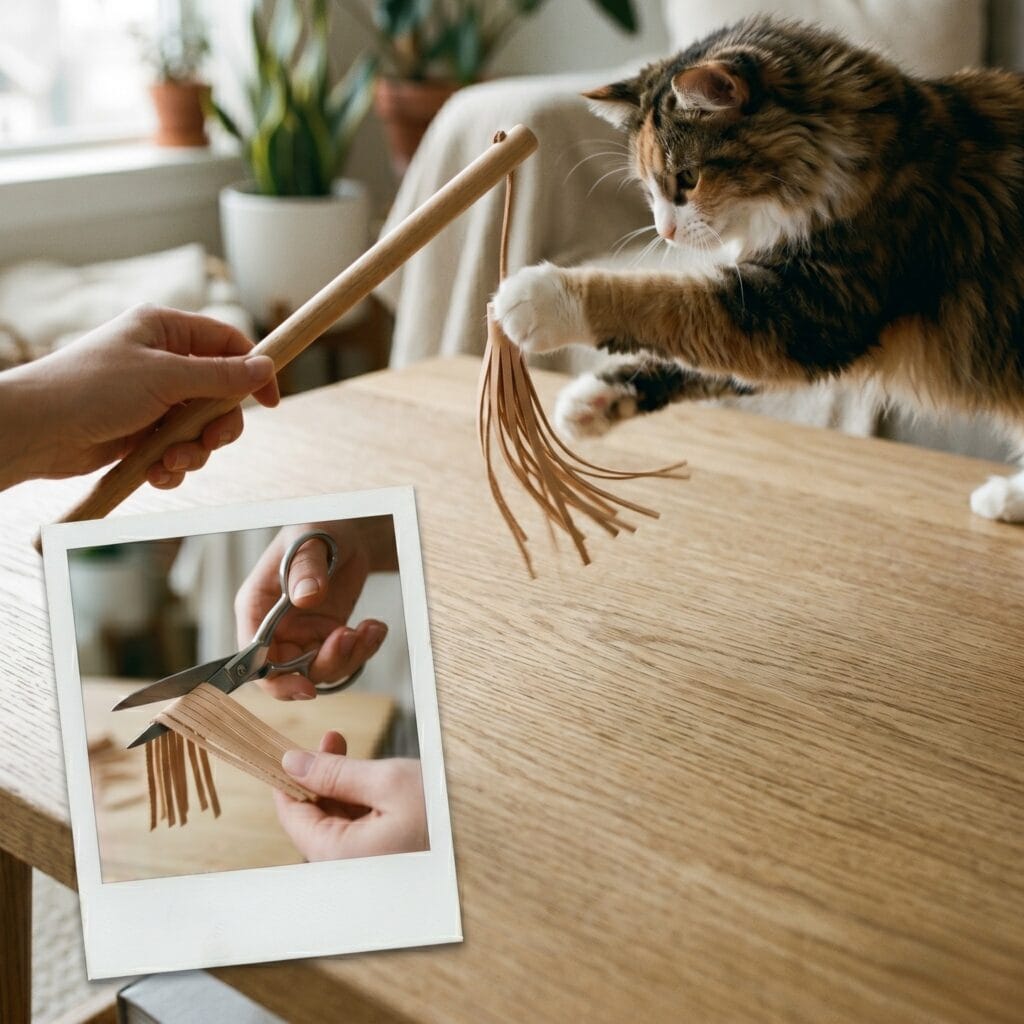
7. Minimalist Leather Cat Toys
Supplies Needed: Vegetable-Tanned Leather Strips, Smooth Wooden Dowel, Sharp Fabric & Craft Scissors.
Cats love to play, but bright plastic toys often look terrible. Instead, craft a minimalist cat teaser toy using leftovers from your workbench. If you have extra materials left over, you can discover more inspiration in our guide on leather scrap DIY ideas to reduce waste. Simply cut thin strips of vegetable-tanned leather. Next, tie them securely to a smooth wooden dowel. Thus, your cat gets a highly engaging toy that actually looks beautiful in your living room.
Summary of Handmade Pet Crafts
Ultimately, crafting for your pets brings joy to both of you. In fact, these simple projects save money and look fantastic in any modern home. Therefore, gather your supplies today and start creating something truly special. So, which project will you make first for your furry friend — the personalized collar, the cozy sweater bed, or the playful leather toy? Share your favorite in the comments below!
QUICK REFERENCE: ALL SUPPLIES AT A GLANCE
Ready to start crafting for your pet? Here’s everything from this guide in one place before you shop.
LEATHER & FABRIC BASICS
- Vegetable-Tanned Leather Strips | Check Vegetable-Tanned Leather on Amazon
- Thick Natural Linen | See Natural Linen Fabric on Amazon
- Fun Geometric Print Fabric | Browse Geometric Fabrics on Amazon
- Plain Canvas Storage Bin | Check Canvas Storage Bins on Amazon
HARDWARE & STAMPING TOOLS
- Metal Collar Hardware Set (Buckle & D-Ring) | Check Collar Hardware Sets on Amazon
- Metal Alphabet Stamps | View Metal Alphabet Stamps on Amazon
- Craft Mallet | See Craft Mallets on Amazon
- Craft Pattern Stamps | Check Craft Pattern Stamps on Amazon
PAINT, INK & FINISHING
- Non-Toxic Fabric Ink | View Non-Toxic Fabric Inks on Amazon
- Pet-Safe Non-Toxic Wood Paint | See Pet-Safe Wood Paints on Amazon
- Small Detail Paintbrush | Check Detail Paintbrushes on Amazon
BUILDING & SEWING SUPPLIES
- Craft Wood Planks | Browse Craft Wood Planks on Amazon
- Non-Toxic Wood Glue | See Non-Toxic Wood Glue on Amazon
- Premium Poly-Fil Stuffing | Check Poly-Fil Stuffing on Amazon
- Sewing Needle & Heavy-Duty Thread | View Heavy-Duty Sewing Kits on Amazon
TOOLS
- Sharp Fabric & Craft Scissors | Check Fabric Scissors on Amazon
- Smooth Wooden Dowel | See Wooden Dowels on Amazon
- Soft Fabric Measuring Tape | View Fabric Measuring Tapes on Amazon
Important Crafting Safety Notes:
When designing handmade pet crafts, never attach loose beads, small plastic buttons, or anything that could detach easily. Because dogs and cats love to chew, these tiny items are dangerous choking hazards. Therefore, always stick to flat stamping and secure, double-stitched seams to keep your pet completely safe.
A note on paint and ink near food areas: For the placemat and feeding station specifically, make sure any paint or ink is fully cured and dry before your pet uses the item, and choose pet-safe, non-toxic formulas — these two projects sit directly next to where your pet eats.
A note on tools: Craft mallets and sharp scissors should be kept out of reach of children and pets both during and after your project, and always strike stamps on a stable, flat surface away from your free hand.
A note on supervised play: The leather cat toy and any dangling cords should only be used during supervised play — put them away afterward so your cat can’t get tangled or chew through the leather unsupervised.
A note on the upcycled sweater bed: Check the seams periodically for wear, and replace the bed if your pet starts chewing through the fabric, since the stuffing inside can be a choking hazard if exposed.


