Seashell picture frames bring a little of the shoreline indoors without requiring a complicated project or a large craft budget. A handful of scallop shells, tiny cockles, or spiral-shaped whelks can turn a plain frame into a keepsake for vacation photos, family snapshots, or a favorite print. If you have a jar or drawer full of beach finds, this is a satisfying way to put them where you can see them every day.
I enjoy making seashell picture frames because the materials have their own irregular character. One shell may sit a little higher than the next, a chipped edge can tuck into a cluster, and the varied ridges catch the light in a way manufactured trim never does. Arrange the pieces with a loose hand, and the finished border feels gathered over time rather than stamped from a mold.
Affiliate Disclosure: This post contains affiliate links. As an Amazon Associate, I earn from qualifying purchases. If you buy through these links, I may earn a commission at no additional cost to you.
Key Facts:
- Technique: Seashell Picture Frames
- Difficulty: Beginner-friendly
- Makes: 10 project ideas
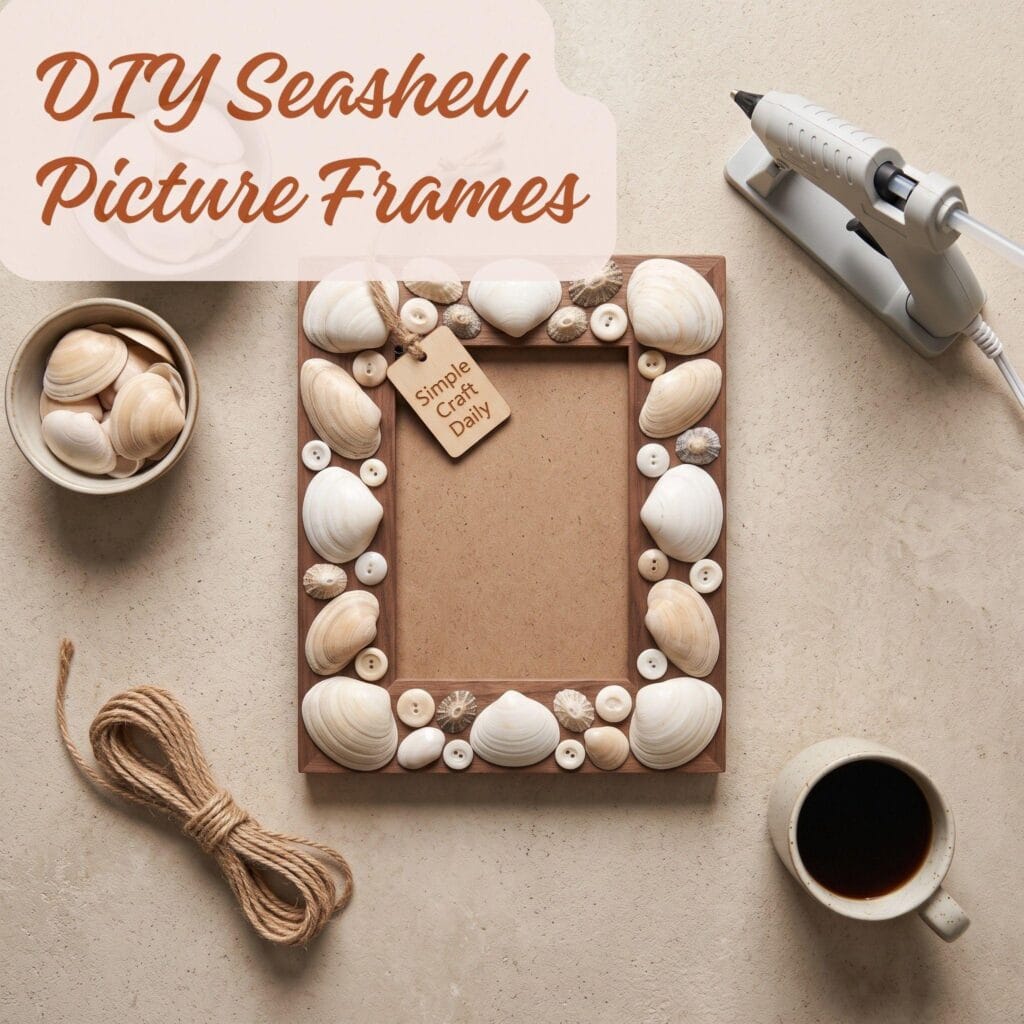
Below are 10 seashell picture frame ideas you can make over a weekend, from a quick beginner border to layered designs suitable for gifting, a beach-house shelf, or a small handmade shop. You will also find practical layout tips and a safety section near the end to read before reaching for the glue gun.
What You’ll Need for Seashell Picture Frames
| Supply | Spec / Size | Used For |
|---|---|---|
| Plain wooden or MDF picture frame | Base frame for every shell design | |
| A mix of seashells in different sizes | Flat and rounded | Main decorative border |
| Strong craft glue or a hot glue gun | Bonding shells to the frame | |
| Sandpaper | Smoothing rough shell edges | |
| Acrylic paint or spray paint | Optional colored base | |
| A soft-bristle brush | Cleaning shells before gluing |
Most seashell picture frames use the same basic supplies, so set these out before you begin: a wood, MDF, or sturdy plastic frame; cleaned shells in several sizes; a high-temperature glue gun or clear mixed-material adhesive; tweezers for tiny pieces; kraft paper or a silicone mat; and a soft paintbrush for dusting sand from the shell grooves.
- A plain wooden or MDF picture frame (thrift stores are a great source) | View on Amazon
- A mix of seashells in different sizes — some flat, some rounded | View on Amazon
- Strong craft glue or a hot glue gun | View on Amazon
- Sandpaper, for smoothing rough shell edges | View on Amazon
- Acrylic paint or spray paint, if you want a colored base | View on Amazon
- A soft-bristle brush for cleaning shells | View on Amazon
- Optional: small starfish, sea glass, or driftwood pieces for extra texture | View on Amazon
Pro tip: Clean collected shells before bringing them to the craft table. Brush away loose sand, then soak the shells for 15 to 20 minutes in a solution of 1 part household bleach to 10 parts cool water in a well-ventilated area. Rinse them thoroughly under running water and leave them in a single layer on an old towel until completely dry. Never mix bleach with vinegar, ammonia, or any other cleaner. Dry shells give glue a firmer surface to grip and prevent trapped moisture or beach odor from lingering inside the frame.
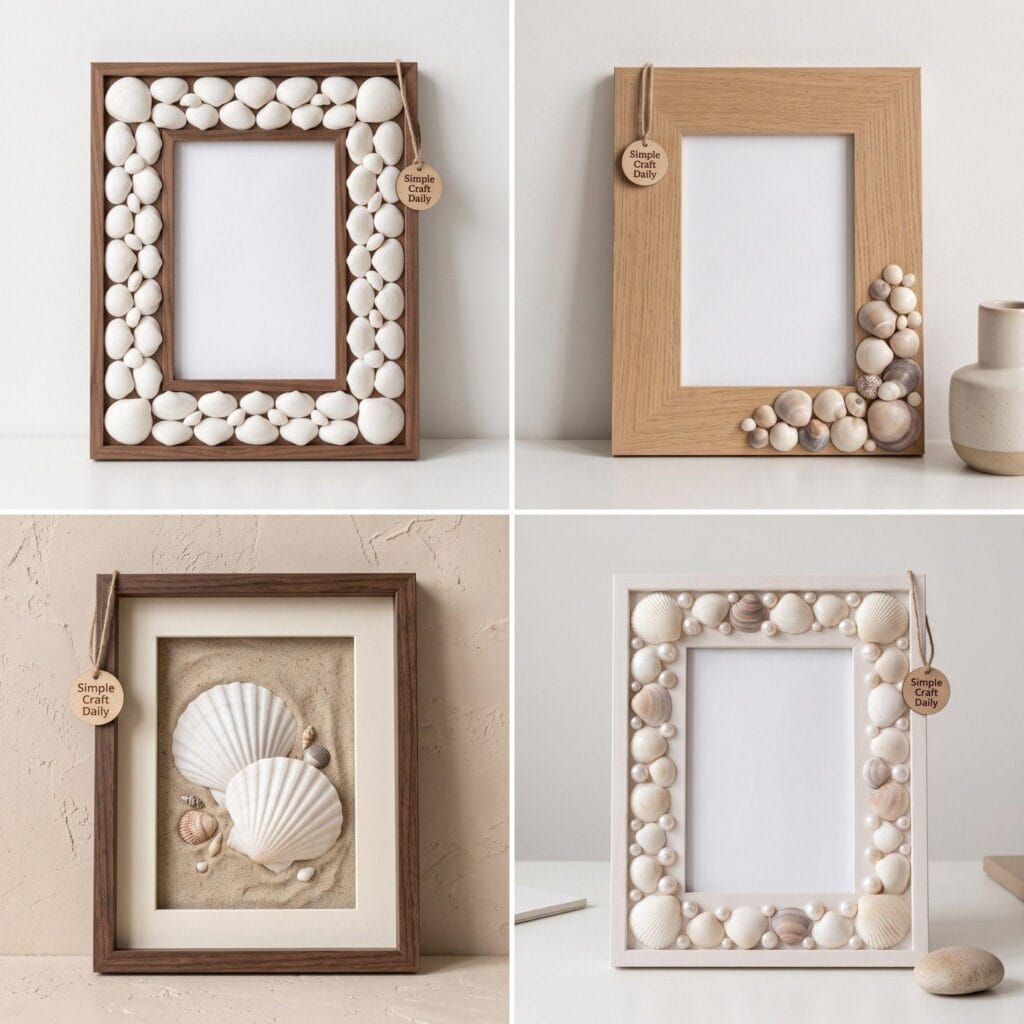
1. The Classic Border Frame
- Glue shells around the outer edge of a plain wooden frame, starting at the corners and working toward the center of each side.
- Place your larger shells first, then tuck small spirals, clam shells, and broken-but-pretty pieces into the gaps.
- Take a quick phone photo once you like the placement, then glue the shells down one section at a time.
This classic border is an easy place to begin. Glue shells around the outer edge of a plain wooden frame, starting at the corners and working toward the center of each side. Place your larger shells first, then tuck small spirals, clam shells, and broken-but-pretty pieces into the gaps. The varied sizes create a relaxed shoreline texture instead of a rigid tiled pattern.
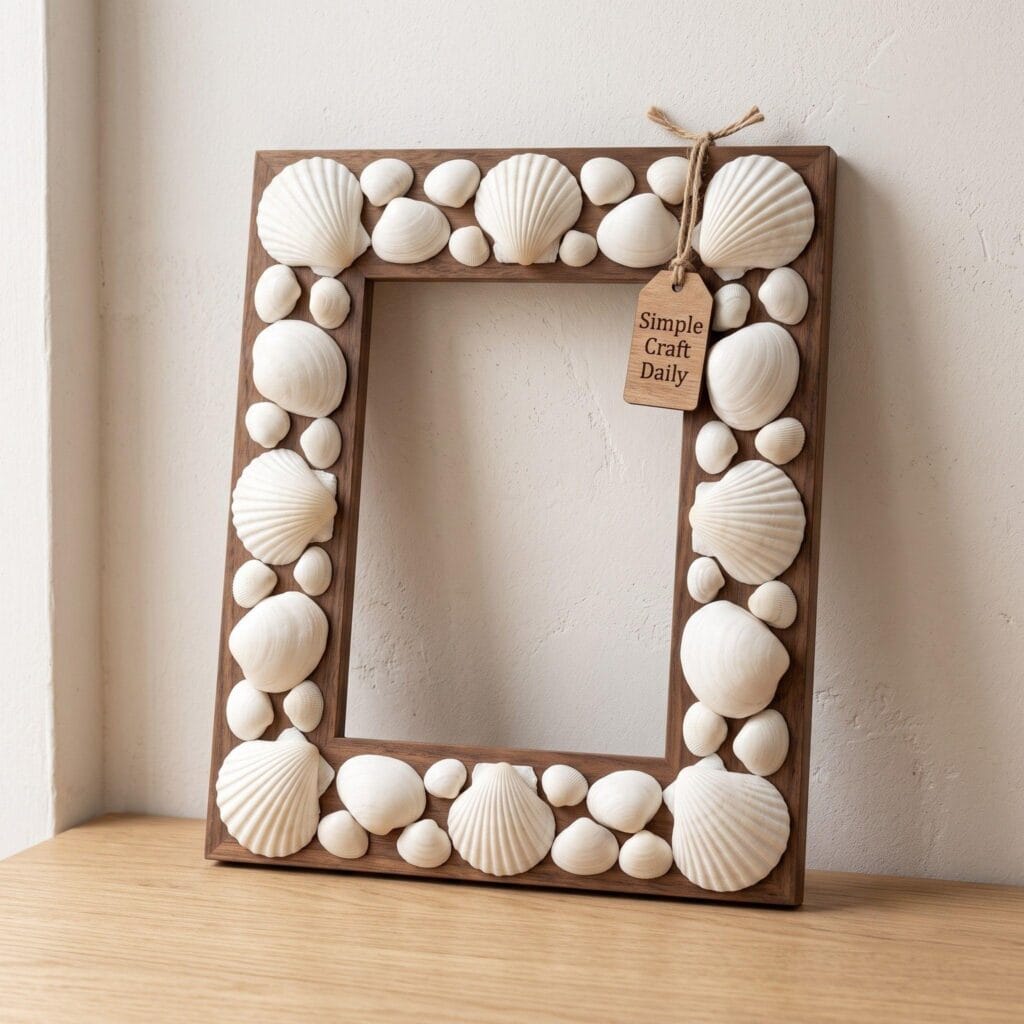
Pro tip: Arrange every shell on the frame before adding adhesive. Take a quick phone photo once you like the placement, then glue the shells down one section at a time. This dry layout saves you from prying hardened glue off the frame and helps you keep the border balanced.
2. Ombre Shell Gradient
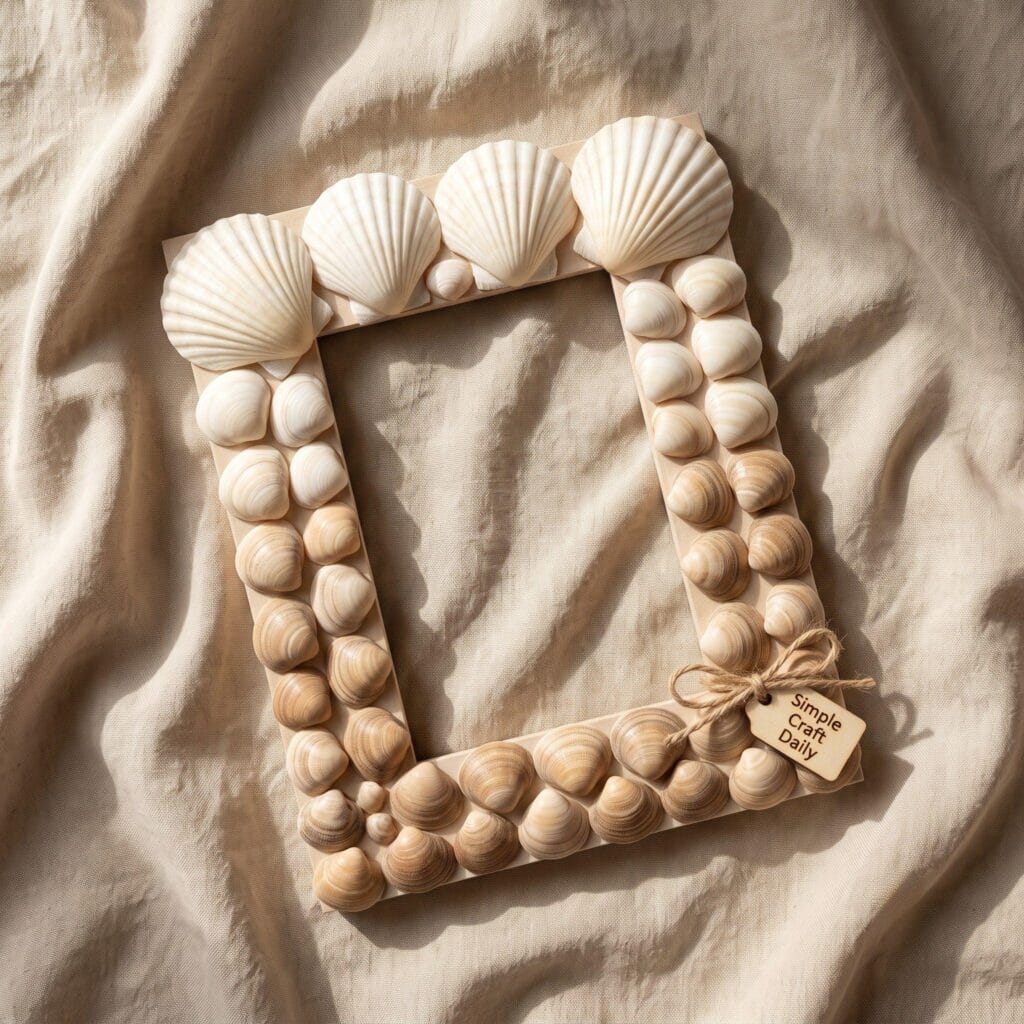
Sort your shells by color, beginning with pale white and cream, moving through sand tones, then ending with deeper brown, charcoal, or blue-gray pieces. Glue them in a gradual fade from top to bottom, or run the colors from one side of the frame to the other. A gentle shift in color gives the border a planned, finished look while still letting the natural shell shapes stay front and center.
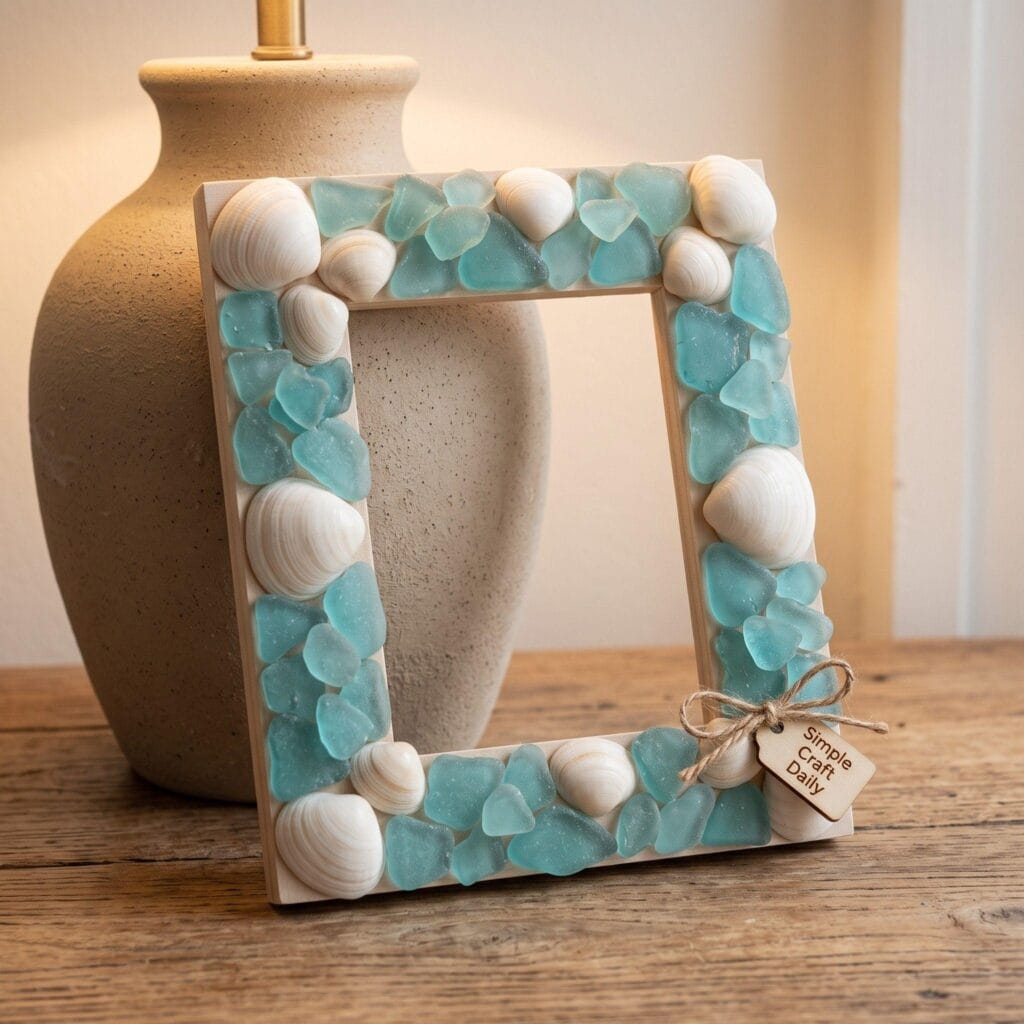
3. Sea Glass and Shell Combo
Mix a few pieces of frosted sea glass among the shells. The rounded glass softens the sharper ridges and adds muted aqua, bottle green, or cloudy white against the warm shell tones. Keep the glass pieces fairly small and scatter them between clusters so the frame retains a weathered coastal feel rather than looking themed or overly decorative.
4. Corner Accent Frame
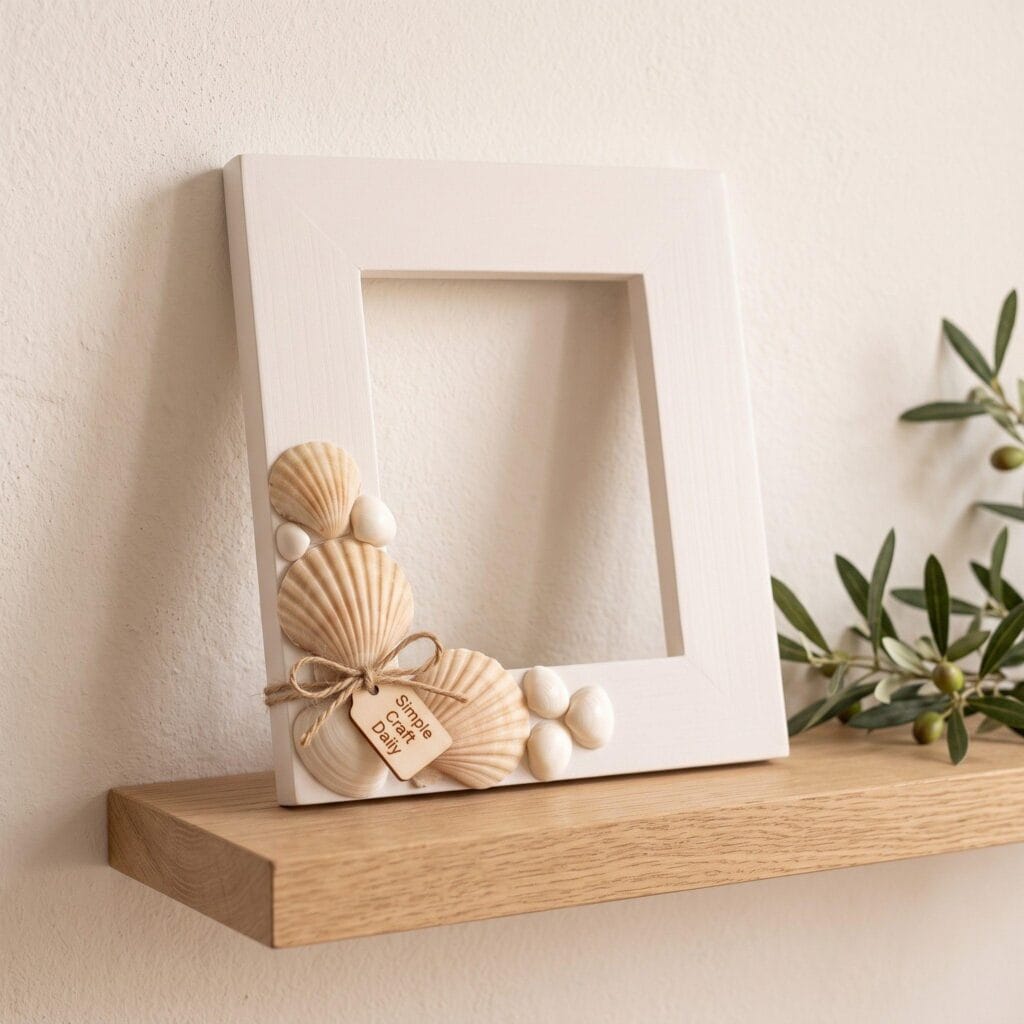
Instead of covering the full border, build shell clusters in two opposite corners or along one lower corner. Leave the remaining frame surface painted or bare. This layout works especially well around a detailed photograph because the shellwork frames the image without crowding it. Try one larger focal shell with three to five smaller shells around it, then add a few tiny fragments to soften the outer edges of the cluster.
5. Painted Base with Shell Accents
Paint the frame first in soft white, sandy beige, faded navy, or a muted sea-glass blue, then allow the finish to dry for the full time listed on the paint label. Add a light scattering of shells after the paint has hardened enough to resist dents from your fingertips. The painted surface visible between the shells gives the frame breathing room and makes each shell shape easier to notice.
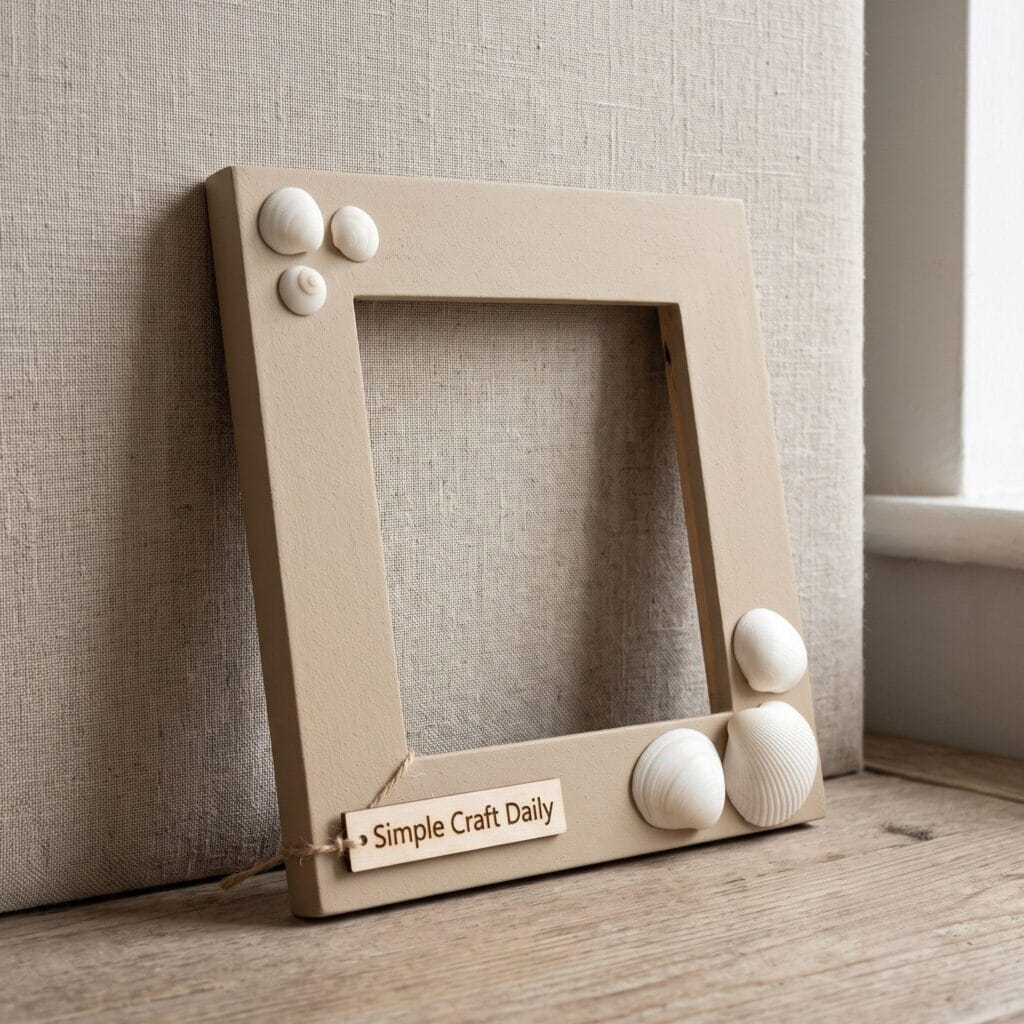
Pro tip: Choose matte or eggshell paint for a softer finish. High-gloss paint can look slick beside the chalky ridges, pearly interiors, and worn edges of real shells. A light sanding with 220-grit sandpaper before painting also helps acrylic craft paint grip a smooth factory-made frame.
6. Rope-Wrapped Shell Frame
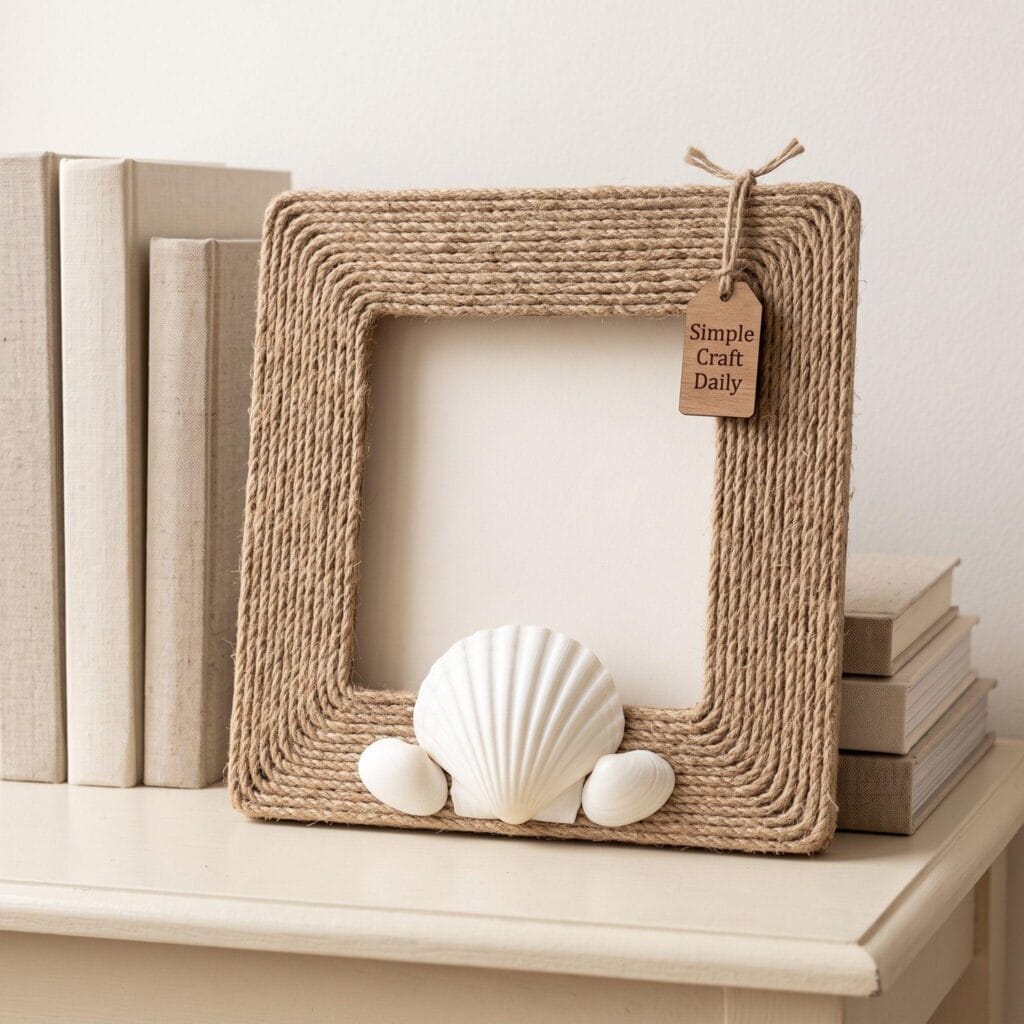
Wrap thin jute twine or 1/4-inch nautical rope around the frame before adding shells. Secure the starting end on the back with a small dab of glue, wind the rope in close rows, and add another dab every 2 to 3 inches to keep it from shifting. Finish with shells along one edge or in a corner cluster. The coarse fiber and curved shells make a sturdy, weathered combination that suits a cabin, lake house, or more traditional nautical room.
7. Monogram Shell Frame
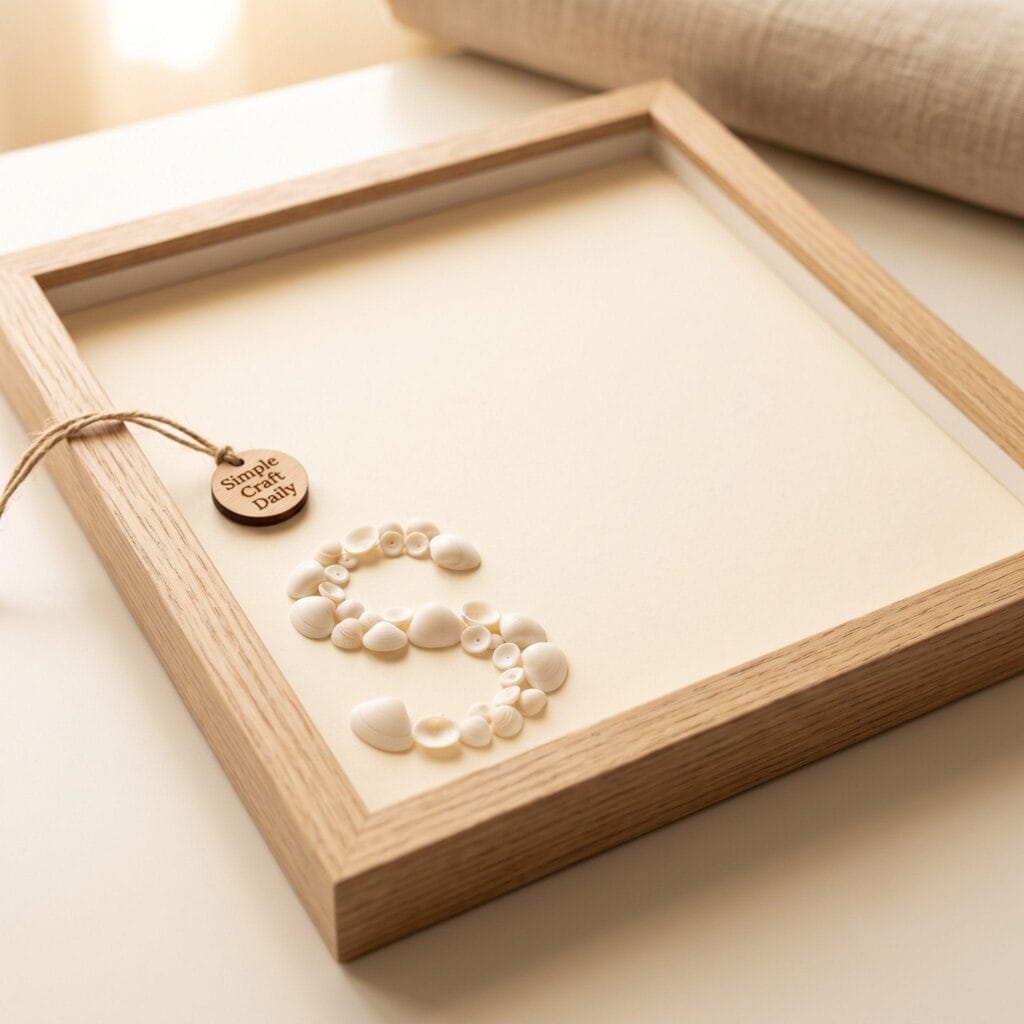
Use small, similarly sized shells to form a single letter or initial near one corner or across the bottom rail of the frame. Sketch the letter lightly in pencil first, then follow the line with tiny shells held in place with tweezers. Fill the rest of the border with a looser shell arrangement so the initial stays readable. This version makes a personal gift for a wedding, anniversary, new baby, or first home.
8. Layered Starfish Centerpiece
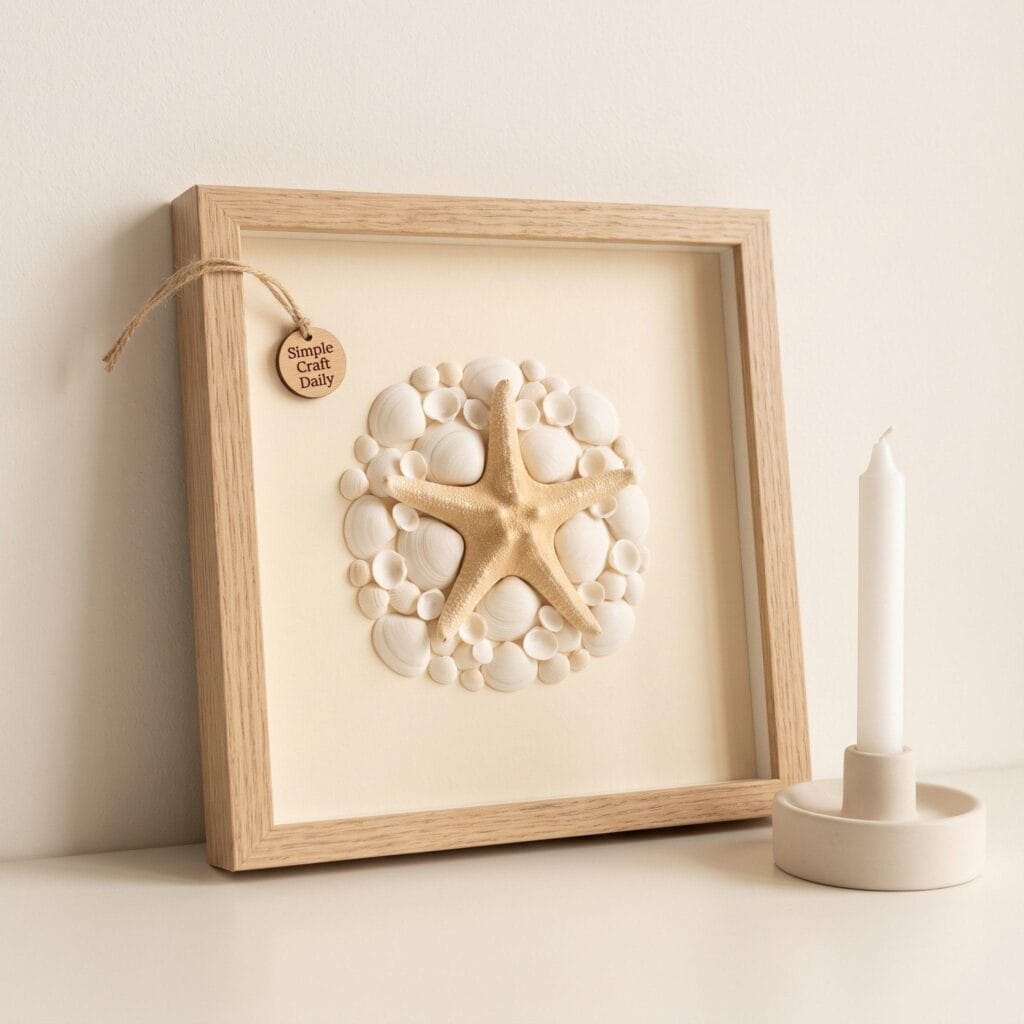
Add one or two small starfish as focal pieces among smaller shells. Place them slightly off-center and let a few shell edges overlap the points for a layered arrangement. A starfish sits more naturally when it looks nestled into a small mound of shells rather than centered with identical pieces spaced evenly around it. Use lightweight craft-store starfish, since large natural specimens can be too heavy for narrow frame rails.
9. Driftwood and Shell Mix
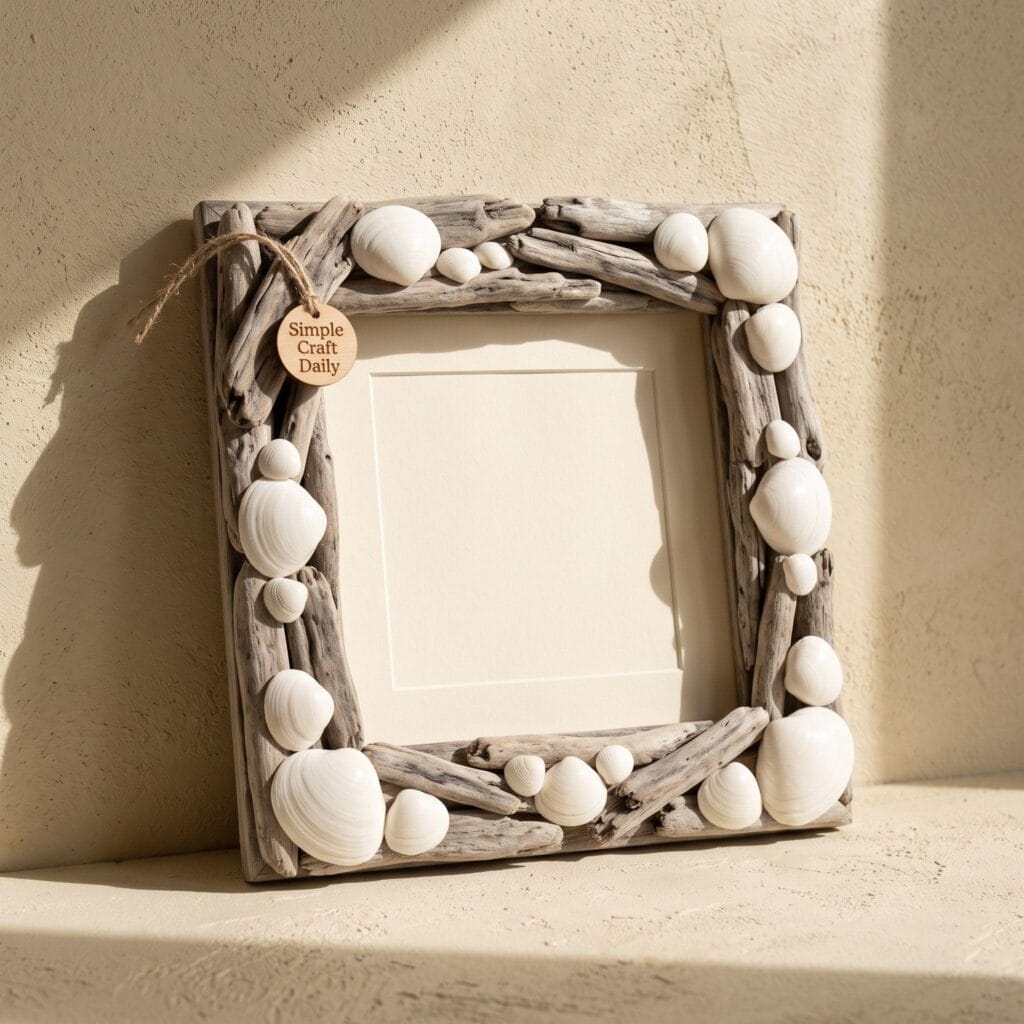
If you have small, flat pieces of driftwood, glue them to the frame first to create a rough base layer. Choose pieces that sit flush against the surface, trim any loose fibers with scissors, and test their placement before gluing. Add shells around and partly over the wood once it is secure. The pale shell surfaces against gray, sun-worn wood give the piece the look of materials collected along the same stretch of shore.
10. Mini Ocean Scene Frame
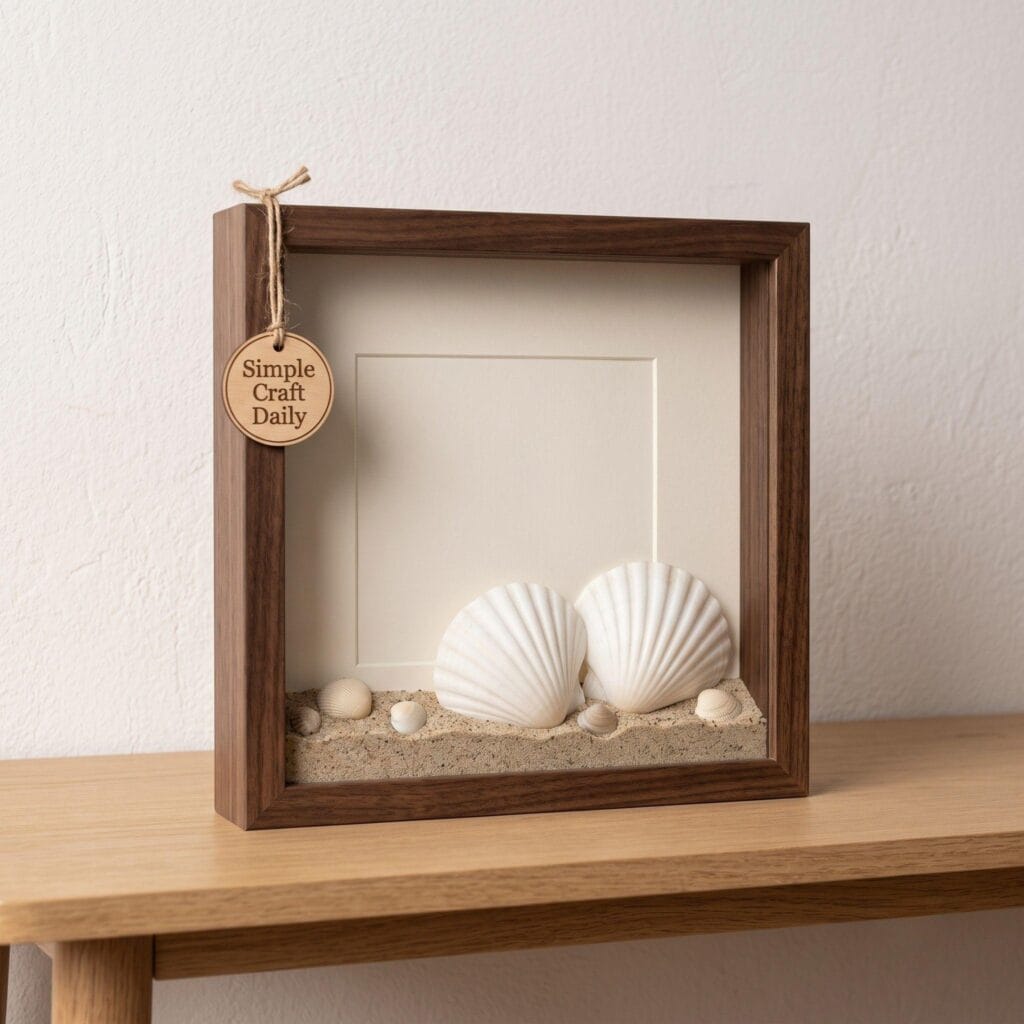
Build a miniature shoreline across the bottom third of the frame instead of making a full border. Glue down a narrow band of fine sand-colored pebbles, then add a few small shells and a tiny craft starfish or shell fragment near the edge. Keep the upper two-thirds plain so the little scene has room to read clearly. A shallow frame with a wide bottom rail works best for this idea because the added materials need a stable surface.
If tiny scenes like this appeal to you, you may enjoy going even smaller. We cover a related miniature approach in our guide to creative mosaic art ideas, where small tile pieces take the place of shells and create a similarly detailed surface.
Where to Find Shells (Without Damaging a Beach Ecosystem)
You do not need to collect shells from the shoreline yourself. Craft stores and online sellers offer cleaned, ready-to-use shell assortments in bulk. Buying shells can be especially helpful when local rules limit collecting or when you want to protect a beach where small shells provide habitat and shelter for wildlife.
A small collection from past trips works beautifully too. Clean each shell thoroughly, inspect it for cracks or lingering debris, and let it dry fully before gluing. Save the most interesting pieces, such as a striped scallop or an unusually shaped spiral, for visible spots near the corners where they can anchor the design.
For more shell-based inspiration beyond frames, our post on seashell crafts and decorations has additional project ideas. If you enjoy working with ocean-themed materials more broadly, our marine animal crafts guide offers another hands-on project for your craft table.
Important Crafting Safety Notes for Seashell Picture Frames
Take a few basic precautions before starting this project:
Work with hot glue on a heat-resistant mat, and keep a bowl of cool water nearby in case of a minor glue-string burn. Use clear mixed-material adhesive in a well-ventilated room, especially when gluing large shells or driftwood. Keep the frame flat while the adhesive sets, and allow heavier pieces to cure for the full manufacturer-recommended time before hanging the frame on a wall.
Avoid using shells that smell strongly, show signs of remaining organic material, or have sharp broken edges where hands may touch them. Sand sharp points lightly with 220-grit sandpaper, wear a dust mask while sanding, and wipe the shell clean before attaching it. If children are helping, handle the hot glue yourself and let them arrange shells during the dry-layout stage.
- Clean shells before handling extensively. Raw, uncleaned shells can carry bacteria or small amounts of leftover organic material. Always wash and dry them fully before working with them indoors.
- Watch for sharp edges. Broken or naturally jagged shells can cut skin. Lightly sand any sharp points with fine-grit sandpaper before gluing.
- Use glue in a ventilated space. Hot glue guns and strong craft adhesives can release fumes, especially in a small or closed room. Work near an open window or with a fan running.
- Supervise young children closely. Small shells and glass pieces are choking hazards, and hot glue guns can cause burns. This project is best done by adults or with direct supervision for kids.
- Be mindful of shell sourcing rules. Some beaches and protected areas prohibit removing shells, sand, or rocks. Check local regulations before collecting your own materials.
How to Monetize Your Seashell Picture Frames
Once you get comfortable with these seashell picture frame ideas, you may wind up with more finished frames than your own shelves can hold. They make easy gifts for friends and family, and a few coordinated designs can also become a small seasonal collection for a local market or online shop.
When I began selling handmade work, I ran into that same question with a different craft. Along with physical pieces, I photographed each stage and turned my process into clear digital assembly guides that other makers could purchase and follow at home. The files could be sold again after the original work left the studio, which gave the project a useful second income source.
You can use a similar approach with shell frames. Sell finished pieces, offer custom frames made from a customer’s vacation shells, or write a printable guide that explains your preferred layouts, supply list, and gluing method. If you want to explore the digital side, our guide on how to make money selling Etsy printables explains how to turn a practical craft skill into an income stream.
Frequently Asked Questions
What’s the best glue for attaching shells to a frame?
A high-temperature hot glue gun works well for lightweight shells and quick projects. For larger shells, driftwood, sea glass, or frames that will be handled often, use a clear adhesive labeled for wood, glass, and mixed materials. Let the adhesive cure fully before standing the frame upright.
Do I need to seal the frame after adding shells?
A clear sealant is optional. A light coat can make dust easier to wipe away and offers some protection in humid rooms. Test the sealant on one spare shell first, since some sprays can deepen pale shell colors or add more shine than you want.
Can I use fake or craft-store shells instead of real ones?
Yes. Resin and craft shells are useful when you want a uniform size, color, or shape across several frames. They are also a practical choice for matching sets, classroom projects, or designs that need lightweight pieces.
Final Thoughts on Seashell Picture Frames
Seashell picture frames give beach-day finds a useful place beyond a jar on a shelf. Start with a plain frame, a small assortment of clean shells, and one simple layout. The classic full border is a good first project, then you can try color gradients, rope wrapping, driftwood layers, or a small shoreline scene as your collection grows. Each frame carries its own mix of shape, texture, and memory.
Which seashell frame idea are you trying first? Share a photo in the comments once it is finished. I would love to see the shells and layout you chose.