Plastic pumpkins flatten a room fast. DIY fall decor looks far more collected when you work with a restrained palette of rust, olive, cream, charcoal, and one quiet metallic accent instead of piling on glossy seasonal pieces.
These 20 independent projects use matte paint, dried botanicals, thrifted vessels, and soft velvet to build warmth in small layers. If you enjoyed making charming DIY fall mason jars, you will enjoy these polished details, too; pair a few together or mix them with these cozy DIY fall decorations for a room that feels intentionally styled.
Affiliate Disclosure: This post contains affiliate links. As an Amazon Associate, I earn from qualifying purchases. If you buy through these links, I may earn a commission at no additional cost to you.
Essential Materials for DIY Fall Decor
First, choose a few materials that repeat across your handmade fall decorations rather than starting every project with a new color story. Matte surfaces soften reflected light, natural fibers add quiet texture, and a small amount of gold leaf gives the group a finished, boutique-style thread.
🧶 Soft Textiles and Natural Botanicals
- Velvet Fabric Fat Quarters in Autumn Colors — Dense velvet gives pumpkins and ornaments a soft, light-catching surface without a shiny plastic look | Check Price on Amazon
- Natural Dried Wheat and Preserved Eucalyptus Stems — Use real dried stems for height and texture; handle them gently so brittle tips do not shed | See Price on Amazon
- Natural Jute Twine and Velvet Ribbon — Jute gives bundles a grounded finish, while velvet ribbon adds a controlled soft accent | View Jute Twine and Velvet Ribbon on Amazon
- Natural Grapevine Wreath Form — A woven form provides a stable base for an airy half-wreath | Find Grapevine Wreath Form on Amazon
🧰 Clay, Paint, Gilding, and Studio Tools
- White Air-Dry Clay — Fine clay shapes into leaves, holders, and place cards; allow it to dry fully before paint or varnish | Check White Air-Dry Clay on Amazon
- Matte Acrylic Paint Set in Earth Tones — Muted pigments create cohesive color on clay, wood, glass, and ceramic | See Matte Acrylic Paint Set on Amazon
- Gold Leaf Sheets and Water-Based Gilding Size — Use sparingly for crisp metallic marks that do not overpower natural materials | View Gold Leaf Sheets on Amazon
- Matte Clear Acrylic Varnish — A compatible water-based sealer protects painted surfaces while keeping the finish low-sheen | Check Latest Price on Amazon
- Low-Temperature Mini Hot Glue Gun and Glue Sticks — This tool handles lightweight decorative attachments such as stems, ribbon, and botanicals | View on Amazon
- Floral Wire, Wire Cutters, and Floral Tape — Proper floral tools secure stems neatly and avoid crushed wire ends | Find Floral Wire Set on Amazon
- Acrylic Clay Roller, Nonstick Mat, and Sculpting Tools — Roller guides and a nonstick surface help keep clay thickness even | Check Clay Tool Set on Amazon
📦 Beginner Kits and Studio Upgrades
- Fall Home Decor Craft Kit — A coordinated kit can help a new maker test seasonal materials before building a larger stash | See Fall Home Decor Craft Kit on Amazon
- Daylight LED Magnifying Craft Lamp with Desk Clamp — Clear daylight helps you match earth-tone paint and place fine gilded details accurately | View Craft Lamp on Amazon
- Large Self-Healing Cutting Mat, Rotary Cutter, and Acrylic Ruler Set — A marked cutting surface supports straight, repeatable cuts through velvet, ribbon, and card-stock | Find Cutting Mat Set on Amazon
- Heavy-Duty Three-Tier Rolling Craft Cart with Wooden Top — A rolling cart keeps paint, tools, drying pieces, and stems organized between projects | Check Rolling Craft Cart on Amazon
20 DIY Fall Decor Projects With Boutique-Looking Finish
Work on one project at a time, then repeat two or three materials across the finished pieces. Consequently, your shelves, table, and entryway will feel connected without looking overly matched.
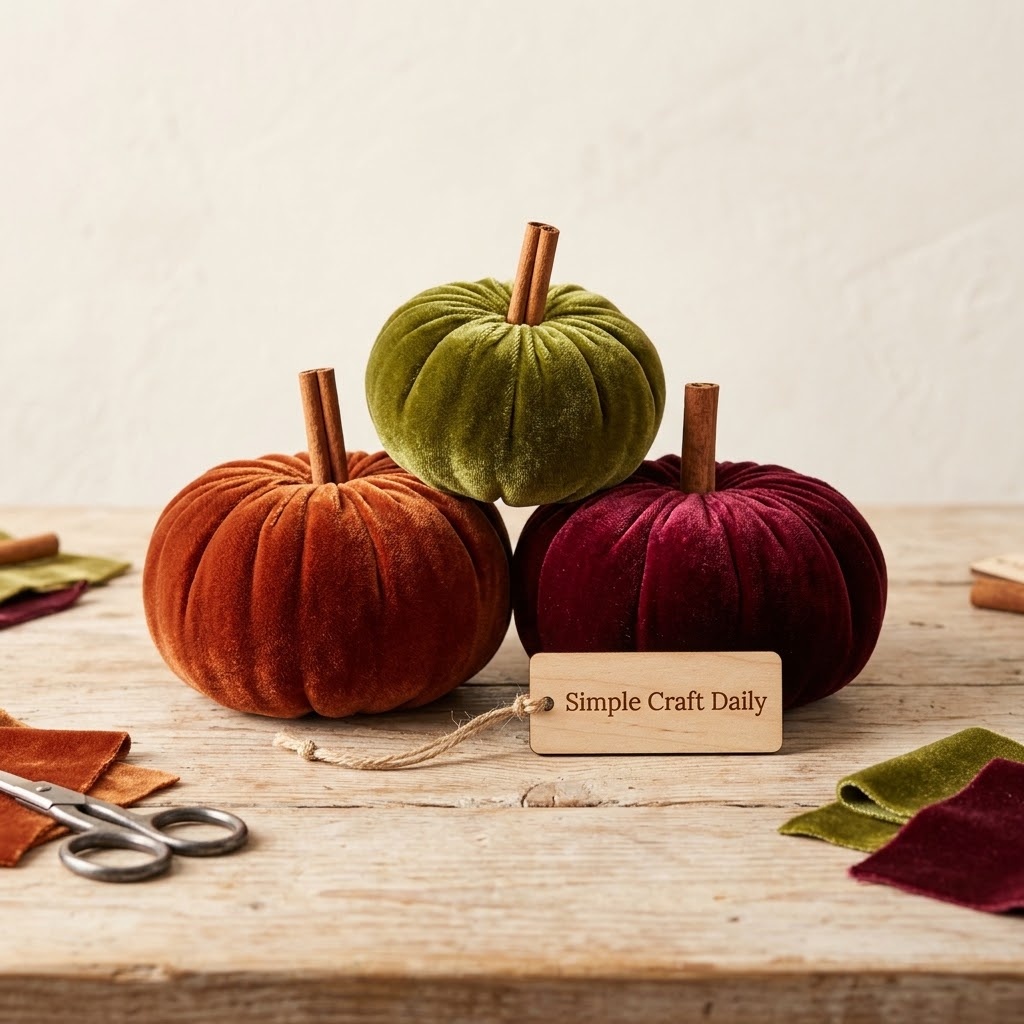
1. DIY Fall Decor Velvet Pumpkins
Supplies Needed: Velvet Fabric Fat Quarters in Autumn Colors, polyester fiberfill, embroidery thread and hand-sewing needle, cinnamon sticks, Low-Temperature Mini Hot Glue Gun and Glue Sticks.
Cut three 10-inch velvet circles, one per pumpkin. Thread a hand-sewing needle with doubled embroidery thread, make a running stitch 1/4 inch from each edge, and pull until each circle forms a shallow cup. Add approximately 1/2 cup of polyester fiberfill to each cup, then pull the thread tight and knot it twice.
Push the needle through the center several times to create soft pumpkin segments. Next, snap cinnamon sticks into 1 1/2-inch stems and add a pea-sized dot of low-temperature hot glue only after the fabric opening is fully closed. Keep these DIY fall decor pumpkins away from open flames.
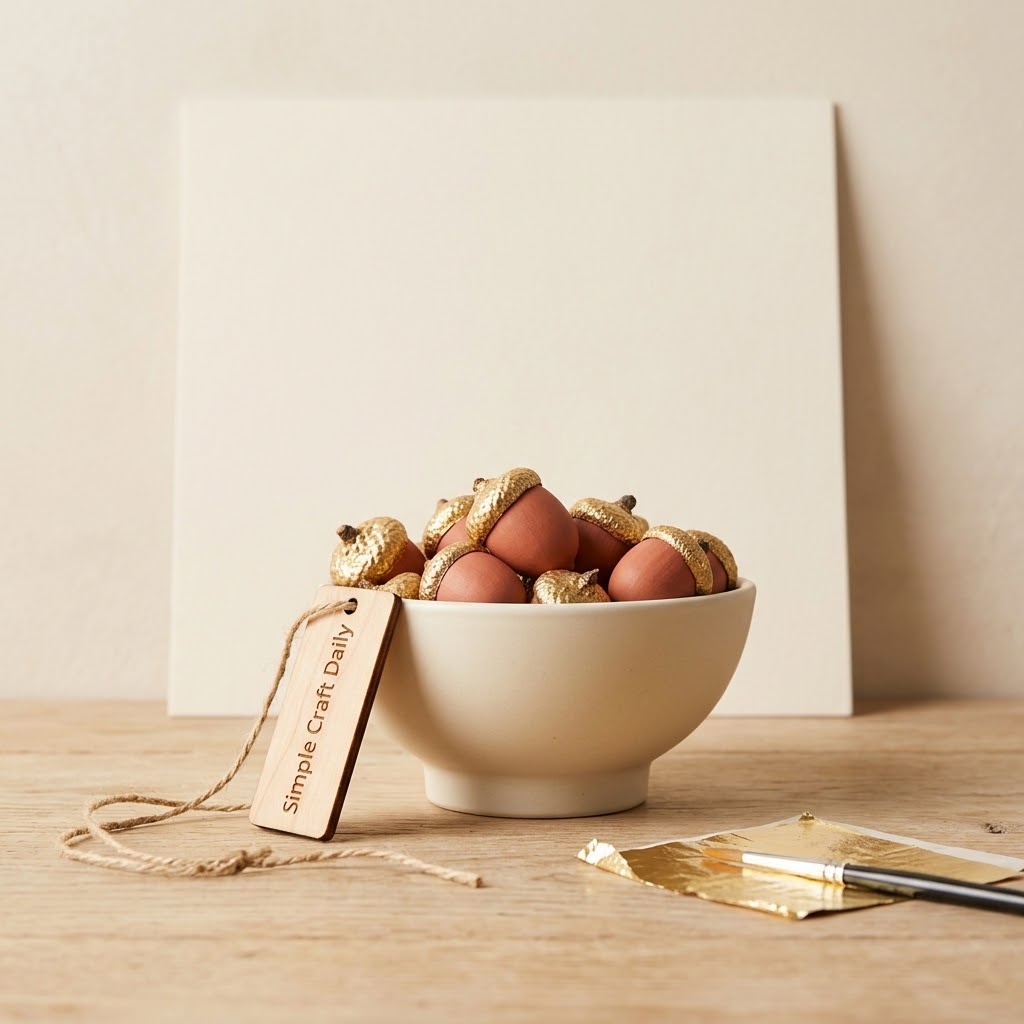
2. Gilded Acorn Bowl Fillers
Supplies Needed: Clean dry acorns, Gold Leaf Sheets and Water-Based Gilding Size, Matte Acrylic Paint Set in Earth Tones, Matte Clear Acrylic Varnish, soft detail brush.
With adult supervision, wash collected acorns, then dry them on a foil-lined baking sheet at 200°F (95°C) for 45 minutes. Let them cool completely. Next, paint selected acorn bodies in thin coats of rust, olive, cream, and charcoal, leaving several natural for contrast.
Brush water-based gilding size onto a few caps only, then wait until it reaches the tack time printed on its label. Press small gold-leaf fragments onto the tacky areas with a dry detail brush. After the leaf is fully dry, apply one thin matte varnish coat and allow the manufacturer-stated drying time before arranging the acorns in a shallow bowl.
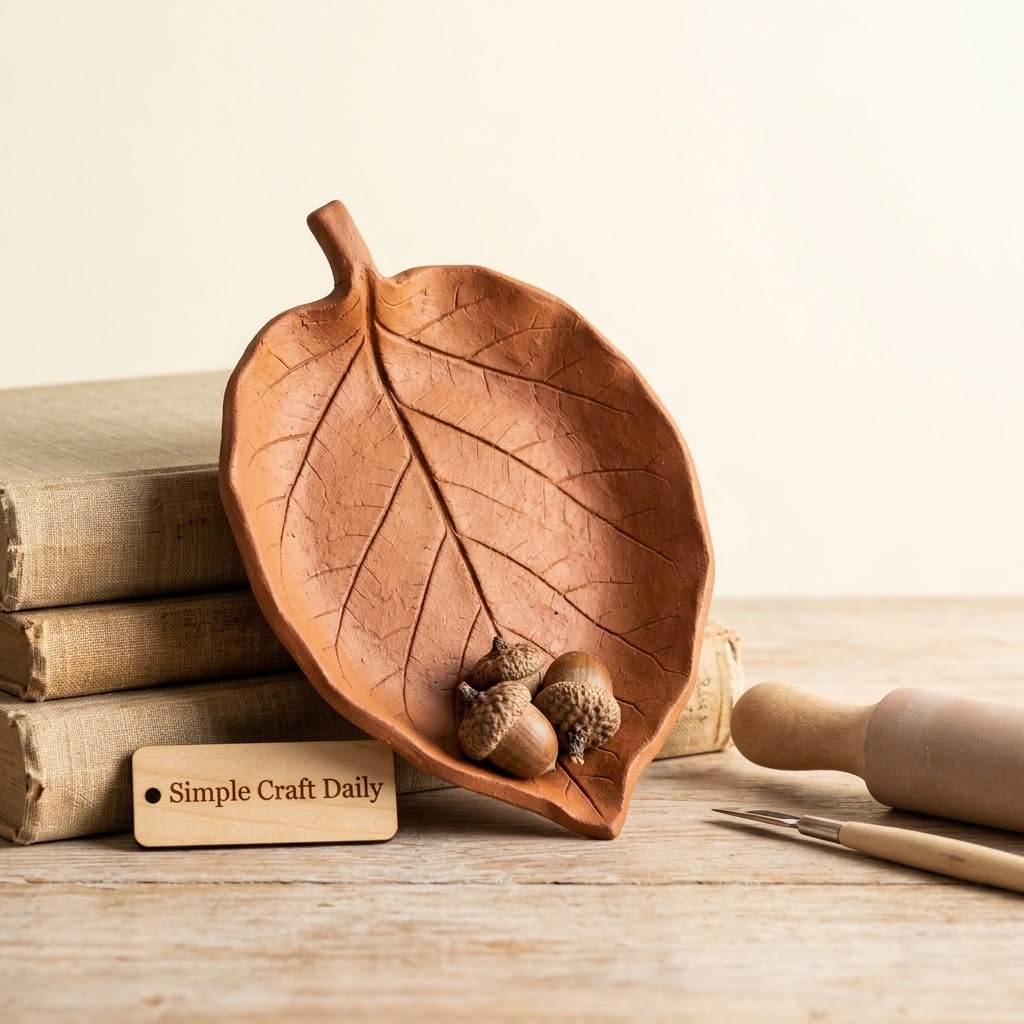
3. DIY Fall Decor Textured Clay Leaf Dish
Supplies Needed: White Air-Dry Clay, Acrylic Clay Roller Nonstick Mat and Sculpting Tools, large leaf with visible veins, Matte Acrylic Paint Set in Earth Tones, Matte Clear Acrylic Varnish.
Roll white air-dry clay on a nonstick mat to a consistent 6 mm thickness. Press a clean leaf with raised veins firmly into the surface, then lift it away. Cut around the impressed shape with a sculpting blade and smooth the edge with a damp fingertip.
Set the clay leaf over the outside of a small inverted bowl to create a gentle curve. Leave it undisturbed for 24 to 48 hours, following the clay manufacturer’s instructions and allowing extra time in humid rooms. Once dry through the center, paint the dish in a thin earth-tone wash and let it dry before applying matte varnish. Use this DIY fall decor dish for dry decorative objects only, never food.
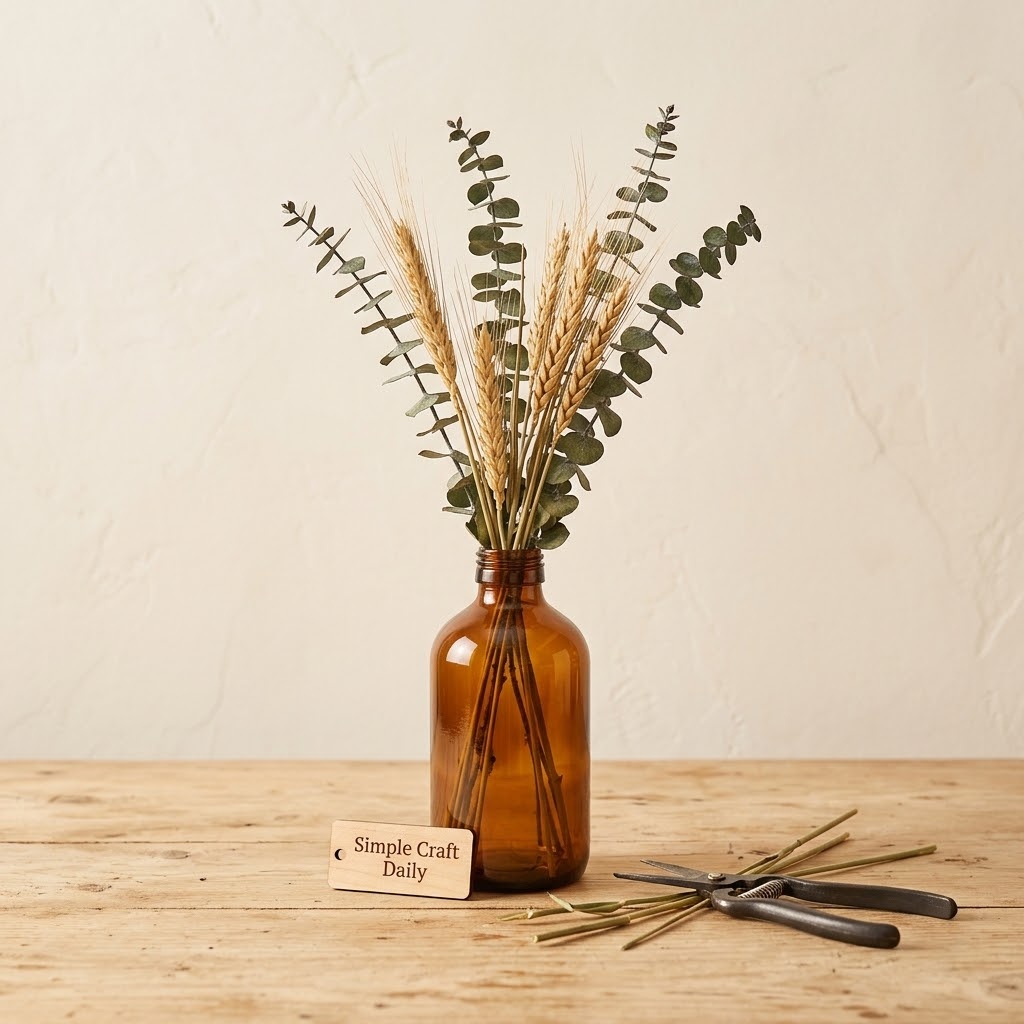
4. Amber Glass Bottle Stem Arrangement
Supplies Needed: Amber glass bottle, Natural Dried Wheat and Preserved Eucalyptus Stems, Floral Wire Wire Cutters and Floral Tape, Natural Jute Twine and Velvet Ribbon.
Choose an amber bottle with a stable, flat base. First, trim three dried wheat stems so they stand about 10 inches above the bottle neck. Add two eucalyptus stems slightly lower, then turn the bottle as you work so the arrangement has depth from every viewing angle.
If the cluster shifts, wrap floral tape around the stems at the neck and secure it with a short wire tie. Finish the neck with two wraps of jute twine and a 12-inch velvet ribbon bow. Keep dried stems away from candles, heaters, and damp window ledges.
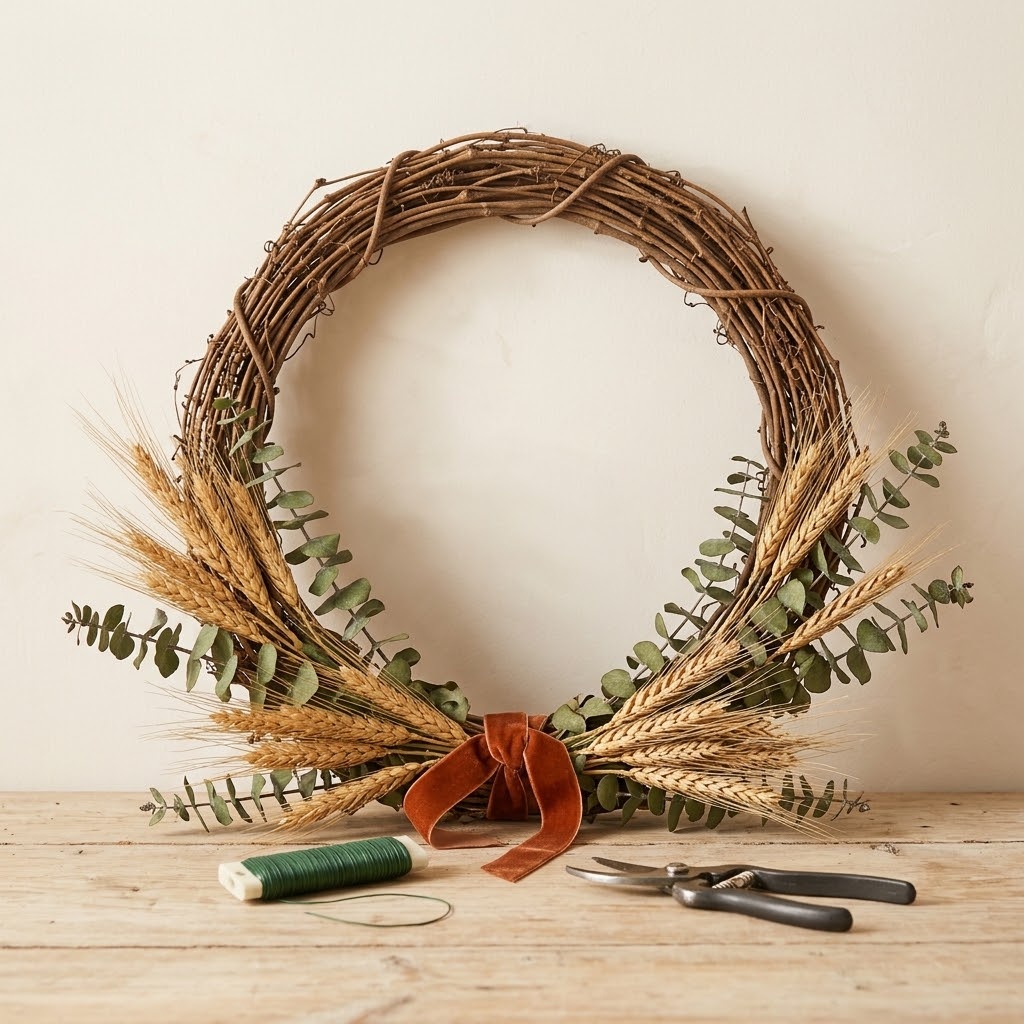
5. DIY Fall Decor Half Grapevine Wreath
Supplies Needed: Natural Grapevine Wreath Form, Natural Dried Wheat and Preserved Eucalyptus Stems, Floral Wire Wire Cutters and Floral Tape, Natural Jute Twine and Velvet Ribbon.
Lay a 14-inch grapevine wreath form flat and plan the botanical cluster across its lower third. Cut dried wheat and eucalyptus into 5- to 8-inch pieces. Place every stem in the same direction, with wheat extending slightly past the eucalyptus for a clean, swept shape.
Beginning at one lower side, wire each small cluster to the rear of the form. Continue toward the opposite side, overlapping the stems by about 2 inches. Subsequently, tuck every wire end beneath the vine so it cannot scratch a door. Add a velvet ribbon loop after the wire ends are secure. The open upper section gives this DIY fall decor wreath its calm, refined silhouette.
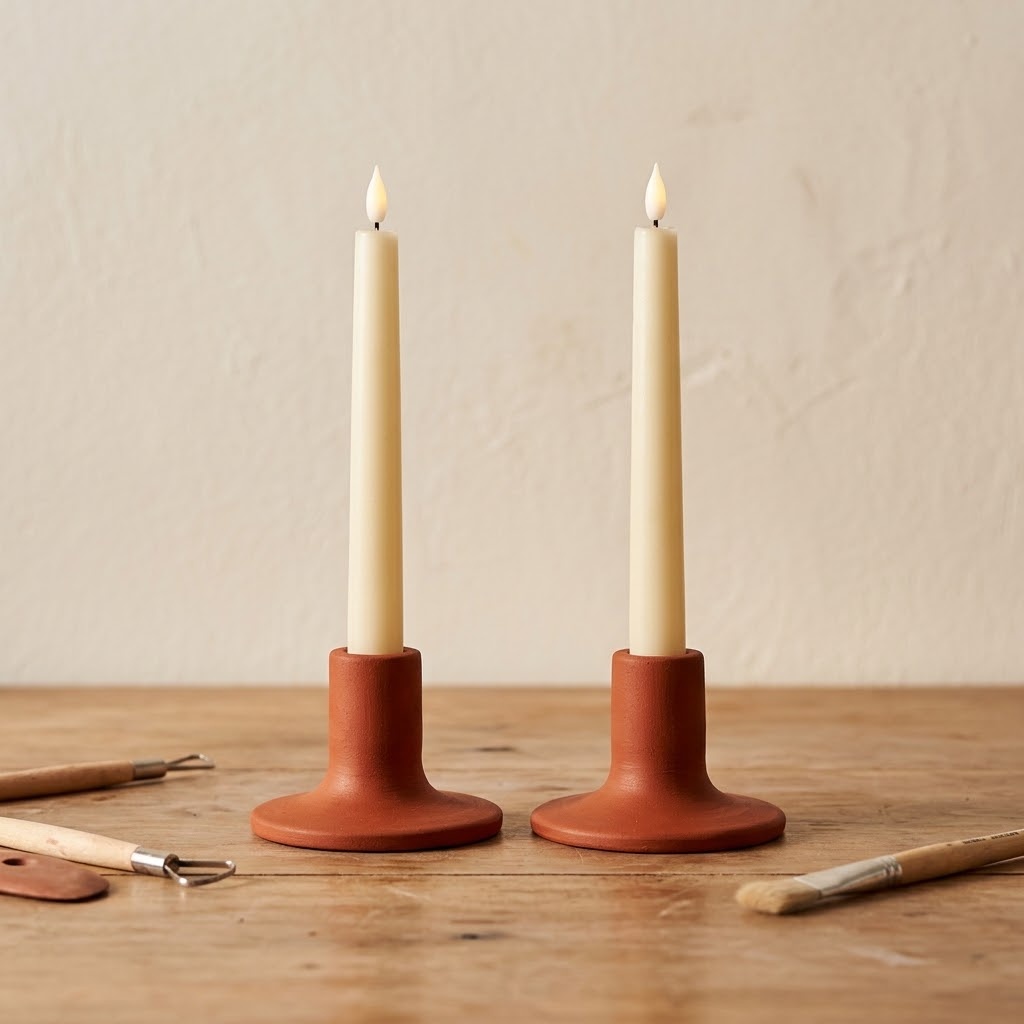
6. Matte Terracotta Taper Holders
Supplies Needed: White Air-Dry Clay, Acrylic Clay Roller Nonstick Mat and Sculpting Tools, Matte Acrylic Paint Set in Earth Tones, Matte Clear Acrylic Varnish, LED taper candles.
Divide air-dry clay into two 4-ounce portions. Shape each portion into a low mound about 3 inches wide, then press a standard taper candle straight down approximately 1 inch to form a socket. Twist gently and remove the candle before drying so the clay can shrink without gripping it.
Smooth the base and add a few shallow tool marks for handmade texture. Allow both holders to dry for 24 to 48 hours, until the thickest area feels dry and cool-free to the touch. Then paint with two thin terracotta coats, allowing each coat to dry as directed, and add matte varnish. Use LED taper candles for display; do not burn candles in air-dry clay holders unless the clay manufacturer explicitly rates them for heat use.
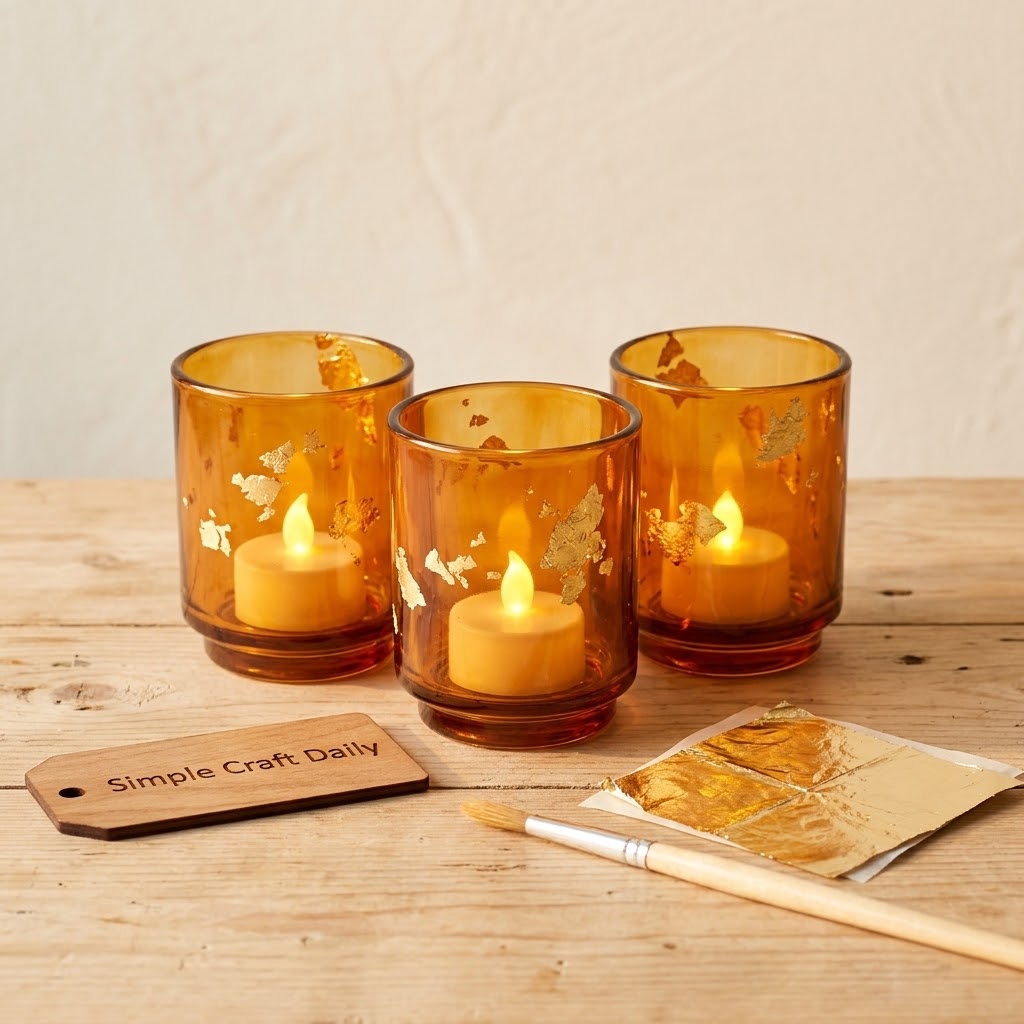
7. DIY Fall Decor Gilded Glass Votive Wraps
Supplies Needed: Clear glass votive holders, Matte Acrylic Paint Set in Earth Tones, Gold Leaf Sheets and Water-Based Gilding Size, Matte Clear Acrylic Varnish, LED tea lights.
Wash and dry each clear votive holder. On the exterior only, brush on a very thin translucent amber paint layer, leaving irregular clear windows so light can pass through. Keep paint at least 1/2 inch below the rim and completely outside the holder.
When the paint is dry, brush tiny sections of gilding size onto the exterior and wait for the label-directed tack time. Press on a few gold-leaf fragments, then seal the outside with matte acrylic varnish. Allow the varnish to dry for the manufacturer-stated time before adding LED tea lights. For more glass projects, browse these upcycled glass jar craft ideas.
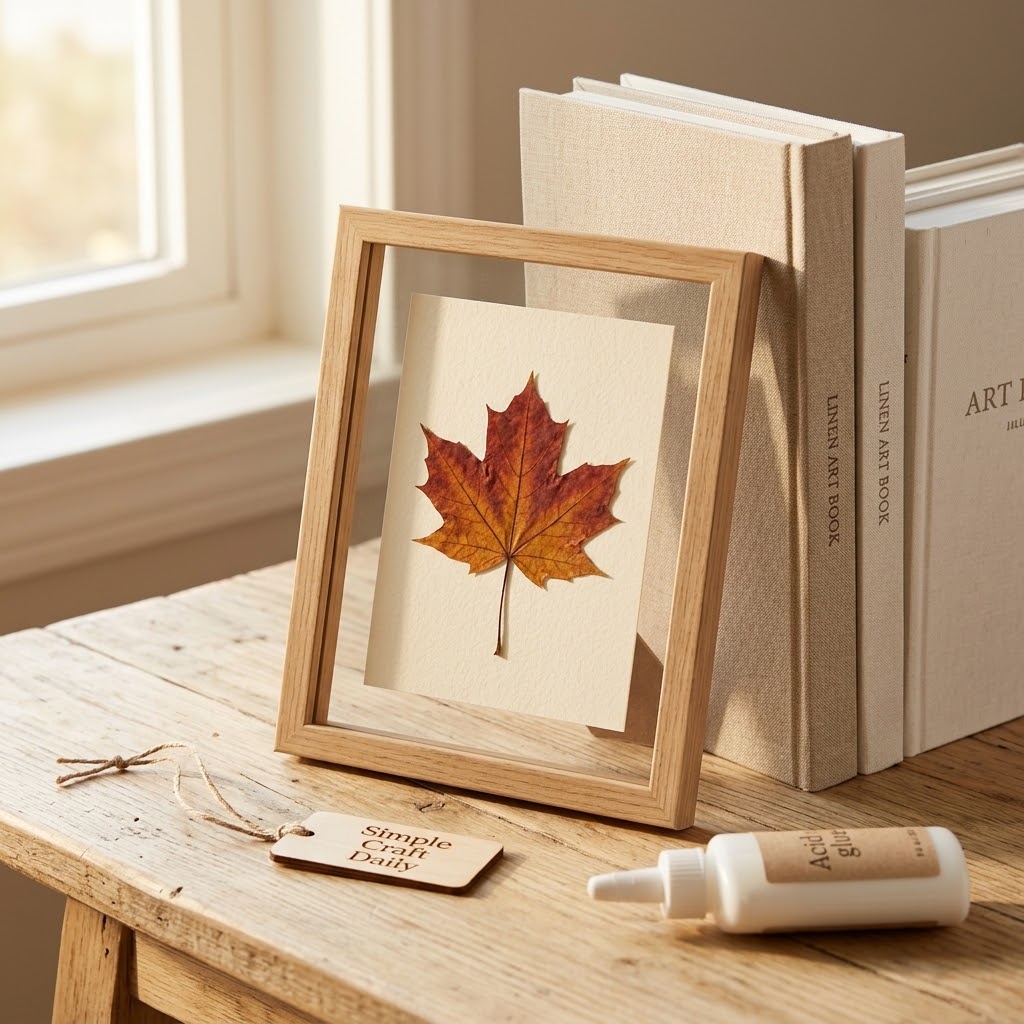
8. Framed Pressed Leaf Gallery Card
Supplies Needed: Pressed fall leaves, heavy ivory card-stock, acid-free PVA glue, small wood frame, Natural Jute Twine and Velvet Ribbon.
Cut heavy ivory card-stock to fit a small wood frame, leaving a 1-inch border around the intended leaf placement. Confirm that your pressed leaves are fully dry and flat before mounting. Apply acid-free PVA glue in tiny dots beneath the thickest veins, then place each leaf without dragging it across the paper.
Let the glue dry flat for at least 1 hour before framing. Tie a narrow velvet ribbon around one frame corner or make a small jute hanging loop if desired. This quiet wall accent pairs beautifully with DIY fall canvas painting ideas in a layered seasonal gallery.
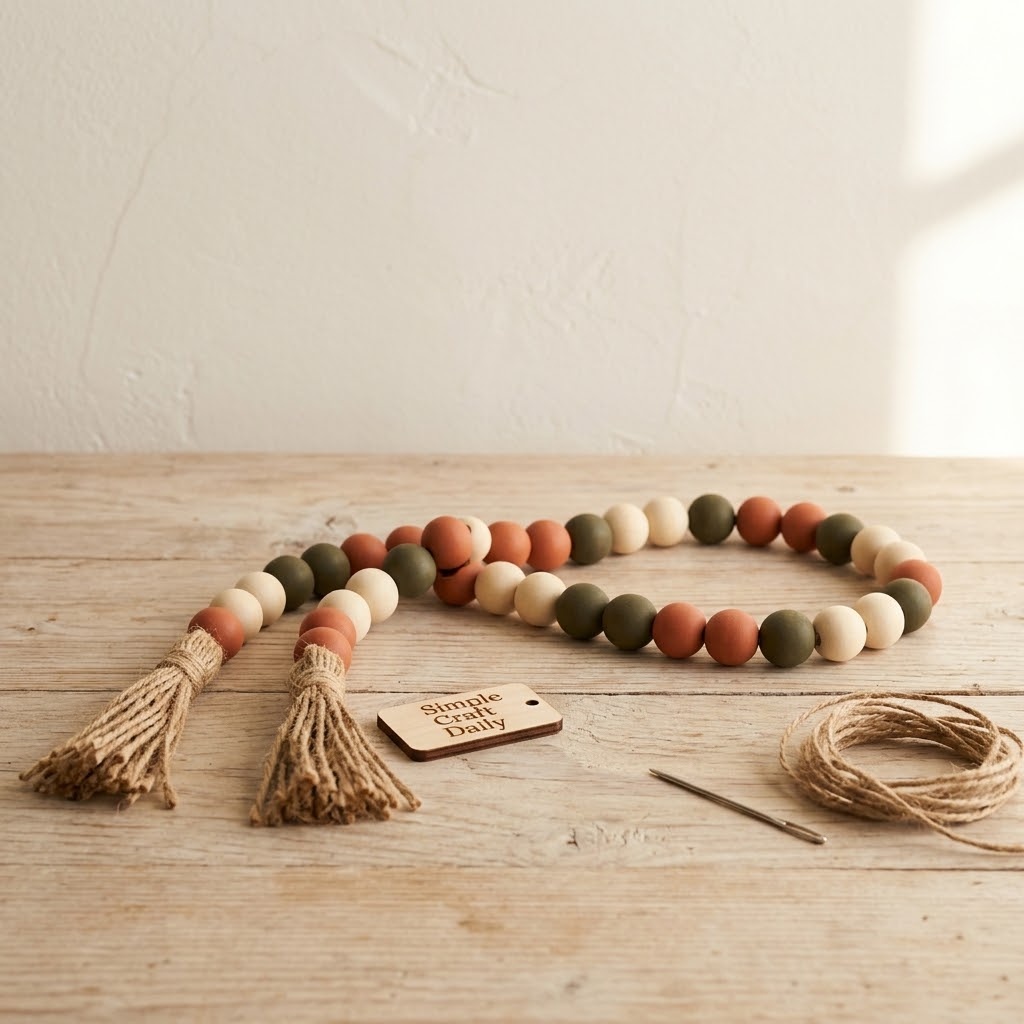
9. DIY Fall Decor Wood Bead Garland
Supplies Needed: Unfinished wood beads in mixed sizes, Matte Acrylic Paint Set in Earth Tones, Natural Jute Twine and Velvet Ribbon, large-eye blunt yarn needle.
Paint 12 mm to 20 mm unfinished wood beads in a rotating mix of cream, rust, olive, and charcoal. Leave several beads natural to prevent the garland from looking too uniform. Allow the paint to dry completely according to its label before stringing.
Cut a 48-inch length of jute twine and thread it through a large-eye blunt yarn needle. String the beads in uneven groups of two and three sizes, then tie double knots at both ends and hide the knots inside the end beads. Wrap jute around each end several times to create compact tassels. Keep this decorative DIY fall decor garland away from young children because loose beads and twine can create hazards.
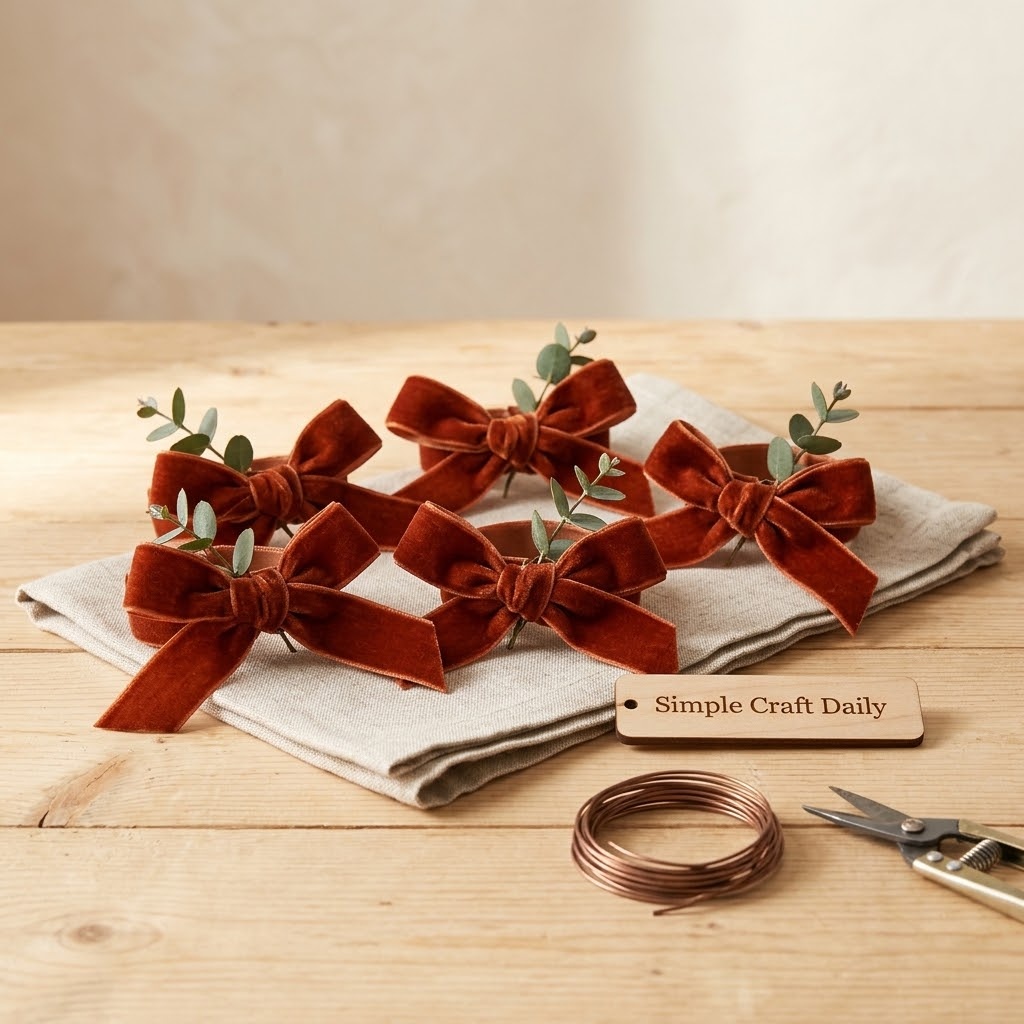
10. Velvet Ribbon Napkin Rings
Supplies Needed: Natural Jute Twine and Velvet Ribbon, preserved eucalyptus sprigs, Floral Wire Wire Cutters and Floral Tape.
Cut six 22-inch velvet ribbon lengths. Next, trim six eucalyptus clusters to about 2 inches long. Wrap each cluster with a 4-inch length of floral wire, twist the wire ends tightly, and cover the twist with floral tape.
Set one wired bundle across the center of each ribbon and tie a loose bow around a folded napkin. Because the botanical bundle is wired separately, the ribbons remain reusable and washable without permanent adhesive. Keep the finished napkin rings clear of food-contact surfaces and remove brittle eucalyptus pieces before laundering linens.
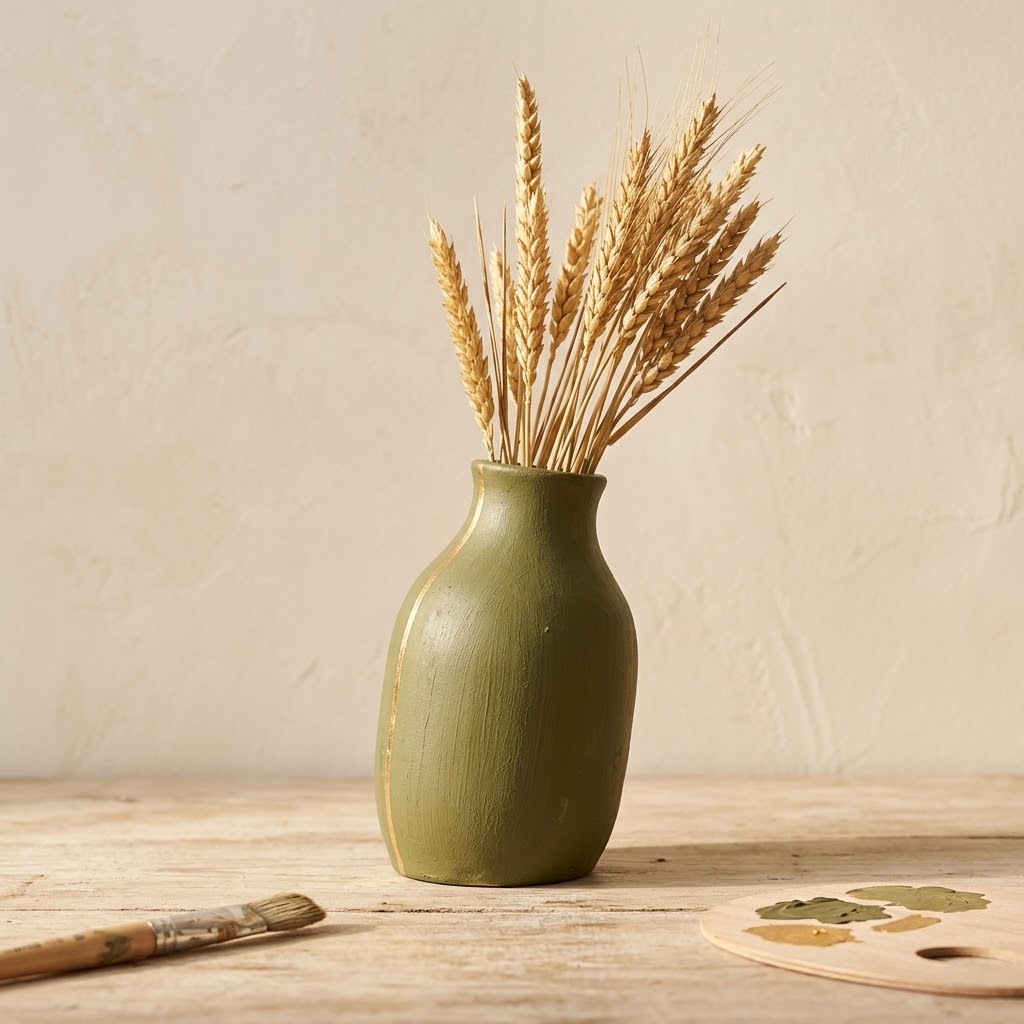
11. DIY Fall Decor Painted Ceramic Vase
Supplies Needed: Thrifted ceramic vase, Matte Acrylic Paint Set in Earth Tones, Gold Leaf Sheets and Water-Based Gilding Size, Matte Clear Acrylic Varnish, soft flat paintbrush.
Wash the outside of a thrifted ceramic vase with dish soap, rinse, and dry it thoroughly. Brush on one thin matte paint coat with a soft flat brush. Let it dry for the label-directed time, then apply a second thin coat rather than one heavy coat.
After the paint dries, brush a narrow vertical stroke of gilding size down one side. Wait until tacky, then press gold leaf into the stroke and brush away loose fragments. Seal the outside with a light coat of matte varnish and let it dry fully. Use the vase for dried stems unless the original interior glaze remains intact and watertight.
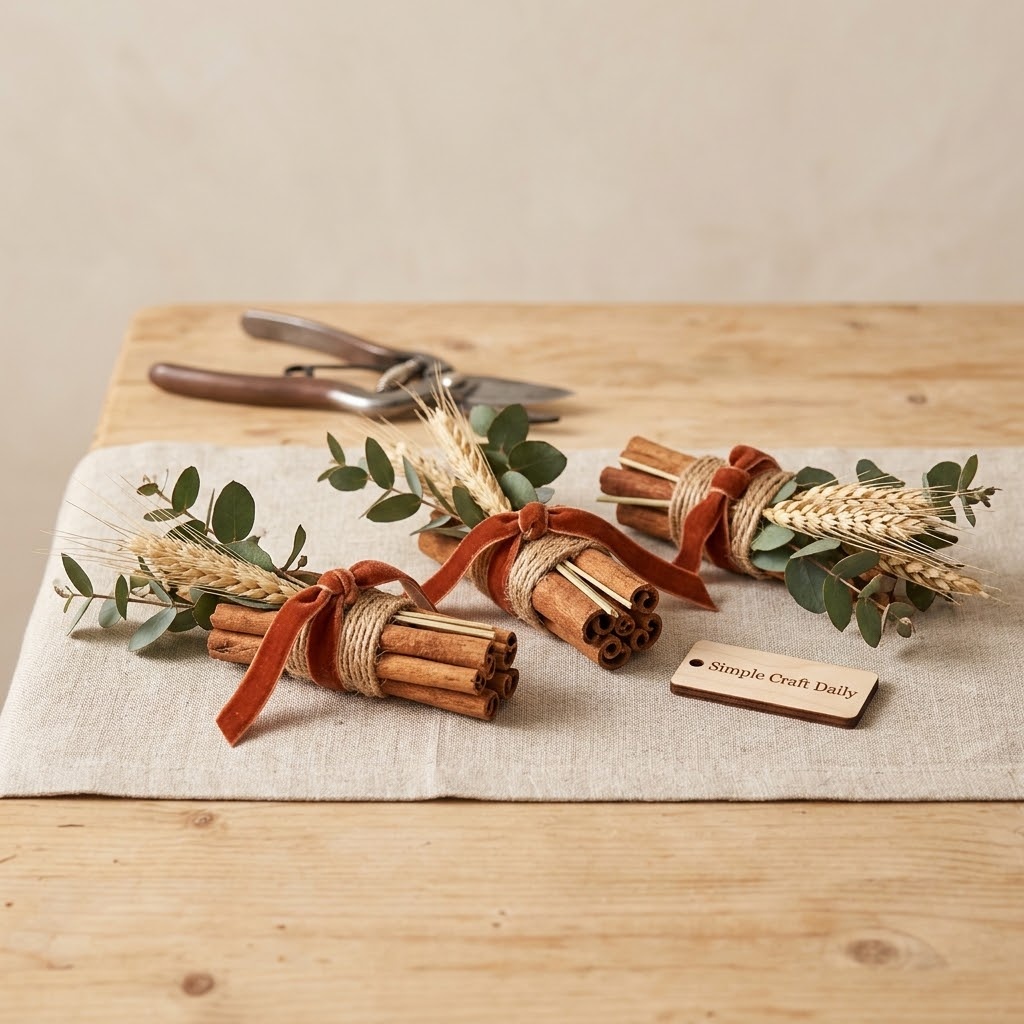
12. Cinnamon and Wheat Table Bundle
Supplies Needed: Natural Dried Wheat and Preserved Eucalyptus Stems, cinnamon sticks, Natural Jute Twine and Velvet Ribbon, Floral Wire Wire Cutters and Floral Tape.
Make three low bundles so guests can see across the table. For each bundle, layer three cinnamon sticks with six wheat stems and two short eucalyptus pieces. Wrap the center with floral wire, cut the wire with wire cutters, and cover the cut end with floral tape.
Tie the wrapped center firmly with jute twine, then add a short velvet ribbon tail. Place the three bundles along a runner with at least 8 inches between them. Keep them away from open flames, hot serving dishes, and food-contact areas.
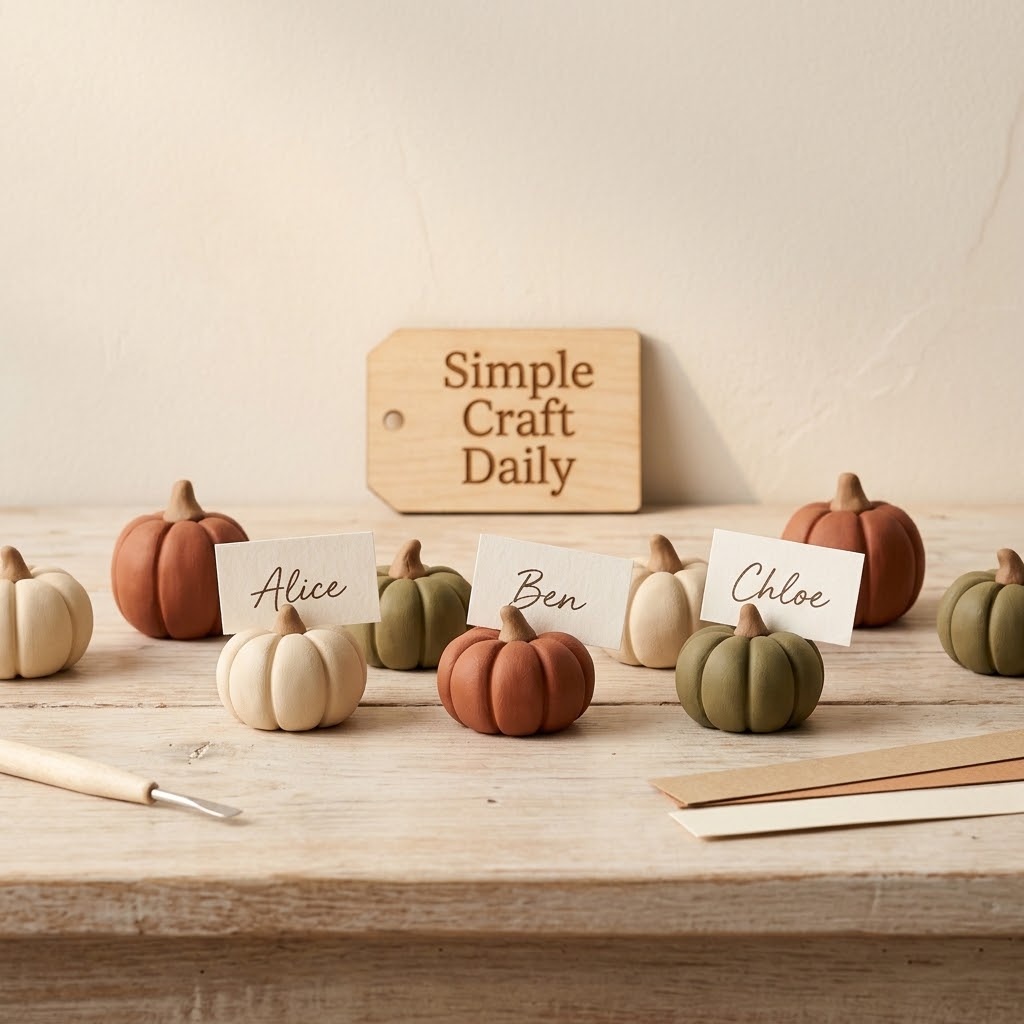
13. DIY Fall Decor Mini Clay Pumpkin Place Cards
Supplies Needed: White Air-Dry Clay, Acrylic Clay Roller Nonstick Mat and Sculpting Tools, Matte Acrylic Paint Set in Earth Tones, floral wire, heavy ivory card-stock.
Divide white air-dry clay into twenty 1-ounce portions. Roll each portion into a ball, press it slightly flat, and use a sculpting tool to create six shallow grooves from top to bottom. Bend a 2-inch floral-wire length into a small loop, then press the ends into the top of each pumpkin before drying.
Allow the pumpkins to dry for 24 to 48 hours, until the clay is dry through the center. Paint them in soft earth tones and let the paint dry as directed. Cut twenty 2-inch by 1/2-inch ivory card-stock strips, write each guest’s name, and slide the strip through the wire loop. Do not insert fresh stems into damp clay because moisture can stain and weaken the surface.
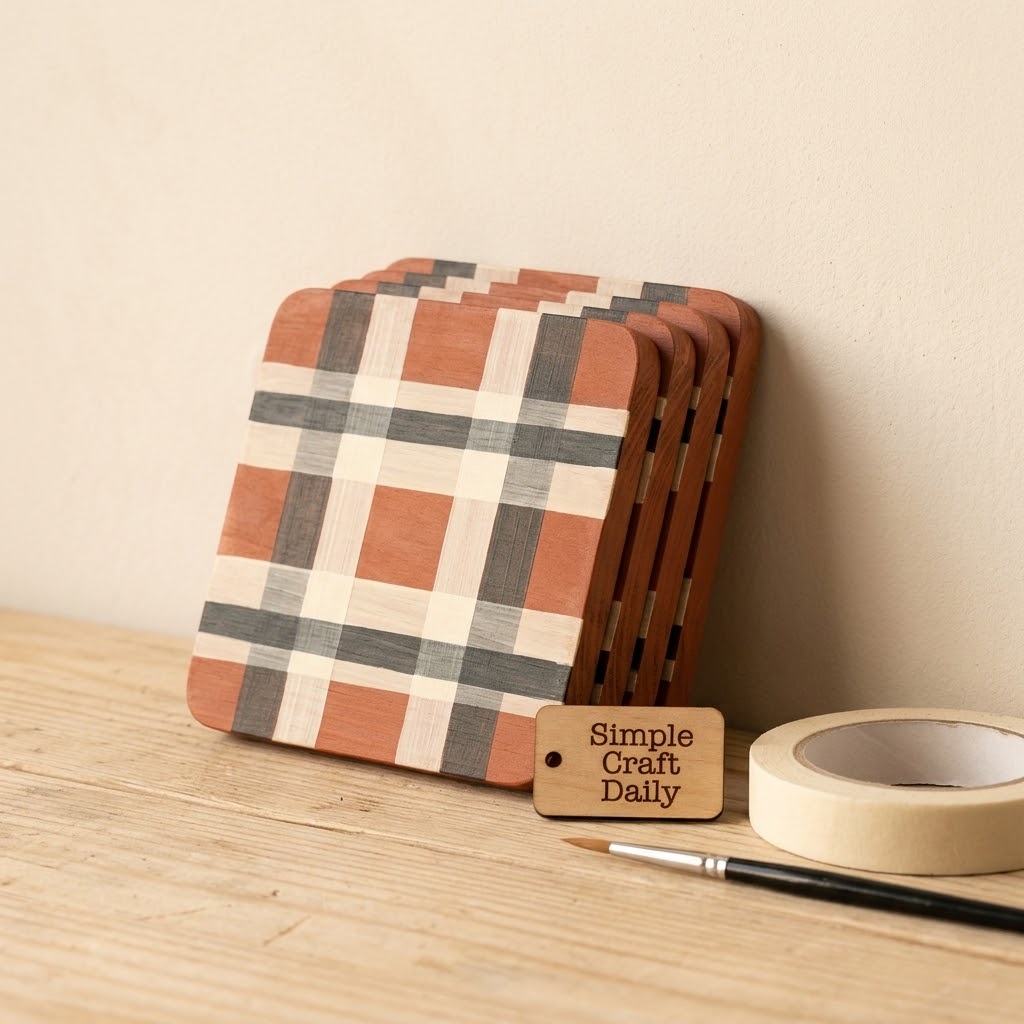
14. Hand-Painted Plaid Wood Coasters
Supplies Needed: Unfinished wood coaster blanks, Matte Acrylic Paint Set in Earth Tones, painter’s tape, Matte Clear Acrylic Varnish, fine sanding sponge.
Sand four unfinished coaster blanks with a fine sanding sponge, especially around the edges. Remove dust with a dry cloth. Paint each coaster cream and allow the first side to dry according to the paint label before flipping and coating the reverse.
Use painter’s tape to mark three horizontal and three vertical bands. Paint some bands rust and others charcoal, then remove the tape while the paint is still slightly wet for crisp lines. Allow the first side to dry fully before repeating the pattern on the reverse. Finally, seal both sides with matte acrylic varnish and let each sealed side dry completely before stacking.
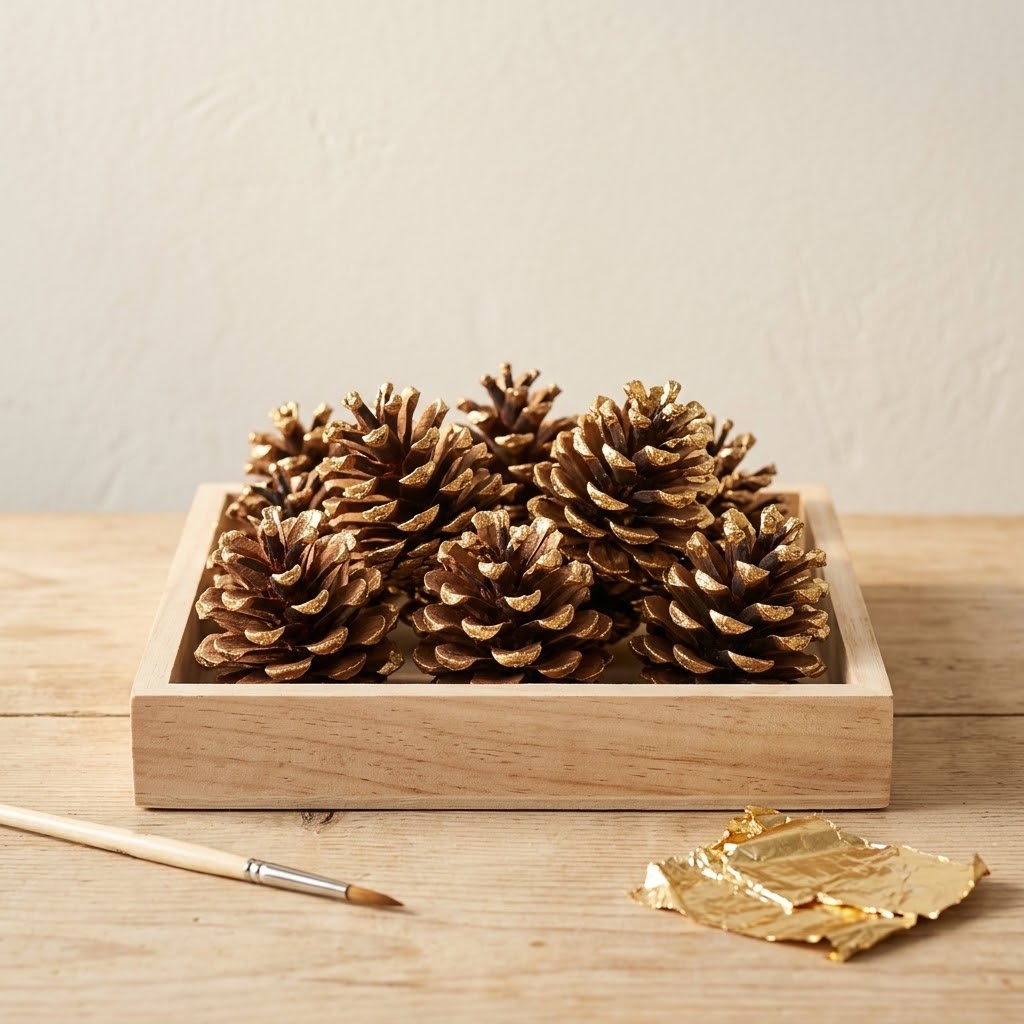
15. DIY Fall Decor Gilded Pinecone Cluster
Supplies Needed: Clean dry pinecones, Gold Leaf Sheets and Water-Based Gilding Size, Matte Clear Acrylic Varnish, shallow wood tray, soft detail brush.
Dry collected pinecones completely before applying any finish. Arrange them in a shallow wood tray first to decide which faces will show. With a soft detail brush, apply water-based gilding size to the outer tips of selected scales only.
Wait for the size to reach its stated tack time, then press gold-leaf fragments over the adhesive. Brush off loose leaf after the surface dries. Finish with a light matte varnish coat and allow it to dry as directed before returning the pinecones to the tray. This DIY fall decor project looks strongest when the natural brown surface remains the dominant color.
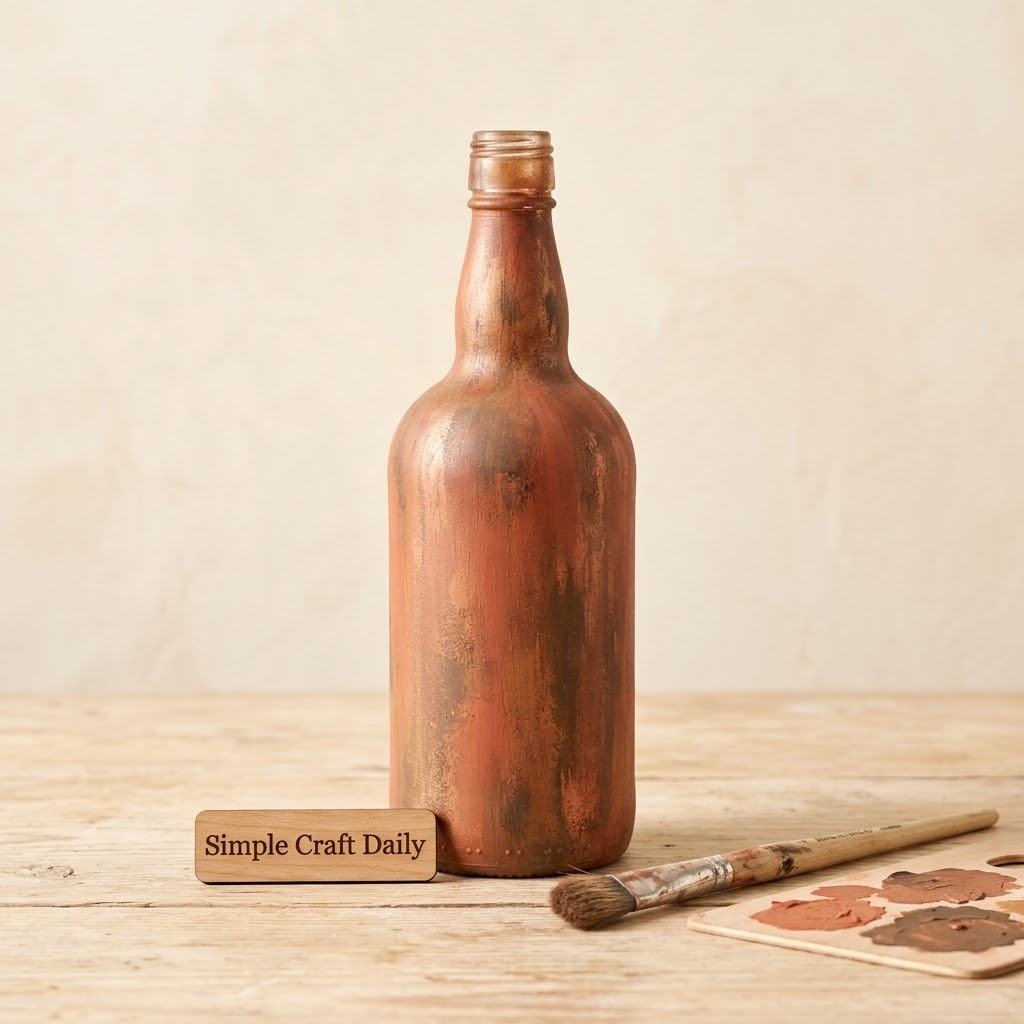
16. Copper-Toned Faux Patina Bottle
Supplies Needed: Clear glass bottle, Matte Acrylic Paint Set in Earth Tones, copper acrylic paint, Matte Clear Acrylic Varnish, dry-brush paintbrush.
Clean a clear glass bottle with isopropyl alcohol and allow it to evaporate completely. Use a dry-brush paintbrush to apply a thin terracotta layer, allowing clear patches to remain. Let the coat dry as directed, then lightly brush copper acrylic paint across raised areas.
After the copper layer dries, add a few sparse dark umber strokes near the bottle shoulder and base. Keep every layer thin so the painted surface develops depth instead of a heavy opaque coating. Seal the outside with matte acrylic varnish only after the final paint layer is dry. Style the finished bottle with dried stems rather than water.
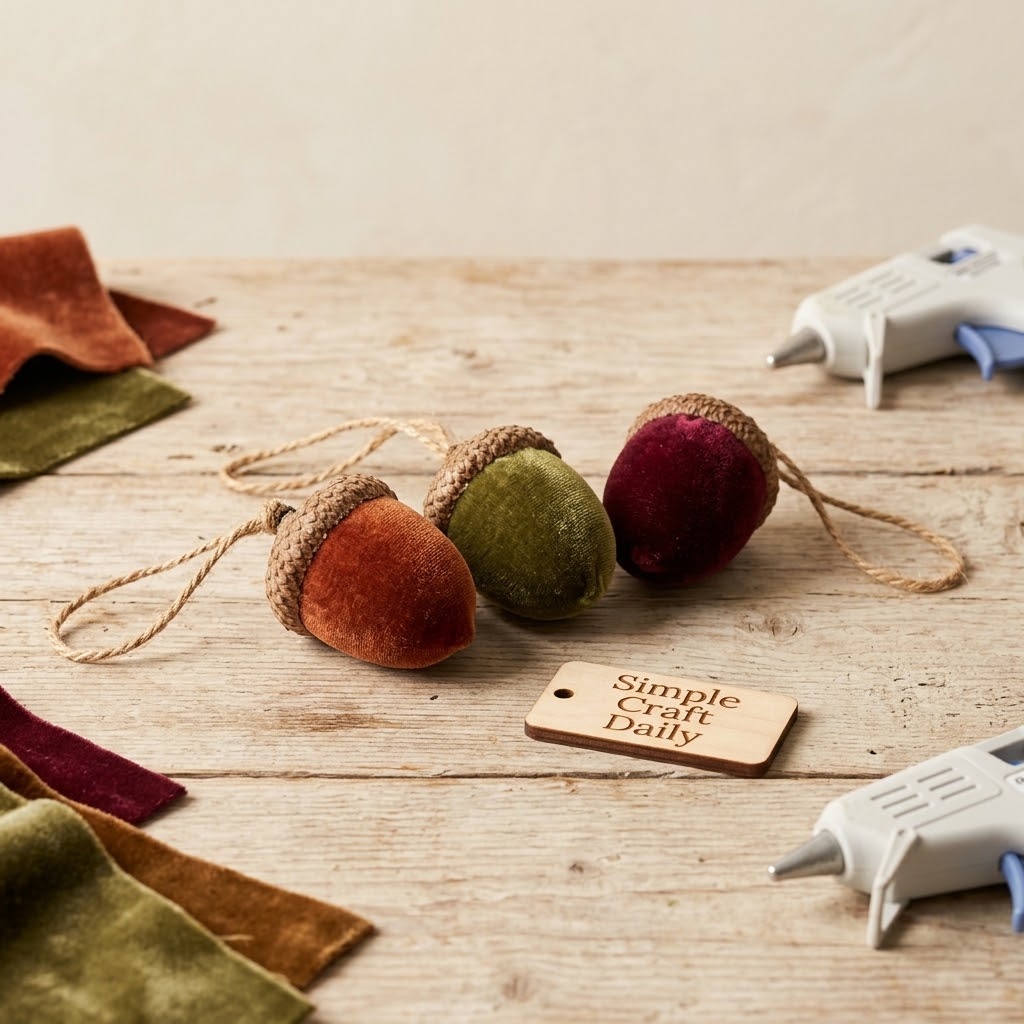
17. DIY Fall Decor Velvet Acorn Ornaments
Supplies Needed: Velvet Fabric Fat Quarters in Autumn Colors, small foam eggs, acorn caps, Natural Jute Twine and Velvet Ribbon, Low-Temperature Mini Hot Glue Gun and Glue Sticks.
Cut velvet into rectangles large enough to wrap each small foam egg with a 1/2-inch overlap. Begin at the rounded end, add a narrow line of low-temperature glue, and smooth the velvet toward the narrow end with your fingers. Trim excess fabric so it sits flat beneath the cap.
Glue an acorn cap over the trimmed end. Next, fold a 5-inch jute twine length in half and glue the cut ends beneath the cap to form a hanging loop. Let the glue cool fully before hanging the ornament from a branch, garland, or decorative bowl display. Use lightweight foam eggs so this DIY fall decor project does not pull down delicate stems.
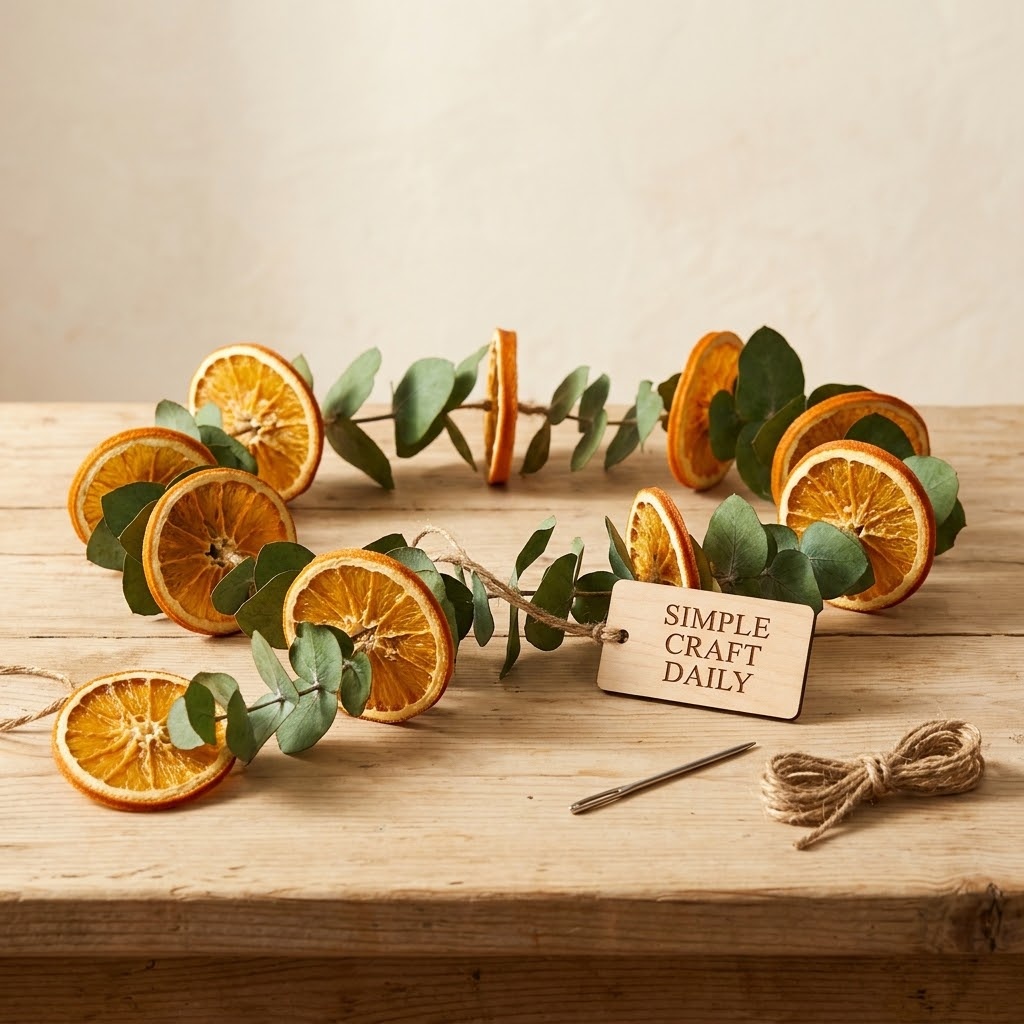
18. Dried Orange and Eucalyptus Garland
Supplies Needed: Fully dried orange slices, preserved eucalyptus sprigs, Natural Jute Twine and Velvet Ribbon, large-eye blunt yarn needle.
Confirm that every orange slice is fully dehydrated and crisp before threading; flexible slices can develop mold in storage. Cut a 72-inch jute length and thread it onto a large-eye blunt yarn needle. Push the needle through the firm center of each orange slice, spacing slices about 4 inches apart.
Between every second orange slice, tie a small preserved eucalyptus sprig to the twine with a short velvet ribbon piece. Drape the finished garland loosely over a mantel or shelf, supporting it at several points so the orange slices do not bear all the weight. Never place the garland near an active heat source.
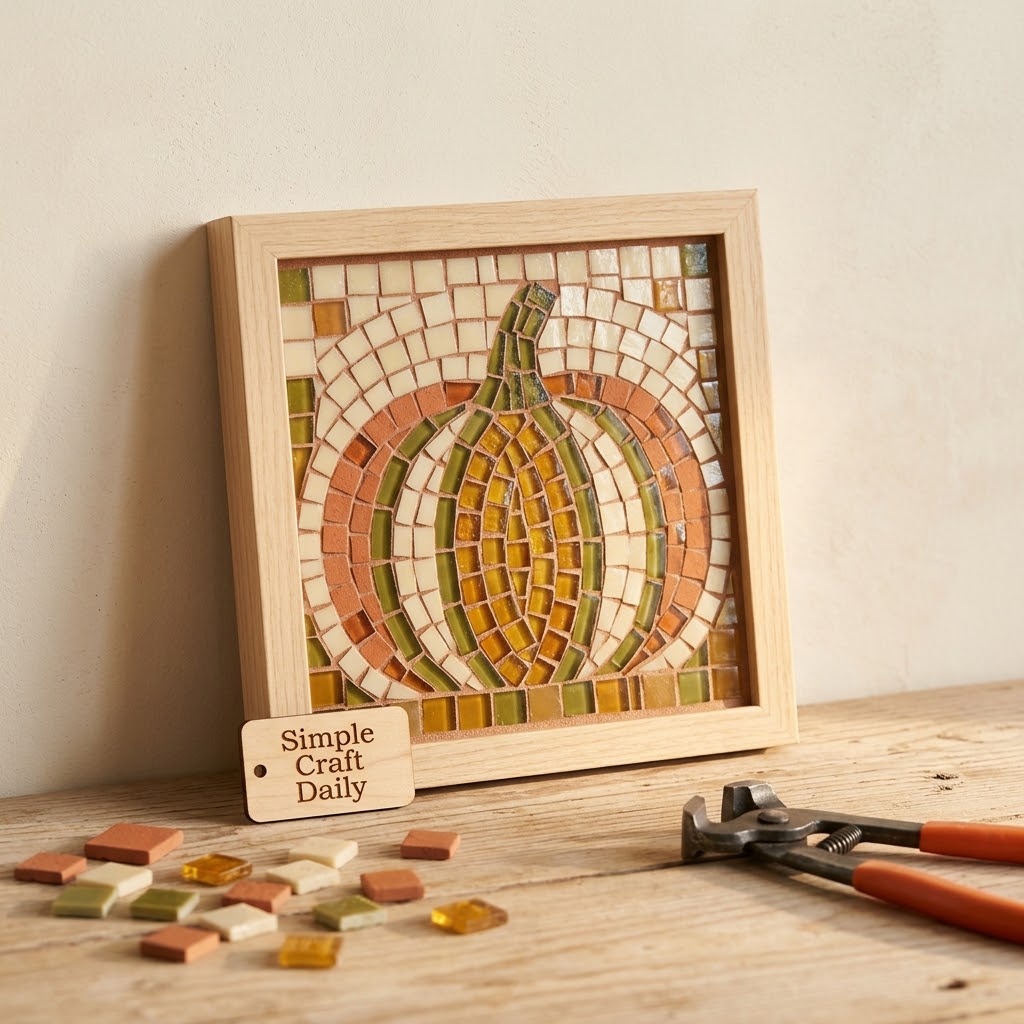
19. DIY Fall Decor Framed Mosaic Pumpkin
Supplies Needed: Wood panel, glass mosaic tiles, mosaic tile adhesive, tile nippers, safety glasses, small wood frame.
Draw a simple pumpkin silhouette on a wood panel that fits inside a small frame. Dry-fit earth-tone glass mosaic tiles inside the outline before opening the adhesive. Wear safety glasses when using tile nippers, and cut tiles slowly with the cutting wheels positioned near the desired break line.
Apply mosaic tile adhesive in a thin layer over a small section of the panel. Press tiles into place with narrow, even gaps, then continue section by section until the pumpkin is complete. Let the adhesive cure for the manufacturer-stated time before setting the panel into its frame. For more tile-based wall projects, explore these creative mosaic art ideas for home and garden.
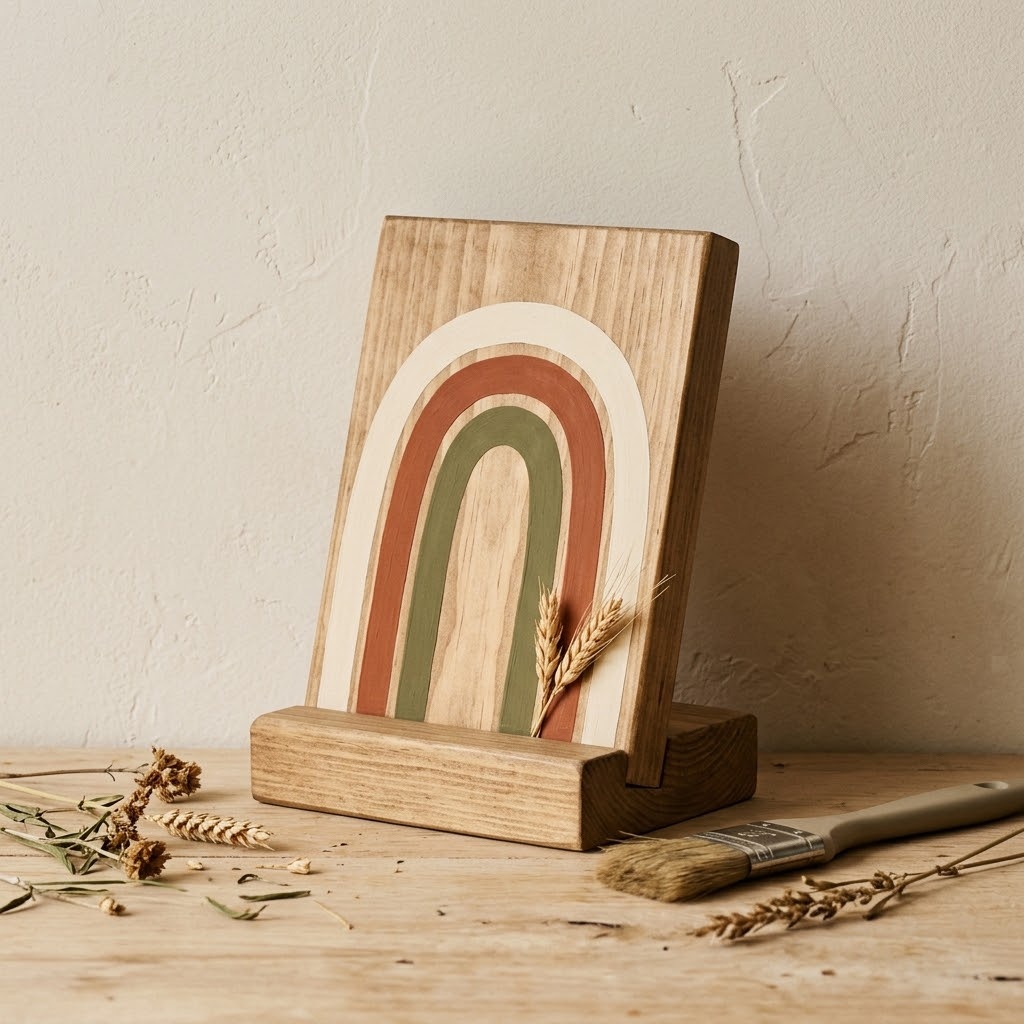
20. Painted Wood Block Harvest Shelf Sitter
Supplies Needed: Sanded unfinished wood block, Matte Acrylic Paint Set in Earth Tones, Matte Clear Acrylic Varnish, Natural Dried Wheat and Preserved Eucalyptus Stems, Low-Temperature Mini Hot Glue Gun and Glue Sticks.
Sand an unfinished wood block until its edges feel smooth, then remove all dust with a dry cloth. Paint a cream background and let it dry as directed. Add layered arches in rust, olive, and charcoal with a flat brush, keeping each color block thin and clean.
When the paint is dry, seal the block with matte acrylic varnish and allow it to cure for the label-stated period. Finally, trim a small dried wheat and eucalyptus cluster, then secure it to one upper corner with low-temperature hot glue. This shelf sitter gives DIY fall decor a graphic focal point without adding visual clutter.
DIY Fall Decor FAQs
Small finishing choices make handmade fall decorations more durable, easier to style, and simpler to store for next year.
How do I make DIY fall decor look less homemade?
Limit the room to no more than three dominant hues, then repeat one texture across several pieces. For example, use rust, cream, and olive with velvet, wheat, and matte paint. Keep edges clean, remove stray glue strings, and use the same matte varnish across painted wood and clay. Add one metallic detail, such as sparse gold leaf, rather than covering every project in shine.
How long should air-dry clay pieces cure before sealing?
Use 24 to 48 hours as a baseline, but follow the clay manufacturer’s directions because thickness and humidity affect drying time. Check the thickest point before painting or sealing. Clay that still feels cool, dark, or flexible inside needs more drying time; paint and varnish can trap moisture and weaken the finished piece.
Can handmade fall decorations use real leaves and acorns?
Yes, provided the materials are dry, clean, and gathered legally from areas where collection is permitted. Press leaves until fully dry, wash and dry acorns, and inspect natural materials for insects before bringing them indoors. Keep leaves, acorns, wheat, pinecones, and dried citrus away from flames, food, and damp storage areas.
How should I store DIY fall decor after the season?
Wrap gilded pieces in acid-free tissue and label boxes by room or project type. Store dried stems, wreaths, and garlands in rigid boxes so they do not bend under heavier items. Add a moisture absorber to the storage area, and keep painted projects in a climate-controlled space rather than a damp basement or hot attic.
Quick Reference: All DIY Fall Decor Supplies at a Glance
For your convenience, here is a quick summary of all materials and tools used in this tutorial:
🧶 Soft Textiles and Natural Botanicals
- Velvet Fabric Fat Quarters in Autumn Colors | Check Price on Amazon
- Natural Dried Wheat and Preserved Eucalyptus Stems | See Price on Amazon
- Natural Jute Twine and Velvet Ribbon | View Jute Twine and Velvet Ribbon on Amazon
- Natural Grapevine Wreath Form | Find Grapevine Wreath Form on Amazon
🧰 Clay, Paint, Gilding, and Studio Tools
- White Air-Dry Clay | Check White Air-Dry Clay on Amazon
- Matte Acrylic Paint Set in Earth Tones | See Matte Acrylic Paint Set on Amazon
- Gold Leaf Sheets and Water-Based Gilding Size | View Gold Leaf Sheets on Amazon
- Matte Clear Acrylic Varnish | Check Latest Price on Amazon
- Low-Temperature Mini Hot Glue Gun and Glue Sticks | View on Amazon
- Floral Wire, Wire Cutters, and Floral Tape | Find Floral Wire Set on Amazon
- Acrylic Clay Roller, Nonstick Mat, and Sculpting Tools | Check Clay Tool Set on Amazon
📦 Beginner Kits and Studio Upgrades
- Fall Home Decor Craft Kit | See Fall Home Decor Craft Kit on Amazon
- Daylight LED Magnifying Craft Lamp with Desk Clamp | View Craft Lamp on Amazon
- Large Self-Healing Cutting Mat, Rotary Cutter, and Acrylic Ruler Set | Find Cutting Mat Set on Amazon
- Heavy-Duty Three-Tier Rolling Craft Cart with Wooden Top | Check Rolling Craft Cart on Amazon
Important Crafting Safety Notes
Crafting is a rewarding creative activity, but maintaining a safe workshop environment is essential for yourself, your family, and your pets. Please review these safety precautions before starting:
• Personal Protective Equipment (PPE) & Safe Handling: Wear safety glasses when cutting floral wire, clipping wire ends, or using tile nippers. Use a heat-resistant mat and work carefully around low-temperature glue guns. Wear nitrile gloves and a particle mask when sanding wood or handling varnish, paint, adhesives, and solvents.
• Room Ventilation & Fume Safety: Work near open windows with cross-ventilation or active exhaust when using paint, varnish, gilding size, mosaic adhesive, or isopropyl alcohol. Allow painted and sealed pieces to dry and off-gas in an airy area away from living spaces.
• Child & Pet Safety (Choking & Swallowing Prevention): Small components including acorns, beads, wire loops, orange slices, foam eggs, tile pieces, pinecones, and dried botanicals can cause choking or intestinal obstruction. Keep raw materials and finished decorations out of reach of babies, toddlers, and pets. Do not use detachable findings on items intended for young children.
• Sharp Tool Storage & Clean Work Area: Store rotary cutters, craft knives, tile nippers, wire cutters, needles, snips, and pliers in secure latching cases or high cabinets after use. Sweep or vacuum the floor after each project to remove wire clippings, pins, tile fragments, and loose craft debris.
• Certified, Quality & Non-Toxic Supplies: Choose ACMI AP-certified non-toxic paints and adhesives where available, and follow every manufacturer instruction for drying, cure times, temperatures, and disposal. Use lead-free and nickel-free hardware when appropriate, and never reuse kitchen utensils for paint, varnish, adhesives, or other craft chemicals.
For more detailed guidance on safe crafting practices, liability disclosures, and website usage, please review our Terms and Conditions.
“Which DIY fall decor idea will you make first? Drop a comment below with your favorite project or your own autumn styling tip—I’d love to hear what you create!”