Customizing your home decor is deeply rewarding. In fact, updating your kitchen space does not require a large budget. Instead, creating block printed tea towels offers a great way to bring artisan charm into your home. Plus, DIY hand stamped kitchen linens are very practical. As a result, they make perfect housewarming gifts.
Affiliate Disclosure: Affiliate Disclosure: This post contains affiliate links. As an Amazon Associate, I earn from qualifying purchases. If you buy through these links, I may earn a commission at no additional cost to you.
Naturally, the beauty of block printing lies in its imperfections. For instance, a slight smudge or a faded edge actually enhances the handmade look. Luckily, you just need a few basic supplies to start. So, if you enjoy natural textures, you will certainly love this rhythmic craft.
Essential Materials & Tools
✨ Consumable Raw Materials
- Blank Flour Sack Cotton Tea Towels — Prewashed, lint-free natural cotton towels provide an absorbent, smooth surface that takes stamped ink well. | Check Price on Amazon
- Water-Based Fabric Block Printing Ink Set — Washable textile inks in versatile colors create crisp stamped motifs without making the towels overly stiff. | See Price on Amazon
- Carvable Rubber Stamp Blocks — Soft carving blocks let makers create custom lemons, leaves, abstract shapes, stripes, and geometric motifs. | Check Carvable Rubber Stamp Blocks on Amazon
🧰 Core Crafting Tools & Equipment
- Soft Rubber Brayer Set — A soft brayer applies a thin, even layer of ink to carved blocks and pre-made stamps. | Check Latest Price on Amazon
- Linoleum and Rubber Block Carving Tool Set — Interchangeable gouges make it easy to carve clean stars, leaves, lemon details, and repeating abstract patterns. | View on Amazon
- Self-Healing Cutting Mat — Provides a safer protected surface for carving custom stamp blocks and trimming freezer-paper backing. | Check Price on Amazon
- Acrylic Ink Palette Sheet — A smooth nonporous palette gives the brayer a flat area for spreading ink into a consistent thin film. | See Price on Amazon
💎 Hardware, Fasteners & Finishing
- Fabric Medium — Turns compatible acrylic paint into a more flexible, washable textile color for custom mixed shades. | See Fabric Medium on Amazon
- Heat-Resistant Pressing Cloth — Protects the iron and printed towel surface while heat-setting cured fabric ink from the reverse side. | View Heat-Resistant Pressing Cloth on Amazon
- Freezer Paper for Fabric Backing — Ironed temporarily to the reverse side, it stabilizes lightweight towels and helps prevent ink bleed-through. | Find Freezer Paper for Fabric Backing on Amazon
📦 All-in-One Starter Kits
- Fabric Block Printing Starter Kit — An all-in-one kit gives new makers coordinated carving blocks, ink, brayer, and basic tools for first prints. | Check Fabric Block Printing Starter Kit on Amazon
⚡ Studio Tools & Workshop Equipment
- Digital Heat Press for Fabric Crafts — A controlled flat platen delivers reliable, even heat-setting across printed textile panels and multiple towels. | See Digital Heat Press for Fabric Crafts on Amazon
- Daylight LED Magnifying Craft Lamp — Bright adjustable task lighting makes detailed stamp carving, ink coverage checks, and registration lines easier to see. | View Daylight LED Magnifying Craft Lamp on Amazon
- Heavy-Duty Rolling Craft Storage Cart — A mobile studio cart keeps inks, brayers, carved blocks, cleaning cloths, and drying supplies organized beside the worktable. | Find Heavy-Duty Rolling Craft Storage Cart on Amazon
Before you stamp, you must prepare your workspace. Of course, having the right materials ensures your block printed tea towels will survive the washing machine.
- First, you need the canvas: 100% natural cotton or flour sack kitchen towels.
- Next, pick your paint: High-quality fabric block printing ink. Alternatively, use multi-surface acrylic mixed with a fabric medium.
- Also, gather your stamps: Pre-made wooden blocks or rubber carving blocks. Or, you can easily use simple household items like potatoes.
- Finally, grab the tools: A soft foam roller (brayer) for applying paint evenly, a flat palette, and scrap cardboard.
How to Make Block Printed Tea Towels Step-by-Step
Creating beautiful block printed tea towels is a simple process. Basically, just follow these easy steps for the best results:
- To begin, wash and dry your linens. By doing this, you remove any factory chemicals. Then, iron them completely flat.
- Second, place scrap cardboard underneath the fabric. Consequently, this prevents wet ink from bleeding onto your table.
- Next, squeeze a little fabric ink onto your palette. After that, roll your brayer through the ink. Coat the roller evenly. Then, gently roll it over your stamp.
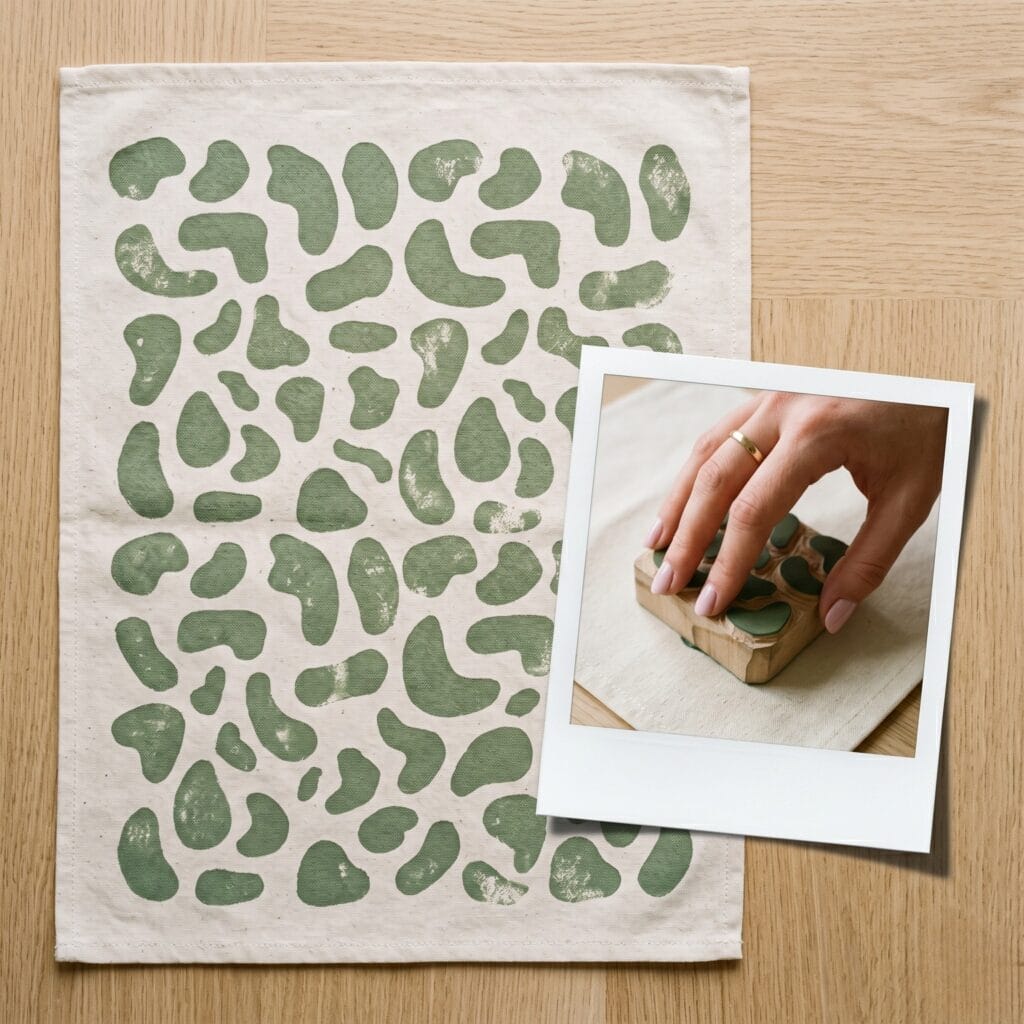
- Now, press the inked stamp onto the fabric carefully. Make sure to apply firm, even pressure with your hand. Finally, lift the stamp straight up to reveal your design.
- Afterward, let your block printed tea towels air dry for 24 hours. Lastly, use a hot iron on the reverse side to set the ink.
Pro-Tip: Always test your stamp on a scrap piece of fabric or paper first. Specifically, this helps you figure out the exact amount of ink and pressure needed before you commit to your final tea towel.
10 Ideas for Your Block Printed Tea Towels
1. Minimalist Botany
Supplies Needed: Blank Flour Sack Cotton Tea Towels, Water-Based Fabric Block Printing Ink Set, Soft Rubber Brayer Set, Acrylic Ink Palette Sheet, Freezer Paper for Fabric Backing
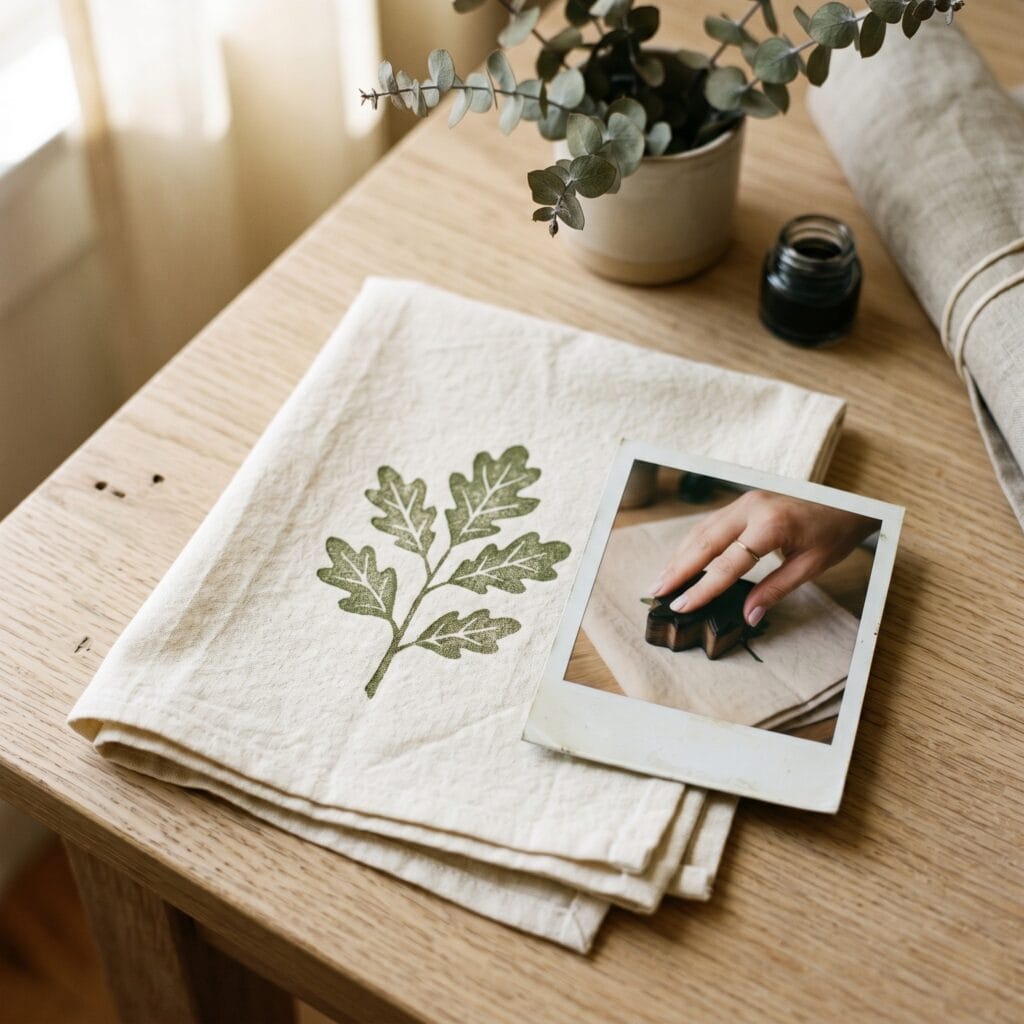
Bringing nature indoors is a beautiful idea. For example, a minimalist botanical print offers a fresh look. In this case, a single leaf motif yields an airy texture. Also, if you love this organic aesthetic, check out our guide on Botanical Plaster Casting: 10 Stunning DIY Studio Secrets to bring even more nature into your space.
2. Scandi Geometric
Supplies Needed: Carvable Rubber Stamp Blocks, Linoleum and Rubber Block Carving Tool Set, Self-Healing Cutting Mat, Heat-Resistant Pressing Cloth, Digital Heat Press for Fabric Crafts
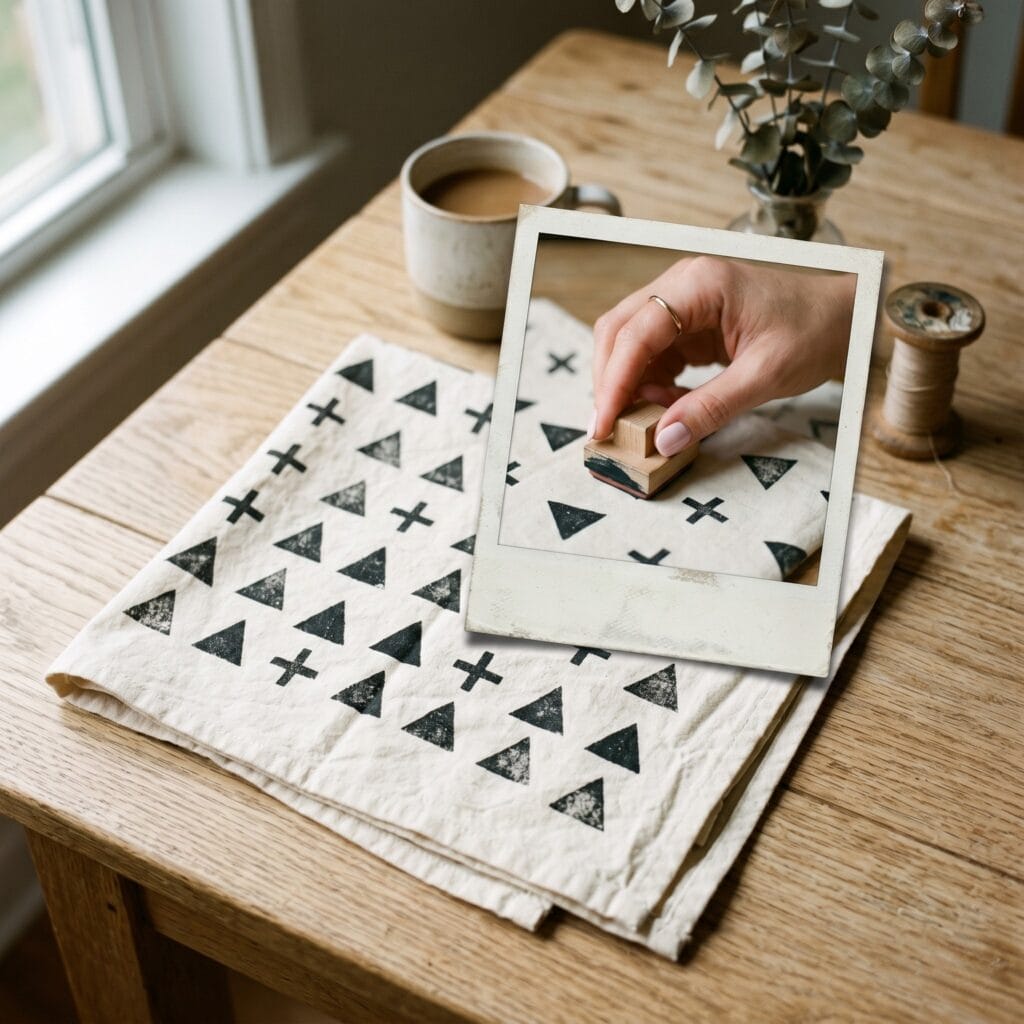
On the other hand, you might prefer a highly structured aesthetic. For instance, simple triangles or a plus sign (+) create a modern Scandinavian vibe. Simply align them in a strict grid. As a result, you get a clean tea towel.
3. Abstract Brushstroke Sprigs
Supplies Needed: Carvable Rubber Stamp Blocks, Water-Based Fabric Block Printing Ink Set
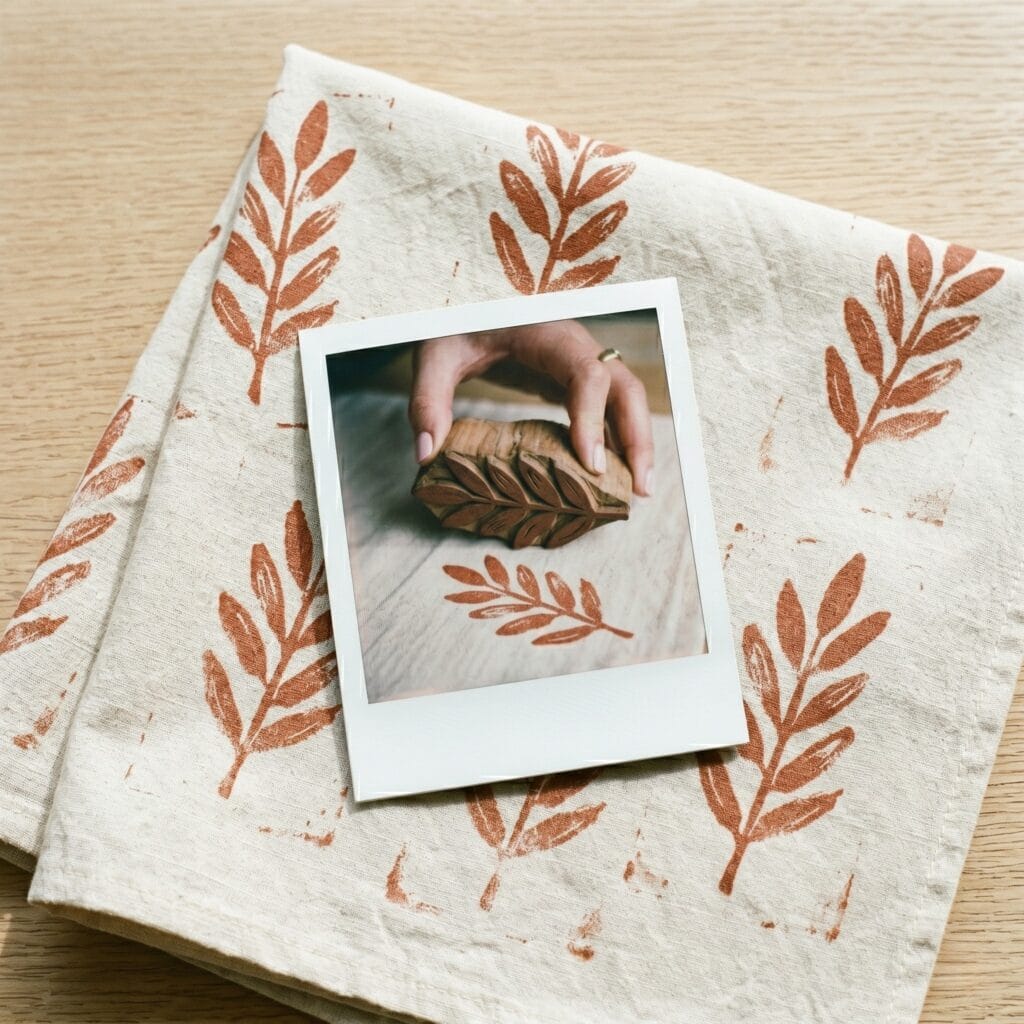
Your stamps do not have to be perfectly carved. In fact, using a block with thick brushstroke shapes feels very contemporary. Because of this, these abstract branches look like a modern art canvas.
4. Mediterranean Lemon
Supplies Needed: Carvable Rubber Stamp Blocks, Water-Based Fabric Block Printing Ink Set
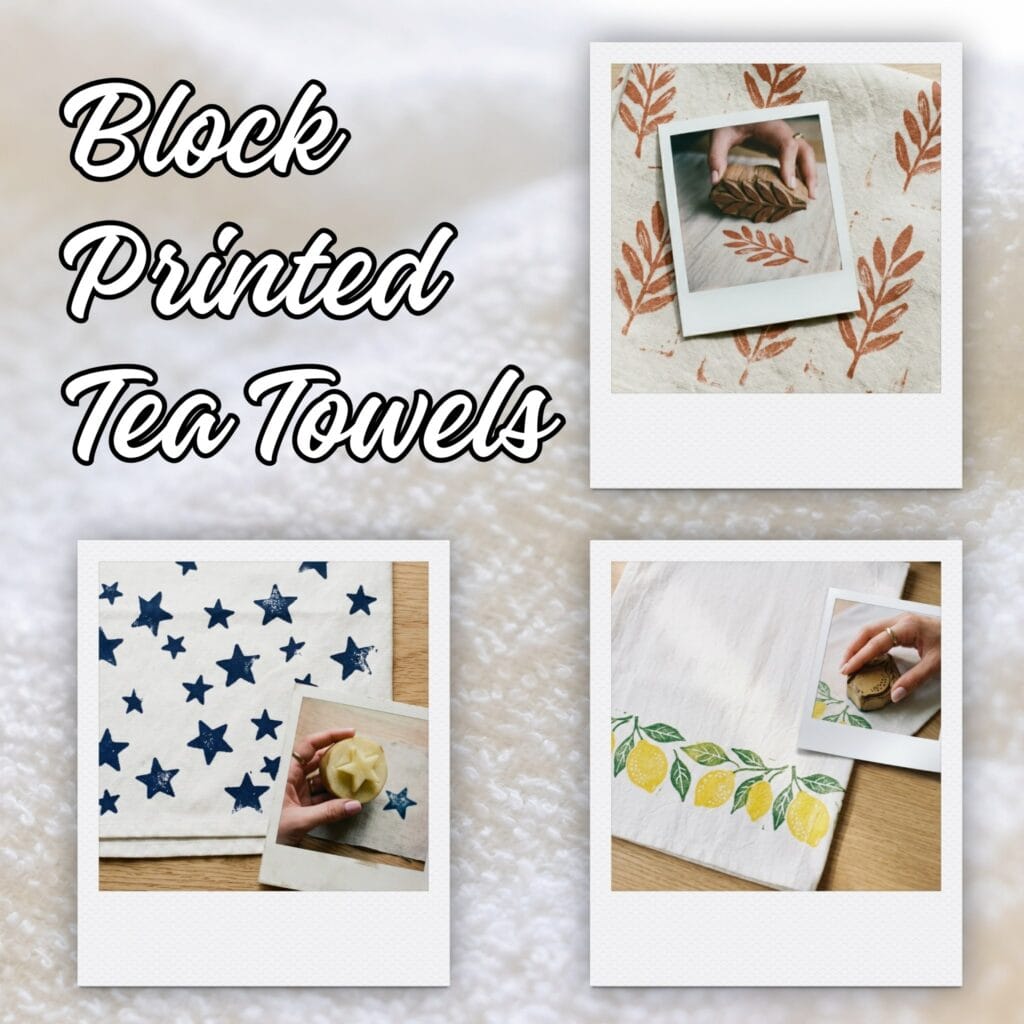
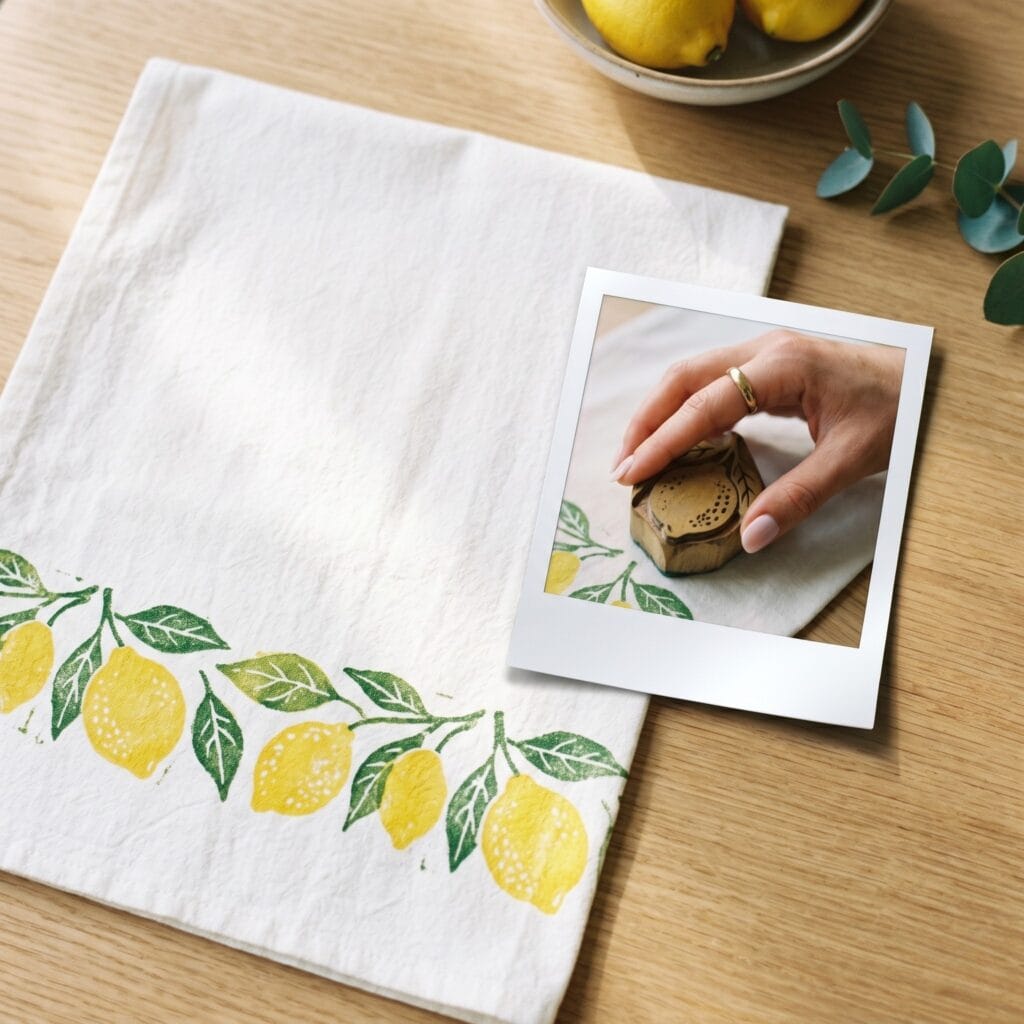
Kitchens thrive on vibrant energy. To achieve this, focus your stamping strictly on the bottom edge. Next, use bright yellow and green inks. Then, stamp a row of rustic lemons for an instant pop of summer color.
5. Dotted Stripe
Supplies Needed: Carvable Rubber Stamp Blocks, Fabric Medium, Water-Based Fabric Block Printing Ink Set
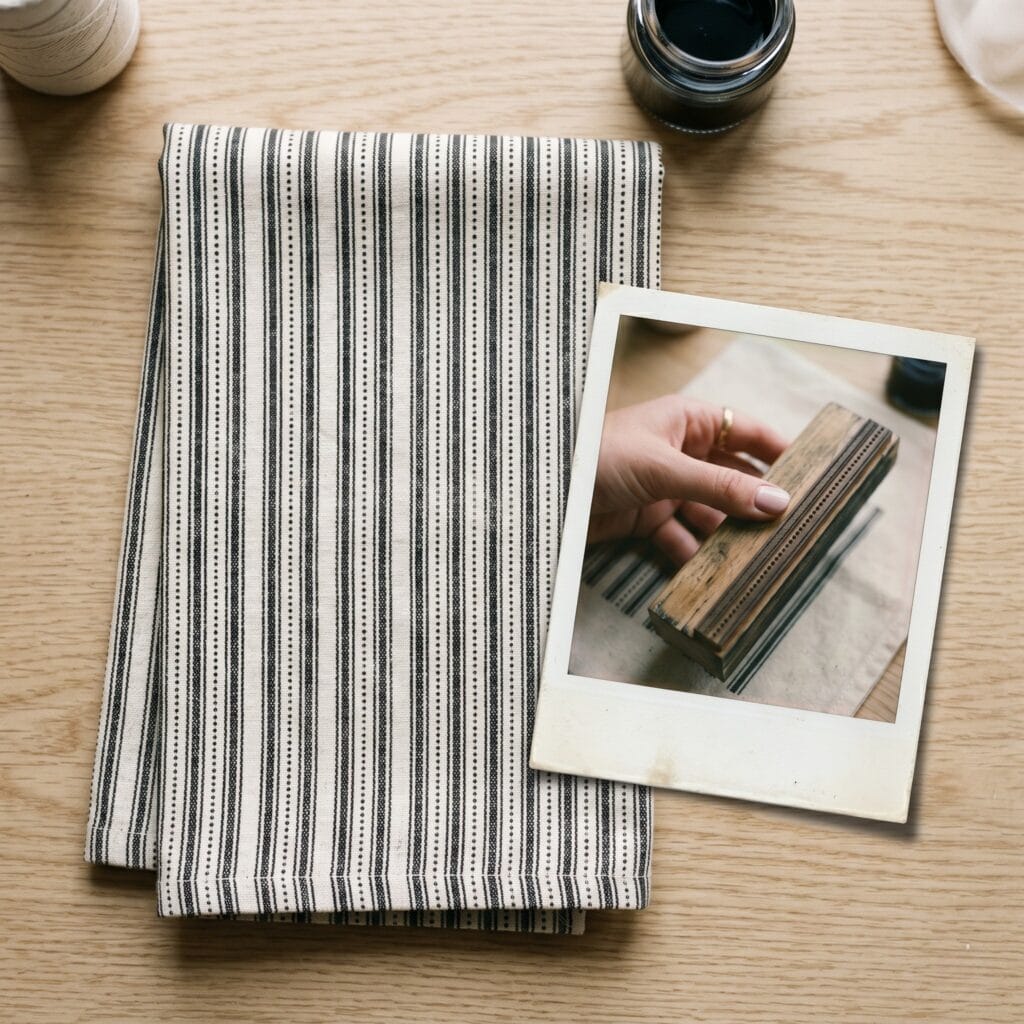
Combining shapes creates a sophisticated pattern. First, lay out thin vertical stripes. Next, add tiny dot stamps between the lines. Clearly, this dotted stripe method adds a vintage grain sack look.
6. Hand-Carved Potato Stars
Supplies Needed: Carvable Rubber Stamp Blocks, Water-Based Fabric Block Printing Ink Set
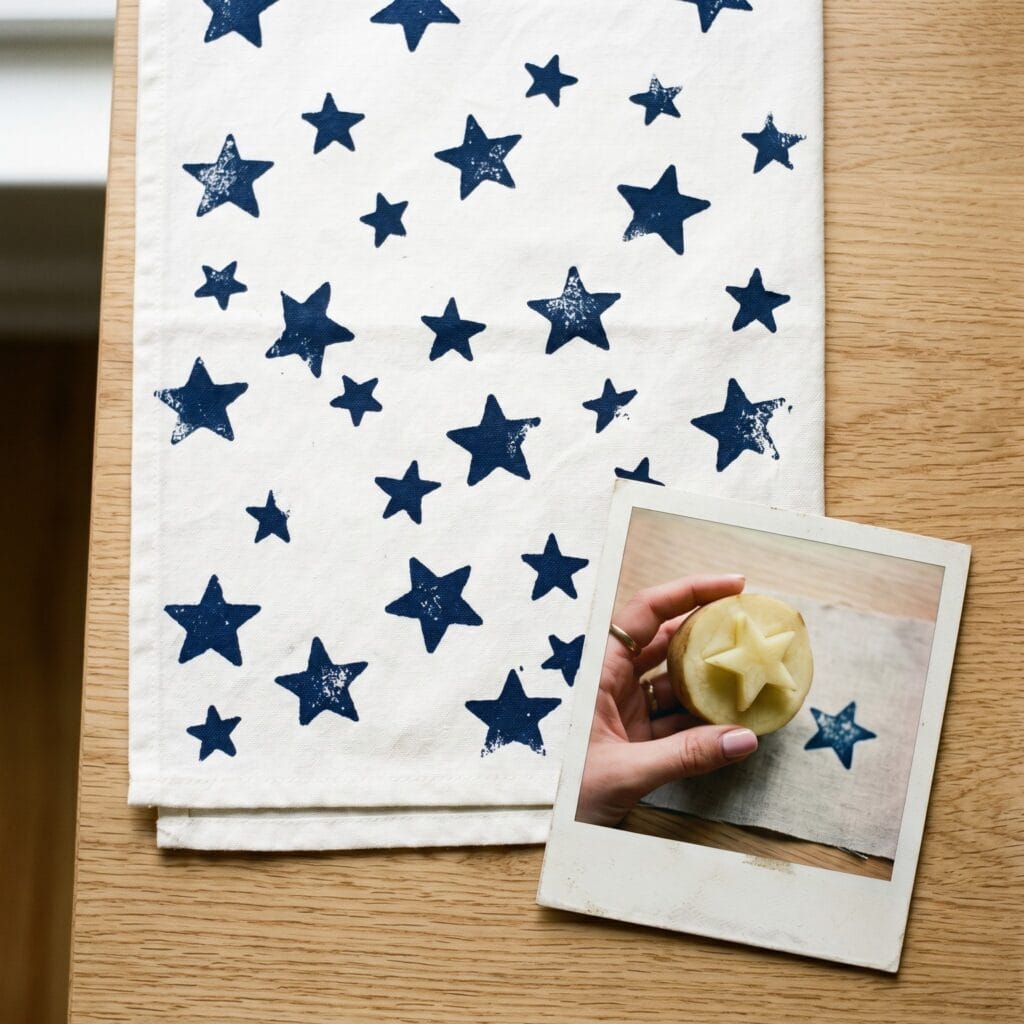
You do not need professional tools. Actually, carving simple star shapes out of a potato is very budget-friendly. After that, stamp them randomly over the fabric. Thus, you create a charming “night sky” effect.
7. Vintage Herb Garden
Supplies Needed: Carvable Rubber Stamp Blocks, Water-Based Fabric Block Printing Ink Set
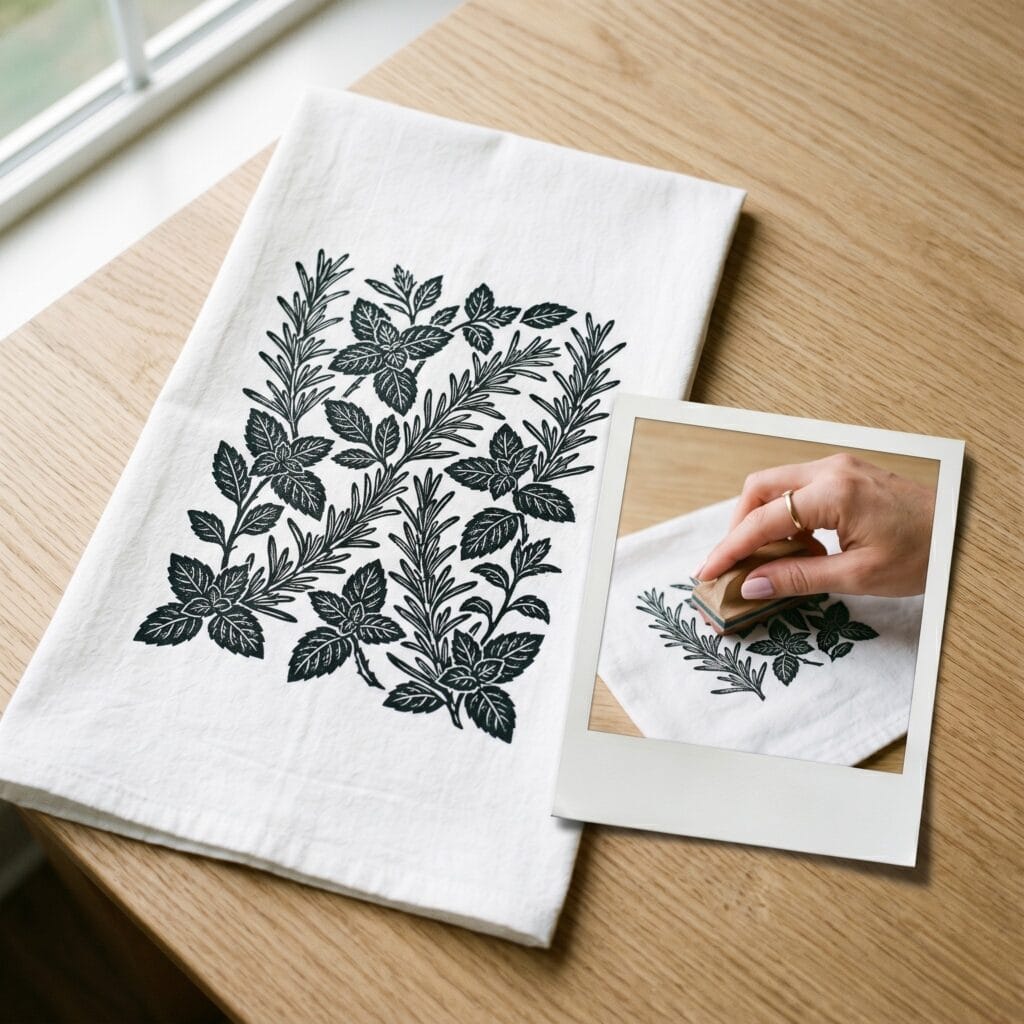
Classic black and white contrast never goes out of style. For this design, carve stamps resembling rosemary or mint sprigs. Next, use jet-black fabric ink on a white towel. By doing so, you achieve a highly sophisticated aesthetic.
8. Wavy Waves
Supplies Needed: Water-Based Fabric Block Printing Ink Set, Soft Rubber Brayer Set
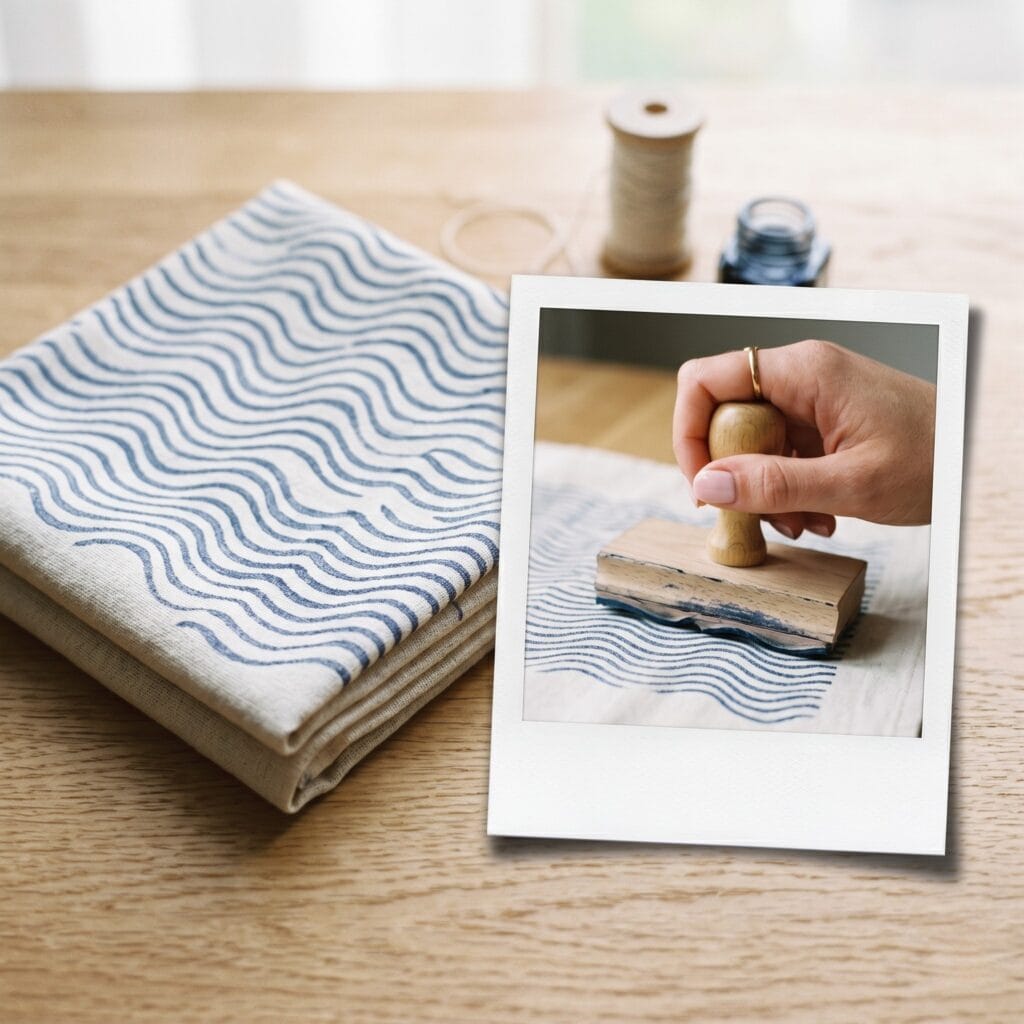
Creating a sense of movement is easy. Specifically, carve a stamp with three parallel wavy lines. Then, stamp them closely together in a row. Therefore, you introduce a relaxing coastal ocean breeze vibe.
9. Terrazzo Fleck Pattern
Supplies Needed: Carvable Rubber Stamp Blocks, Water-Based Fabric Block Printing Ink Set
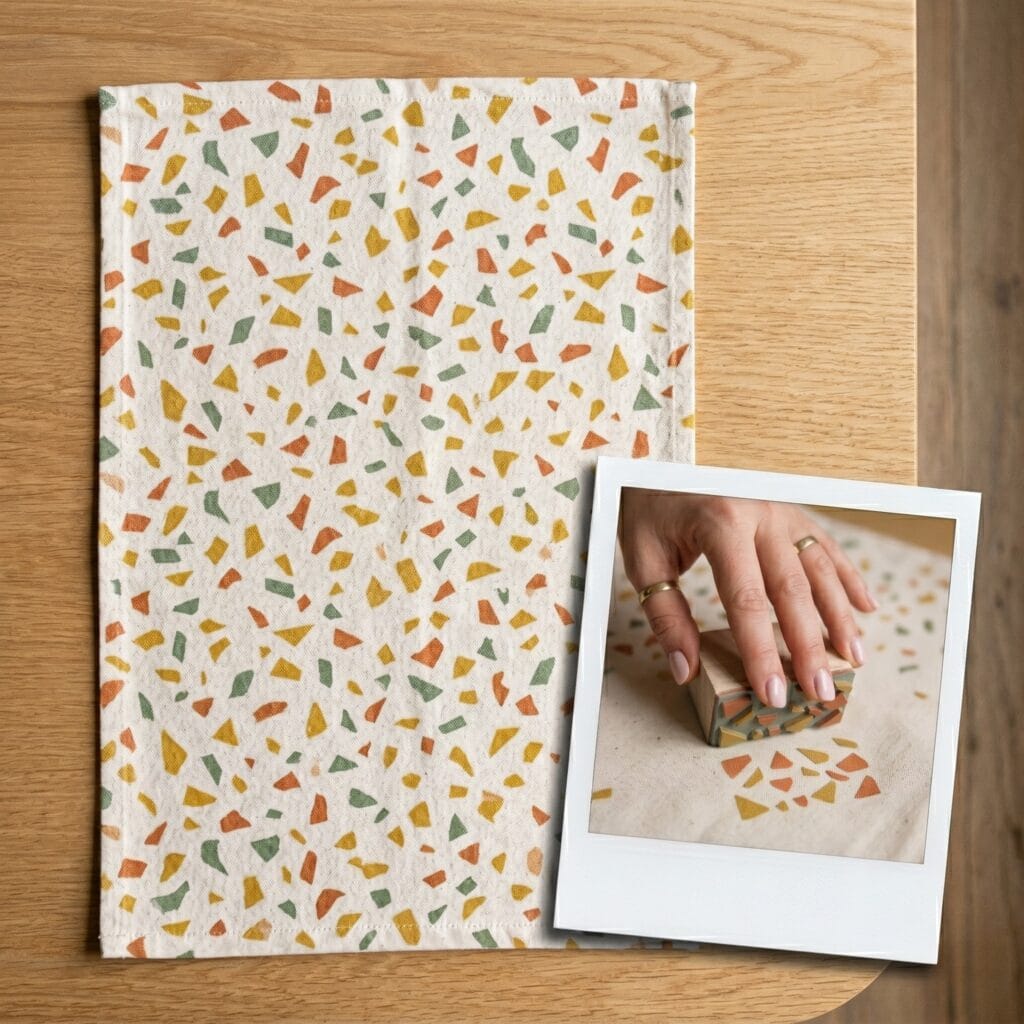
The popular terrazzo trend translates beautifully to fabric. To do this, carve a few small geometric shards. Next, stamp them in a random cluster across the fabric. Indeed, this energetic fleck pattern looks very modern. Plus, it pairs perfectly with the earthy textures found in our Hand Painted Terracotta Pots: 10 Easy Ideas You’ll Love tutorial.
10. Repeating Abstract Shapes
Play with organic geometry. For example, carve an asymmetrical shape. Then, stamp it repeatedly. Be sure to rotate the block slightly each time. Consequently, this creates a stunning, abstract balance.
Important Crafting Safety Note:
When carving your own rubber blocks or potatoes for block printed tea towels, always cut away from your body. Linoleum carving tools are extremely sharp and can easily slip. Keep your non-dominant hand well behind the blade path to prevent deep cuts. Additionally, always work in a well-ventilated space if you are using heat-setting techniques or chemical-based fabric mediums.
Quick Reference: All Supplies at a Glance
For your convenience, here is a quick summary of all materials and tools used in this tutorial:
✨ Consumable Raw Materials
- Blank Flour Sack Cotton Tea Towels | Check Price on Amazon
- Water-Based Fabric Block Printing Ink Set | See Price on Amazon
- Carvable Rubber Stamp Blocks | Check Carvable Rubber Stamp Blocks on Amazon
🧰 Core Crafting Tools & Equipment
- Soft Rubber Brayer Set | Check Latest Price on Amazon
- Linoleum and Rubber Block Carving Tool Set | View on Amazon
- Self-Healing Cutting Mat | Check Price on Amazon
- Acrylic Ink Palette Sheet | See Price on Amazon
💎 Hardware, Fasteners & Finishing
- Fabric Medium | See Fabric Medium on Amazon
- Heat-Resistant Pressing Cloth | View Heat-Resistant Pressing Cloth on Amazon
- Freezer Paper for Fabric Backing | Find Freezer Paper for Fabric Backing on Amazon
📦 All-in-One Starter Kits
- Fabric Block Printing Starter Kit | Check Fabric Block Printing Starter Kit on Amazon
⚡ Studio Tools & Workshop Equipment
- Digital Heat Press for Fabric Crafts | See Digital Heat Press for Fabric Crafts on Amazon
- Daylight LED Magnifying Craft Lamp | View Daylight LED Magnifying Craft Lamp on Amazon
- Heavy-Duty Rolling Craft Storage Cart | Find Heavy-Duty Rolling Craft Storage Cart on Amazon
Important Crafting Safety Notes
Crafting is a rewarding creative activity, but maintaining a safe workshop environment is essential for yourself, your family, and your pets. Please review these vital safety precautions before starting:
• Personal Protective Equipment (PPE) & Safe Handling: Always wear safety glasses or protective eyewear when cutting metal wire, clipping jump rings, trimming hard findings, or using power tools to prevent flying shards. Use heat-resistant work mats and exercise caution around high-temperature glue guns, irons, or heating tools to avoid burns. Wear disposable nitrile gloves and a particle dust mask when sanding wood or working with clays, resins, and solvent-based sealants to protect your skin and lungs.
• Room Ventilation & Fume Safety: Always craft in a well-ventilated space with open windows, cross-ventilation, or active exhaust whenever using solvent-based adhesives, instant bonders, aerosol sprays, epoxy resins, or heat-curing materials. Never inhale chemical fumes directly, and allow finished pieces to off-gas and cure completely in an airy area away from everyday living spaces.
• Child & Pet Safety (Choking & Swallowing Prevention): Small craft components—including safety eyes, split rings, clasps, jump rings, beads, bells, small magnets, unbaked clay scraps, and loose polyester fiberfill—present severe choking, intestinal obstruction, and ingestion hazards for babies, toddlers, and pets. Keep all unattached hardware, yarn cutoffs, and stuffing strictly out of reach. For handmade gifts intended for infants or young children, omit plastic washer eyes and detachable findings entirely in favor of securely stitched, double-knotted embroidered details.
• Sharp Tool Storage & Clean Work Area: Store sharp tools—such as rotary cutters, craft knives, bent-tip yarn needles, snips, scissors, and jewelry pliers—in secure, latching cases or high cabinets immediately after use. Thoroughly inspect, sweep, or vacuum your craft area and floor after finishing to ensure no dropped needles, pins, wire clippings, or small findings remain where curious pets or bare feet could step on or swallow them.
• Certified, Quality & Non-Toxic Supplies: Always choose verified non-toxic craft supplies (such as ACMI AP-certified paints and adhesives, lead-free and nickel-free jewelry findings, and skin-safe materials). Follow manufacturer label guidelines for curing durations, safe operating temperatures, and proper product disposal. Never use food preparation utensils or kitchen cookware for craft chemicals.
For more detailed guidance on safe crafting practices, liability disclosures, and website usage, please review our Terms and Conditions.