

Do you want custom painted ceramic mugs for your coffee? This guide brings together eight designs made with oil-based paint pens and cured in an ordinary home oven — no kiln, glaze or special equipment involved. Finding unique cups in stores is hard, and making your own is easy: pick a pattern, draw it, then bake it, with no expert painting skills needed. Each design belongs on the outer wall of the mug, so keep your drawing clear of the drinking rim where your lips sit, and leave the handle unpainted unless the pen maker explicitly allows it.
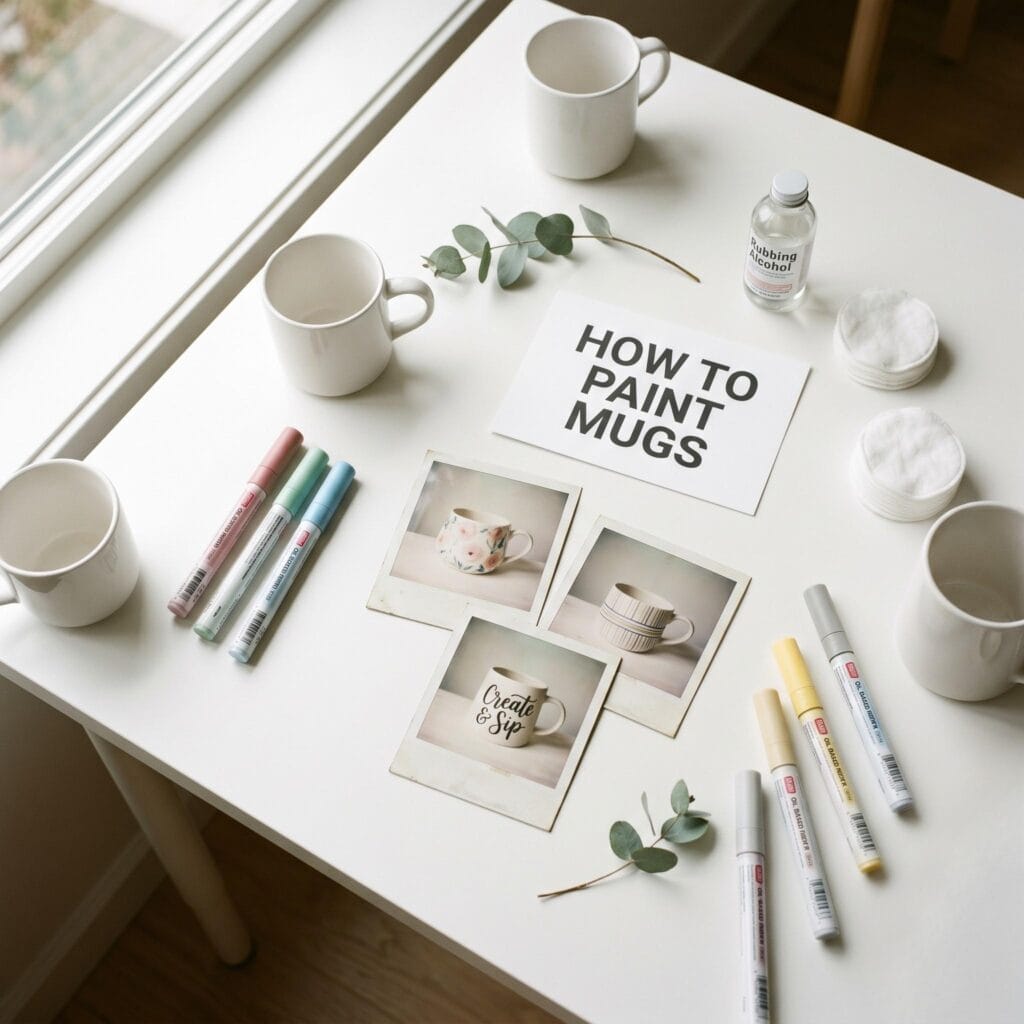
Working with markers is a calm weekend activity, and the finished cups make practical gifts for friends. Are you ready to craft? Then scroll down to our simple guide. Before you begin, please review our Essential Health & Safety Guidelines at the bottom of this post — they cover ventilation, food-contact limits and oven handling for this project. First, let us look at some beautiful ideas.
This post contains affiliate links. As an Amazon Associate, I earn from qualifying purchases. If you buy through these links, I may earn a commission at no additional cost to you.
THE PROCESS EVERY MUG IN THIS GUIDE FOLLOWS
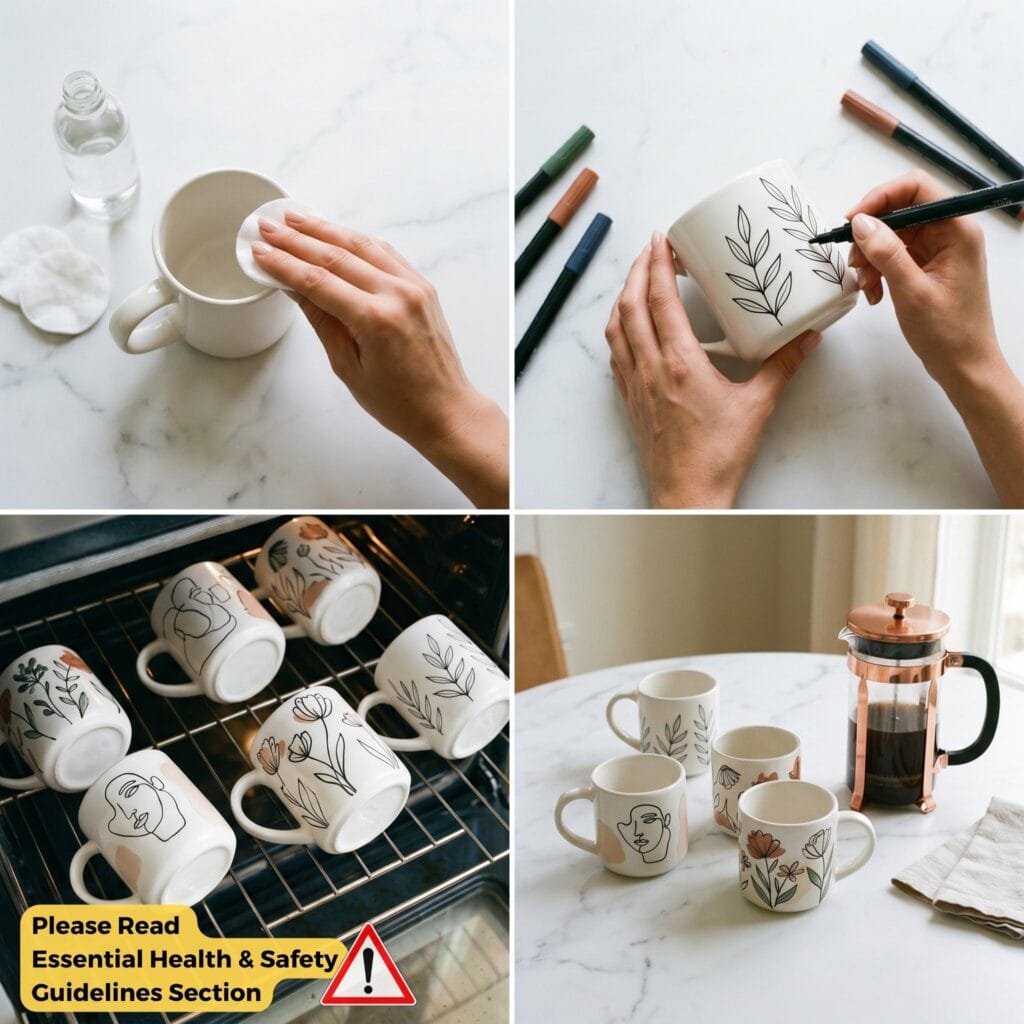
Every design below shares the same simple process, from prepping the surface to baking your finished piece. Follow these four steps for whichever idea you choose.
- Clean the Surface: Wipe your mug thoroughly with rubbing alcohol using a lint-free cloth or cotton swab to remove invisible finger oils. This step guarantees proper paint adhesion.
- Prep & Draw: Sketch your design lightly with a soft graphite pencil if needed, then trace or fill using oil-based paint pens. Always leave an unpainted 1-inch border around the top rim so your lips never touch painted areas.
- Bake (Cold Oven Rule & Ventilation): Place unbaked mugs into a cold oven. Turn on your kitchen exhaust fan and open a window for ventilation. Once preheated, follow the temperature and time printed on your paint pen’s package. The pen manufacturer’s curing instructions override any curing directions given in this article.
- Cool Inside the Oven: Turn off the oven and let the mugs cool completely inside before removing them. Gradual cooling reduces the risk of thermal shock and cracking.
Essential Materials & Tools
✨ Consumable Raw Materials
A few foundational materials are used throughout every design in this guide, marked with a (used throughout) tag below.
Universal Supplies
- Blank White Ceramic Mugs (used throughout) — the ready-to-decorate canvas for every design in this guide; check each mug for an oven-safe rating and a smooth glazed surface before baking | Check Blank White Ceramic Mugs (used throughout) on Amazon
- Oil-Based Paint Pen Set, Assorted Colors (used throughout) — choose a set explicitly labeled for baking on ceramic or porcelain. The temperature and time printed on the package override any curing directions in this guide, and oil-based ink is what survives baking and daily washing. Regular markers wash off. | Check Price on Amazon
- Rubbing Alcohol (used throughout) — removes finger oils before drawing, and blends ink for the watercolor-style wash design | View Rubbing Alcohol (used throughout) on Amazon
- Cotton Swabs — dip into rubbing alcohol to lift fresh design mistakes while the ink is still wet | See Cotton Swabs on Amazon
- Lint-Free Cloth — wipes the whole mug surface with rubbing alcohol before drawing so the ink sits on clean ceramic | See Lint-Free Cloth on Amazon
Design-Specific Supplies (Optional)
- Small Detail Paintbrush — blends alcohol into marker ink for the watercolor-style ink wash technique | Find Small Detail Paintbrush on Amazon
- Painter’s Tape (Masking Tape) — creates clean geometric grid lines and straight edges for arch and checkerboard designs | See Price on Amazon
- Soft Lead Graphite Pencil — allows you to sketch your monogram or fine art outline before committing with paint pens | Explore Soft Lead Graphite Pencil on Amazon
- Aluminum Foil — a disposable palette for the ink-wash technique — scribble the pen’s oil-based paint onto it and pick the thinned paint up with the brush | Check Aluminum Foil on Amazon
8 Ideas for Hand Painted Ceramic Mugs
Modern Styles for Hand Painted Ceramic Mugs
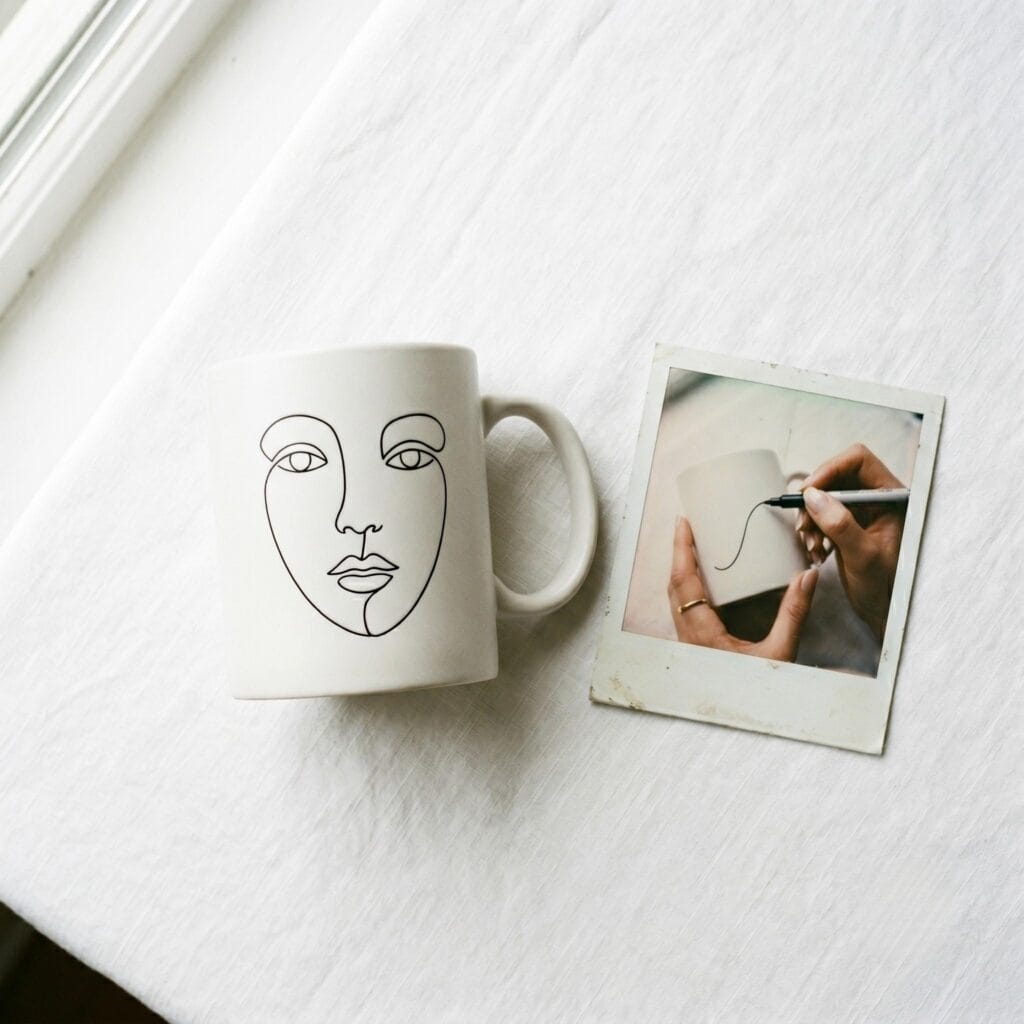
1. Minimalist Abstract Line Art
Supplies Needed: Blank White Ceramic Mug, Black Oil-Based Paint Pen, Soft Lead Graphite Pencil, Rubbing Alcohol, Cotton Swabs or Lint-Free Cloth.
Lightly sketch an abstract face or continuous curved line with a graphite pencil first. Trace over your draft using a fine-tip black oil-based paint pen for a clean, modern look.
Placement and technique: Draw on the upper half of the mug where the design sits at eye level, keeping the motif about two thumb-widths wide so the line stays steady. Use the pen’s fine tip for the outline, lift any slip with a cotton swab dipped in rubbing alcohol while the ink is still wet, and let the design dry to the touch before baking.
2. Boho Sunburst Arch
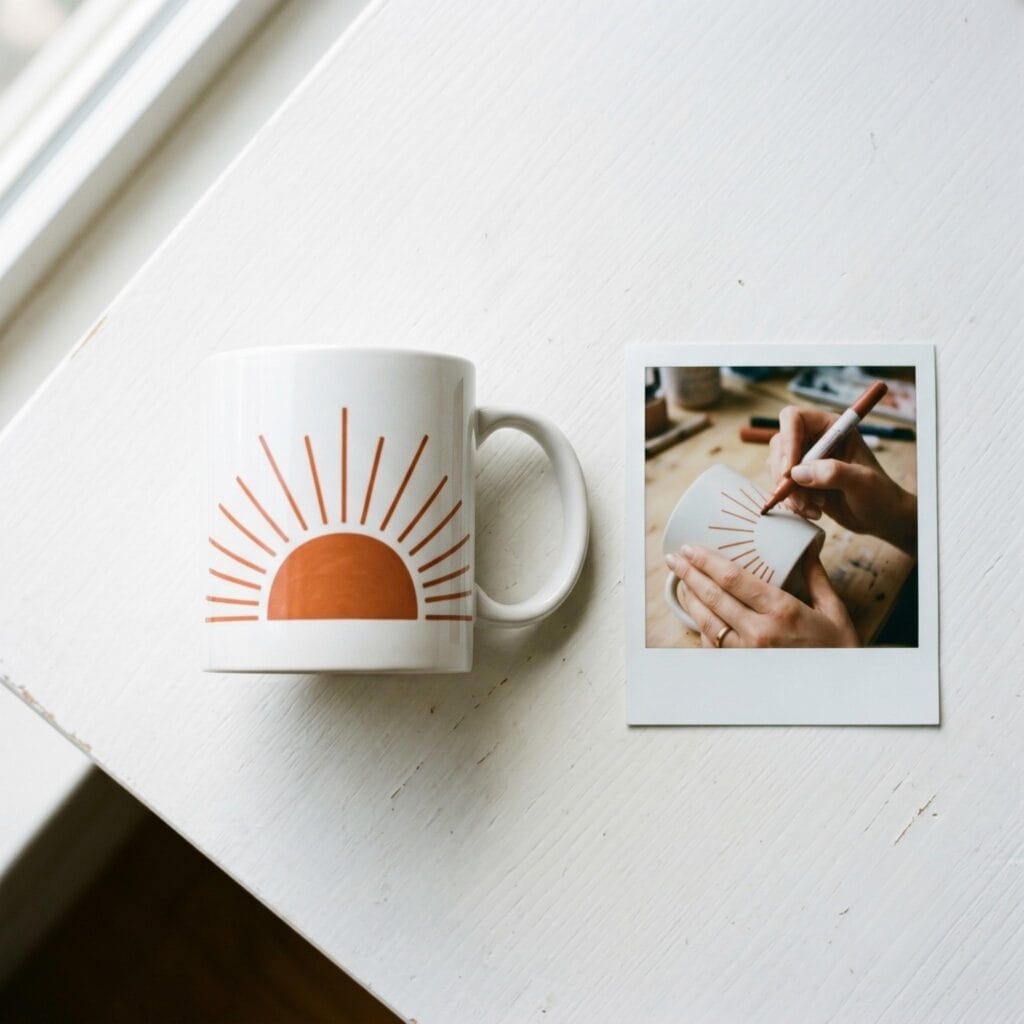
Supplies Needed: Blank White Ceramic Mug, Terracotta Oil-Based Paint Pen, Gold Oil-Based Paint Pen, Painter’s Tape, Rubbing Alcohol, Cotton Swabs or Lint-Free Cloth.
Use painter’s tape to outline a symmetrical arch on the front of the mug. Fill in the arch with terracotta paint, peel off the tape while slightly tacky, and draw neat radial sunbeams extending outward with the gold marker.
Placement and technique: Center the arch on the flattest side of the mug, roughly a hand’s width tall, so the sunbeams have room to fan out toward the handle. Peel the tape while the paint is still slightly tacky for clean edges, correct overruns with an alcohol-dampened swab before the ink sets, and let the design dry to the touch before baking.
3. Speckled Terrazzo Pattern
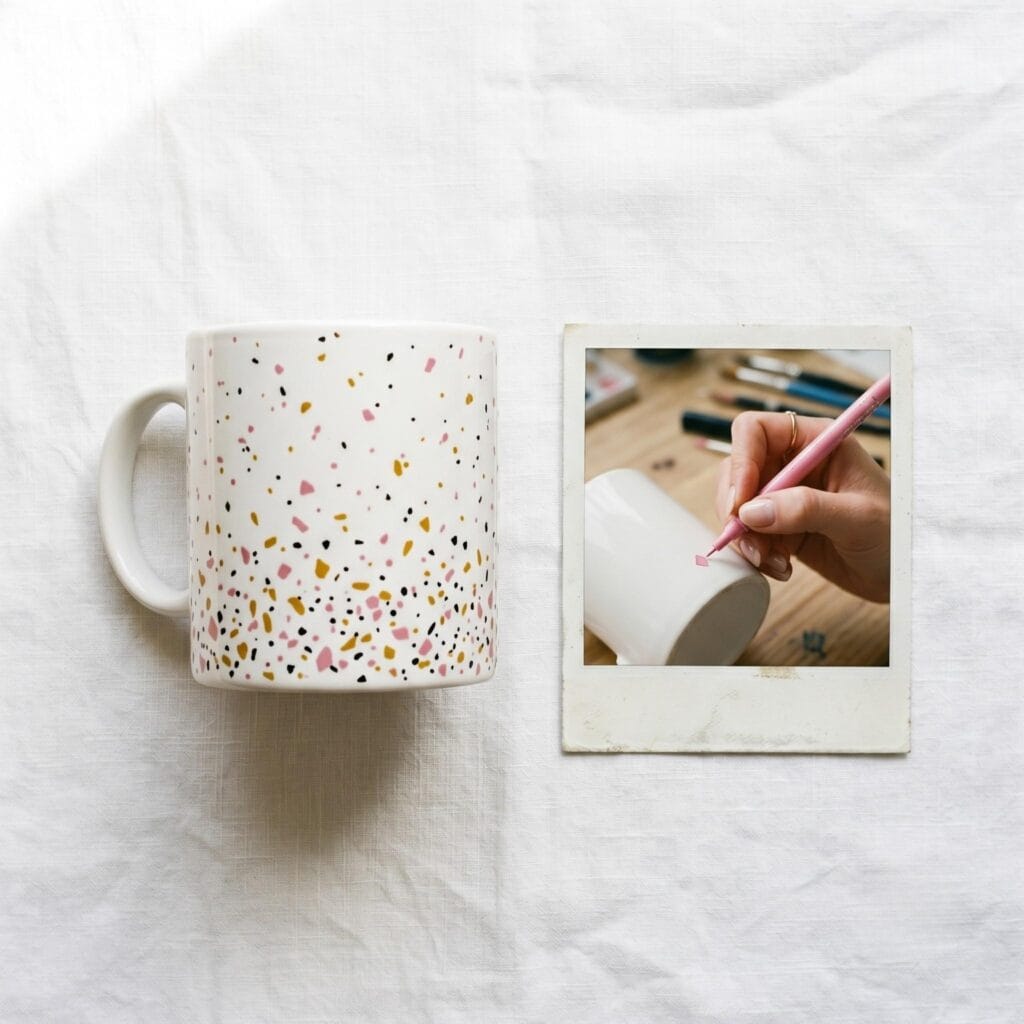
Supplies Needed: Blank White Ceramic Mug, Oil-Based Paint Pens (Pink, Mustard, Black), Rubbing Alcohol, Cotton Swabs or Lint-Free Cloth.
Select three contrasting colors. Draw small geometric shapes and flakes around the lower half of the mug, varying the sizes slightly to replicate custom terrazzo stone.
Placement and technique: Keep the speckles inside the lower half of the mug and vary their size from a grain of rice to a small fingernail so the pattern resembles natural stone. Use small, controlled strokes for the finest flakes, wipe stray marks away with rubbing alcohol while the ink is wet, and let the pattern dry to the touch before baking.
Love modern minimalist crafts? Check out our step-by-step guide on making a polymer clay dangling keychain to match your daily aesthetic!
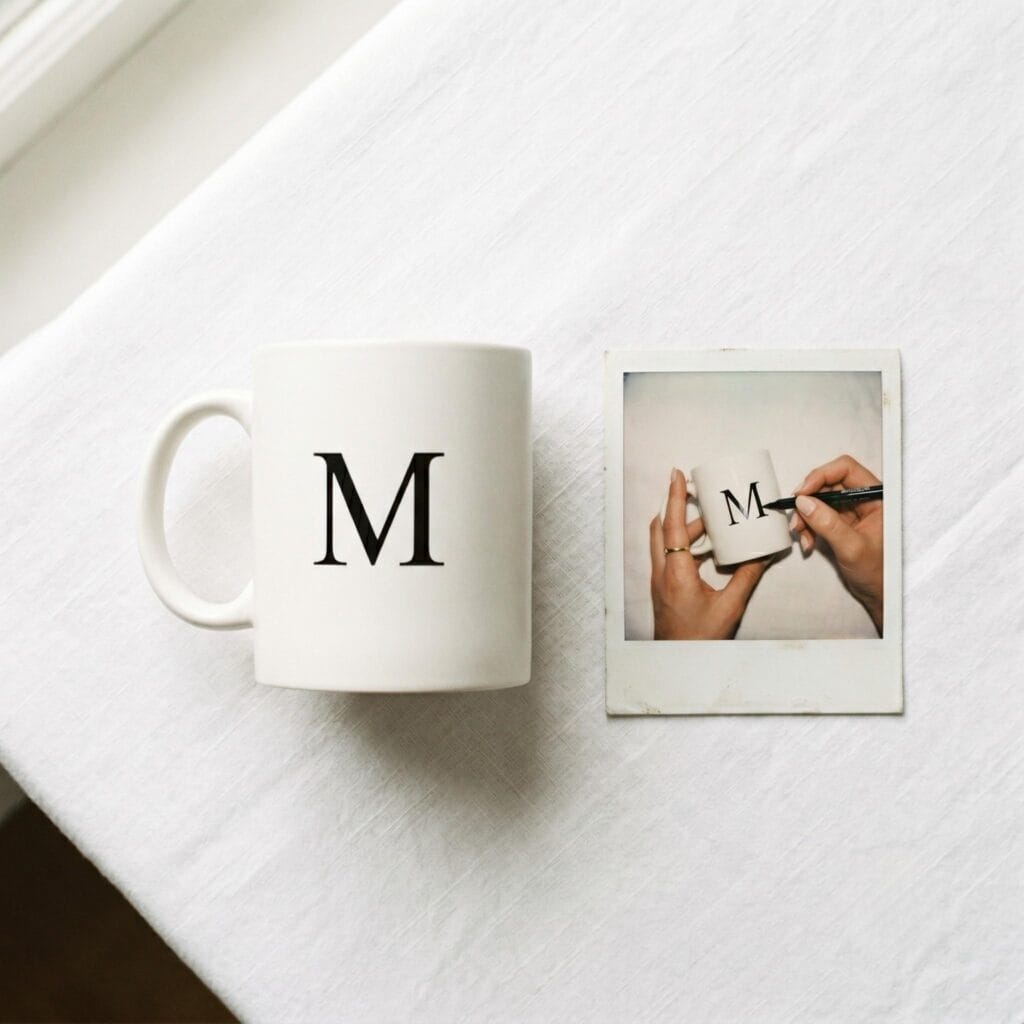
4. Modern Monogram Typography
Supplies Needed: Blank White Ceramic Mug, Black Oil-Based Paint Pen, Soft Lead Graphite Pencil, Rubbing Alcohol, Cotton Swabs or Lint-Free Cloth.
Lightly sketch a large serif initial onto the mug with a graphite pencil to verify alignment and proportion. Carefully fill in the initial using a black oil-based marker.
Placement and technique: Center the initial on the front of the mug and size it to about a third of the mug’s height so it reads clearly without crowding the rim. Fill the outline in slow, even strokes, clean up any wobble with an alcohol-dampened swab before the ink sets, and let it dry to the touch before baking.
Nature Themes for Hand Painted Ceramic Mugs
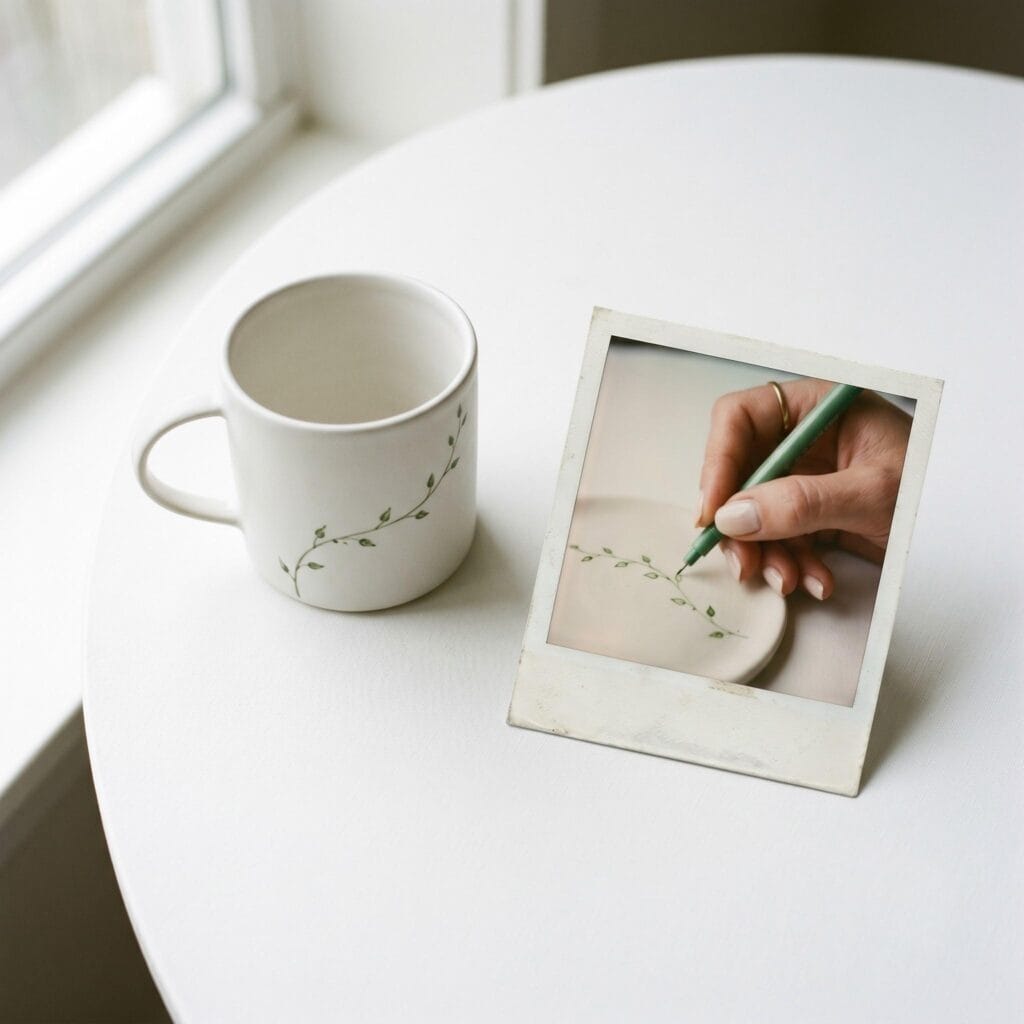
5. Delicate Botanical Sprigs
Supplies Needed: Blank White Ceramic Mug, Fine-Tip Green Oil-Based Paint Pen, Rubbing Alcohol, Cotton Swabs or Lint-Free Cloth.
Draw a thin, gently curved stem along the side of the mug. Add tiny teardrop leaves along the stem using light pressure with a fine-tip green paint pen.
Placement and technique: Run the stem from just below the rim down the side of the mug and space the leaves about a finger’s width apart so the sprig stays light. Use gentle pressure with the fine tip for each leaf, lift mistakes with an alcohol-dampened swab while the ink is still wet, and let the design dry to the touch before baking.
6. Geometric Half-Moons
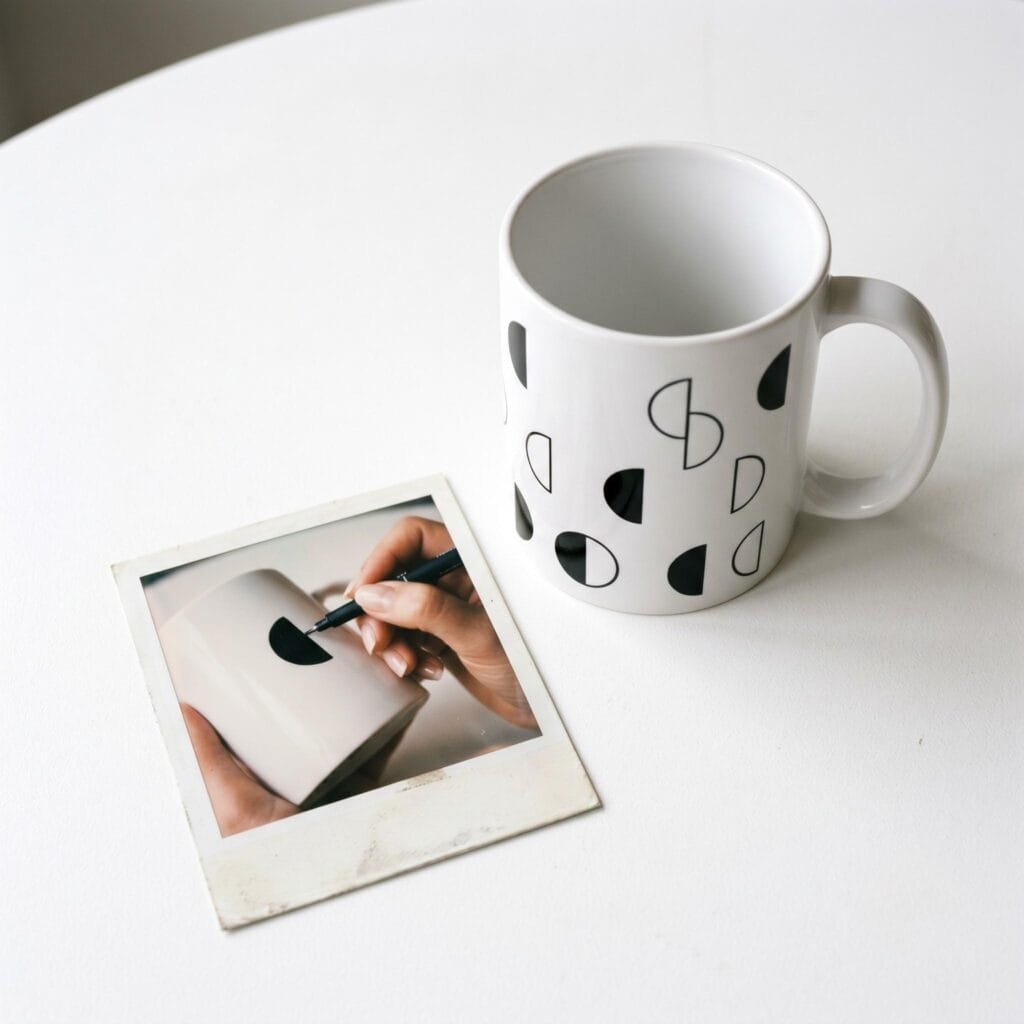
Supplies Needed: Blank White Ceramic Mug, Medium-Tip Black Oil-Based Paint Pen, Rubbing Alcohol, Cotton Swabs or Lint-Free Cloth.
Use a medium-tip marker to draw solid half-moon shapes across the ceramic surface. Space them evenly and leave alternating moons unpainted to create a balanced geometric pattern.
Placement and technique: Work the half-moons across the middle band of the mug, about a fingertip apart, leaving every other spot unpainted so the pattern alternates on purpose. Draw each edge with the medium tip in single strokes, correct overlaps with rubbing alcohol while the ink is still wet, and let the pattern dry to the touch before baking.
7. Watercolor-Style Ink Wash
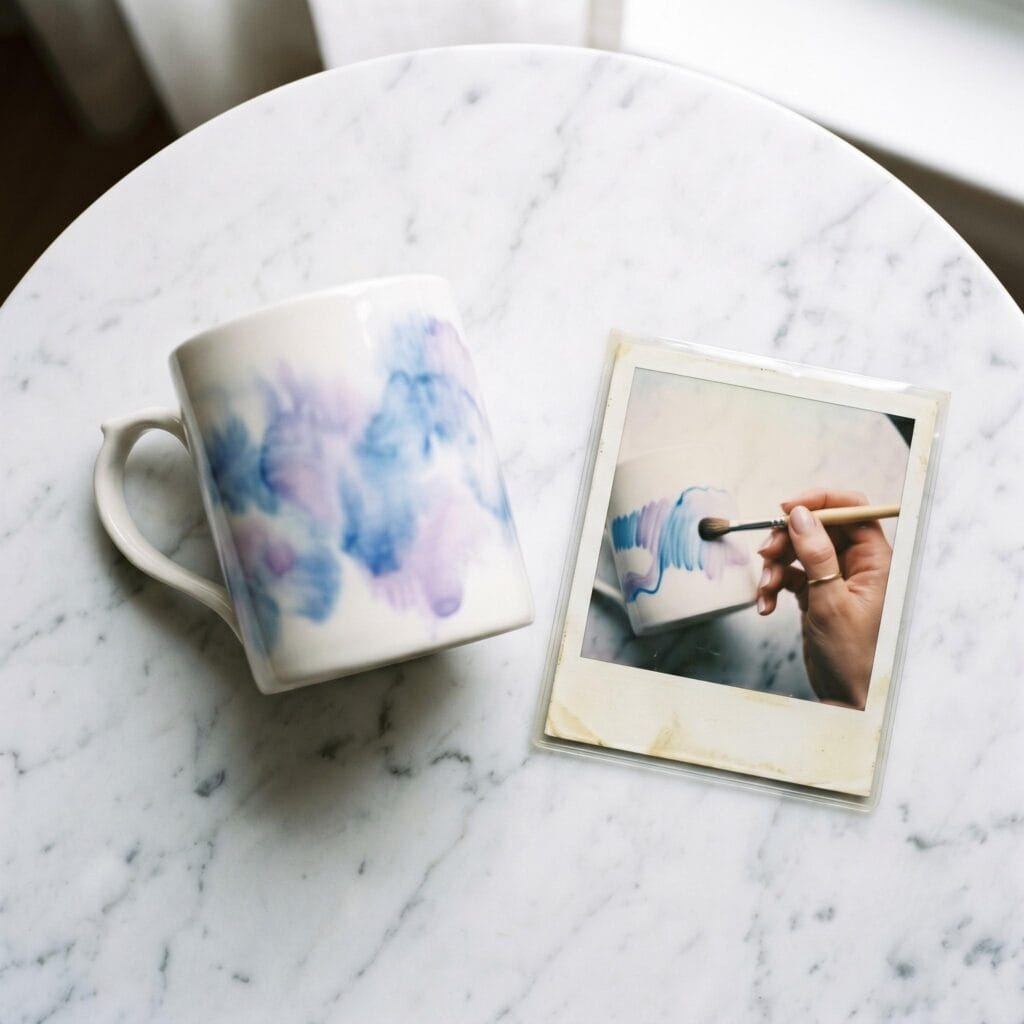
Supplies Needed: Blank White Ceramic Mug, Oil-Based Paint Pen, Rubbing Alcohol, Small Detail Paintbrush, Aluminum Foil, Cotton Swabs or Lint-Free Cloth.
Scribble oil-based paint onto a piece of aluminum foil to create a wet paint reservoir. Pick up the paint with a detail paintbrush dipped in rubbing alcohol, then lightly layer soft washes onto the mug before the paint dries. Test the mix first: drop pen ink onto the foil, blend it with rubbing alcohol, and make one stroke on the bottom of the mug to check the wash before you start on the design.
Placement and technique: Work on one side of the mug so the wash stays in one zone, and keep each layer thin enough that the ceramic still shows through. Pick up more alcohol than paint for lighter tones, lift overworked patches with an alcohol-dampened swab, and let each layer dry to the touch before adding the next one.
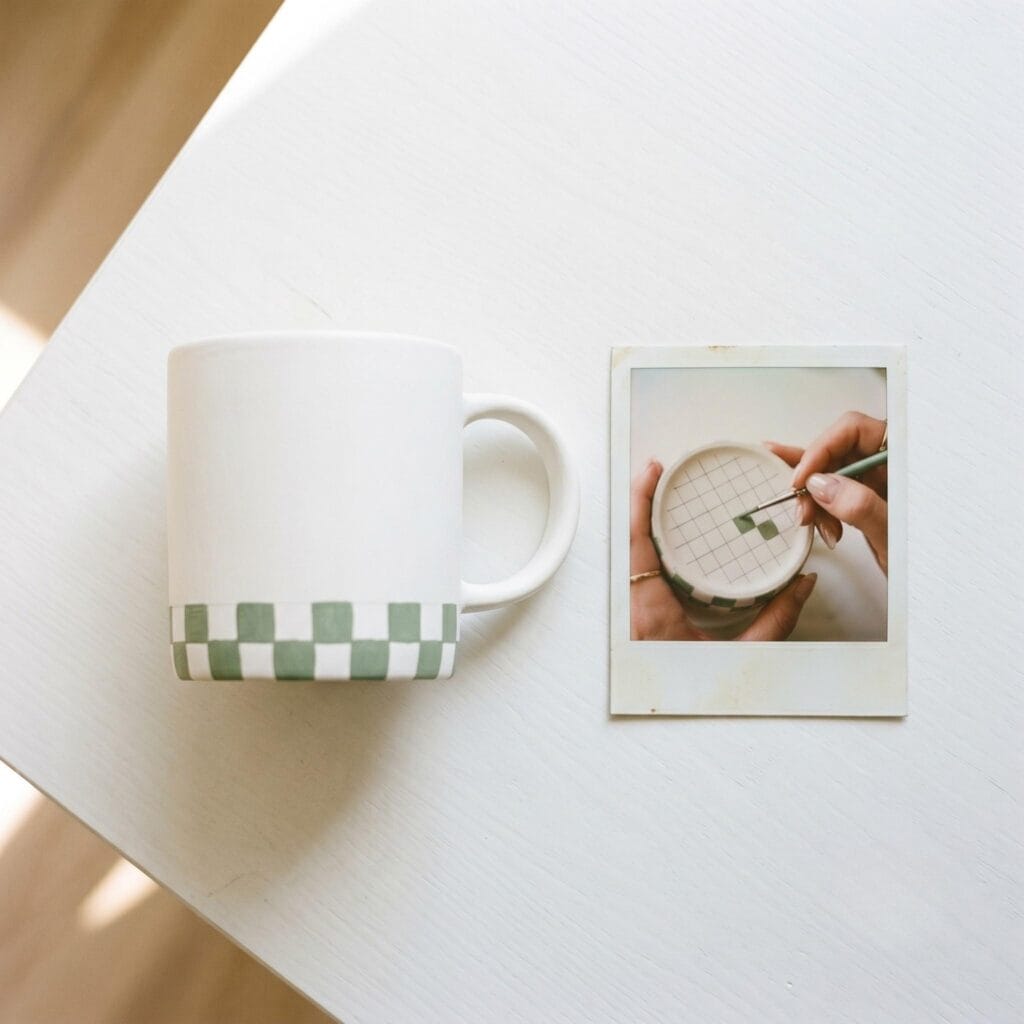
8. Retro Checkerboard Base
Supplies Needed: Blank White Ceramic Mug, Sage Green Oil-Based Paint Pen, Painter’s Tape, Rubbing Alcohol, Cotton Swabs or Lint-Free Cloth.
Wrap thin strips of painter’s tape around the lower base to mark out a precise grid. Fill alternating squares with sage green paint and peel away the tape before the paint cures to reveal sharp edges.
Placement and technique: Wrap the grid around the lower base of the mug with the tape strips about a finger’s width apart so the squares stay even. Fill alternating squares in short strokes, peel the tape before the paint cures to keep the edges sharp, and let the base dry to the touch before baking.
Looking for more relaxing weekend projects? Try our popular DIY wax sachets tutorial for beautiful botanical crafting inspiration.
⚠️ Essential Health, Safety & Care Guidelines
Please read these critical safety instructions before starting your hand painted ceramic mugs project. They cover the real risks of this project — solvent fumes, paint near your drink, and hot ceramic — and following them keeps those risks low.
- Crucial Kitchen Ventilation: Baking oil-based markers cures the paint but can release mild chemical odors. Consequently, you must bake your mugs in a highly ventilated area. Always open your kitchen windows and turn on the exhaust fan before turning on the oven.
- Food Contact Boundaries: Decorate the outside of the mug only: keep paint out of the interior where the drink sits, and leave an unpainted strip along the rim so your lips rest on bare glaze. Paint as far from the drink path as the design allows, and if you want the decoration closer to the rim or base, check the pen manufacturer’s guidance on food-contact surfaces first.
- Preventing Thermal Shock: Ceramics can crack or shatter when temperatures change suddenly. Always follow the “Cold Oven Rule” mentioned above. Heating and cooling the ceramic very slowly reduces the risk of internal pressure and breakage.
- Washing Instructions: To protect your beautiful design, never use a harsh dishwasher cycle. Instead, gently hand-wash the outside with a soft sponge.
- Children & Pets: Keep uncapped oil-based paint pens away from young children and pets, since the solvent inside is not meant to be ingested or chewed. Additionally, freshly baked mugs and the oven itself stay hot well after the cooldown period begins — keep curious children and pets out of the kitchen until everything has fully cooled to room temperature.
A CUP THAT’S TRULY YOURS
Hand painting your own mugs turns an everyday morning ritual into something personal — and once you’ve got the process down, you’ll find yourself dreaming up new patterns for every season.
For more detailed guidance and website usage, please review our Terms and Conditions.
Hand Painted Ceramic Mugs FAQ
Which paint pens are safe to use on mugs?
Use an oil-based paint pen set explicitly labeled for baking on ceramic or porcelain — and decorate the outside only: keep paint out of the interior where the drink sits and leave an unpainted strip along the rim.
Do I have to bake the mug?
Baking cures the paint. Follow the temperature and time printed on your pen’s label, start in a cold oven to prevent thermal shock, and bake in a highly ventilated kitchen because curing oil-based markers can release mild odors.
How should I wash a painted mug?
Hand-wash the outside with a soft sponge — never a harsh dishwasher cycle — to protect the design.
Can I fix a mistake before the ink dries?
Yes — dip a cotton swab in rubbing alcohol and lift fresh mistakes while the ink is still wet. Rubbing alcohol also removes finger oils before you draw and blends ink for the watercolor-style wash design.
“Which of these Beautiful Hand Painted Ceramic Mugs: Easy DIY Ideas are you excited to try first, or do you have a creative tip of your own to share? Drop a comment below—I’d love to hear your thoughts and see what you create!”


