

Looking to style your dining table? Hosting a beautiful dinner undoubtedly requires attention to small details. Fortunately, creating your own wooden bead napkin rings is a simple way to add Scandinavian style to your home. This quick DIY project uses minimal supplies. Furthermore, it is a safe and relaxing weekend activity. In this post, we share the essential tools, a step-by-step method, and six stylish designs to transform your tablescape.
This blog post contains affiliate links. As an Amazon Associate, I earn from qualifying purchases.
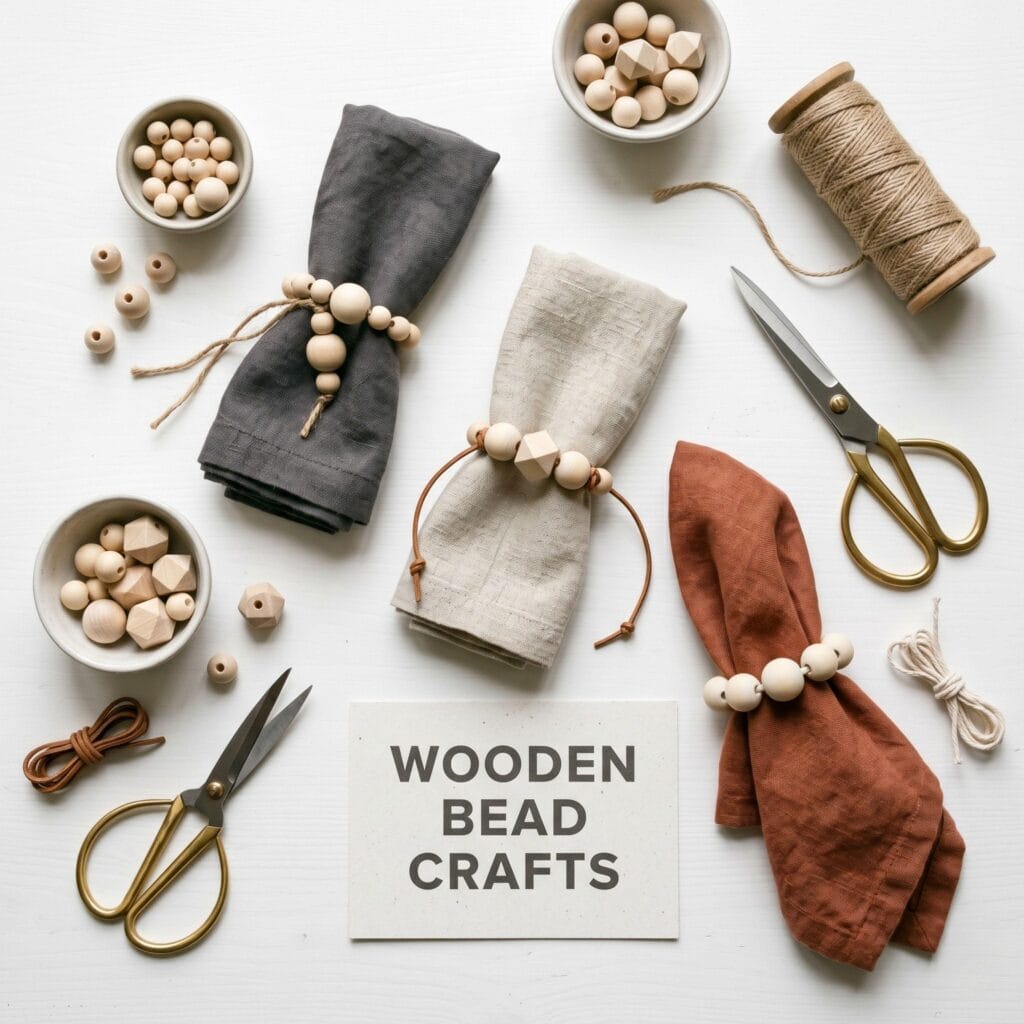
Essential Materials & Tools
Creating these Scandinavian-inspired napkin rings requires only a few basic materials. First, you only need a few simple materials to get started:
A few foundational tools and surface bases are used throughout every single project in this guide, marked with a (used throughout) tag below.
Natural wooden elements provide the organic base for every design in this guide.
✨ Base Supplies
- Untreated Round Wooden Beads — the classic smooth wooden beads for minimal Scandinavian loops, in large holes sized to your cord | Check Untreated Round Wooden Beads on Amazon
- Natural Jute Twine — rustic fiber cord ideal for everyday Scandinavian styling (test it through one bead before stringing) | Find Natural Jute Twine on Amazon
- Sharp Scissors (used throughout) — for trimming twine cleanly close to the finishing knot | Explore Sharp Scissors (used throughout) on Amazon
- Tape Measure or Ruler — checks cord length and bead spacing before every cut; the fit-first wrap still sets the final length | View Tape Measure or Ruler on Amazon
🛠 Design-Specific Options
- Geometric Faceted Wooden Beads — sharp angled beads that add modern architectural contrast, in large holes sized to your cord | Check Price on Amazon
- Various Sized Wooden Beads (12mm-25mm) — gradient sizes to build structured, focal-point designs, in large holes sized to your cord | View Various Sized Wooden Beads (12mm-25mm) on Amazon
- Tan Genuine Leather Cord — smooth leather string for high-end contrast and formal dining (the 2 mm cord needs large-hole beads — test one bead first) | See Price on Amazon
- Linen Thread — lightweight threads used for tying custom artisanal tassels | See Linen Thread on Amazon
- Painter’s Tape — blocks off clean geometric lines when color-dipping beads | View on Amazon
- Non-Toxic Acrylic Paints — water-based paints for safe color accents on table accessories | Find on Amazon
Strong natural cords keep your bead loops flexible yet securely bound.
Simple tools keep your cuts clean and your painted patterns crisp.
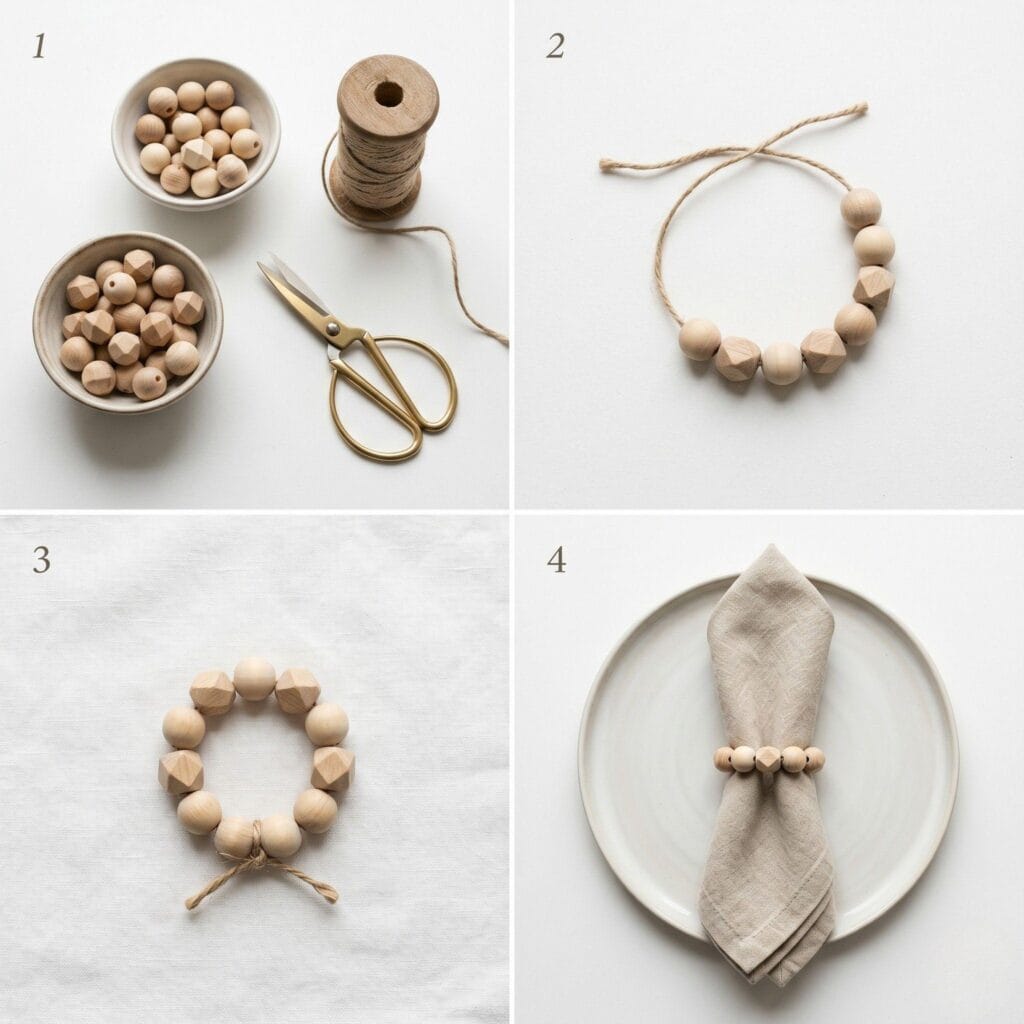
Step-by-Step Instructions
Crafting your napkin rings takes only a few minutes per piece. Follow these simple steps:
- Step 1: Measure and Cut
- Step 2: Prep and Paint (Optional)
- Step 3: String the Beads
- Step 4: Tie a Secure Knot
- Step 5: Trim and Finish
Step 1: Measure and Cut
Fold the napkin you plan to serve, wrap your chosen twine or leather cord around it, and leave a small overlap past the point where the knot will sit. Cut at that overlap instead of at a fixed length, so the ring is sized to your actual napkin. Test the fit on the folded napkin again in Step 4 before the final knot, and trim the ends only after that check.
Step 2: Prep and Paint (Optional)
If you want to add color, paint your beads before stringing them. Wrap painter’s tape around the center of the beads to achieve clean, crisp lines for a modern, half-raw look. Let the paint dry completely.
Step 3: String the Beads
Thread your wooden beads onto the cord according to your chosen design. For a standard cloth napkin, a sequence of 8 to 12 beads (depending on their size) typically creates the perfect loop diameter.
Step 4: Tie a Secure Knot
Bring the two ends of the cord together to form a circular ring. Tie a tight, secure double knot. Do not pull it so tight that the beads are crushed together; leave a millimeter of slack so the ring remains flexible.
Fit Check Before the Final Knot: Slide the finished strand onto the folded napkin it is meant to hold. Add or remove beads — or shorten the cord — until the loop sits snug around the napkin, then tie the double knot.
Step 5: Trim and Finish
Use sharp scissors to trim the excess twine close to the knot. If the bead holes are wide enough, you can slide the knot inside the nearest bead to hide it from view. Your napkin ring is now ready to use!
6 Inspiring Design Ideas
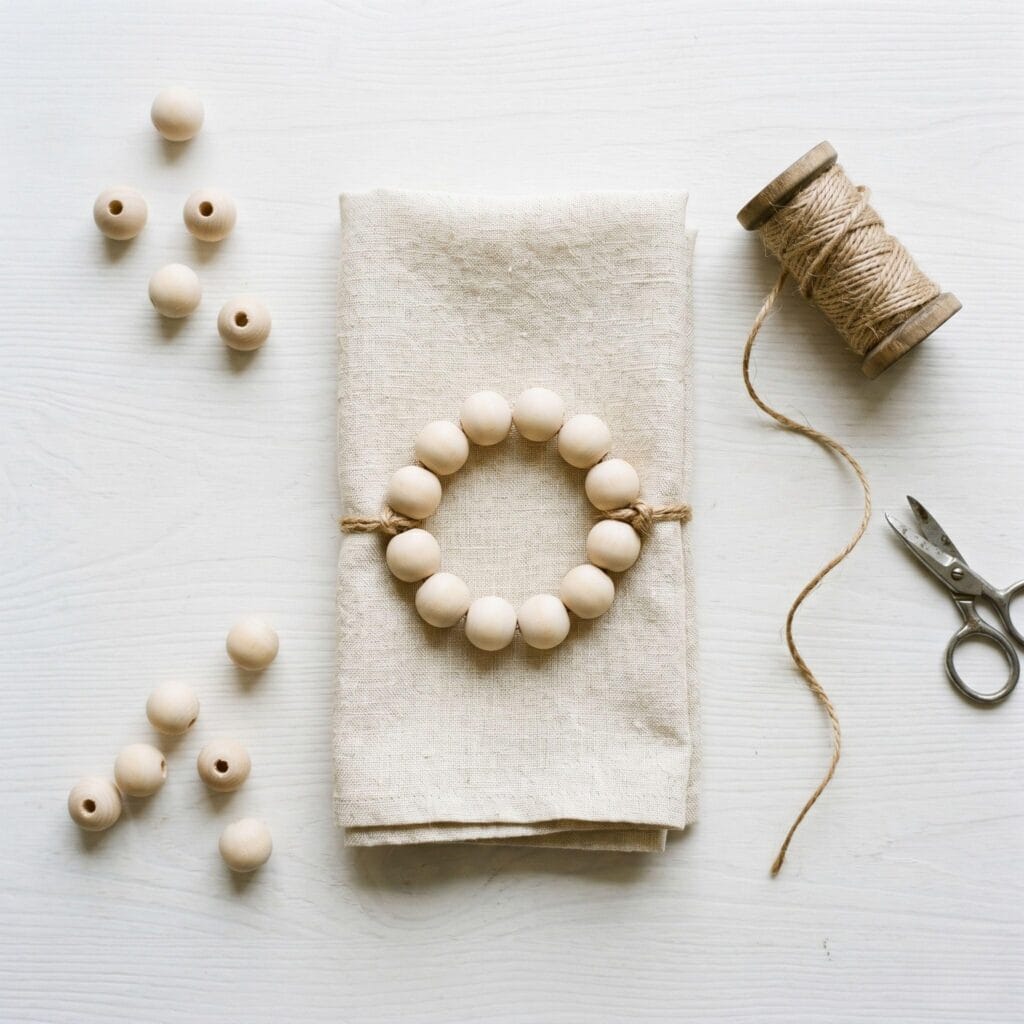
1. The Classic Scandi Round Loop
Supplies Needed: Untreated Round Wooden Beads, Natural Jute Twine, Sharp Scissors. (see Step 1 & Step 4 above)
To create this timeless loop, cut a 35 cm piece of natural jute twine. Thread 10 identical 20mm untreated round wooden beads onto the cord in sequence. Bring both ends together to form a tight circular ring, tie a double knot leaving 1 mm of slack for flexibility, and trim the excess twine down to 5 mm before sliding the knot inside the nearest bead hole.
Cozy Table Tip: Want to create the perfect matching set for your table? Check out our guide on 7 gorgeous DIY stamped napkins you will absolutely love to customize your cloth napkins from scratch!
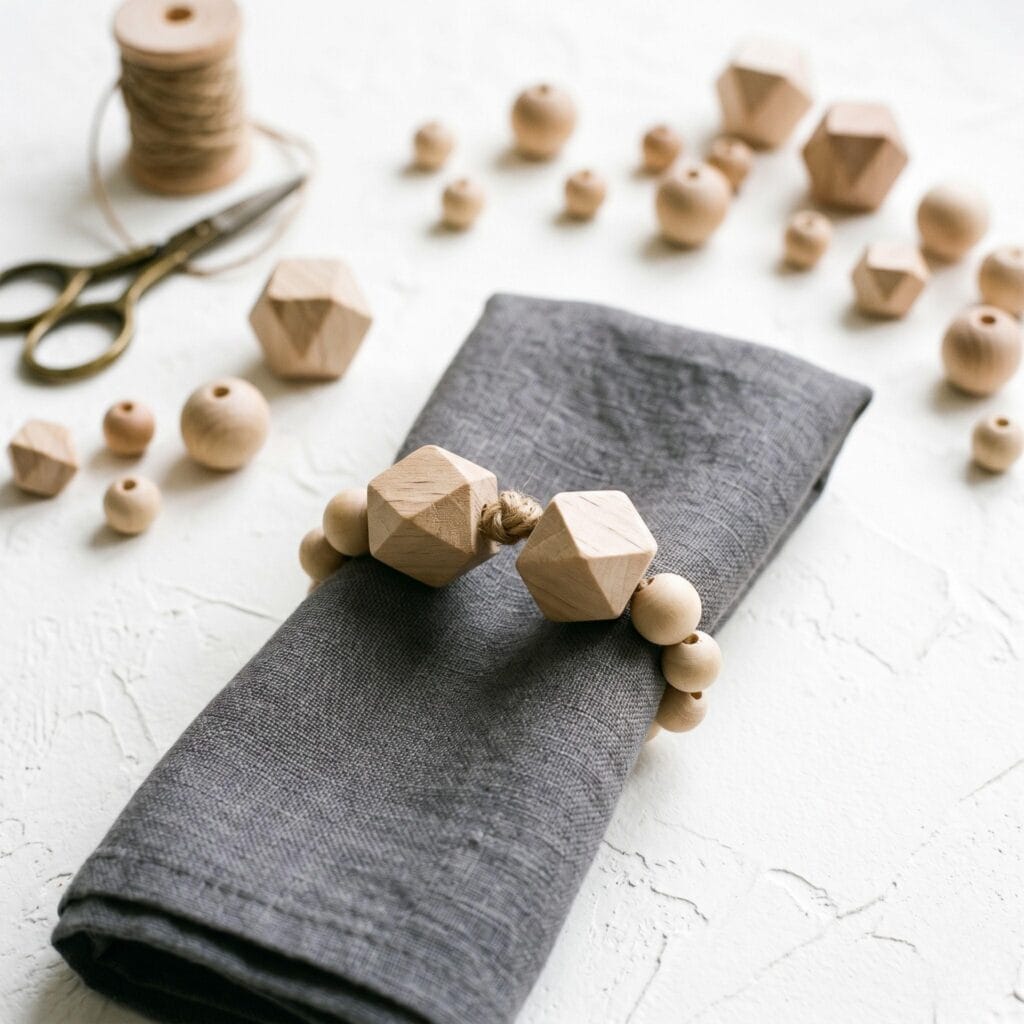
2. Geometric Faceted Modern Design
Supplies Needed: Untreated Round Wooden Beads, Geometric Faceted Wooden Beads, Natural Jute Twine, Sharp Scissors. (see Step 3 above)
Start by measuring and cutting 35 cm of jute twine. Thread four 16mm round beads onto one side, slide two 20mm geometric faceted beads into the exact center, and finish with four more 16mm round beads on the opposite side (10 beads total). The sharp angles of the middle faceted beads create a modern focal point on your napkin plate.
Close and finish: Slide the strung beads onto the folded napkin and add or remove a bead if the loop sits loose or tight. Tie a secure double knot with a millimeter of slack so the beads are not crushed, trim close to the knot, and slide the knot into the nearest bead hole if it is wide enough to hide it.
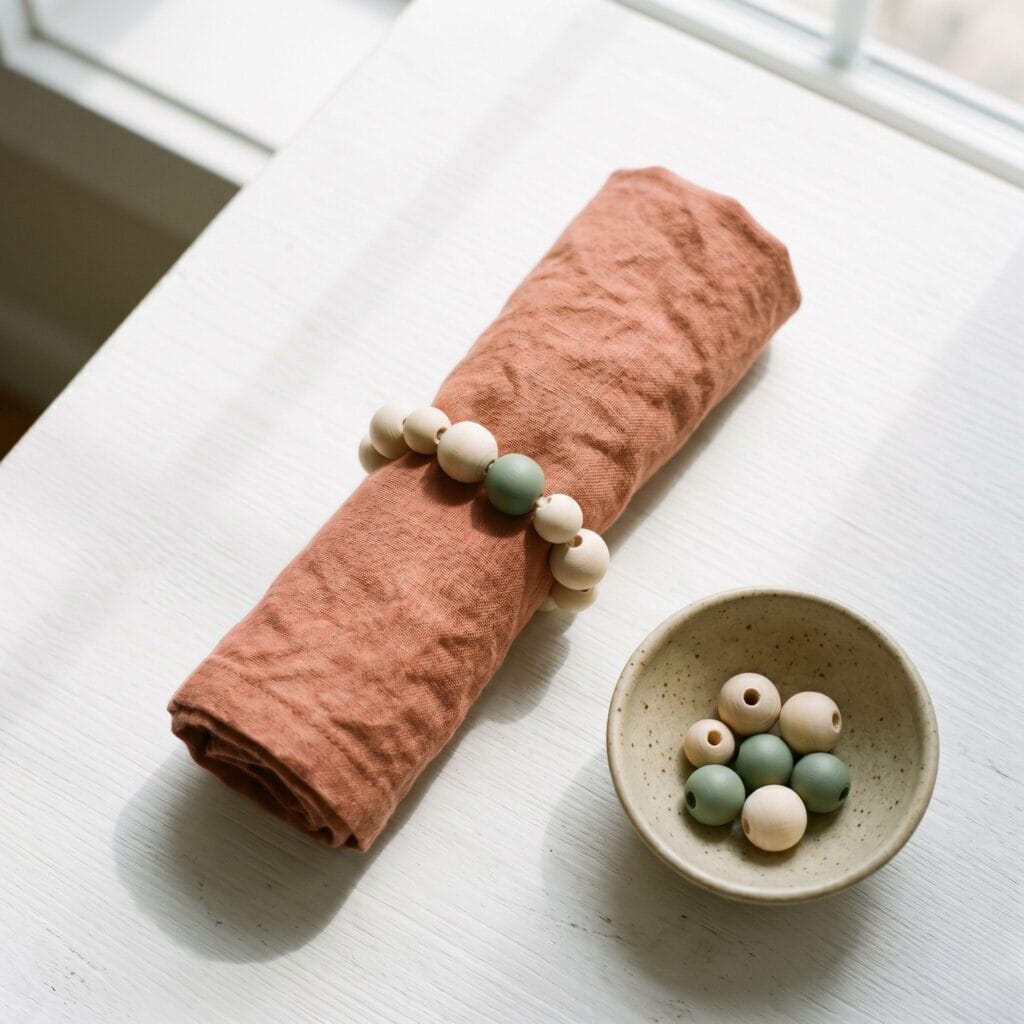
3. Soft Earth Tone Paint Mix
Supplies Needed: Untreated Round Wooden Beads, Non-Toxic Acrylic Paints, Painter’s Tape, Natural Jute Twine, Sharp Scissors. (see Step 2 above)
Select nine 18mm round wooden beads. Wrap painter’s tape around the middle of three beads and paint one half with matte sage green acrylic paint; let the paint dry fully — follow the drying time on your paint label (thicker coats take longer). String your cord in a repeating 2:1 pattern: two raw beads, one painted bead, two raw beads, one painted bead, until all nine beads are secured in a balanced color wheel.
Close and finish: Slide the strung beads onto the folded napkin and add or remove a bead if the loop sits loose or tight. Tie a secure double knot with a millimeter of slack so the beads are not crushed, trim close to the knot, and slide the knot into the nearest bead hole if it is wide enough to hide it.
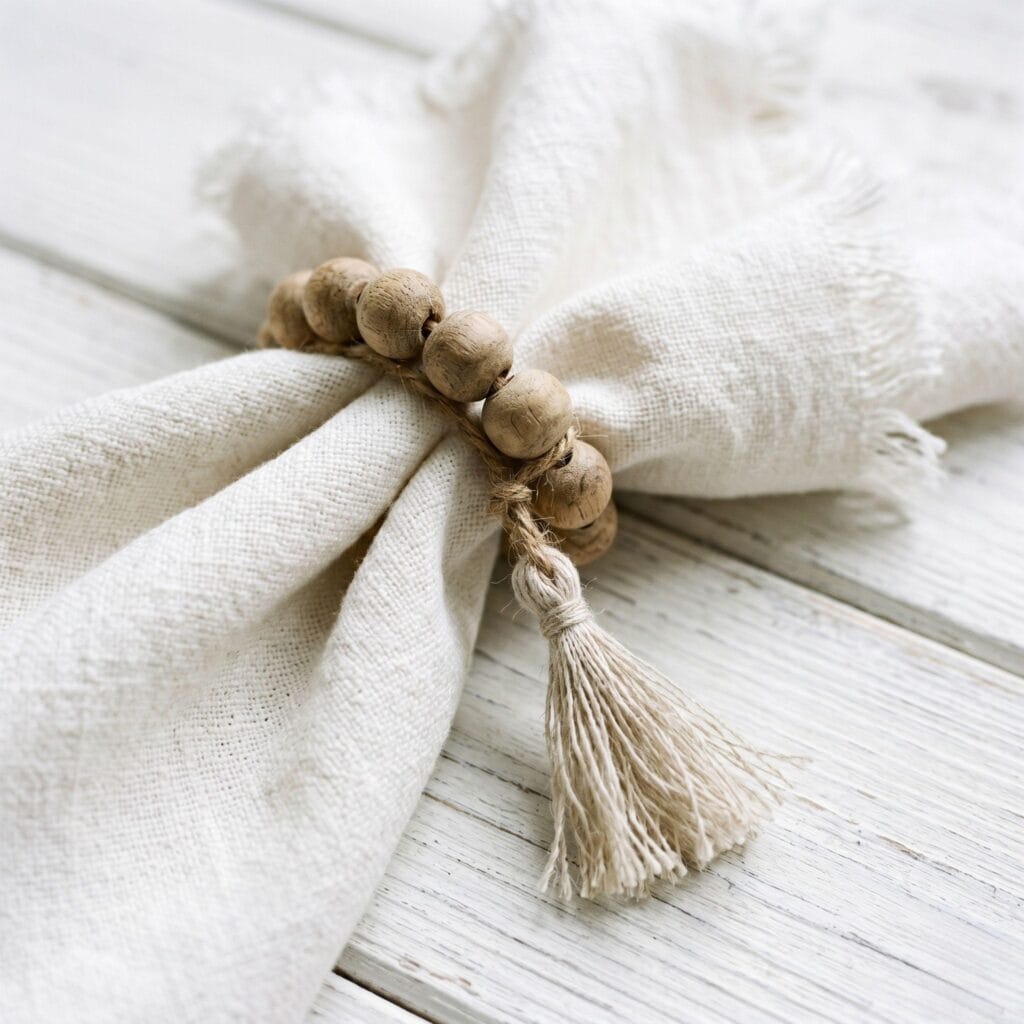
4. Rustic Linen Tassel Detail
Supplies Needed: Untreated Round Wooden Beads, Natural Jute Twine, Linen Thread, Sharp Scissors. (see Step 4 & Step 5 above)
Thread eight 20mm round beads onto 35 cm of twine and tie a firm double knot. To build the tassel, wrap linen thread 10 times around three fingers, slide a 10 cm scrap piece of twine through the top loop, and tie it directly onto the napkin ring’s main knot. Snip the bottom fiber loops to create a 4 cm hanging tassel and trim the ends flat.
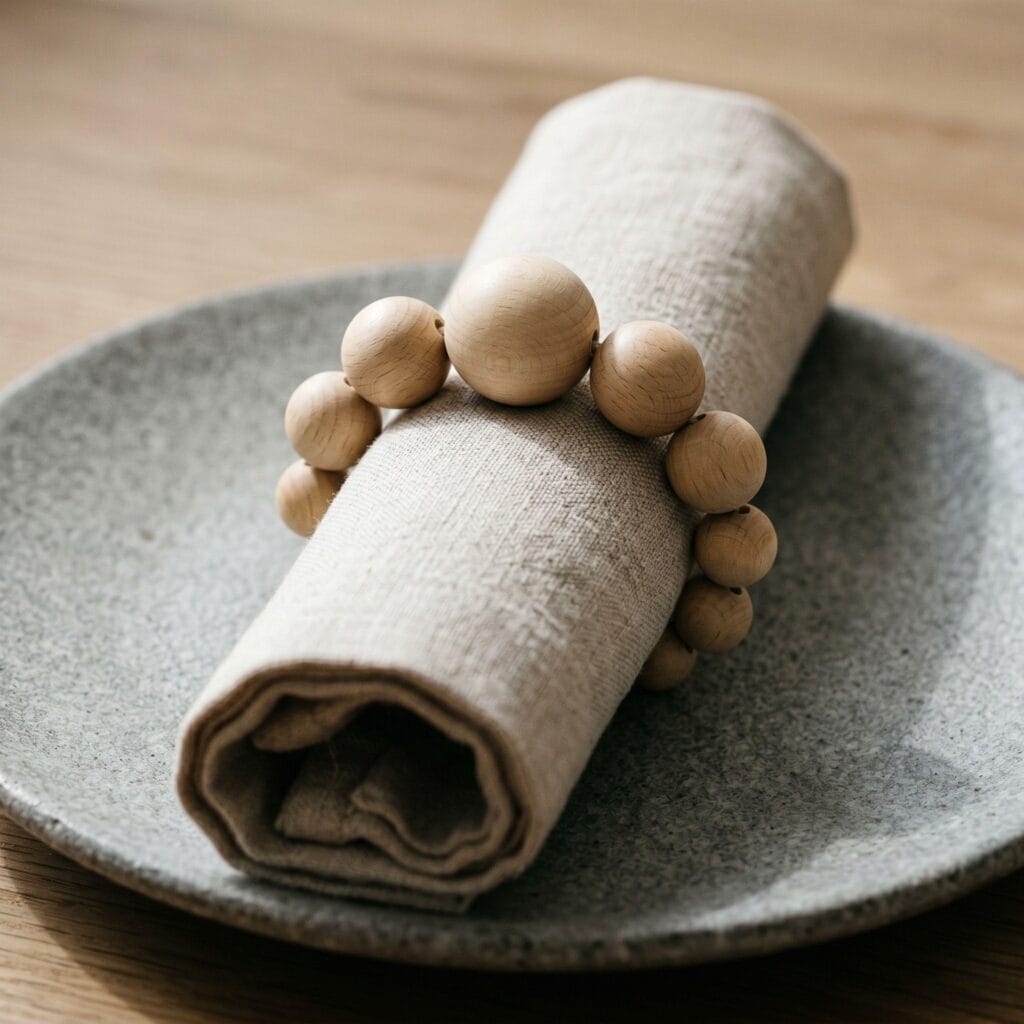
5. Symmetrical Size Gradient
Supplies Needed: Various Sized Wooden Beads (12mm-25mm), Natural Jute Twine, Sharp Scissors. (see Step 3 above)
Cut a 35 cm length of twine and begin threading from the center outward. Place one large 25mm bead in the middle, then flank it symmetrically on both sides with one 20mm bead, one 16mm bead, and two 12mm beads (9 beads total: 12mm-12mm-16mm-20mm-25mm-20mm-16mm-12mm-12mm). This precise millimeter graduation creates a dramatic tapered curve across the napkin.
Close and finish: Slide the strung beads onto the folded napkin and add or remove a bead if the loop sits loose or tight. Tie a secure double knot with a millimeter of slack so the beads are not crushed, trim close to the knot, and slide the knot into the nearest bead hole if it is wide enough to hide it.
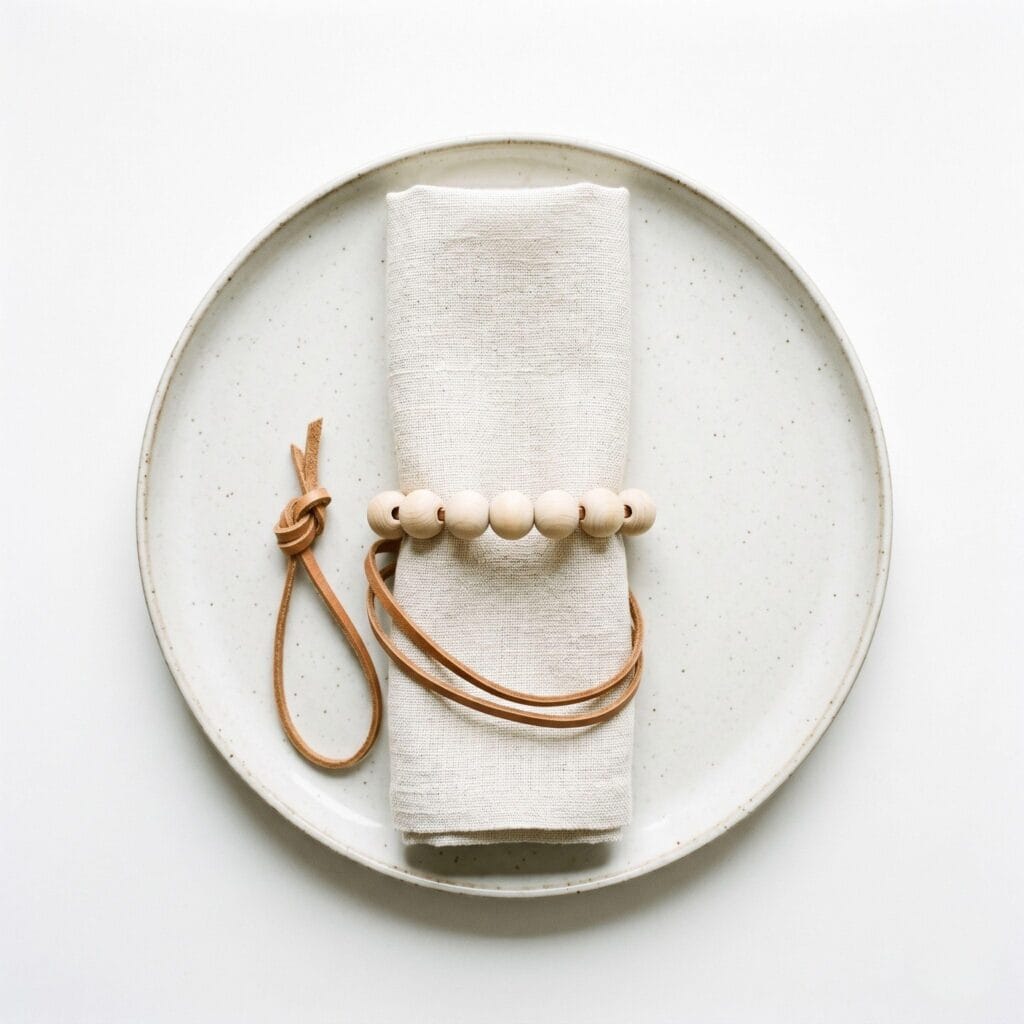
6. Premium Leather Cord Contrast
Supplies Needed: Untreated Round Wooden Beads, Tan Genuine Leather Cord, Sharp Scissors. (see Step 1 & Step 5 above)
Swap jute twine for a 40 cm length of 2mm tan genuine leather cord. String eight 20mm natural wooden beads onto the leather. Instead of hiding the knot inside a bead, tie a crisp overhand knot and leave two 2.5 cm leather tails hanging intentionally below the beads to highlight the rich leather texture against the light wood.
Artisan Craft Tip: Save your leather offcuts instead of binning them — these 15 brilliant scrap leather projects you will love to try turn offcuts into new pieces.
Close and finish: Check the loop around the folded napkin before the final knot, then tie a secure double knot and trim the leather ends at a slight angle — or leave them slightly longer so the knot sits as a small bow beside the beads.
Pro-Tips for Success
- Match Hole Size to Cord Thickness: Standard jewelry beads often have tiny openings. Always look for beads explicitly labeled as “large hole” or “macrame beads” to ensure your jute or leather cord can pass through easily.
- Leave Some Slack: Do not tie the ring so tightly that the beads are under rigid tension. A tiny bit of breathing room allows the loop to curve naturally around thick fabric napkins without pinching.
- Hiding the Knot: If you choose a leather cord, you can actually embrace the knot by leaving the ends slightly longer to form an intentional, aesthetic bow next to the beads.
Final Thoughts & Styling Tips
Wooden bead napkin rings are a small weekend project with a handmade result for the table. Once the basic knotting and stringing steps are familiar, you can mix textures, paint tones, and cord materials for any season.
Important Crafting Safety Notes:
Non-Toxic Materials Only: Because these rings sit directly on dinner plates and touch fabric napkins, never apply industrial varnishes, heavy glosses, or scented sprays. Stick to raw wood or child-safe, non-toxic, water-based acrylic paints (look for EN 71-3 certification).
Choking Hazard: Loose wooden beads and small cords are severe choking hazards for young children. Keep all raw materials and finished napkin rings strictly out of reach of toddlers and infants.
Keep Dry: Wood is porous and warps or cracks when saturated. Never submerge these rings in water or put them in a dishwasher.
Cleaning Routine: To clean, simply wipe the beads gently with a slightly damp microfiber cloth and dry them immediately with a clean towel. Store them in a dry, well-ventilated drawer.
Sharp Scissors: Cut cord and twine away from your fingers, never force dull blades, and keep scissors out of reach of small children.
Paint Drying: Painted beads must be fully dry before the rings reach a table. Follow the drying time printed on your paint label — thicker coats take longer — and let beads cure in a dust-free, ventilated spot.
For more detailed guidance and website usage, please review our Terms and Conditions.
Wooden Bead Napkin Rings FAQ
How do I size a napkin ring?
Fit first: wrap your chosen twine or leather cord around the folded napkin with a small overlap past where the knot will sit, cut at that overlap instead of at a fixed length, then test the fit again before the final knot.
What beads fit which cord?
Match hole size to cord thickness and look for beads labeled large hole or macrame beads. The 2 mm leather cord needs large-hole beads, so test one bead first before stringing a full set.
How do I tie the ring so it stays flexible?
For the classic loop: 35 cm of jute twine, 10 identical 20 mm beads, and a double knot leaving 1 mm of slack, trimming the ends to 5 mm before sliding the knot inside the nearest bead hole. Do not tie so tightly the beads sit under rigid tension.
Can I add color to the beads?
Paint the beads before stringing them. Wrap painter’s tape around the center of the beads for clean, crisp lines and a modern half-raw look, and let the paint dry completely first.
“Which of these Beautiful Wooden Bead Napkin Rings: Easy DIY Guide ideas are you excited to try first, or do you have a creative tip of your own to share? Drop a comment below—I’d love to hear your thoughts and see what you create!”


