DIY wooden signs bring warmth, grain, and a bit of your own handwriting or humor into a room. Rustic farmhouse wall decor often draws on weathered boards, visible knots, soft painted finishes, and words that carry meaning for the people who live there. Making the sign yourself lets you choose the lumber, quote, paint color, and protective finish instead of buying a mass-produced piece with a generic saying. Most of these projects start with inexpensive pine, plywood, reclaimed boards, or thrifted kitchen pieces, so you can match the scale, color, and cost to your home.
Affiliate Disclosure: This post contains affiliate links. As an Amazon Associate, I earn from qualifying purchases. If you buy through these links, I may earn a commission at no additional cost to you. For the full terms covering this site and its content, see our Terms and Conditions.
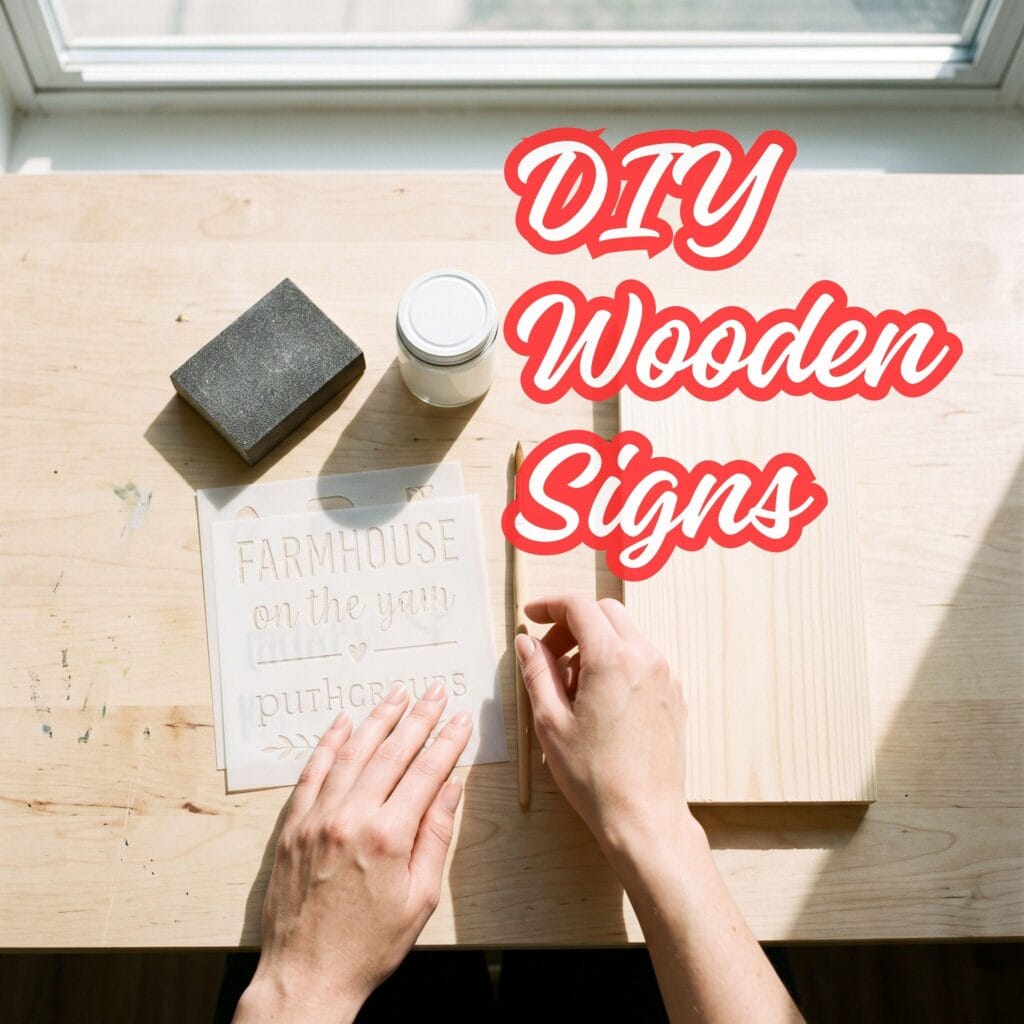
This guide shares 10 approachable wooden sign ideas for kitchens, entryways, bedrooms, laundry rooms, and workspaces. Like our popular guide on scrap wood crafts, these projects use a short list of basic tools and familiar materials. You will learn how to choose a flat, stable board, smooth the surface without erasing its character, apply clean lettering, and put together a sign that hangs level and looks at home on the wall.
Essential Supplies for Making DIY Wooden Signs
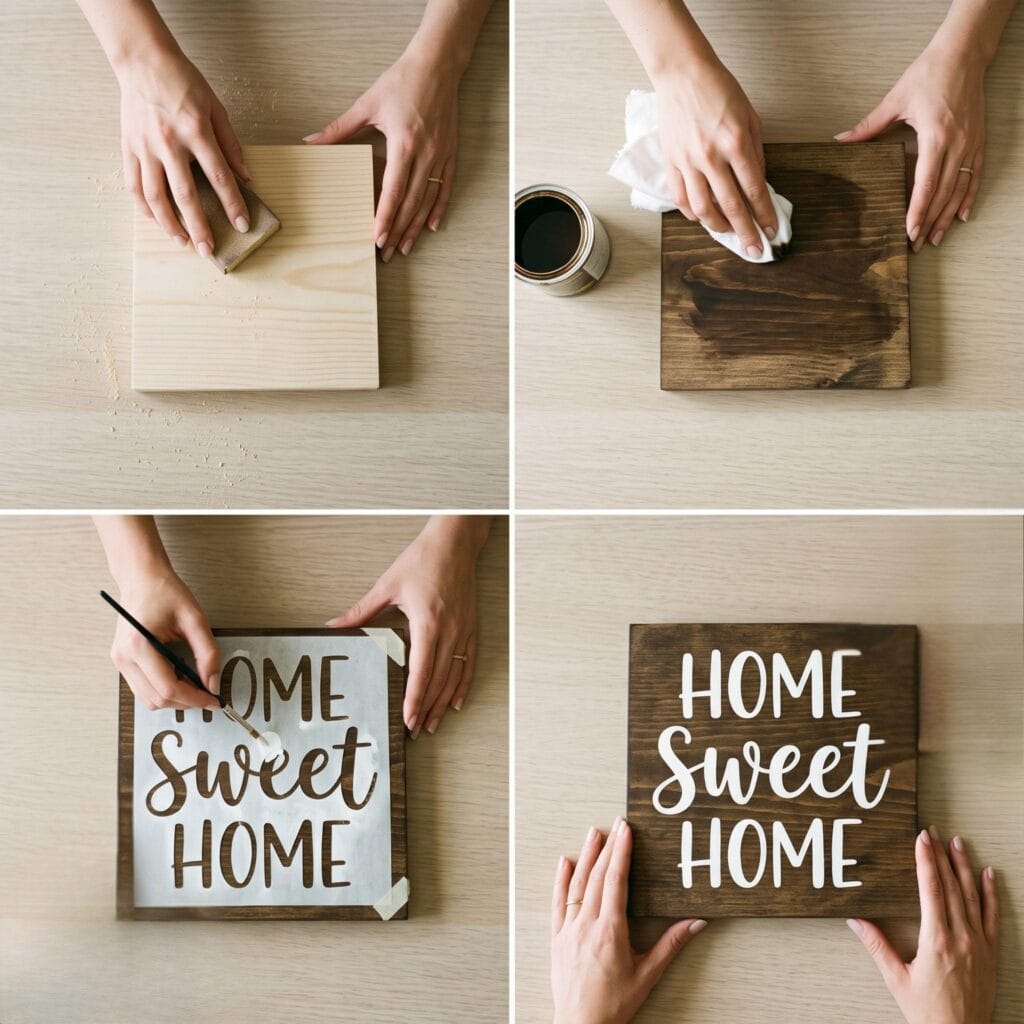
Gather your basic supplies before starting. Most DIY wooden signs need a board or wood panel, 120- and 220-grit sandpaper, a pencil and ruler, acrylic or chalk paint, a foam roller or angled craft brush, stencils or vinyl lettering, painter’s tape, wood glue, and a clear protective finish. Keep a clean cotton rag nearby for wiping stain, a tack cloth for lifting fine sanding dust, and a small detail brush for touching up lettering around tight corners and serif edges.
10 DIY Wooden Signs with Quotes for Your Home
Shared supplies for all ten signs: Wood Base, Sandpaper, Acrylic Craft Paint, Wood Sign Letter Stencils, Matte Polycrylic, DIY Wood Sign Painting Kit
Essential Materials & Tools
✨ Consumables & Raw Materials
- Wood Base — Pine planks, plywood sheets, salvaged pallets, or pre-cut wood slices. | Check Wood Base on Amazon
- Sandpaper — First, use 120-grit for shaping, and then switch to 220-grit for a smooth paint surface. | Check Price on Amazon
- Matte Polycrylic — Indoor finish — matte polycrylic that protects painted lettering and stained wood from scuffs and dust; outdoor signs use the Exterior Clear Wood Sealer instead. | View Matte Polycrylic on Amazon
- Leather Strips — Leather strips for the Project 8 straps and loop hanger; fasten with the brass screws listed under hardware. | See Price on Amazon
- Wood Glue — Bonds floating frames, layered lettering, shiplap boards, and pallet slats without visible fasteners. | See Wood Glue on Amazon
- Dark Walnut Wood Stain — Indoor stain — rich dark walnut tone for the Project 6 hexagon and other inside signs; porch signs need an exterior stain instead. | Find on Amazon
- Weathered Gray Exterior Stain — Project 9 porch sign — exterior-rated gray stain that survives rain and sun; interior stains will not hold up outside. | View Weathered Gray Exterior Stain on Amazon
- Tack Cloth — A tack cloth lifts fine sanding dust before staining, painting, or sealing the wood. | See Tack Cloth on Amazon
- Cotton Rags — Clean cotton rags wipe on and remove excess stain for an even, controlled wood tone. | Explore Cotton Rags on Amazon
- Acrylic Craft Paint — Water-based paint for lettering and background color; dries fast and cleans up with water. | Check Acrylic Craft Paint on Amazon
- Flat Mending Brackets and Short Screws — Braces the two boards of Project 4 across the back joint. | Check Price on Amazon
- Jute Cord — Hangs the breadboard sign in Project 3. | View Jute Cord on Amazon
- Exterior Clear Wood Sealer — For outdoor signs only — a water-based interior finish will not hold up to rain. | See Price on Amazon
- Shellac-Based Primer — Optional — for knotty wood only: brush onto knots before painting so sap cannot bleed through and yellow the finish. | View Shellac-Based Primer on Amazon
- Paper Towels — Blot excess paint off the brush before stenciling so it cannot seep under the edges. | View Paper Towels on Amazon
- Wax Paper — Keeps Project 7’s painted letters from sticking to the work surface while they dry. | View Wax Paper on Amazon
- Tile Spacers or Paint Stirrers — Project 5 shims: 1/8-inch tile spacers hold the stated gap reliably; a paint-stirrer stack works only if you check it with a ruler. | View Tile Spacers on Amazon
- Pre-Cut Wooden Letters — An easier alternative to sawing each letter by hand in Project 7. | See Pre-Cut Wooden Letters on Amazon
- Thin Birch Plywood — Project 7 letters cut from a thin birch panel; pre-cut wooden letters are the no-saw route. | View Thin Birch Plywood on Amazon
🧰 Core Crafting Tools & Equipment
- Foam Paint Roller — A foam roller applies smooth, even paint coverage across broad sign backgrounds with minimal brush texture. | View Foam Paint Roller on Amazon
- Angled Craft Brushes — Angled brushes give controlled coverage along borders, frame edges, and detailed painted lettering. | Find Angled Craft Brushes on Amazon
- Detail Paint Brushes — Small detail brushes make it easier to touch up serif edges, corners, and fine lettering after stenciling. | See Price on Amazon
- Wood Sign Letter Stencils — Pre-cut letter stencils for painting crisp sign wording — tape them down and paint through the openings, no cutting required. | Find on Amazon
- Rotary Leather Hole Punch — Punches the strap holes in Project 8 — the same tool works on belts and tags. | Find Rotary Leather Hole Punch on Amazon
- Pencil and Ruler — Marking tools — measure the centerline and trace letter outlines before cutting or painting. | View Pencil and Ruler on Amazon
- Safety Glasses — Required for every cutting and sanding step described in Safety First. | View Safety Glasses on Amazon
- N95 Dust Mask — Blocks sanding dust when you smooth boards, knots, and old finishes. | View N95 Dust Mask on Amazon
- Carpenter's Square — Checks that Project 4's back brackets pull the corners square. | View Carpenter's Square on Amazon
💎 Hardware, Fasteners & Finishing
- Painter’s Tape — Low-tack painter’s tape masks clean paint lines and holds stencil or transfer layouts in place during lettering. | Check Price on Amazon
- Brass Screws for Leather Straps — Secures the leather straps in Project 8. | View on Amazon
- Sawtooth Picture Hangers — Creates a centered hanging point for lightweight signs — follow the hanger’s package rating and match wall anchors to the finished sign weight and wall type; heavier builds need two hangers or a picture wire. | Find Sawtooth Picture Hangers on Amazon
- Picture Hanging Anchors — Conditional — match anchors to the finished sign weight and wall type for heavier pallet, shiplap, and porch signs. | View Picture Hanging Anchors on Amazon
For beginners or makers starting from scratch, these coordinated bundles and all-in-one project packs bring together the core supplies in one convenient order.
Optional Studio Upgrades
Never required to finish the projects above — convenience upgrades for makers who want them.
⚡ Studio Tools & Workshop Equipment
Optional studio upgrades — every project above can be completed without these.
Optional vinyl route: with a cutting machine, cut your lettering from permanent vinyl, burnish it onto transfer tape, lay it on the sanded board, smooth it down, then peel the tape away — the stencil-and-paint steps above never require it.
- Electronic Vinyl Cutting Machine — Optional equipment — no required step needs it; stencil/paint alternatives work. | View on Amazon
- Cordless Brad Nailer — Optional studio upgrade — no project here needs brads; a hammer and small nails do the same job. | Explore Cordless Brad Nailer on Amazon
- Scroll Saw — Optional — cuts the Project 7 plywood letters; beginners can use pre-cut wooden letters instead. | View Scroll Saw on Amazon
- Clamps — Optional — hold glued frames and slats while the glue cures; books work as a weight too. | View Clamps on Amazon
- Precision Miter Saw — Optional — repeatable square cuts for frame strips and the Project 6 hexagon; a hand saw covers small cuts. | Explore Precision Miter Saw on Amazon
The 10 Projects, Step by Step
1. The Floating Canvas Frame DIY Wooden Sign
Supplies for this sign: Wood Base, Sandpaper, Acrylic Craft Paint, Wood Sign Letter Stencils, Wood Glue, Matte Polycrylic, Sawtooth Picture Hangers, Precision Miter Saw
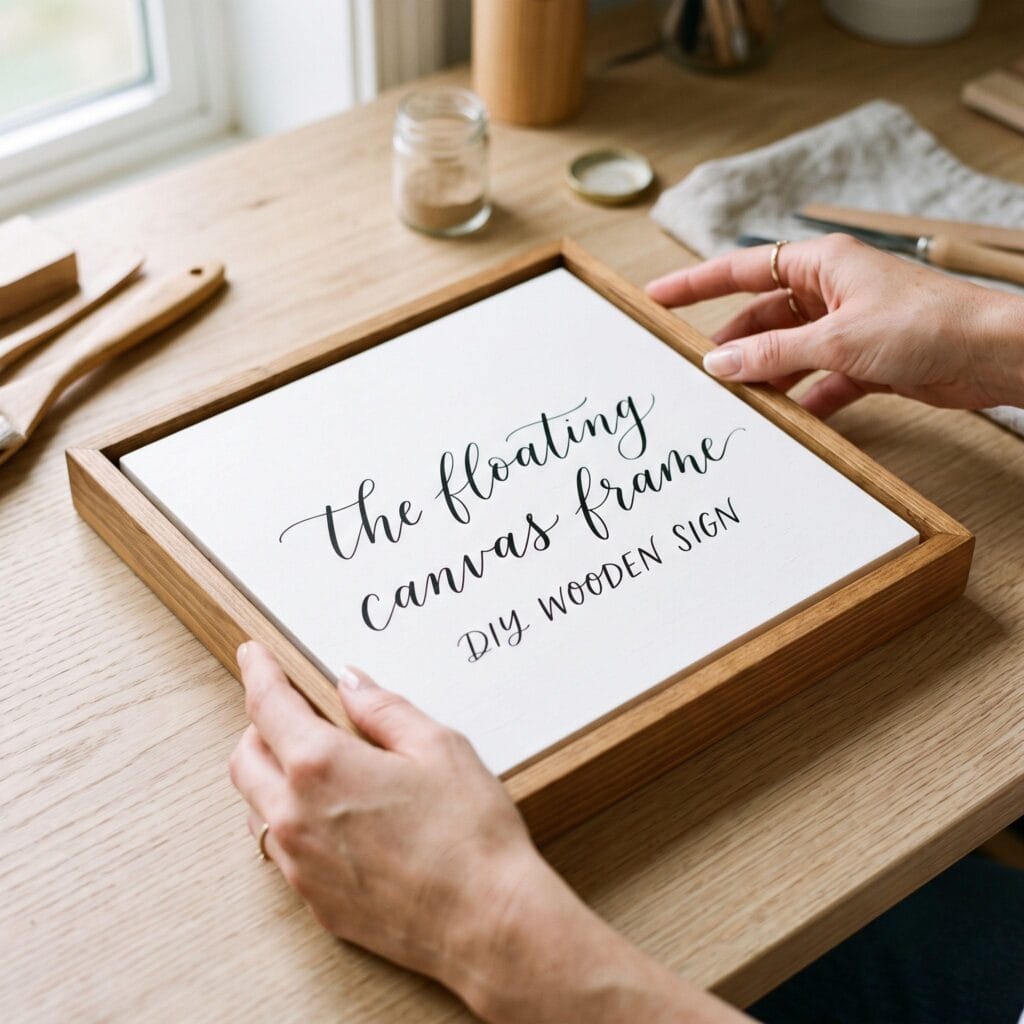
This framed sign has the tidy proportions of a stretched canvas, with real wood warming the edges.
- Paint a flat piece of thin plywood — about 12 × 12 inches (30 × 30 cm) keeps the frame balanced — with two coats of matte chalk white, then let each coat dry fully so the stencil does not drag across a soft surface.
- Use a fine brush or stencil to add a short kitchen or coffee quote in crisp black paint.
- Cut thin pine strips about 1/2 inch (12 mm) wide to fit around the plywood — or have the lumberyard rip the plywood and strips to size if you have no saw — stain them warm oak, and glue them flush around the outside edge.
- Clamp the frame lightly or weight it with a few books while the glue cures — typically about 30 minutes to set and 24 hours for full strength, but follow your glue’s label for the real schedule.
The pale center and darker frame create a clean farmhouse finish above a coffee bar, open kitchen shelf, or breakfast nook.
2. Raw Edge Botanical Plank
Supplies for this sign: Wood Base, Sandpaper, Acrylic Craft Paint, Wood Sign Letter Stencils, Matte Polycrylic, Sawtooth Picture Hangers
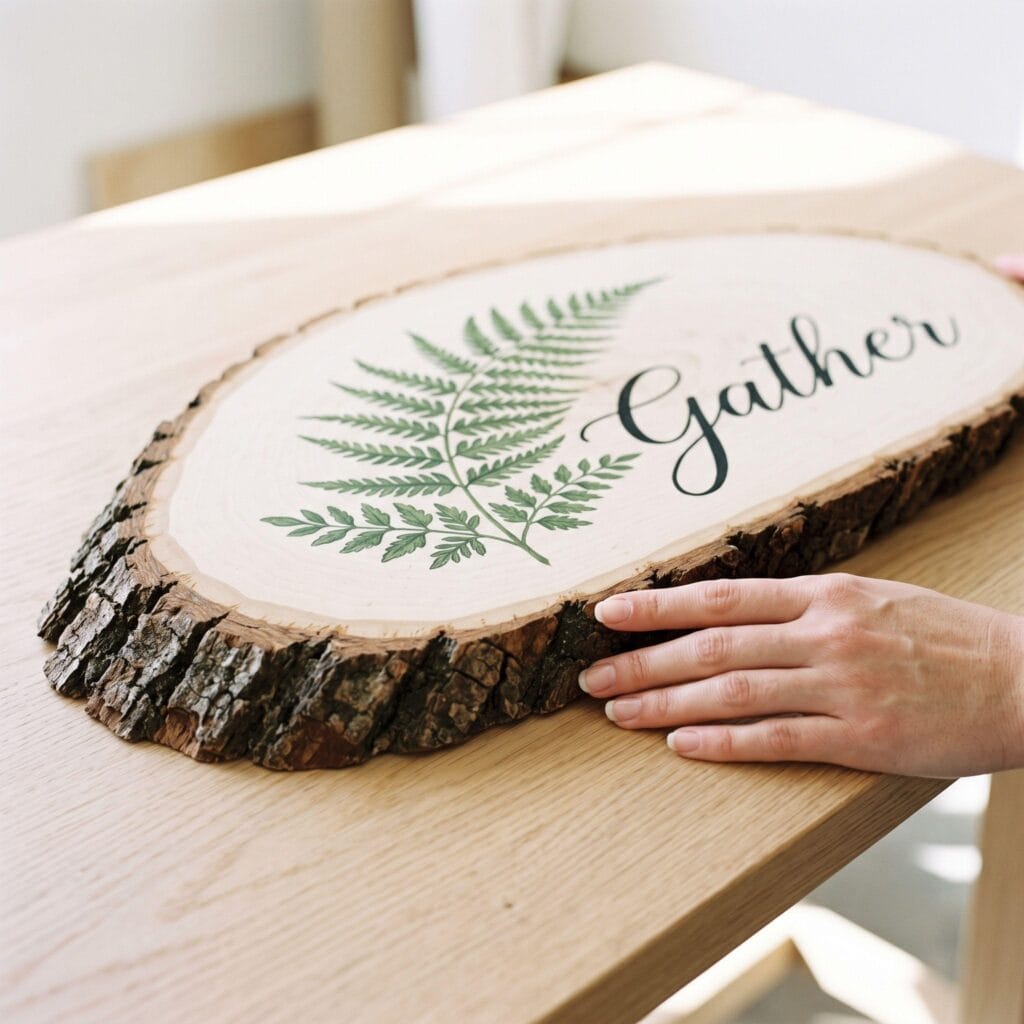
Nature lovers can make a sign from a thick wood slice with the bark left intact around the edge.
- Choose a slice that sits flat and has firmly attached bark, then brush away dust from the face and crevices with a dry paintbrush before adding your design.
- A single word such as “Gather” or “Home” leaves room for the natural rings and uneven outline to show.
- Paint the lettering across the center in loose calligraphy, then add a small olive branch or fern frond with a fine liner brush.
The bark, growth rings, and hand-painted leaves give the finished piece a quiet, handmade look. For another earth-friendly project, check out our upcycled glass jar crafts.
3. Distressed Kitchen Breadboard DIY Wooden Sign
Supplies for this sign: Wood Base, Sandpaper, Acrylic Craft Paint, Wood Sign Letter Stencils, Matte Polycrylic, Jute Cord or Leather Strips
Put a vintage kitchen piece back to work as wall decor.
- Start with an inexpensive or thrifted wooden breadboard, then sand the edges with 120-grit paper until the hard factory corners feel gently worn.
- Follow with 220-grit paper to remove splinters while keeping some of the board’s age, knife marks, and shallow dents visible.
- Use a stencil to paint a food-themed phrase such as “Bless the Food Before Us”, and seal the lettering with a thin coat of clear matte varnish.
- Hang the board from its handle with jute cord or a leather loop, making sure the cord is tied securely enough to hold the board’s weight.

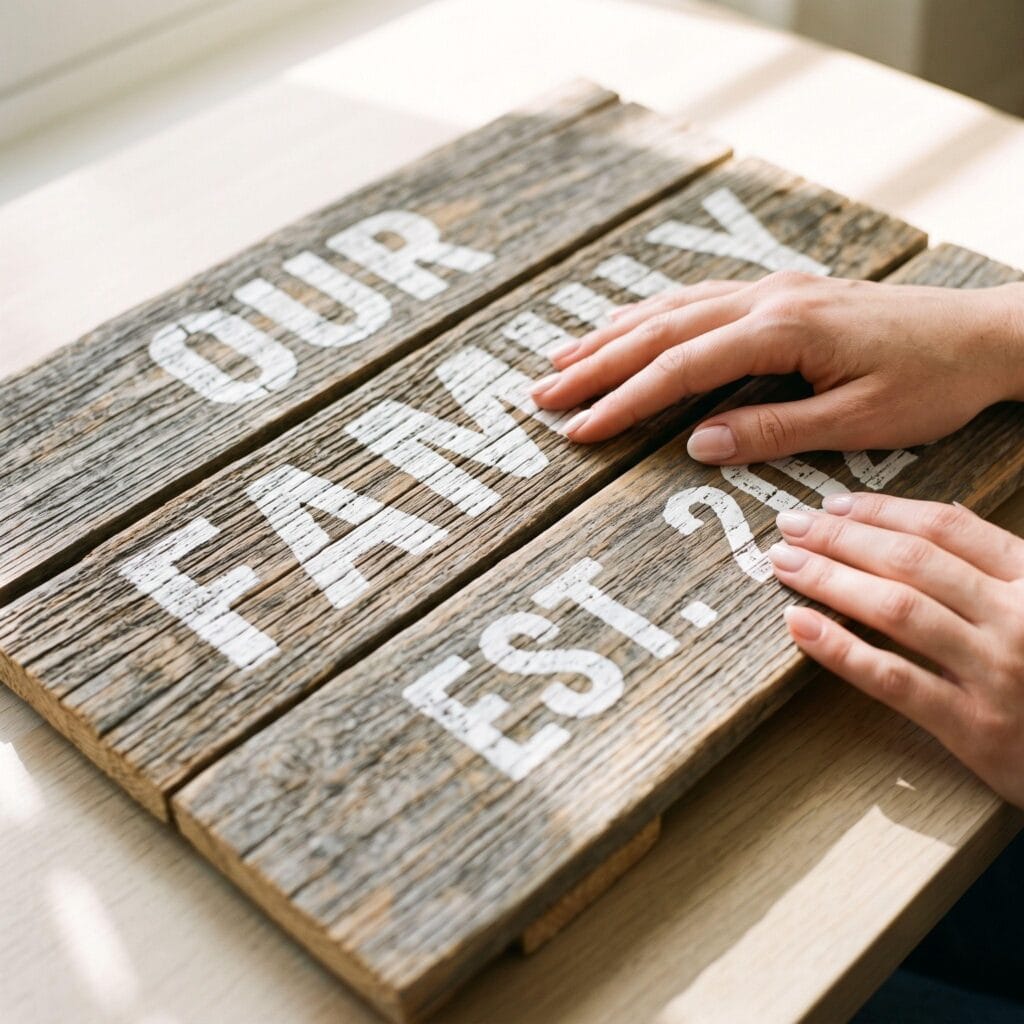
4. Slatted Pallet DIY Wooden Sign
Supplies for this sign: Wood Base, Sandpaper, Acrylic Craft Paint, Wood Sign Letter Stencils, Matte Polycrylic, Sawtooth Picture Hangers, Flat Mending Brackets and Short Screws, Cotton Rags, Carpenter's Square
Pallet boards make sturdy rustic signs because their rough grain, nail holes, and uneven color already carry a worn appearance.
- Join three or four pallet off-cuts from the back with two flat mending brackets and short screws, checking the corners with a carpenter’s square before tightening them.
- Brush on a light whitewash made from one part white paint and two parts water, then wipe some of it back with a rag while it is still damp so the gray and brown wood tones remain visible.
- A family motto or simple welcome phrase reads clearly over that softened surface, and the whole piece can be made from lumber that might otherwise be discarded.
5. Shiplap Style Laundry Sign
Supplies for this sign: Wood Base, Sandpaper, Acrylic Craft Paint, Wood Sign Letter Stencils, Wood Glue, Matte Polycrylic, Sawtooth Picture Hangers, Tile Spacers or Paint Stirrers
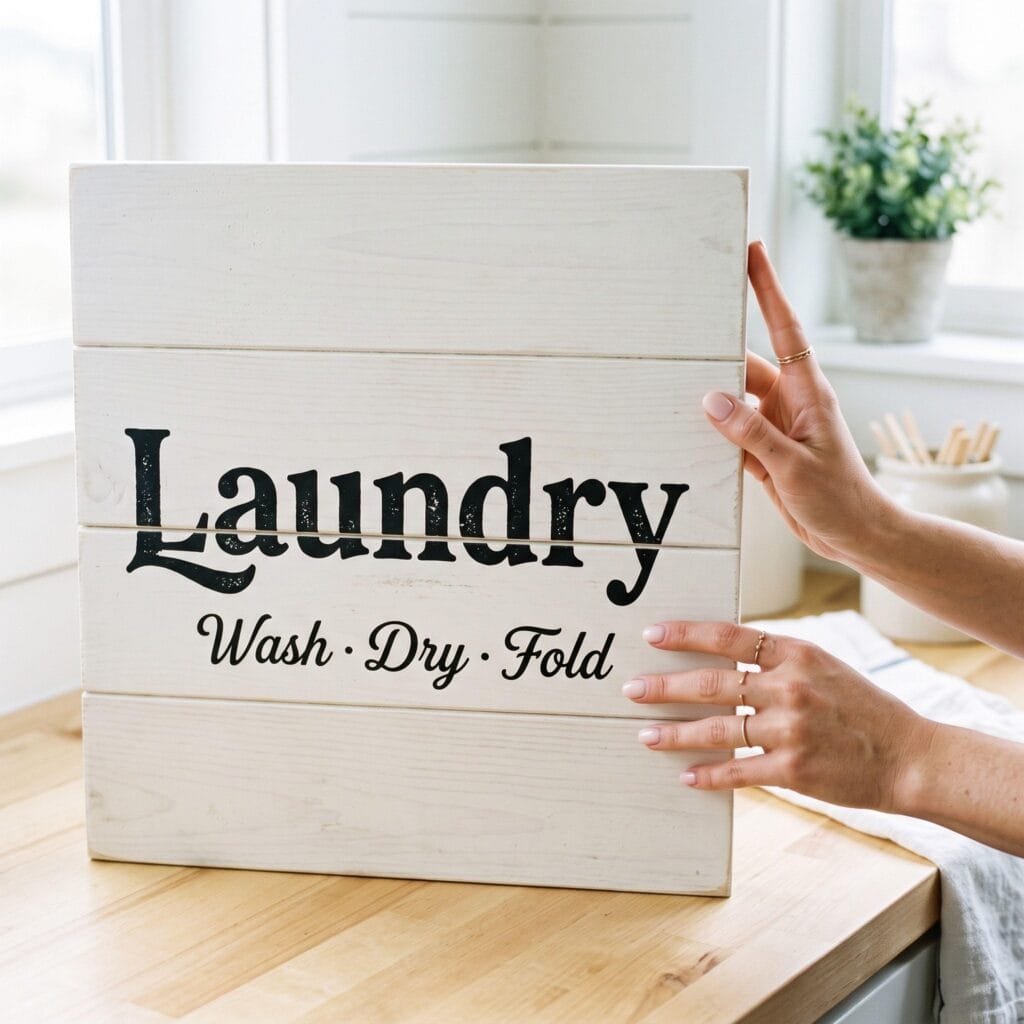
Build a coastal farmhouse sign by lining up thin wooden slats horizontally to resemble shiplap siding.
- Glue the slats to a flat backing board, leaving a narrow 1/8-inch gap between each row, and paint the assembled panel soft white.
- Check that the gaps stay even as you work; a small stack of paint stirrers or tile spacers makes this easier.
- Once the paint dries, center a bold vintage-style stencil over the slats and add a playful laundry room reminder in charcoal or navy.
The shallow seams collect a little shadow on the wall and give a utility room the same thoughtful finish as the rest of the house.
6. Hexagonal Welcome Block
Supplies for this sign: Wood Base, Sandpaper, Acrylic Craft Paint, Wood Sign Letter Stencils, Matte Polycrylic, Sawtooth Picture Hangers, Precision Miter Saw, Dark Walnut Wood Stain
Move beyond rectangles with a small geometric sign.
- Buy a pre-cut hexagon blank — the beginner route — and skip the sawing entirely; if you have sawing experience, trace a hexagon onto 3/4-inch timber and cut to the line, then sand each edge smooth with 220-grit paper, and stain the face dark walnut so the grain stays visible beneath the finish.
- Apply a white vinyl letter or hand-paint “Welcome” in the center, then seal the surface after the paint has dried.
- Set the sign on an entryway console, lean it against a small framed photo, or hang it beside the door with two sawtooth hangers, measuring both positions so they sit at the same height.
It also pairs well with our DIY leather valet trays.

Precision Miter Saw
Produces repeatable, square cuts and neat mitered corners for professional-looking floating frames, trim, and slatted sign construction.
I earn a commission if you make a purchase, at no additional cost to you.
7. Layered 3D Typography DIY Wooden Sign
Supplies for this sign: Wood Base, Sandpaper, Acrylic Craft Paint, Wood Glue, Matte Polycrylic, Sawtooth Picture Hangers, Thin Birch Plywood and Scroll Saw, or Pre-Cut Wooden Letters, Wax Paper
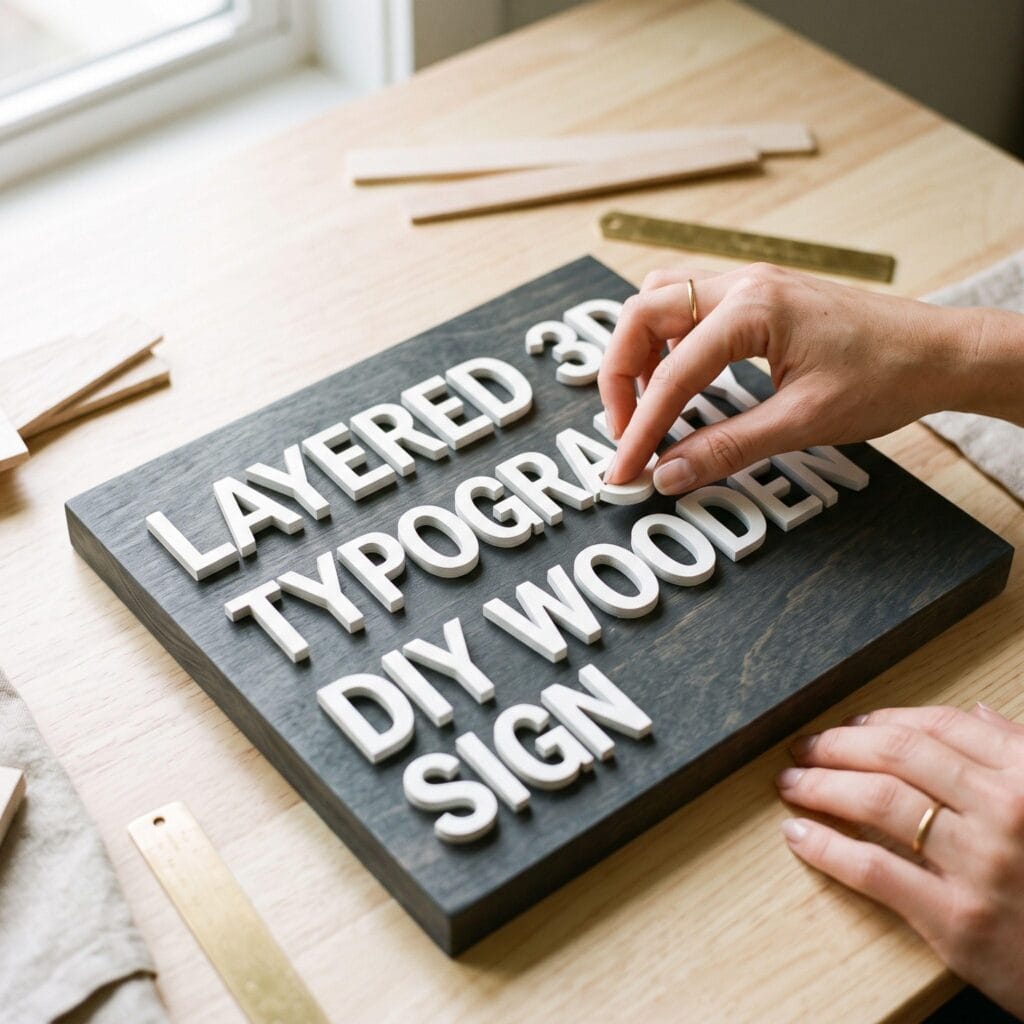
A raised-letter sign gives a blank wall real dimension.
- Paint a wooden background block charcoal gray, using a foam roller for an even coat without deep brush ridges.
- Cut quote letters from thin birch plywood with a scroll saw (goggles on, both hands on the panel, fingers well clear of the blade), or use pre-cut craft letters for a quicker project.
- Paint the letters matte white, let them dry on wax paper so they do not stick to the work surface, and glue them to the dark board with a thin, even layer of wood glue.
- Place a light book over each letter while the glue sets.
The raised edges cast small shadows under room lighting, keeping the words easy to read from across the room.
8. Hanging Leather Strap Sign
Supplies for this sign: Wood Base, Sandpaper, Acrylic Craft Paint, Wood Sign Letter Stencils, Leather Strips, Matte Polycrylic, Rotary Leather Hole Punch, Brass Screws for Leather Straps
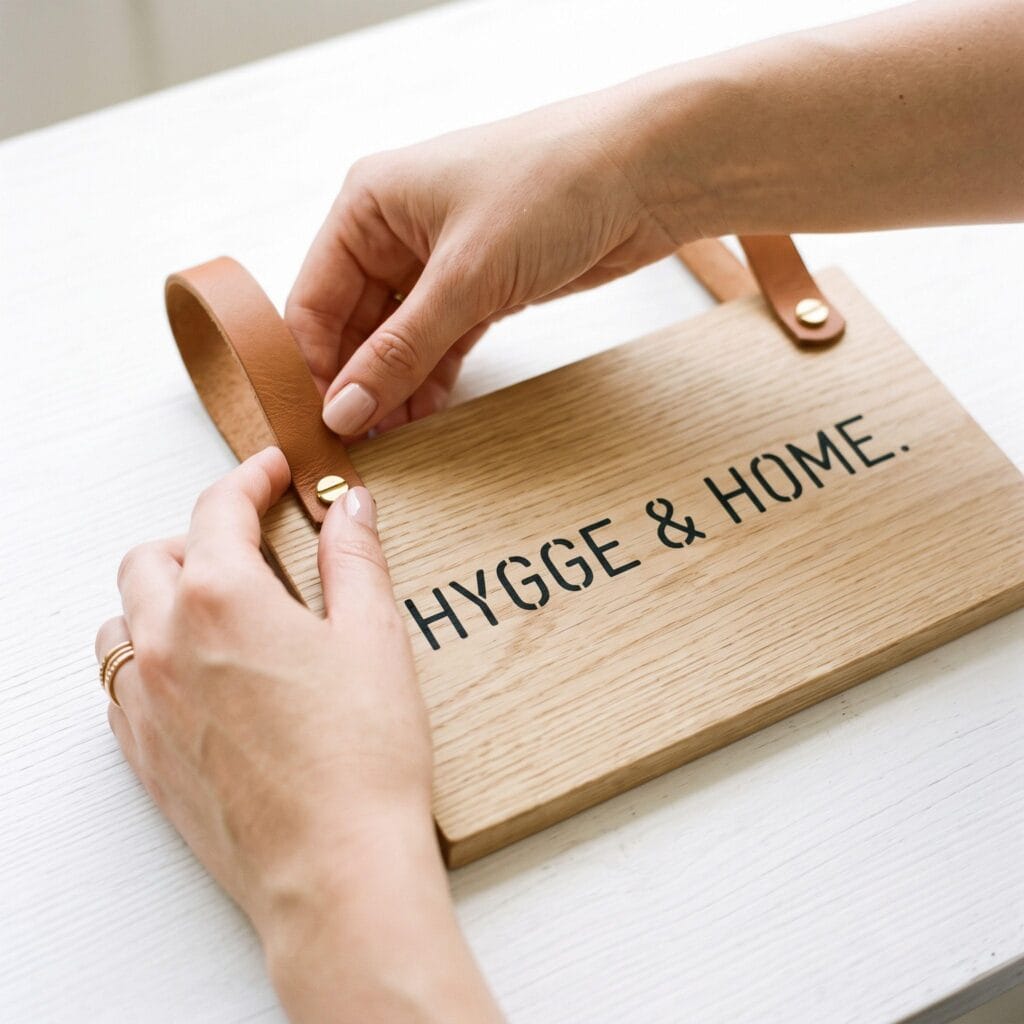
For a softer Scandinavian-style wall hanging, attach two tobacco-colored leather straps to the top corners of a smooth light-oak plank.
- Cut two straps about 3/4 inch (20 mm) wide, mark matching holes 1 inch from each top corner, punch them with a rotary punch (5/32 inch / 4 mm across, just wider than the #6 screw shank), and secure the straps with #6 brass screws.
- Stencil a calm bedroom phrase across the face of the wood, leaving plenty of bare grain around the lettering.
A coat of clear matte finish will protect the lettering while preserving the pale oak surface. The soft leather, light wood, and simple black type sit especially well against white walls and warm neutral paint.
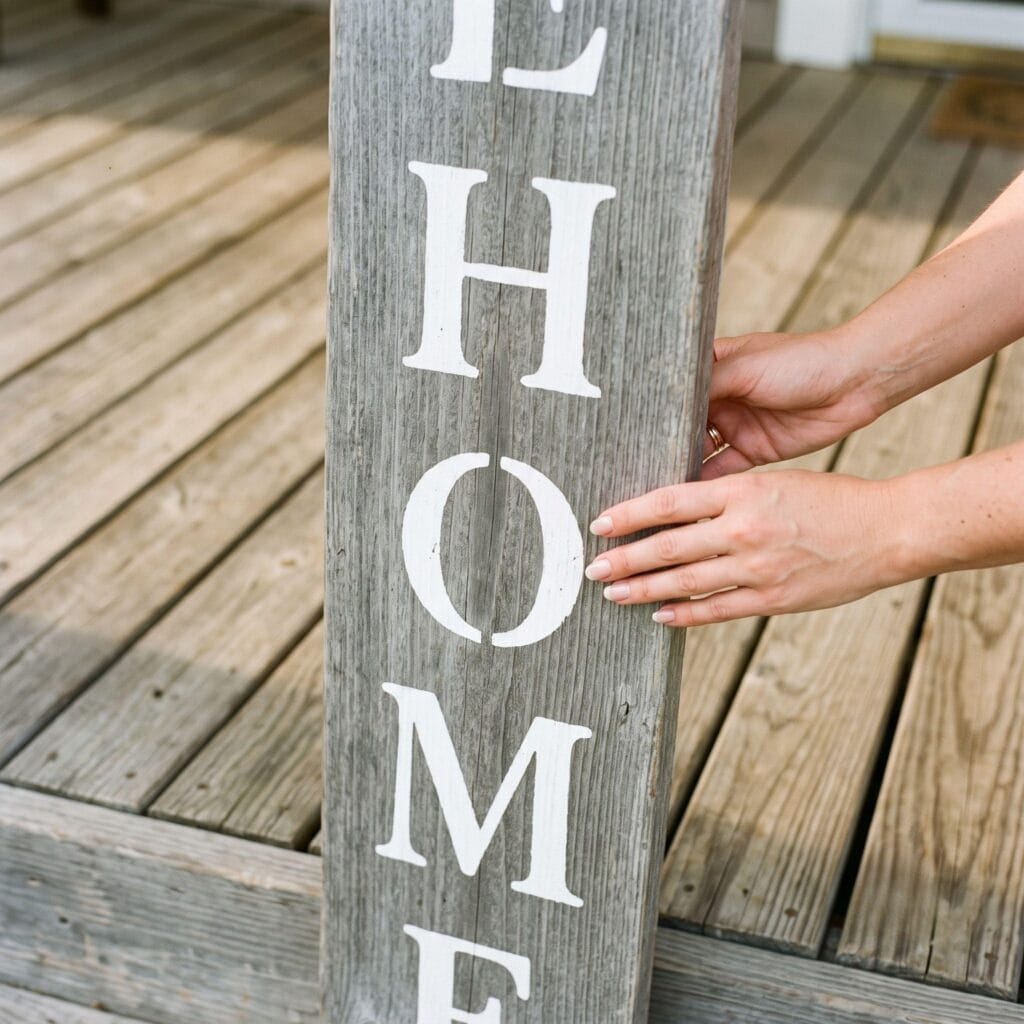
9. Weathered Porch Vertical Sign
Supplies for this sign: Wood Base, Sandpaper, Acrylic Craft Paint, Wood Sign Letter Stencils, Exterior Clear Wood Sealer, Sawtooth Picture Hangers, Precision Miter Saw, Weathered Gray Exterior Stain
A tall vertical sign makes the front entry feel welcoming before anyone reaches the door.
- Use a straight pine board about 4 feet tall and 8 to 10 inches wide (buy it pre-cut to length if you have no saw), then sand it thoroughly and wipe away all dust before staining.
- Apply a weathered gray exterior stain with a rag, working it into the grain and wiping off excess before it dries into dark patches.
- Add large stencil letters in a vertical greeting, allowing each letter to dry before shifting the stencil downward.
- Finish with two thin coats of exterior clear sealer so rain, humidity, and porch dust do not dull the paint or roughen the wood fibers.
10. Miniature Desk Reminder DIY Wooden Sign
Supplies for this sign: Wood Base, Sandpaper, Acrylic Craft Paint, Detail Paint Brushes, Matte Polycrylic
Small wooden signs can bring a welcome bit of personality to a desk or shelf.
- Sand a 4 × 4-inch wooden block until the corners feel soft and smooth in your hand, then leave it raw or rub in a light coat of clear matte finish.
- Paint a short daily reminder on one face with a small flat brush or paint pen, keeping the lettering large enough to read from a chair.
- Use the remaining sides for a date, a tiny leaf motif, or a second phrase if you want the block to be turned with the season.
The compact piece sits neatly beside a keyboard, lamp, or stack of notebooks without crowding the workspace.

Important Crafting Notes for DIY Wooden Signs
For crisp results, sand every painted surface to 220 grit, wipe the board with a tack cloth, and let each coat dry completely before adding the next layer, following the drying times printed on your paint and finish labels. Test every whitewash, stain, primer, paint, and clear-coat combination on a scrap piece first — it catches bleed-through, beading, and color surprises before they hit the real board. Measure the centerline of the board before placing a stencil, secure the stencil with low-tack painter’s tape, and use very little paint on the brush to prevent seepage under the edges. Dab excess paint onto a paper towel before touching the stencil, then build the color with light passes rather than one heavy coat. Seal indoor signs with matte polycrylic and outdoor signs with an exterior-rated clear coat. Once your first sign is dry, use the same lettering method on a breadboard, wood slice, or reclaimed pallet panel to make a coordinated set of handmade decor.
- The Pencil Trick: If you don’t have stencils or a Cricut machine, print your quote on regular paper. Heavily shade the back of the paper with a pencil. Then, tape it onto the wood, and trace the outline of the letters. The pencil shading leaves a usable carbon guide on the wood to trace (grain and pressure change how cleanly it transfers).
- Seal Before Painting: Whether you need a barrier coat depends on the finish. Over an oil-based stain, let it cure fully, then brush on a thin clear matte topcoat so the acrylic lettering cannot pull into the grain. Water-based stain and chalk paint rarely bleed — test your combination on a scrap first.
- Knot Blending: Sand the knots flush with the surface, then seal them with shellac or a stain-blocking primer before painting. The sealer — not the sanding — is what stops knot oils from bleeding through and yellowing white paint.
Safety First
- Inspect before you cut. Use dry, solid wood free of nails, staples, dried adhesive and paint of unknown age. Sand reclaimed pallet or fence boards outdoors — you cannot tell what the old finish was.
- Protect your eyes. Safety glasses for every saw, sander and nailer pass; end grain flicks up without warning.
- Clamp the board. Never hand-hold a sign blank under a miter saw or brad nailer. Clamp it, or weight it against a bench hook, and cut away from your body.
- Control the dust. An N95 mask plus an open window or extraction while sanding; wipe the surface with a tack cloth instead of blowing dust into the air.
- Ventilate while finishing. Stain, paint and clear coat all need airflow. Follow the can’s recoat and full-cure times — that is what decides when a sign can go on a wall.
- Store tools safely. Blades, nailers and small offcuts go up high and out of reach of children and pets.
Frequently Asked Questions: DIY Wooden Signs
Can I make these signs without a saw?
Yes — ask the lumberyard to cut your board, frame strips, and hexagon to size, buy pre-cut wooden letters for Project 7, or work with a hand saw and a miter box.
Is reclaimed pallet wood safe to paint?
Only use dry, solid boards free of nails, staples, and unknown old finish, and sand them outdoors — the Safety First checklist above has the full inspection.
Can the distressed breadboard be used with food?
No — once it is sanded, painted, and sealed it is wall decor; keep a separate, food-safe board for kitchen use.
How do I maintain an outdoor sign?
Start with two thin coats of exterior clear sealer, then recoat when the finish looks chalky or the wood starts drinking water instead of beading it.
How do I transfer lettering without a cutting machine?
Print the quote, shade the back with a pencil, tape it in place, and trace the outlines — the pencil trick in the notes above leaves a guide to paint over.
“Which of these DIY Wooden Signs: 10 Beautiful Ideas You Will Love ideas are you excited to try first, or do you have a creative tip of your own to share? Drop a comment below—I’d love to hear your thoughts and see what you create!”