

Are you looking to add bold, tactile art to your living space? Creating custom floor pieces and wall hangings with a tufting gun is an immensely satisfying way to upgrade your interior decor. Still, many beginner rug projects turn out patchy, loose, or unevenly trimmed over time. To ensure your handmade textile projects look store-bought and last for years, we curated these 12 modern tufting art pattern ideas. By focusing on drum-tight fabric tension, dual-strand yarn feeding, and clean edge beveling, these designs deliver a crisp, high-end finish. For instance, pair these textural floor accents with our guide on 10 Epic DIY Wall Art Decor Ideas to create a beautifully balanced room layout. Let’s explore these concepts!
This post contains affiliate links. As an Amazon Associate, I earn from qualifying purchases. If you buy through these links, I may earn a commission at no additional cost to you.
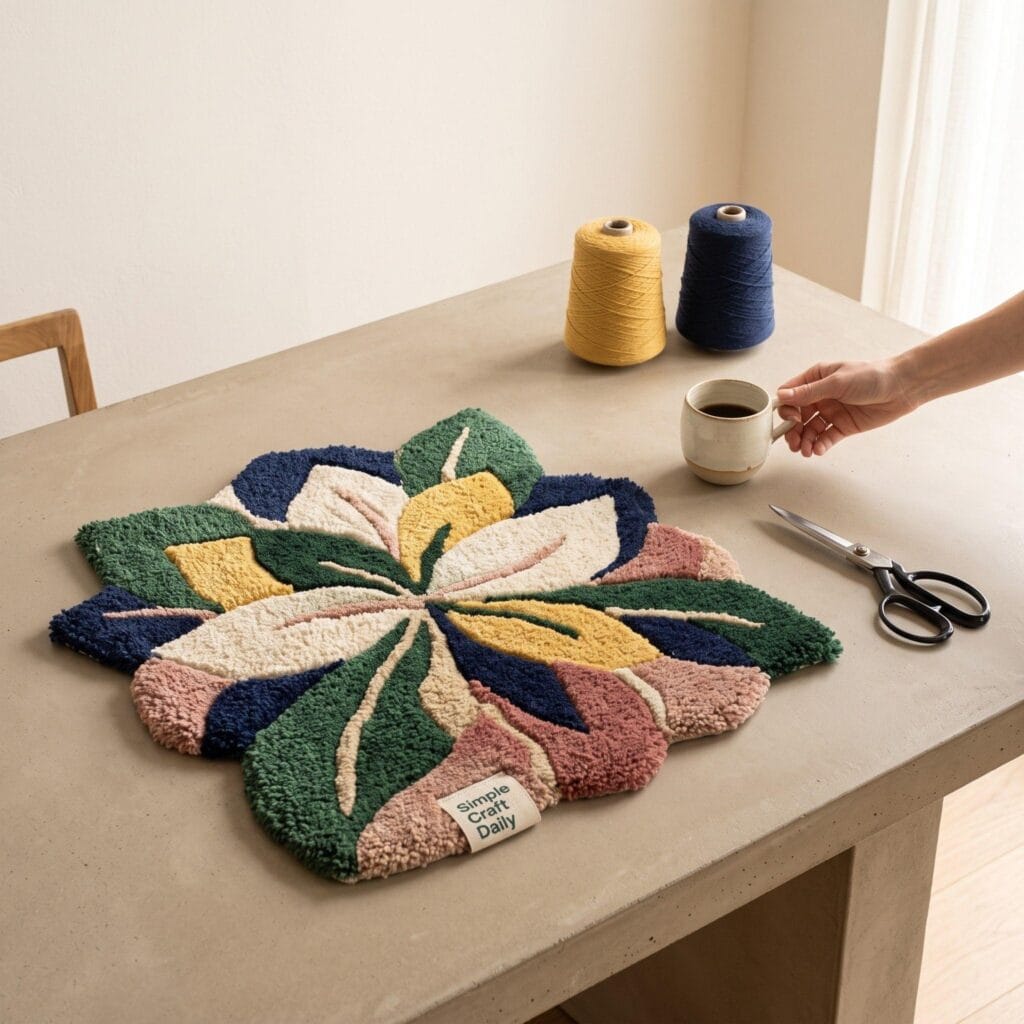
Essential Supplies for Tufting Art Pattern Ideas
A few foundational materials are used throughout most projects in this guide, marked with a (used throughout) tag below.
🧵 Tufting Machinery & Hardware
A reliable cut-pile machine and a rigid, tack-lined frame form the structural backbone of every tufting project.
- Cut-Pile Tufting Gun (used throughout) — punches yarn through cloth at high speed to create uniform 14 mm cut pile loops |
Check Cut-Pile Tufting Gun price on Amazon


- Heavy-Duty Wooden Tufting Frame (90 cm x 90 cm) (used throughout) — lined with carpet tack strips to hold primary cloth drum-tight | Check Heavy-Duty Tufting Frame price on Amazon
🌾 Backing & Cloth Materials
High-grade primary cloth prevents needle tearing, while non-slip secondary backing gives finished rugs a professional base.
- Primary Monk’s Cloth with Yellow Grid Lines (used throughout) — 100% polyester woven fabric that withstands rapid needle punches | Check Primary Monk’s Cloth price on Amazon
- Non-Slip Secondary Felt Backing (used throughout) — protects floor surfaces and hides glue seams on finished rugs |
Check Non-Slip Felt Backing price on Amazon - Cotton Twill Binding Tape (used throughout) — wraps around rug edges for a clean, clean-cut border finish |
Check Cotton Twill Binding Tape price on Amazon
🧶 Yarns & Threading
4-ply acrylic yarn yields vibrant colors, washes easily, and maintains pile resilience under foot traffic.
- 4-Ply 100% Acrylic Rug Yarn Cones (used throughout) — thick, durable yarn that feeds smoothly without snapping |
Check 4-Ply Acrylic Rug Yarn price on Amazon - Wire Loop Long Threader (used throughout) — guides dual strands of yarn through the tufting needle eye |
Check Wire Loop Long Threader price on Amazon
✂️ Trimming & Finishing Adhesives
Specialized adhesives lock fibers permanently into place, while electric trimmers carve sharp 3D relief lines.
- Roberts 3095 Carpet Adhesive (or Synthetic Latex Glue) (used throughout) — locks tufted yarn loops into the backing fabric permanently | Check Carpet Adhesive price on Amazon
- Electric Rug Trimmer with Shearing Guide (used throughout) — levels pile height and carves crisp grooves between colors |
Check Electric Rug Trimmer price on Amazon - Duckbill Fabric Shears (used throughout) — cuts loose yarn strands flat against the rug backing without nicking the cloth |
Check Duckbill Fabric Shears price on Amazon - Heavy-Duty Hot Glue Gun — fastens twill binding tape and secondary backing securely to the borders |
Check Hot Glue Gun price on Amazon
Core Techniques for Tufting Art Pattern Ideas
The Abstract Blob masterclass below covers the entire sequence from stretching cloth to applying latex adhesive. A couple of the variations below also rely on three core tufting techniques. Here is how each one works:
1. Stretching Monk’s Cloth to Drum Tension
Quick Steps: Hook the top edge of your primary cloth onto the frame’s tack strips, pulling it straight along the weave line. Next, pull the bottom edge downward with maximum force and hook it onto the bottom tacks. Repeat for both sides, pulling from the center outward until tapping the center of the fabric produces a hollow, drum-like bouncing sound. Re-tighten every 45 minutes during long tufting sessions.
Used in: Every project in this guide.
2. Feeding Dual-Strand Yarn for Dense Pile
Quick Steps: Pass two separate strands of 4-ply yarn through the top eyelet guide on your tufting gun simultaneously using your wire threader. Next, feed both strands together through the needle tip. Tufting with two strands fills the cloth matrix completely, preventing sparse gaps and keeping the gun’s foot plate pressed firmly against the canvas.
Used in: Checkerboard Pattern, Color Block Panels, Sunset Gradient.
3. Carving Color Boundaries (Beveling)
Quick Steps: Once the rug is glued and removed from the frame, separate two adjacent color sections with your fingers to expose the seam line. Tilt your electric rug trimmer at a 45-degree angle pointing away from the seam, and shear off 2 mm of yarn along the color line. Repeat on the opposite side of the seam to create a crisp, 3D V-groove that separates colors visually.
Used in: Floral Motif, Wavy Line Landscape, Animal Silhouette.
1. Abstract Blob Shape: Tufting Masterclass
Supplies Needed: Cut-Pile Tufting Gun, Primary Monk’s Cloth, 4-Ply Acrylic Yarn (Sage, Cream, Terracotta), Carpet Adhesive, Electric Rug Trimmer, Duckbill Fabric Shears, Non-Slip Felt Backing.
Do you want to start with a versatile statement piece using simple geometric outlines? Here, we break down the complete tufting workflow using a 50 cm x 60 cm abstract organic blob shape as our foundation.
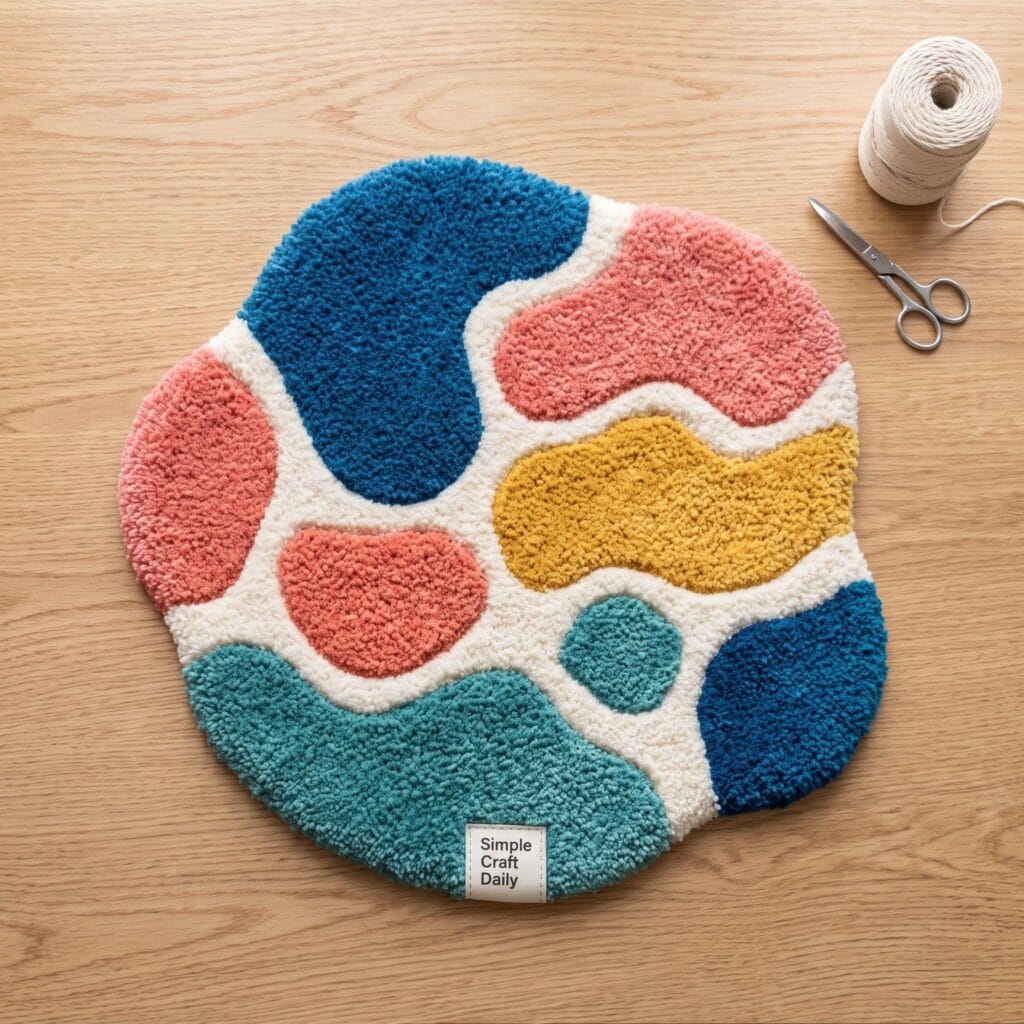
Step 1: Stretch your primary monk’s cloth onto a 90 cm x 90 cm wooden frame until drum-tight, ensuring the yellow guide lines run perfectly horizontal and vertical.
Step 2: Use a thick black permanent marker to trace a freeform, rounded 50 cm x 60 cm organic blob outline onto the back of the cloth.
Step 3: Thread two strands of 4-ply sage green acrylic yarn through your cut-pile tufting gun, setting the motor speed dial to 35%.
Step 4: Press the gun’s foot plate firmly against the cloth and tuft a double-line outline along the drawn marker mark, moving vertically from bottom to top.
Step 5: Fill the inner shape with parallel vertical lines spaced exactly 4 mm apart, maintaining constant forward pressure to prevent the needle from bouncing.
Step 6: Apply a smooth 3 mm layer of Roberts 3095 carpet adhesive across the entire back of the tufted wool using a notched trowel, extending 2 cm past the yarn borders, and allow it to cure for 24 hours.
Step 7: Cut the cured rug off the frame leaving a 3 cm cloth border, fold the border inward using hot glue, attach non-slip felt backing, and bevel the top edges with an electric trimmer angled at 45 degrees.
11 More Clever Variations for Tufting Patterns
Additionally, these sleek textile designs rely on controlled line spacing. Here are 11 more inspiring concepts to add to your tufting mood board.
Similarly, if you enjoy working with tactile surface designs, check out our popular guide on 12 Epic DIY Cement Crafts to Upgrade Your Home.
2. Checkerboard Pattern
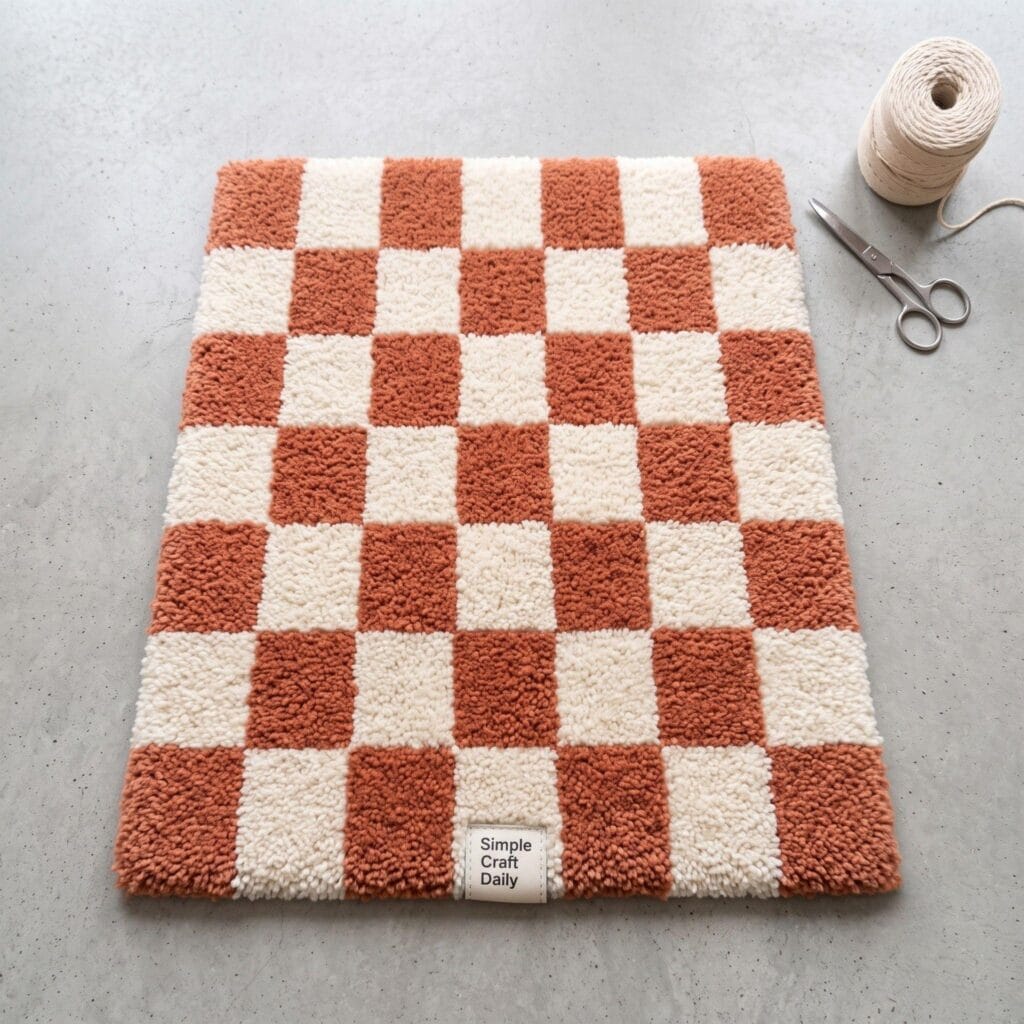
Supplies Needed: Primary Monk’s Cloth, Cut-Pile Tufting Gun, 4-Ply Acrylic Yarn (Terracotta & Cream), Yardstick Ruler, Carpet Adhesive.
The Concept: Introduce a graphic, vintage grid to your floor space. Straight vertical and horizontal lines require steady machine control, making this an ideal skill-building exercise.
Quick Steps: Use a yardstick ruler to map out an 80 cm x 80 cm square containing an even 8×8 grid of 10 cm x 10 cm individual squares. Tuft all terracotta squares first using strict vertical lines spaced 3 mm apart. Next, fill the alternating cream squares, overlapping the boundary lines slightly to lock the yarn matrix together. Glue and cure flat for 24 hours.
Styling Tip: Place this finished checkerboard piece under a minimalist glass coffee table to showcase the geometric contrast.
3. Sunset Gradient
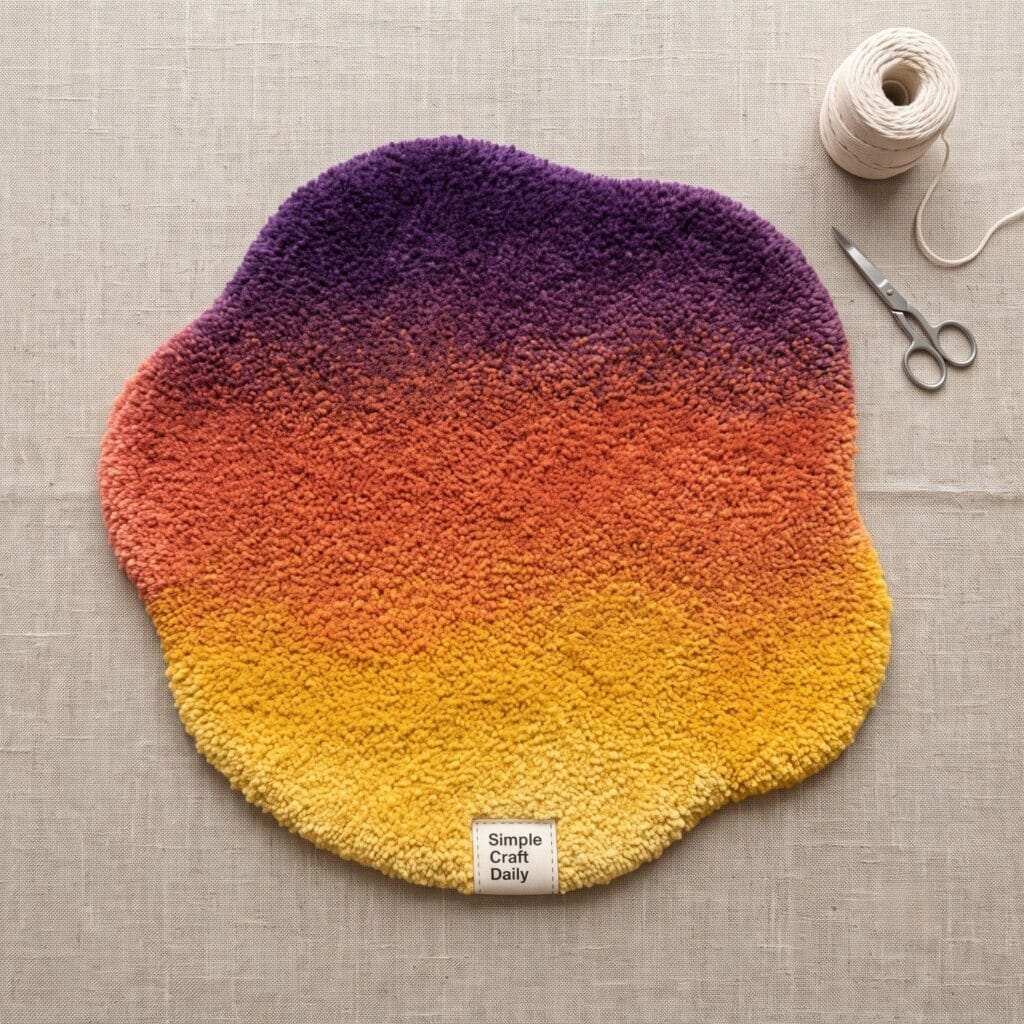
Supplies Needed: Cut-Pile Tufting Gun, 4-Ply Acrylic Yarn (Purple, Magenta, Orange, Yellow), Electric Rug Trimmer, Carpet Adhesive.
The Concept: Create a radiant ombre transition across a 60 cm x 90 cm area. Interlocking different colored yarn rows creates a soft visual blend without harsh lines.
Quick Steps: Divide your canvas into five horizontal 18 cm bands. Tuft the top section in solid purple. At the border of the second band, alternate one line of purple with one line of magenta for 4 cm to create a feathered seam before transitioning to pure magenta. Repeat this staggering method down through orange and yellow before backing with latex glue.
Styling Tip: Blend color theory logic from our 15 Epic Ceramic Painting Ideas to select perfectly matching gradient yarn palettes.
4. Cloud Shape on a Solid Background
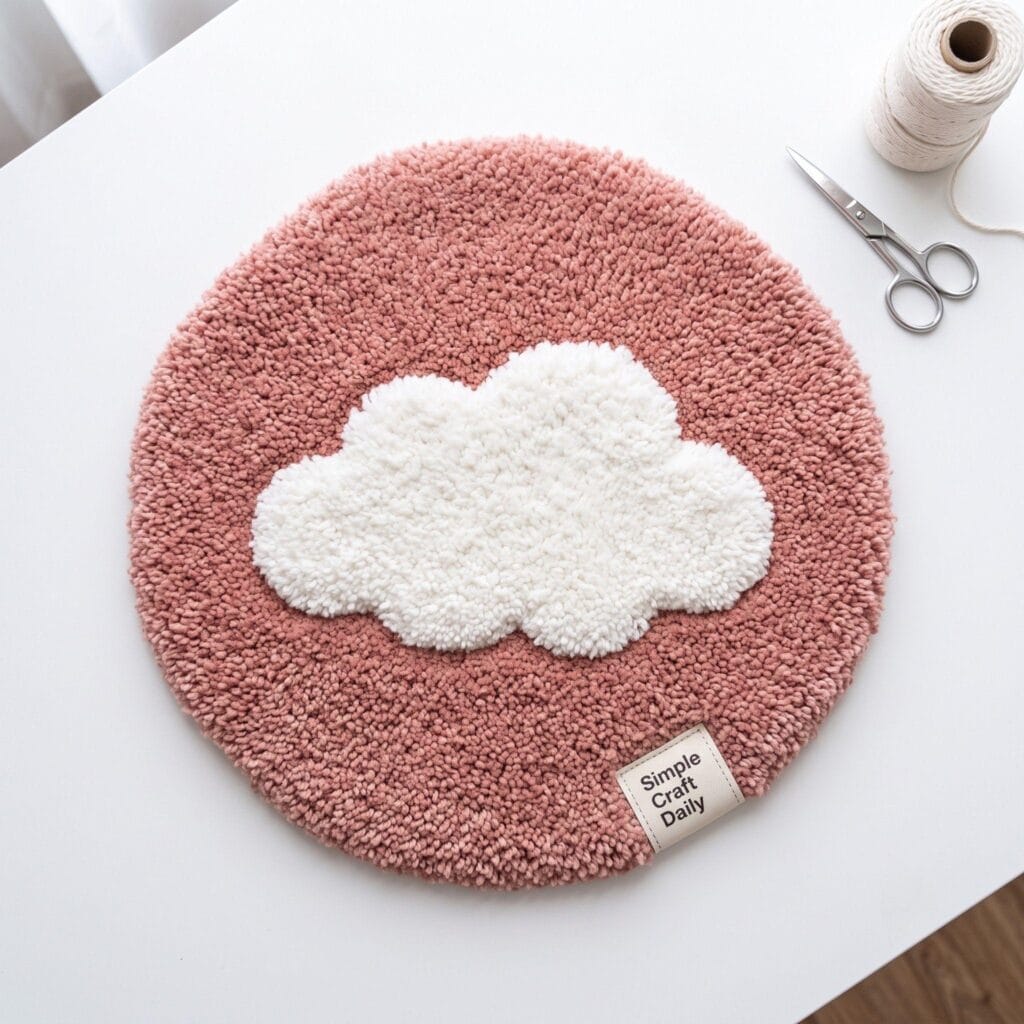
Supplies Needed: Cut-Pile Tufting Gun, White Bouclé Yarn, Dusty Rose Acrylic Yarn, Duckbill Fabric Shears, Carpet Adhesive.
The Concept: High-contrast silhouette art featuring a plush, 3D cloud floating inside a 50 cm x 70 cm rectangular background mat.
Quick Steps: Trace a 35 cm wide fluffy cloud silhouette in the center of your monk’s cloth. Tuft the cloud interior using textured white yarn, keeping stitches slightly looser (5 mm line spacing) to allow the loops to bloom. Tuft the surrounding dusty rose background tightly at 3 mm spacing to create a flat, dense backdrop that pushes the cloud forward visually.
Styling Tip: Position this cloud accent mat next to a bedside table for a soft, comfortable morning footrest.
5. Geometric Line Design
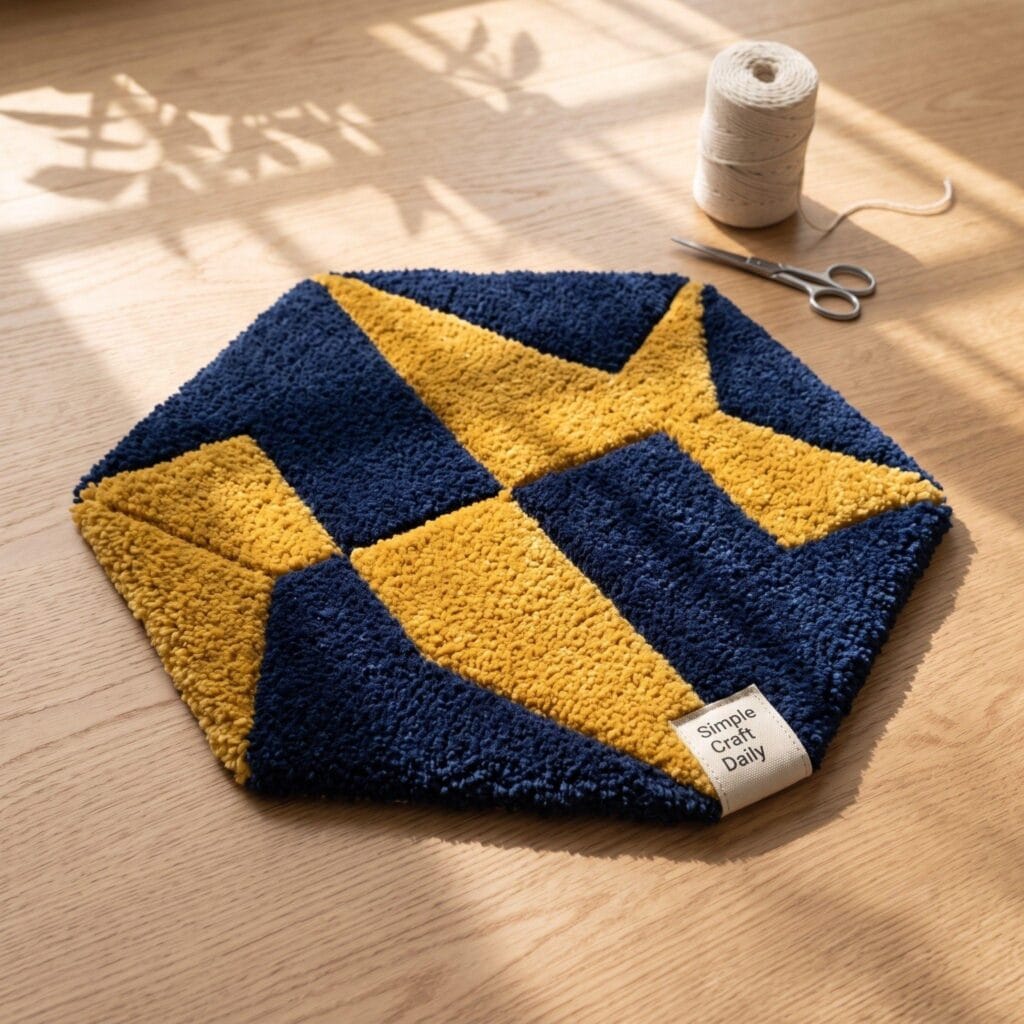
Supplies Needed: Primary Monk’s Cloth, 4-Ply Acrylic Yarn (Navy Blue & Mustard Yellow), Angled Ruler, Electric Rug Trimmer.
The Concept: Crisp, architectural lines intersecting across a 60 cm x 60 cm square mat. Modern mid-century aesthetics favor these sharp 45-degree color blocks.
Quick Steps: Draw four intersecting diagonal lines across your stretched canvas at precise 45-degree angles using an angled ruler. Tuft 6 mm thick navy blue border lines along the marker tracks first. Fill the resulting triangular pockets with solid mustard yellow yarn, running your tufting passes parallel to the diagonal borders rather than vertically.
Styling Tip: Pair this architectural rug with wooden furniture pieces to accentuate clean linear angles.
6. Color Block Panels
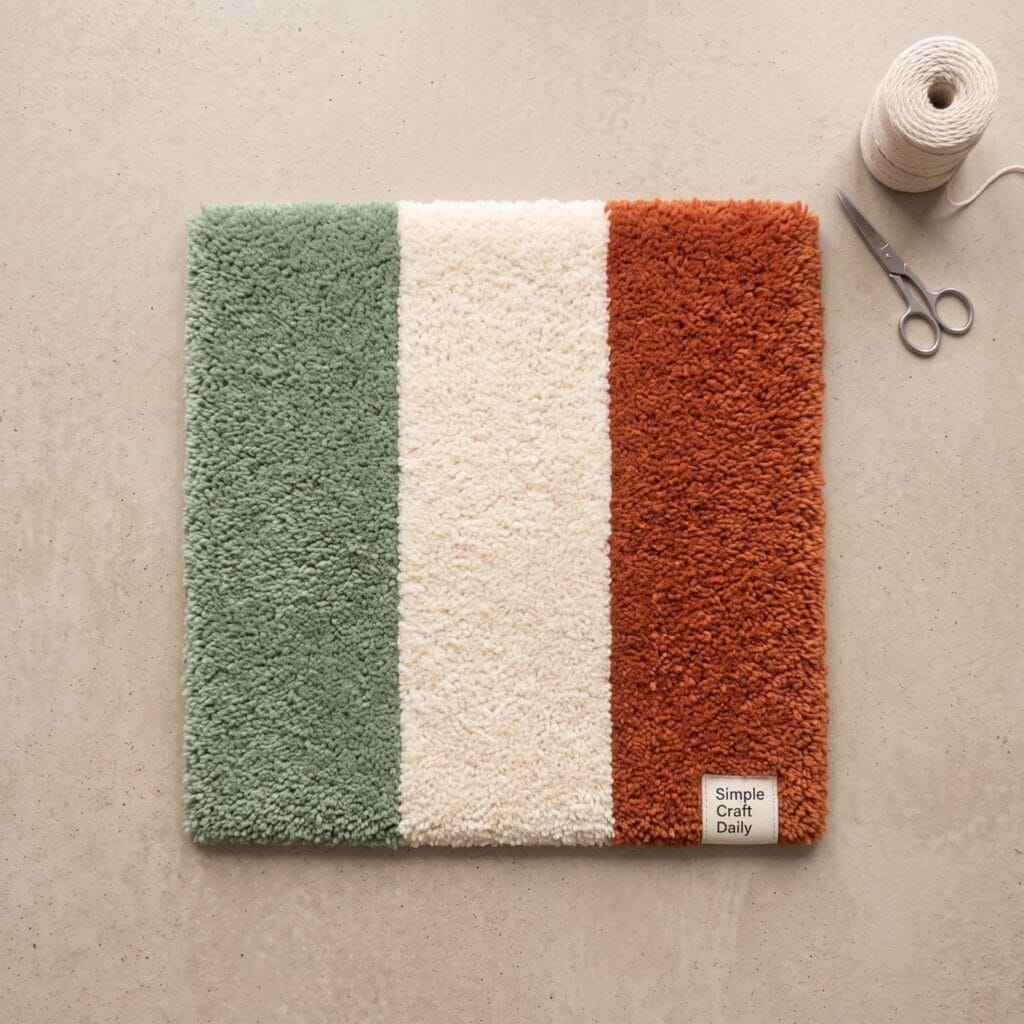
Supplies Needed: Cut-Pile Tufting Gun, 4-Ply Acrylic Yarn (Sage Green, Rust Orange, Cream), Carpet Adhesive, Shearing Guide.
The Concept: Minimalist Scandinavian layout dividing a large 90 cm x 120 cm area into three clean, asymmetrical rectangular color blocks.
Quick Steps: Grid your primary cloth into three panels measuring 40×90 cm (Sage), 50×50 cm (Rust), and 50×40 cm (Cream). Tuft each section using dual-strand 4-ply yarn at 80% motor speed for fast, dense coverage. Apply carpet latex, allow to dry for 24 hours, and shear the top pile flat using an electric trimmer mounted on a acrylic shearing guide.
Styling Tip: Display this large color block rug in an entryway to establish a calm, organized color palette right at the door.
7. Floral Motif
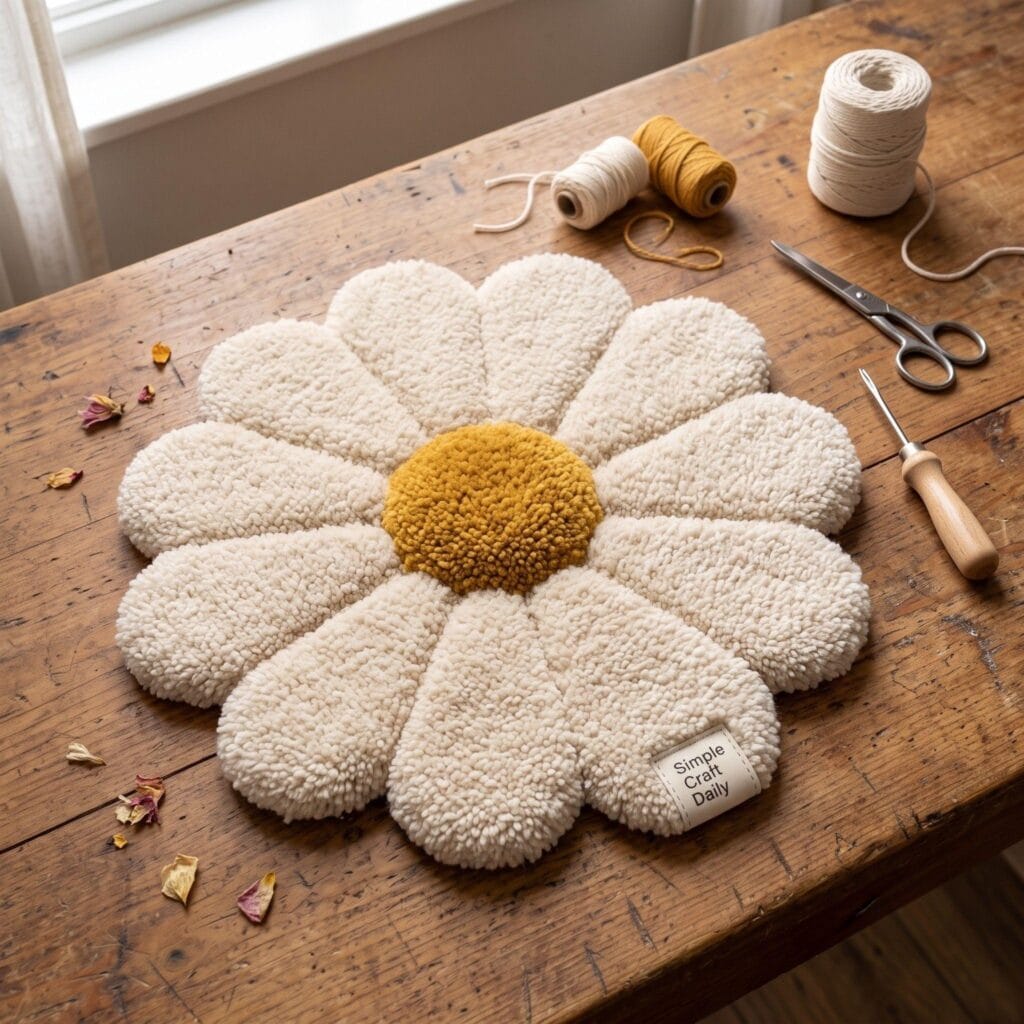
Supplies Needed: Cut-Pile Tufting Gun, Acrylic Yarn (Cream, Mustard Yellow, Olive Green), Duckbill Shears, Electric Rug Trimmer.
The Concept: Stylized 65 cm circular daisy motif featuring contoured petals and a raised central seed disk.
Quick Steps: Trace a 20 cm center circle surrounded by six 22 cm rounded petals. Tuft the center circle first in mustard yellow using dense 3 mm line spacing. Outline each petal in olive green before filling the interiors with cream yarn. Once backed and demolded, carve 4 mm deep grooves around every petal contour using your electric trimmer to create individual sculpted petals.
Styling Tip: Explore our guide on DIY Garden Decor: 10 Easy Ways to match botanical interior accents with outdoor styling.
8. Typography or Initial Rug
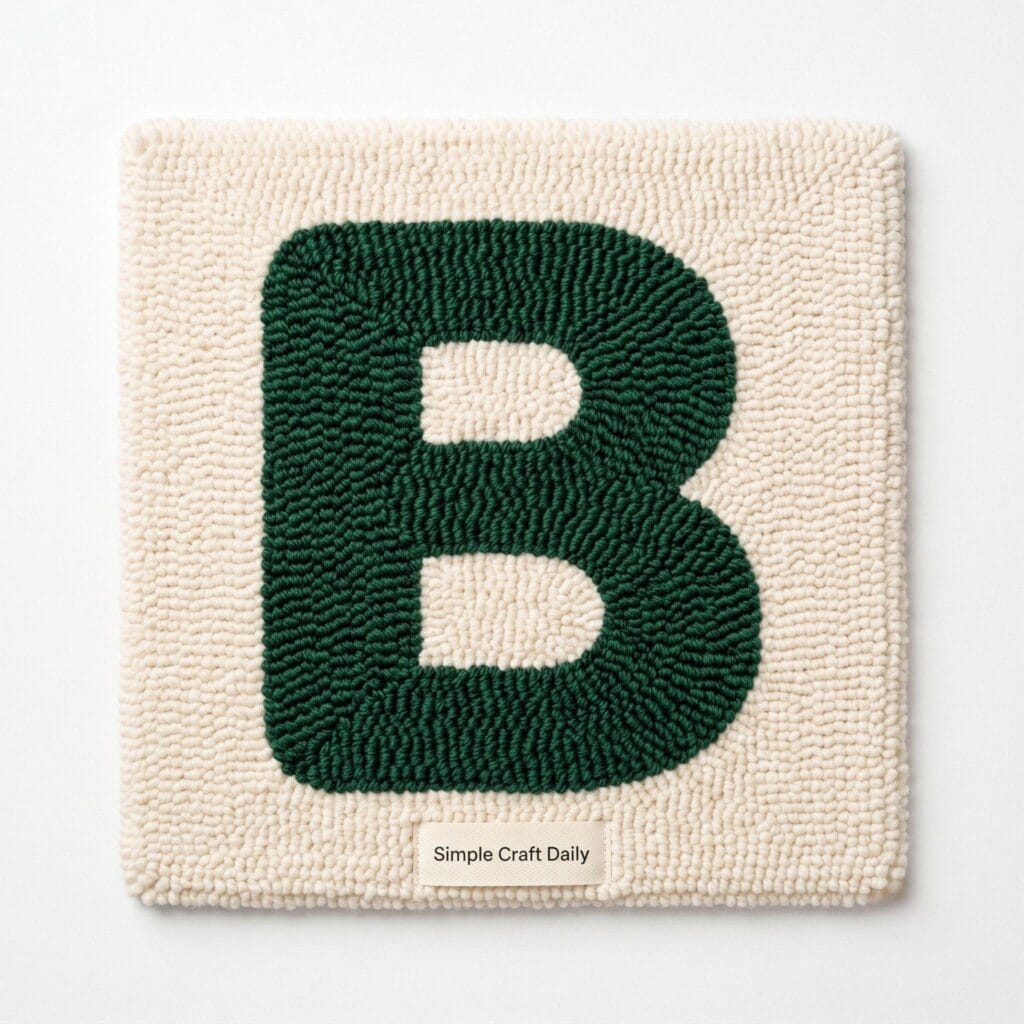
Supplies Needed: Projector (or Overhead Grid), Cut-Pile Tufting Gun, 4-Ply Acrylic Yarn (Forest Green & Off-White), Fabric Marker.
The Concept: Custom 50 cm x 50 cm monogram statement piece featuring a bold, serif letterform. (Note: Always mirror text when drawing on the back of the cloth!).
Quick Steps: Project a mirrored 35 cm tall letter ‘B’ onto the back of your stretched monk’s cloth and trace it using a marker, ensuring all stem strokes are at least 8 cm thick. Tuft the letter outline and interior in dense forest green yarn. Fill the surrounding background square with off-white yarn. Apply carpet latex, cure, and trim stray border fibers flat.
Styling Tip: This personalized monogram rug makes an exceptional custom gift; see our ideas for personalized handmade gifts for more inspiration.
9. Retro Smiley Face Design
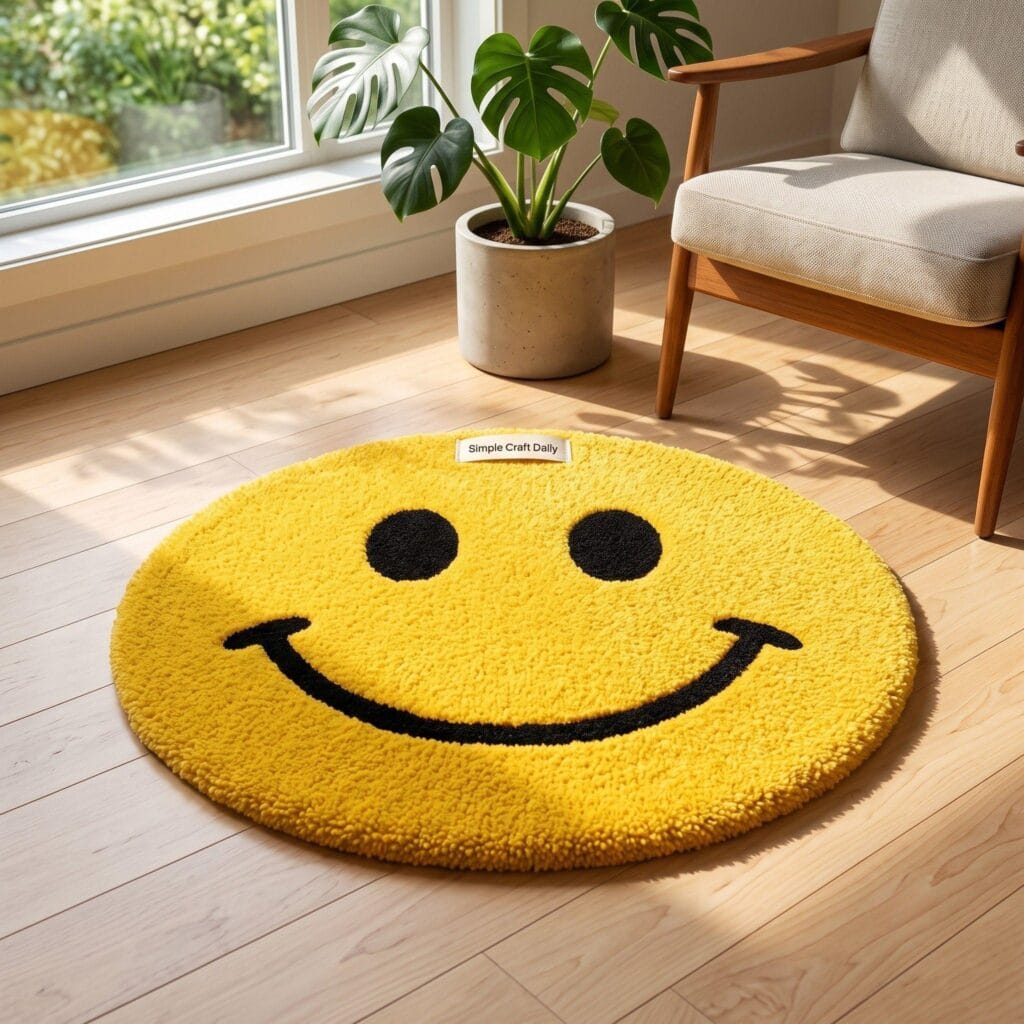
Supplies Needed: Primary Monk’s Cloth, 4-Ply Acrylic Yarn (Bright Yellow & Matte Black), String Compass, Carpet Adhesive.
The Concept: Playful 60 cm circular retro icon featuring bold black feature lines set against a vibrant yellow backdrop.
Quick Steps: Draw a precise 60 cm circle onto your cloth using a center pin and string compass. Mark two 12 cm oval eyes and a 30 cm curved smile line. Tuft the black eyes and mouth features first using double-line passes. Fill the entire remaining circle with bright yellow yarn, working in concentric circular lines from the outer edge toward the center.
Styling Tip: Place this circular pop-art mat in a home office or creative studio to add energy and color.
10. Wavy Line Landscape
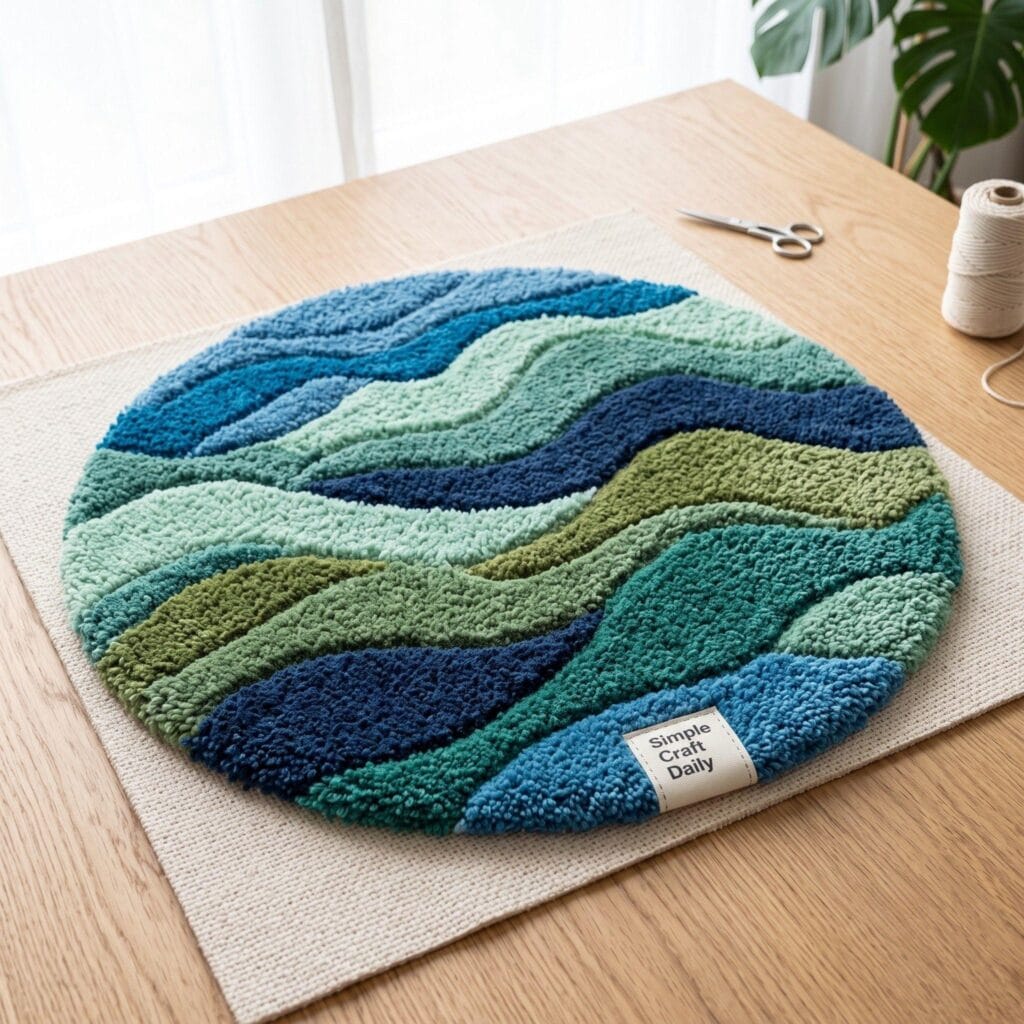
Supplies Needed: Cut-Pile Tufting Gun, 4-Ply Acrylic Yarn (Teal, Cobalt, Seafoam, Olive), Electric Trimmer, Carpet Glue.
The Concept: Sculptural 70 cm x 100 cm layered landscape depicting rolling hills or ocean waves through contoured color bands.
Quick Steps: Trace four sweeping, asymmetrical wavy lines horizontally across your canvas. Tuft each wave band in a distinct shade (Teal, Cobalt, Seafoam, Olive), keeping line direction parallel to the wave curves. After gluing and removing the rug from the frame, trim each color junction at a steep 45-degree angle to create distinct, overlapping 3D ridges.
Styling Tip: Hang this wave piece on a neutral wall using carpet clamps to display it as a textural wall tapestry.
11. Animal Silhouette
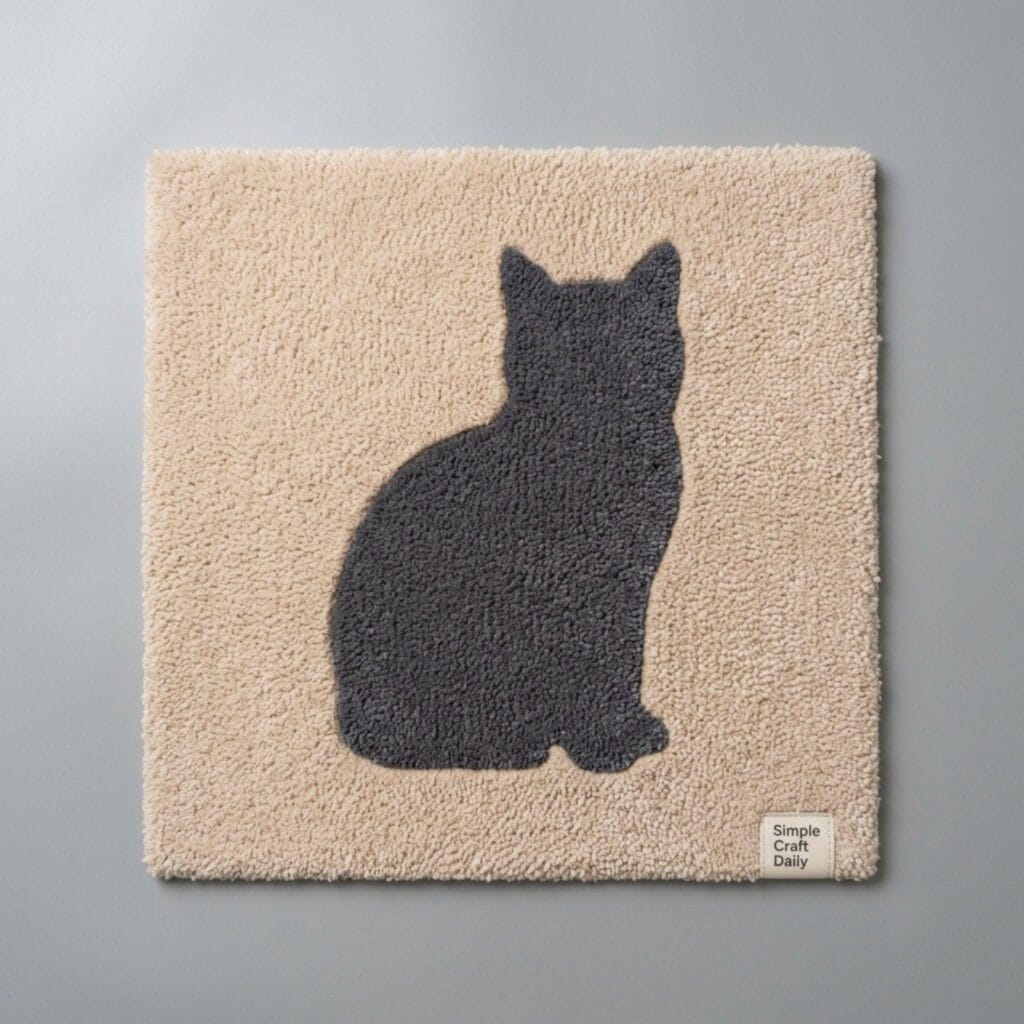
Supplies Needed: Cut-Pile Tufting Gun, Acrylic Yarn (Charcoal Gray & Warm Beige), Duckbill Shears, Carpet Adhesive.
The Concept: Minimalist 45 cm x 60 cm portrait featuring a sleek charcoal cat outline resting against a warm beige field.
Quick Steps: Trace a simplified 35 cm cat silhouette, omitting fine details like whiskers that can blur in tufted pile. Tuft the cat shape in solid charcoal gray using tight 3 mm row spacing. Fill the surrounding rectangular background with warm beige yarn. Coat the back with carpet adhesive, cure for 24 hours, and trim the silhouette border flat with duckbill shears.
Styling Tip: Combine this silhouette motif with projects from our Easy Painting for Beginners guide for a gallery wall setup.
12. Mini Tufted Wall Hanging
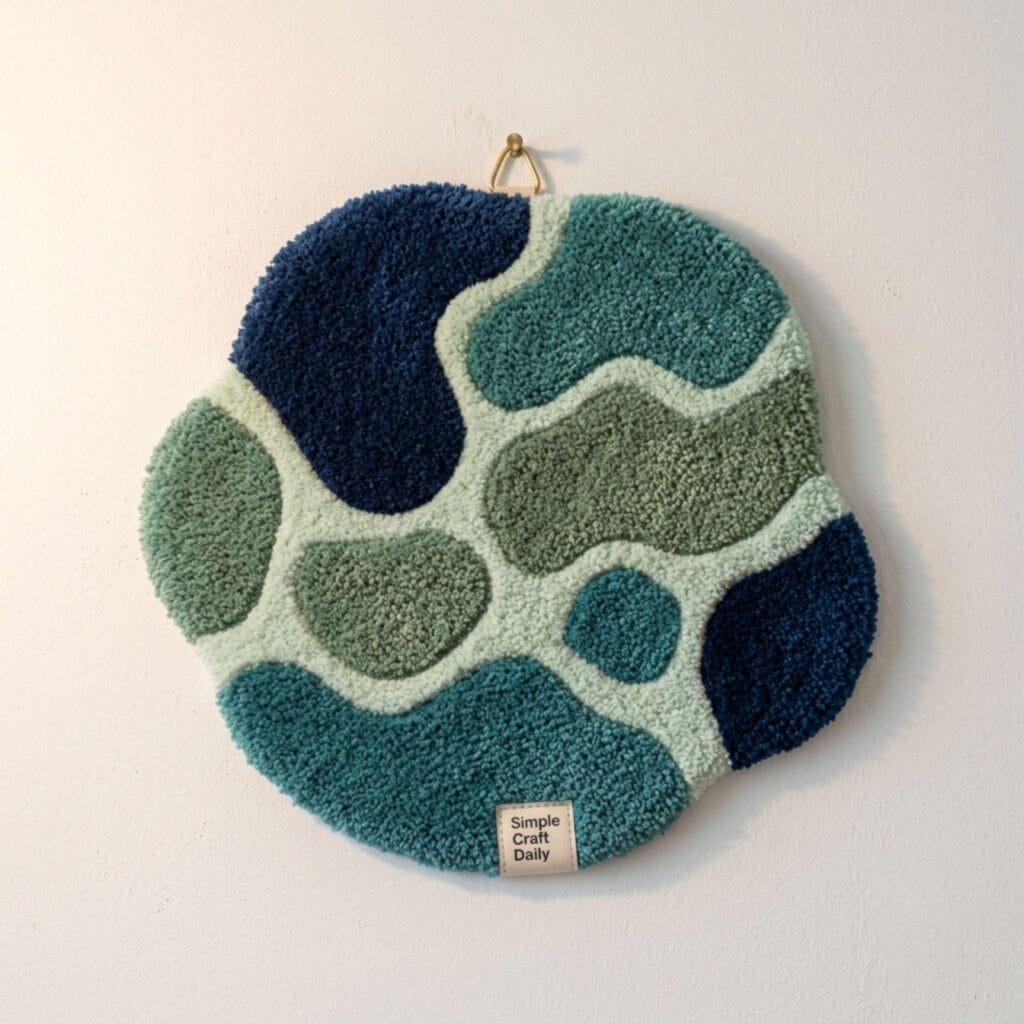
Supplies Needed: Small Frame (35 cm x 35 cm), Cut-Pile Gun, Yarn Scraps, Wooden Dowel, Hanging Cord, Hot Glue Gun.
The Concept: Compact 25 cm (10-inch) diameter geometric wall charm designed to showcase leftover yarn scraps.
Quick Steps: Stretch primary cloth over a small wooden frame and draw a 25 cm circle containing three arch segments. Tuft the segments using contrasting leftover yarn colors. Glue the back, cut the piece out with a 2 cm seam allowance, fold the edges backward, and hot-glue a 30 cm wooden hanging dowel along the top back edge with attached cord.
Styling Tip: Suspend a trio of these mini wall hangings at staggered heights to fill narrow wall spaces effortlessly.
Enhance Your Interior Space with Tufting Curation
Designing your own tufting art patterns is a deeply satisfying creative journey. Incorporating these plush, handmade textile accents into your home instantly elevates your interior design with color and texture.
Spend an afternoon matching yarn tones to your existing sofa cushions and throw blankets. Your completed floor mats and wall hangings will look intentional, cohesive, and professionally crafted.
Quick Reference: All Supplies at a Glance
Ready to start tufting your first pattern? Here is the complete list of materials used across this guide for quick reference before gathering your studio equipment:
🧵 Tufting Machinery & Hardware
- Cut-Pile Tufting Gun (used throughout) | Check Cut-Pile Tufting Gun price on Amazon
- Heavy-Duty Wooden Tufting Frame (90 cm x 90 cm) (used throughout) | Check Heavy-Duty Tufting Frame price on Amazon
🌾 Backing & Cloth Materials
- Primary Monk’s Cloth with Yellow Grid Lines (used throughout) | Check Primary Monk’s Cloth price on Amazon
- Non-Slip Secondary Felt Backing (used throughout) | Check Non-Slip Felt Backing price on Amazon
- Cotton Twill Binding Tape (used throughout) | Check Cotton Twill Binding Tape price on Amazon
🧶 Yarns & Threading
- 4-Ply 100% Acrylic Rug Yarn Cones (used throughout) | Check 4-Ply Acrylic Rug Yarn price on Amazon
- Wire Loop Long Threader (used throughout) | Check Wire Loop Long Threader price on Amazon
✂️ Trimming & Finishing Adhesives
- Roberts 3095 Carpet Adhesive (or Synthetic Latex Glue) (used throughout) | Check Carpet Adhesive price on Amazon
- Electric Rug Trimmer with Shearing Guide (used throughout) | Check Electric Rug Trimmer price on Amazon
- Duckbill Fabric Shears (used throughout) | Check Duckbill Fabric Shears price on Amazon
- Heavy-Duty Hot Glue Gun | Check Hot Glue Gun price on Amazon
Important Crafting Safety Notes
Working with an electric tufting gun is an exciting creative outlet, but power tool safety must guide your studio setup. Always work in a clear space away from clutter and foot traffic. Unplug the tufting gun completely whenever threading yarn, adjusting scissor settings, or clearing jammed cloth fibers.
A note on personal protective gear: Always wear fitted shatterproof safety glasses and an N95 dust mask when using electric rug trimmers, as micro-acrylic yarn fibers fly into the air during shearing. Wear ear protection during long tufting sessions to prevent noise fatigue from the motor.
A note on adhesives and household safety: Apply carpet adhesives in a well-ventilated room near open windows. Keep curing rugs, liquid latex containers, and sharp tack-lined frames completely out of reach of children and domestic pets—especially cats, who are attracted to loose hanging yarn and toxic adhesive fumes.
Which geometric or floral tufting pattern are you inspired to craft first? Please share your color palette ideas in the comments section below!



[…] white, and soft mint. You can also borrow the bold, graphic color-blocking approach from these modern tufting art pattern ideas when arranging banners, felt shapes, and paper […]