

Crochet angels and amigurumi appear year after year in gift shops, craft fair booths, and Etsy listings because a palm-sized stitched figure carries the marks of the person who made it. The neat rounds, tiny embroidered smile, and slightly squishy stuffing give each piece a character that factory-made decor rarely has. Once you can work a few dependable stitches with even tension, the same basic shaping methods can become angels, animals, ornaments, keychains, and small gifts for every season.
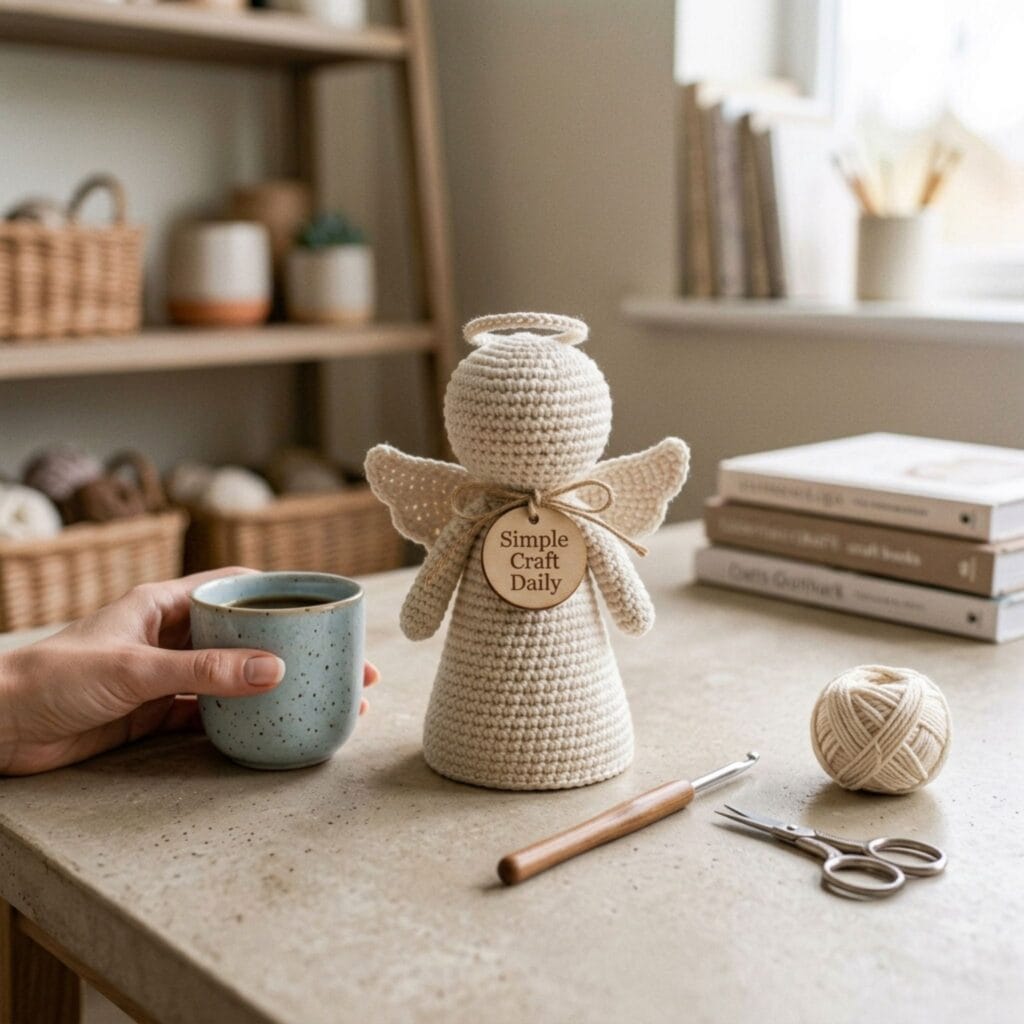
This collection includes 12 crochet angel and amigurumi projects. It begins with flat and cone-bodied pieces that help you practice clean seams and simple shaping, then moves into fuller stuffed animals with rounded heads, limbs, ears, and color changes. You will also find practical maker notes throughout, along with a safety section farther down for any project that may end up in a child’s room or in small hands.
Affiliate Disclosure: This post contains affiliate links. As an Amazon Associate, I earn from qualifying purchases. If you buy through these links, I may earn a commission at no additional cost to you.
What You’ll Need for Crochet Angels and Amigurumi
Most of these projects use the same compact, dependable supply list. Keep a few hook sizes, smooth yarn, polyester fiberfill, a tapestry needle, stitch markers, and sharp embroidery scissors within reach so you can move from one small make to the next without rebuilding your work basket each time.
- Worsted weight yarn (a smooth, light-colored yarn works best for angels) | View on Amazon
- A crochet hook one size smaller than the yarn label recommends, for tighter stitches | View on Amazon
- Polyester fiberfill stuffing | View on Amazon
- A yarn needle for sewing pieces together | View on Amazon
- Small safety eyes or embroidery floss for facial features | View on Amazon
- Stitch markers, to track your rounds on amigurumi bodies | View on Amazon
- Felt or ribbon scraps, for wings, halos, and small accents | View on Amazon
Pro tip: Amigurumi is almost always worked in a tighter gauge than garment crochet. Going down a hook size keeps your stitches dense enough that stuffing doesn’t peek through the gaps.
Crochet Angels and Amigurumi: Angel Ideas
1. Classic Cone-Body Angel Ornament
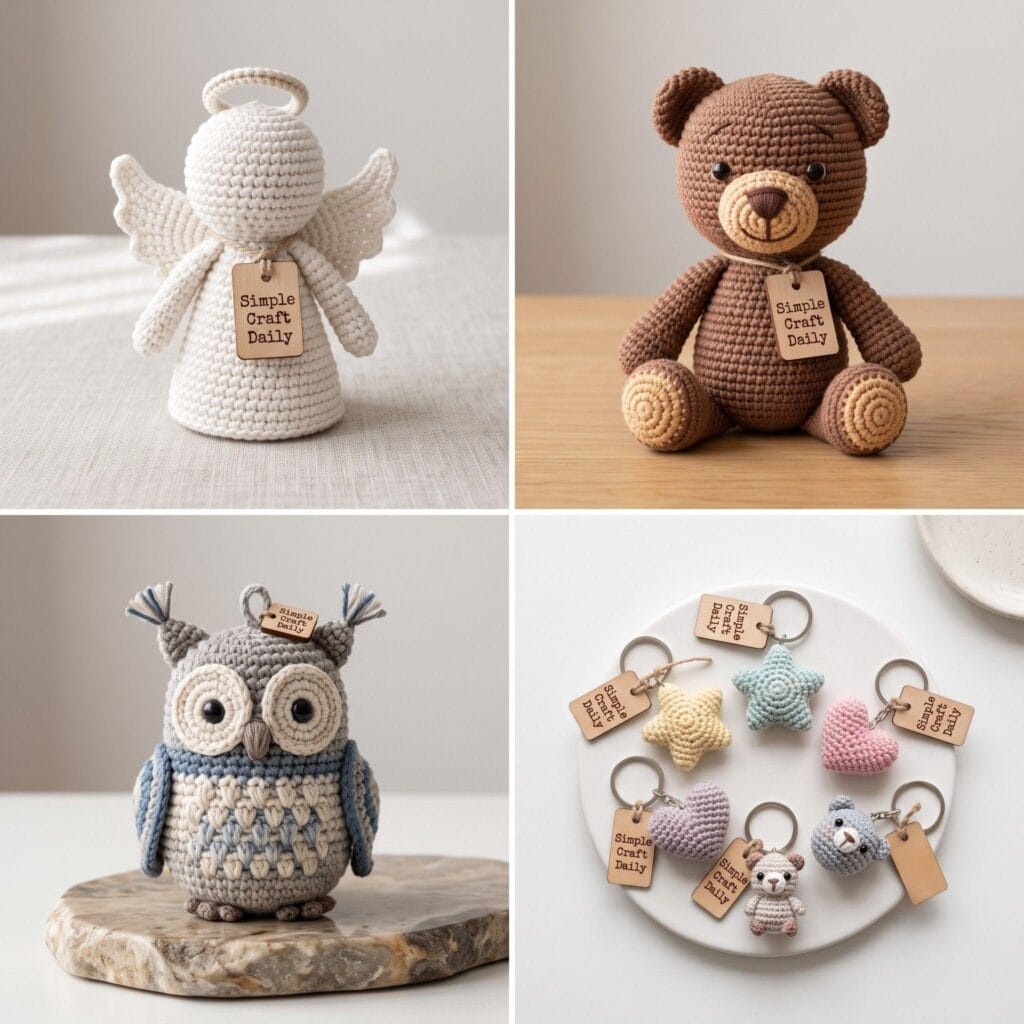
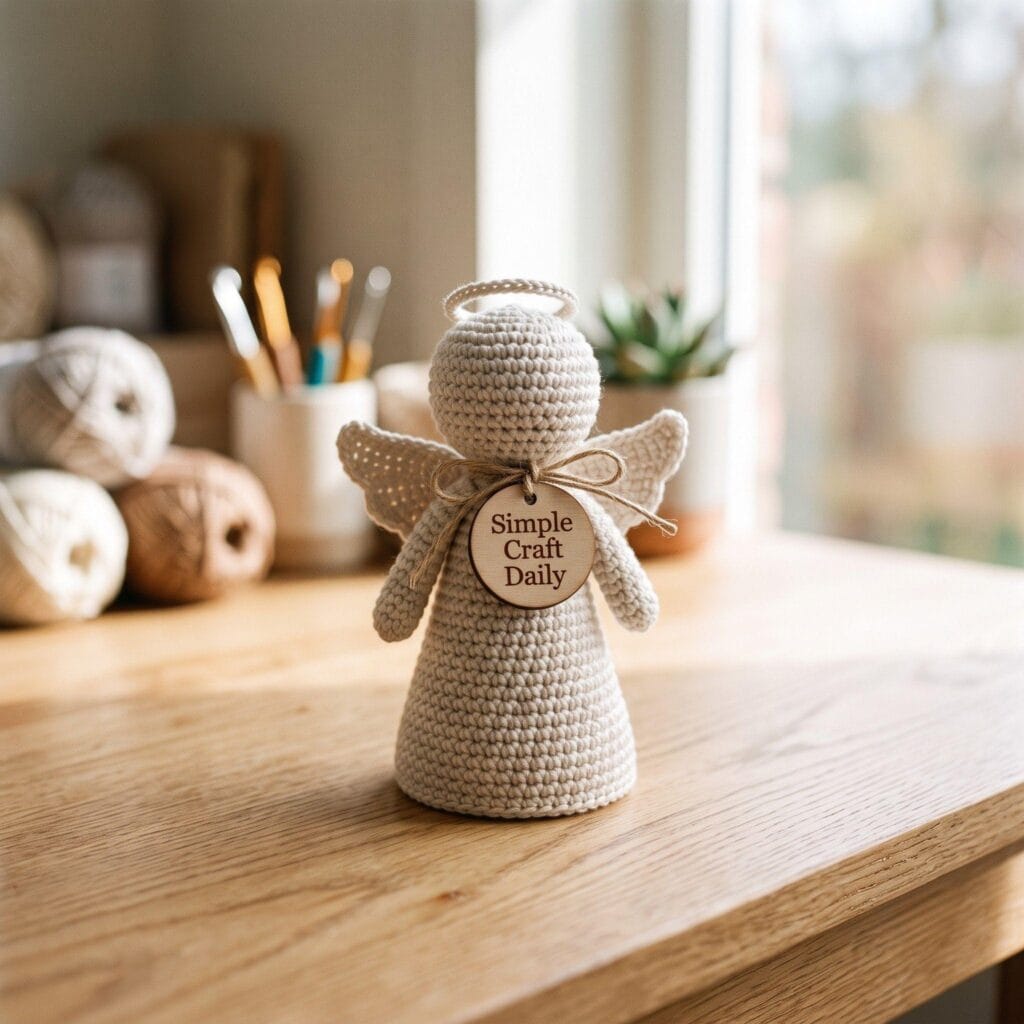
This traditional angel silhouette gives new amigurumi makers a manageable place to begin. Crochet a firm cone for the body, make a small round head, and work two flat wings in matching or contrasting yarn. Stitch the pieces together with a tapestry needle, then form a halo from metallic embroidery floss, gold yarn, or a short loop of floral wire wrapped in thread. The body works up quickly, and its simple construction makes it practical to make several matching angels for place settings, teacher gifts, or holiday packages.
2. Mini Angel Amigurumi Doll
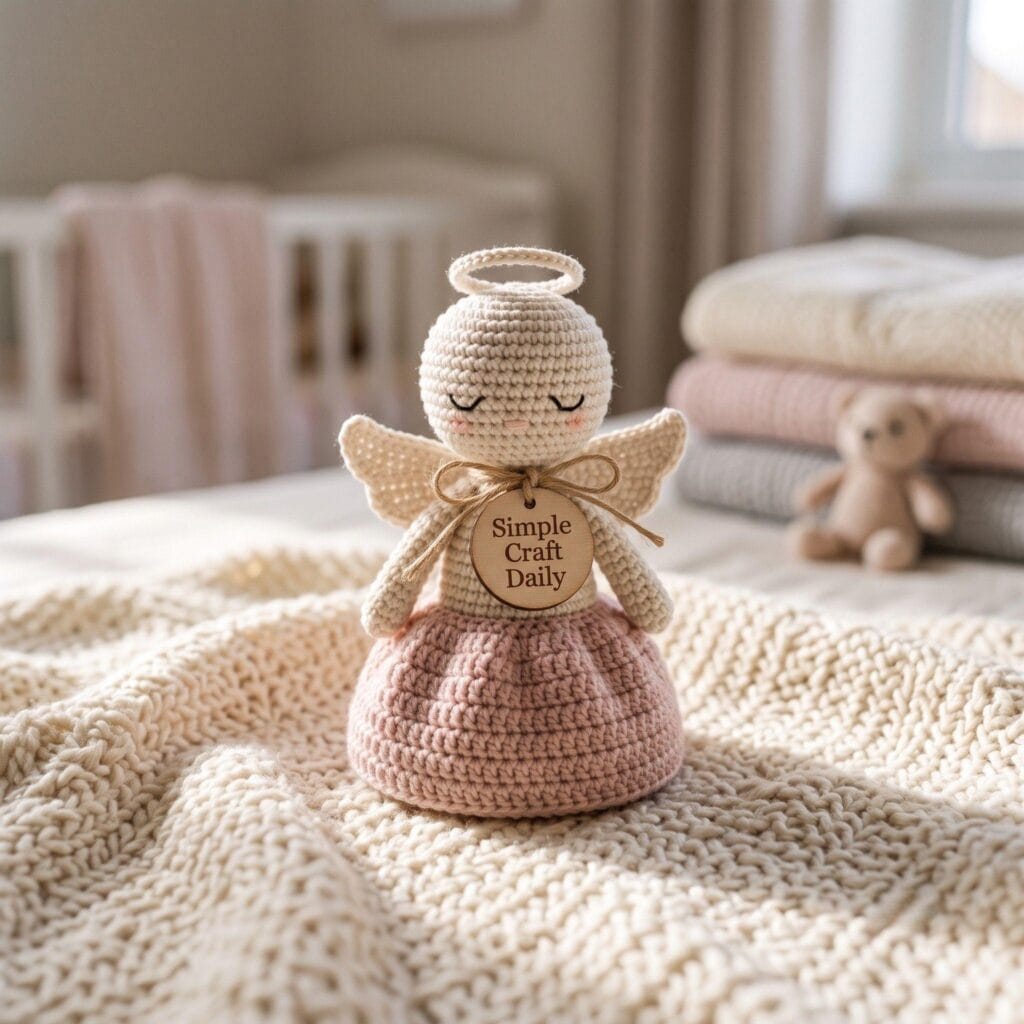
For a more doll-like angel, make a stuffed body with a rounded torso rather than a flat cone. Add short arms, a fuller skirt in cream or pale blue, and a small length of yarn hair beneath the halo. The extra rounds require more counting and shaping, but the finished figure has a soft, substantial feel in the hand. Use tightly stitched fabric details and securely sewn features if you plan to give one as a baby gift.
Pro tip: Stuff firmly but not tightly. Overstuffing can distort your stitch definition and make the angel’s shape look lumpy instead of smooth.
3. Angel Ornament Garland
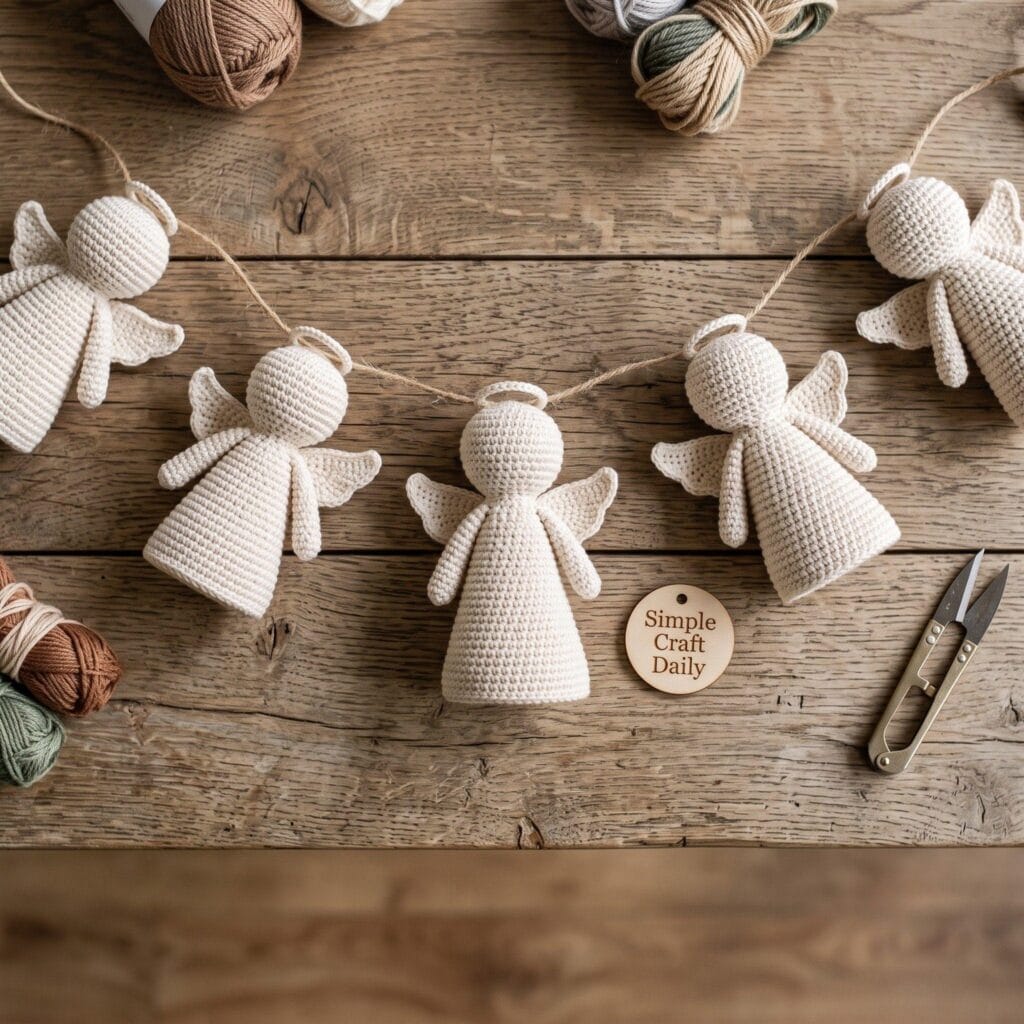
Use yarn left from larger projects to make a row of simplified angels with round heads and triangle-shaped bodies. Each one uses only a small amount of yarn, so this is a useful project for those little wound bundles that collect at the bottom of a yarn basket. Thread the finished angels onto satin ribbon, baker’s twine, or cotton cord, leaving 3 to 4 inches between figures. Hang the garland across a mantel, along a window frame, or over a nursery shelf.
4. Angel Tree Topper
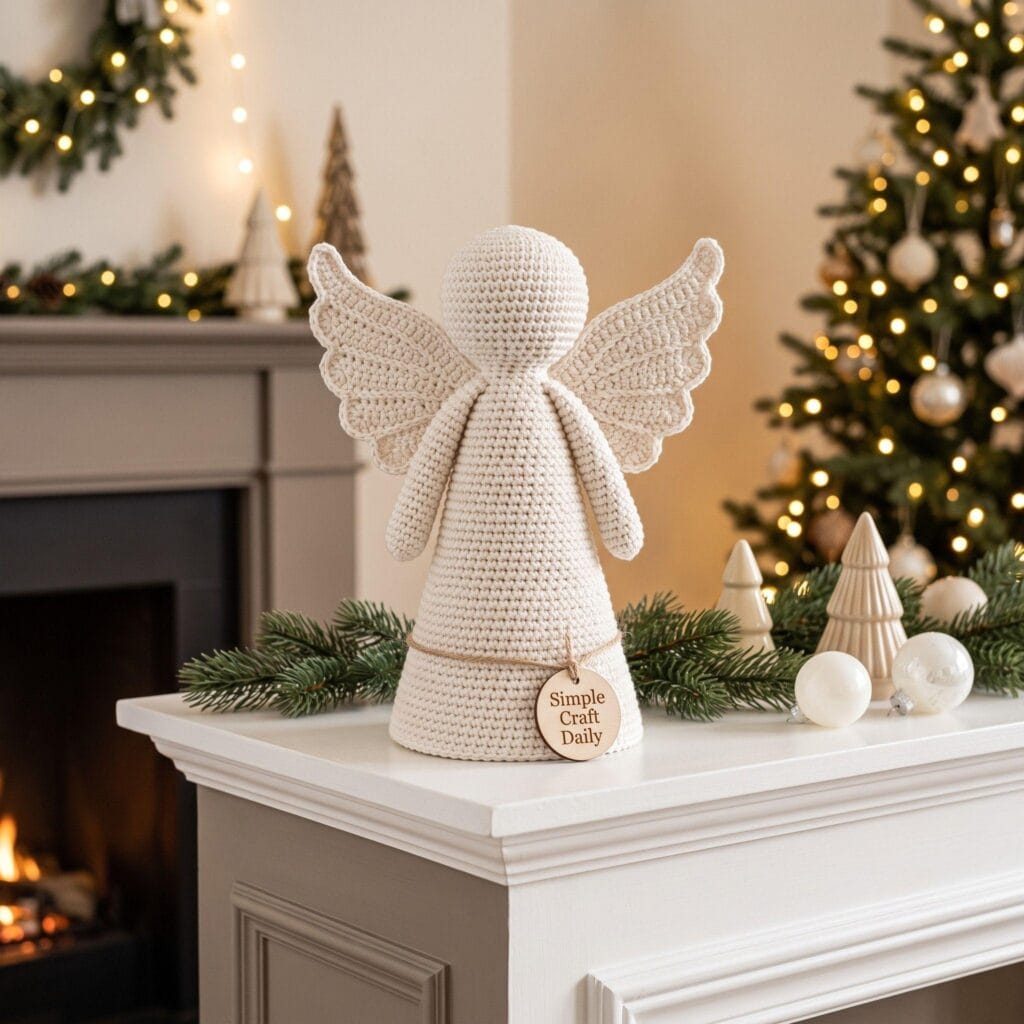
Turn the classic angel into a tree topper by widening the cone base until it slips over the upper branch cluster without crushing the needles. A sturdy cotton or acrylic yarn helps the body hold its shape, while a cardboard or plastic canvas insert inside the cone can keep the opening round. Make the wings broad enough to read from across the room, and sew them through several stitches at the angel’s back so they do not droop. This larger version takes more yarn and assembly time, yet it earns a place in the holiday box year after year.
5. Angel Keychain Charm
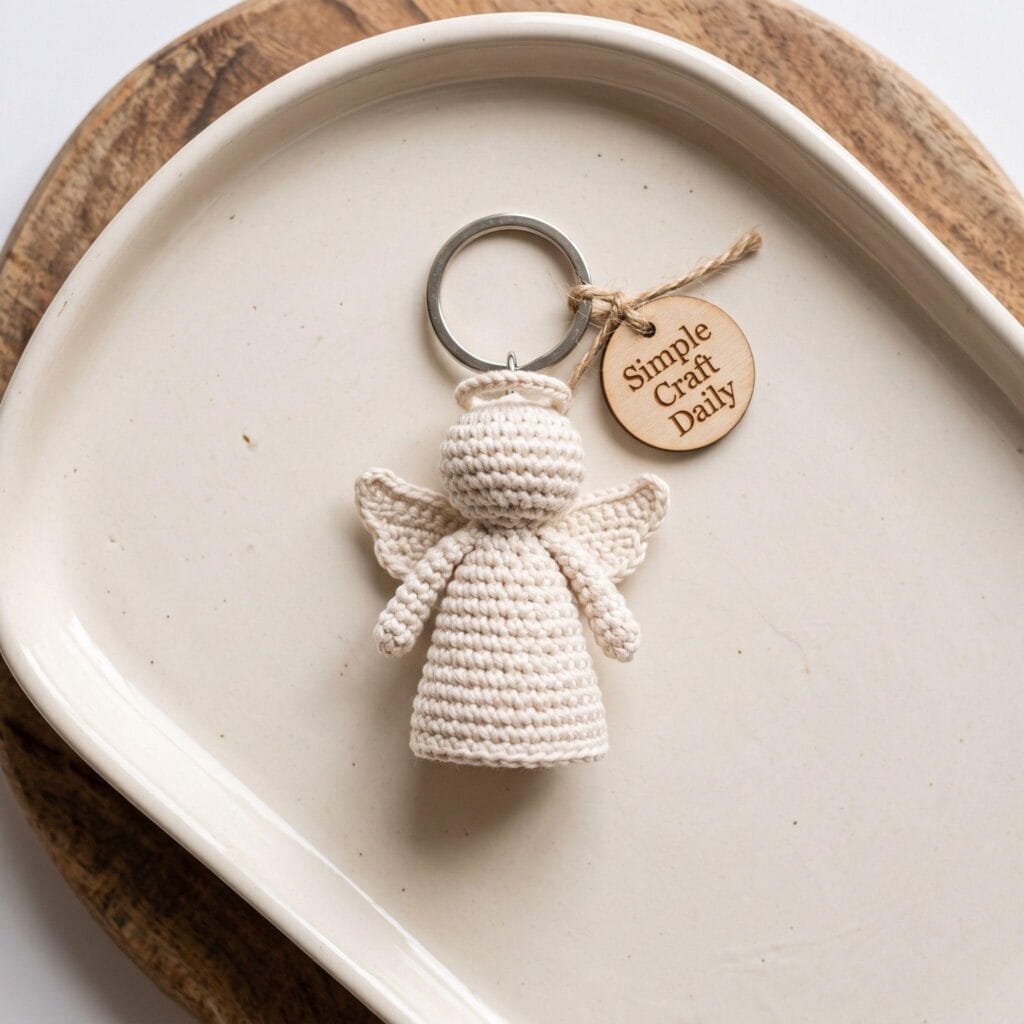
Crochet a miniature angel only a few centimeters tall and attach a split key ring, swivel clasp, or lobster clasp through a reinforced loop at the crown. Use a smaller hook than the yarn label recommends so the stuffing stays hidden behind close, dense stitches. These little figures work up quickly and fit easily into favor bags, stocking stuffers, or thank-you packages for a larger group. A dab of clear fabric glue on the knot inside the head adds extra security before you close the final stitches.
6. Baby Shower Angel Rattle
A soft angel can hold a small plastic rattle insert or a few jingle bells enclosed in a firmly sewn fabric pouch before you add the fiberfill. The gentle sound gives the project a playful purpose while keeping the familiar angel shape. Choose washable yarn and stitch the body densely so the insert cannot press through the fabric. For infant gifts, use a commercially made, enclosed rattle component and avoid loose bells, plastic eyes, wire halos, buttons, or any trim that could come free.
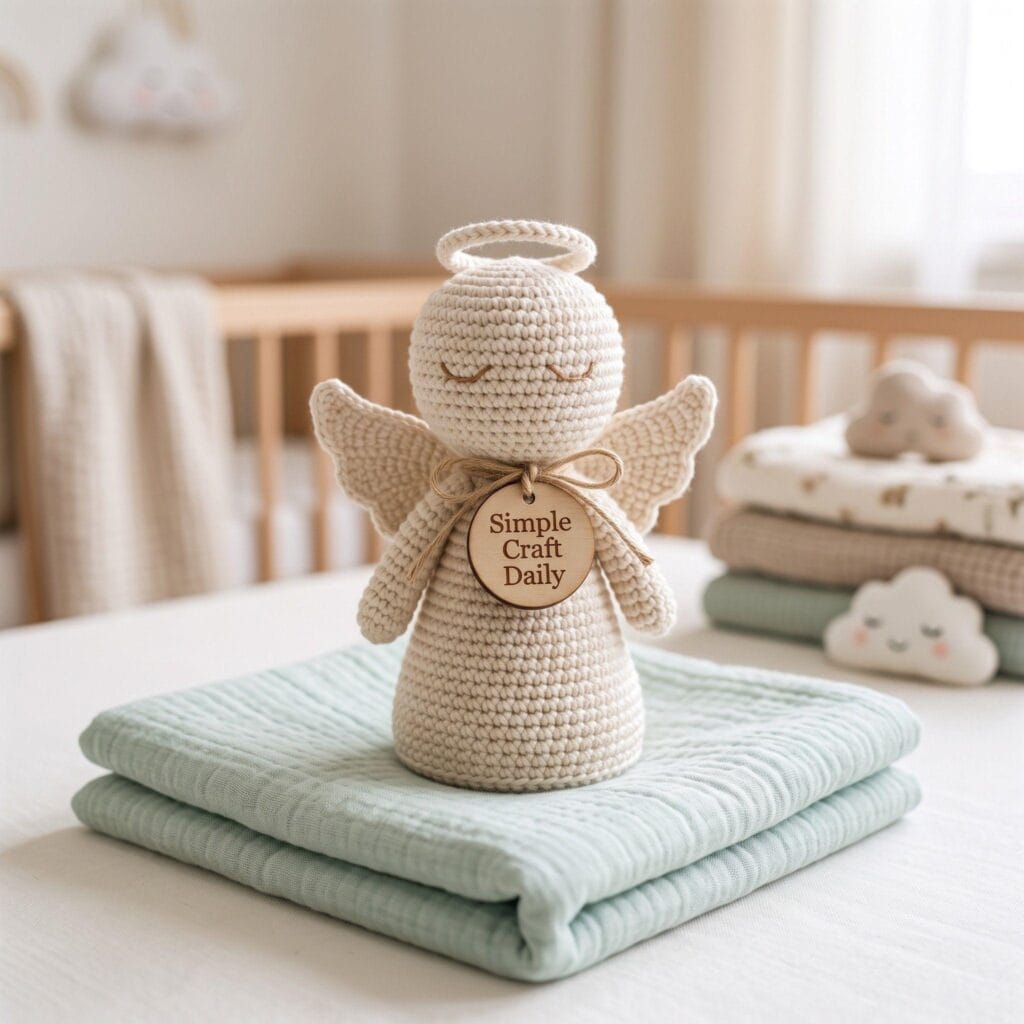
Pro tip: If you’re adding jingle bells, sew the fabric pouch closed with a tight whipstitch first. Then insert it into the amigurumi body, so no small parts are ever directly exposed to a baby’s mouth.
Crochet Angels and Amigurumi: Animal Ideas
7. Amigurumi Teddy Bear
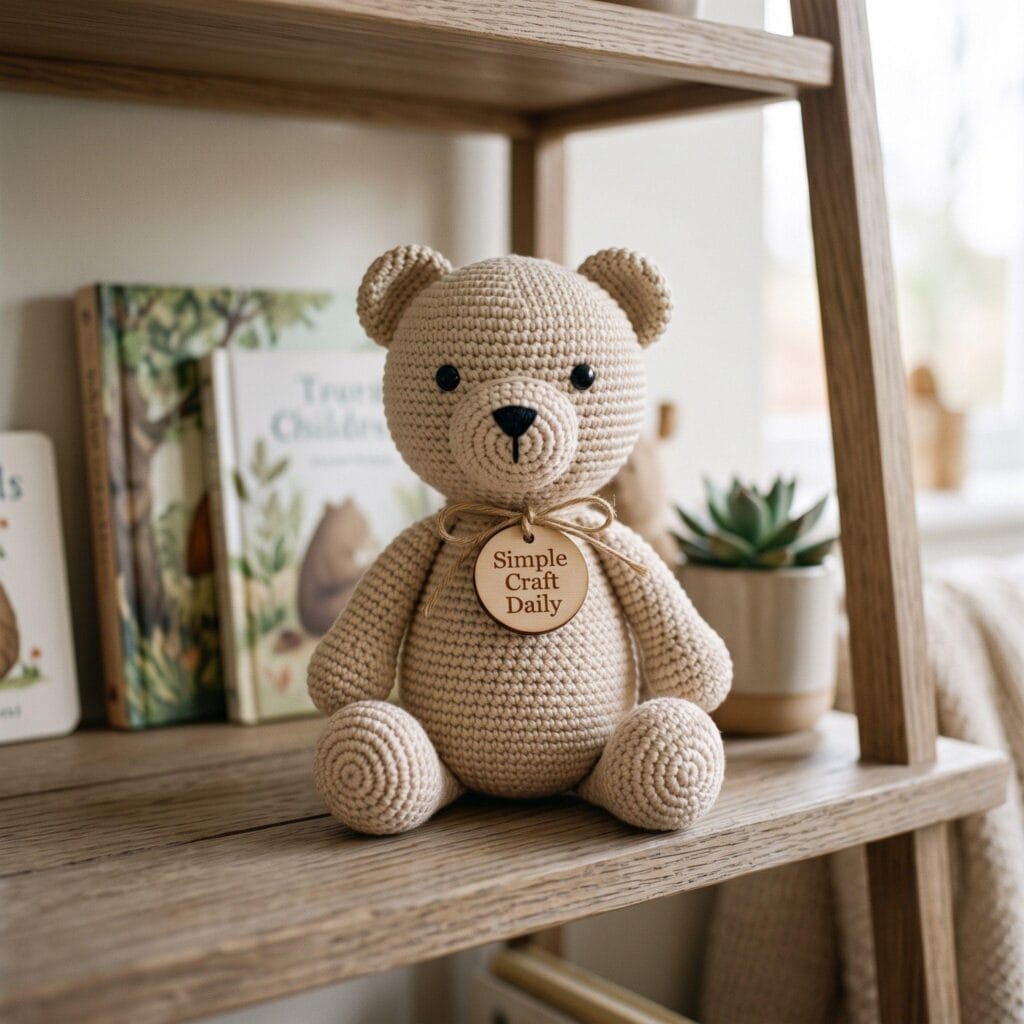
A round head, short limbs, and small curved ears make the teddy bear one of the most useful amigurumi forms to learn. The basic body teaches you how increases widen a round, how decreases pull it back in, and how steady stuffing keeps the shape smooth. Once the proportions feel familiar, you can make a tiny bear for a keychain, a medium shelf-sized bear, or a large pillow-style version by changing yarn weight and hook size. Embroider the nose with black cotton thread for a soft finish that sits flush against the face.
8. Amigurumi Bunny
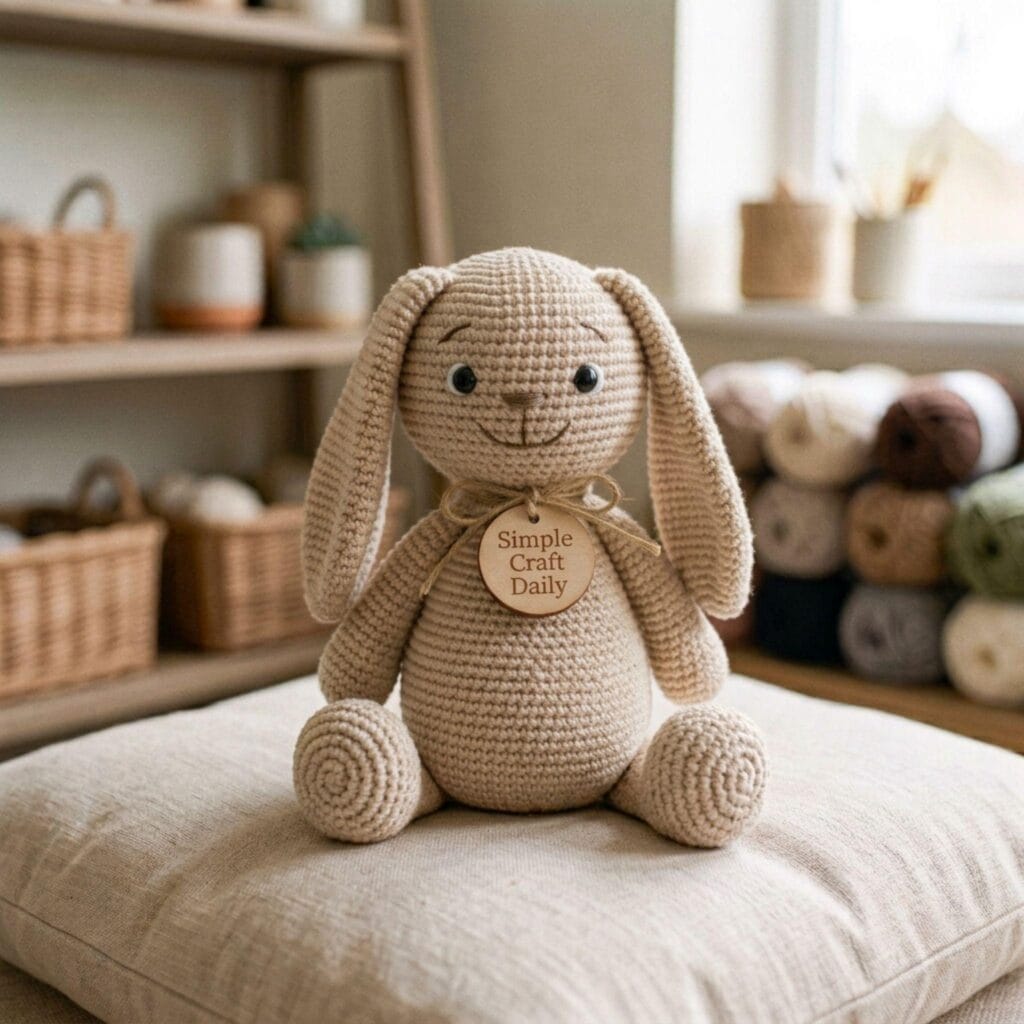
Long floppy ears give a bunny a completely different outline from the bear, even when the head and body use similar round construction. Work each ear in tight rows or rounds, then lightly stuff only the base so the upper portion can fold naturally. A small pom-pom tail brings a fuzzy contrast against the compact crochet fabric, while a stitched tail made from a tiny white sphere offers a safer option for young children. Pastel cotton yarn makes a sweet spring version, while oatmeal and brown shades suit a woodland set.
9. Amigurumi Cat
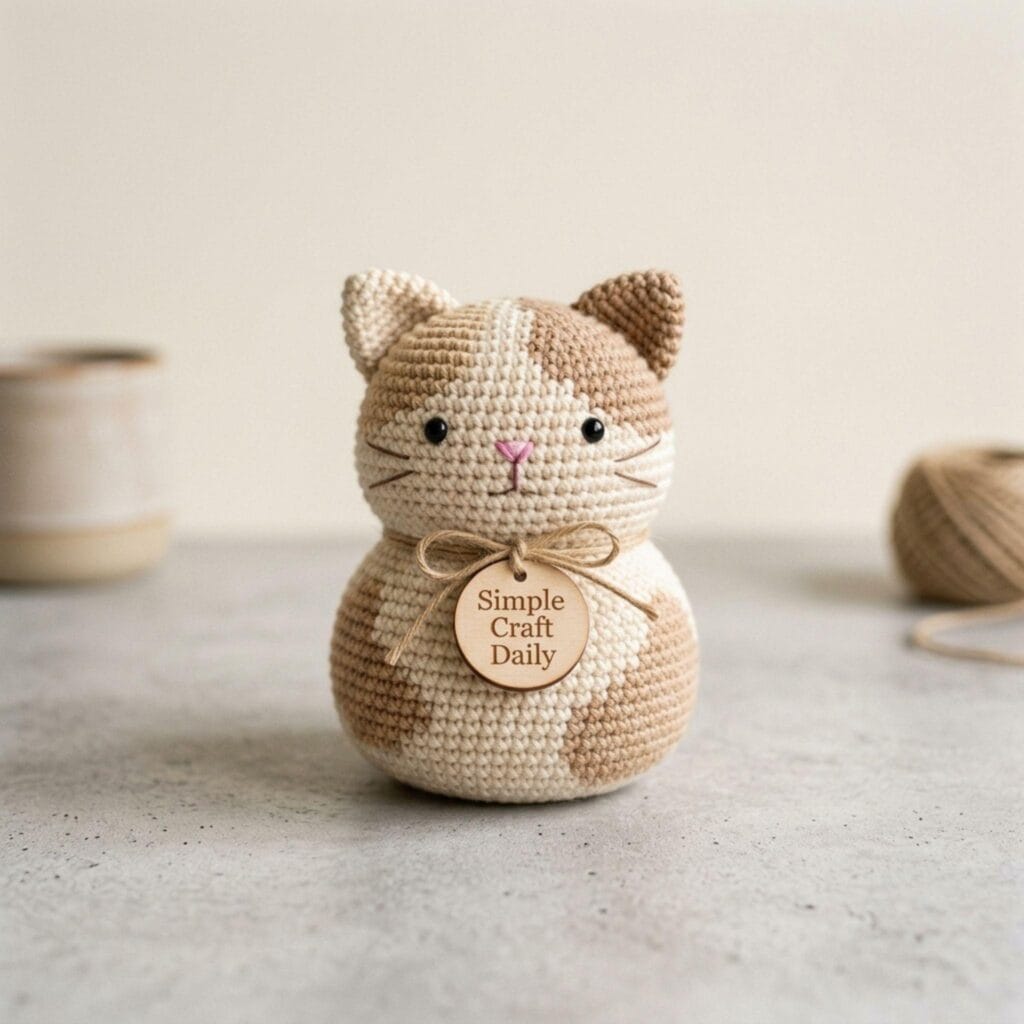
A pair of triangular ears, an embroidered nose, and three short whiskers on each cheek turn a basic rounded body into a cat. Use a contrasting yarn patch over one eye, along the back, or around the tail to suggest calico markings. For a tabby look, sew narrow stripes with embroidery floss after the body is stuffed and assembled. Keep the facial stitches short and pull them snugly through the fabric so the yarn does not snag during handling.
10. Amigurumi Owl
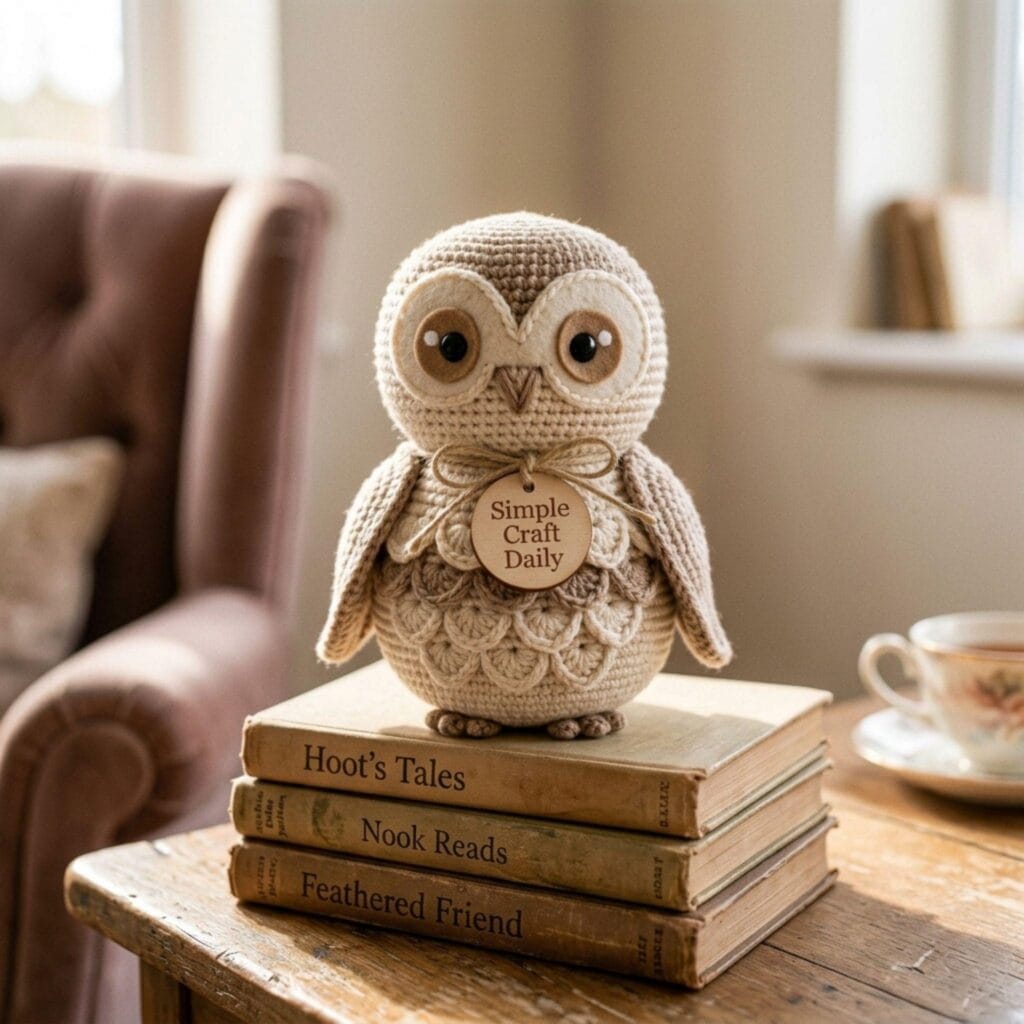
Owls suit beginning amigurumi makers because the main body is usually one plump oval with two wings and a pair of large eyes. You can crochet the eyes as layered circles, embroider them directly onto the face, or use securely installed safety eyes for display-only pieces. Alternate two yarn colors every few rounds, or add textured stitches across the belly, to suggest feathering without building separate layers. A small felt or crocheted beak placed between the eyes gives the face its familiar alert expression.
Pro tip: Use the invisible decrease stitch instead of a standard decrease when closing off rounded heads and bodies. It leaves a much smoother, gap-free finish than a regular decrease.
11. Amigurumi Fox
A fox starts with the same approachable rounded body used for several small animals, then gains its distinct profile from pointed ears and a tapered snout. Work the face and belly in cream, pale gray, or white yarn to separate those areas from the rust-colored body. The color blocks provide definition before you add any embroidered details, which keeps the finish clean and uncluttered. A thick tail with a light-colored tip completes the shape and gives the finished animal a pleasing weight when it sits on a shelf.
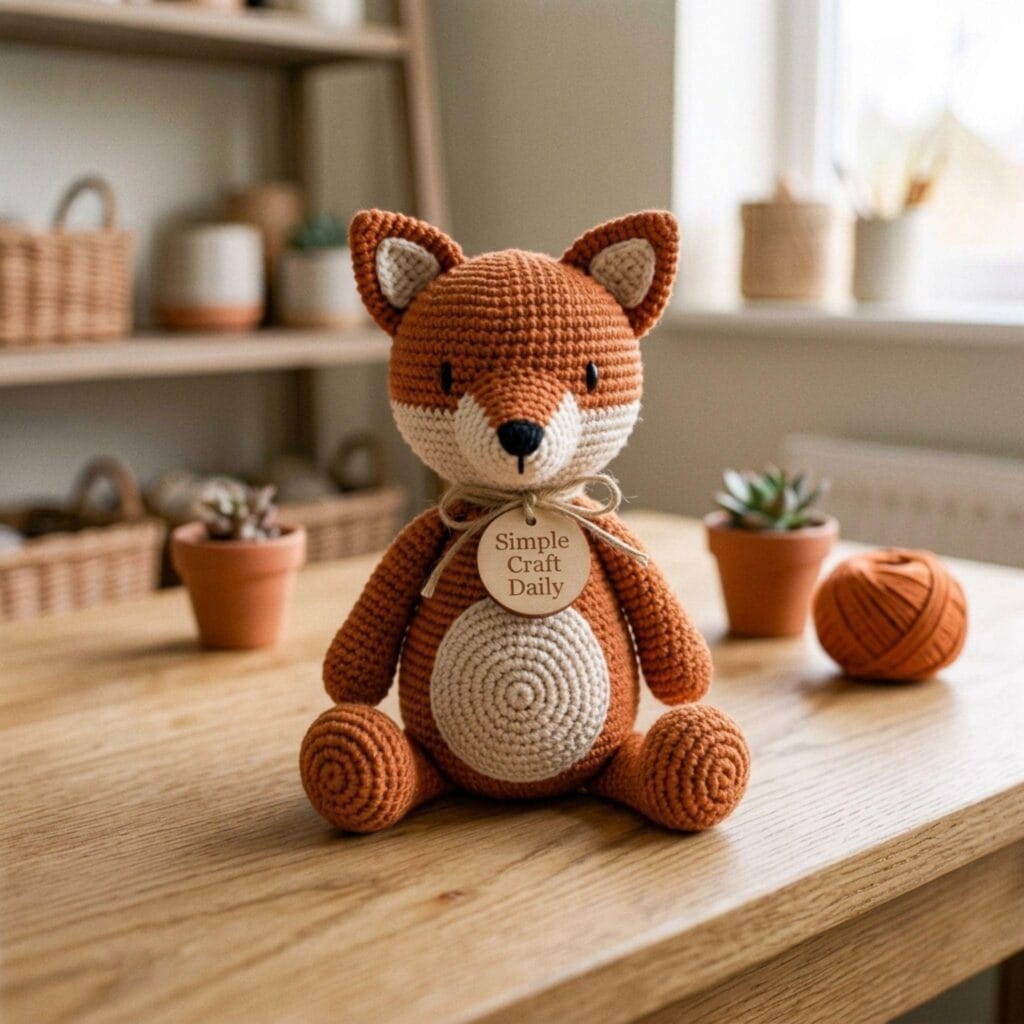
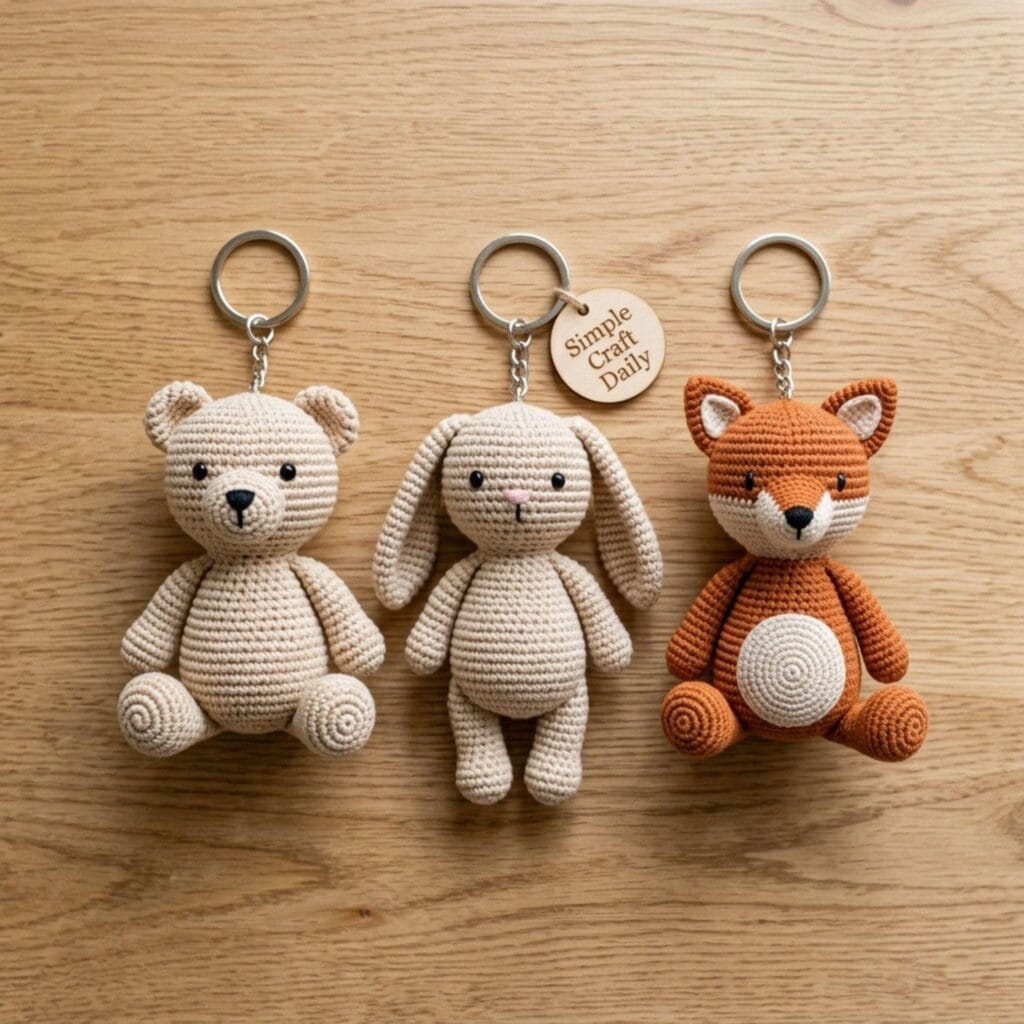
12. Mixed Mini Amigurumi Keychain Set
After you have practiced several animal shapes, reduce your stitch counts and make a coordinated keychain set. A mini bear, bunny, and fox look especially tidy when they share the same yarn palette and each measures about 2 to 3 inches tall. Photograph the set together on a plain linen cloth or light wood surface for a craft fair sign or online listing, then include one close-up image that shows the stitch texture and hardware. Shoppers can quickly see the available characters when the collection is arranged as one group.
If you enjoy making coordinated collections, check out our post on seashell crafts and decorations. It uses a similar small-piece, unified-set format with an entirely different material, and the finished pieces offer another way to build a giftable seasonal grouping.
Important Crafting Safety Notes for Crochet Angels and Amigurumi
A few precautions deserve careful attention with amigurumi, especially when a finished piece is intended for children. Check every seam, feature, attachment point, and filling choice before the toy leaves your hands.
- Skip safety eyes for very young children. Plastic safety eyes and small plastic joints are a choking hazard for babies and toddlers. Use embroidered features instead for anything going into a crib or a young child’s hands.
- Secure stuffing and small inserts tightly. Rattles, bells, or beads sewn inside a piece should be fully enclosed in an inner fabric pouch. Don’t let them sit loose against the outer stitches, in case seams stretch over time.
- Check yarn fiber content for allergies. Wool and mohair can irritate sensitive skin, so consider a soft acrylic or cotton blend for baby-safe pieces.
- Keep pets away from finished pieces during construction. Loose yarn strands and stuffing can be a hazard if swallowed, so store works-in-progress somewhere pets can’t reach.
- Reinforce seams on anything that will see regular handling. A whipstitch or double round of sewing around limbs and heads holds up much better over time. A single loose pass tends to give way with heavy play.
Turning Your Crochet Angels and Amigurumi Into Income
Crochet can become a practical source of income because makers can sell either the finished object or the instructions for making it. Both routes reward clear photos, reliable construction, and a recognizable style that customers can spot across a table or thumbnail grid.
You can sell completed ornaments, dolls, and keychains at craft fairs or through an online shop, particularly when holiday buying begins. Digital pattern sales offer another income stream. Write the pattern as a clear PDF with a materials list, stitch abbreviations, round-by-round instructions, assembly photos, and finished measurements. A digital file does not require packing materials or postage, and one well-tested design can continue reaching new buyers after you have finished the sample piece.
If you want to sell patterns, our guide on how to make money selling Etsy printables explains the basics of preparing and listing a digital download. Although it focuses on printables, the same buying habits apply to crochet instructions: customers want clean previews, accurate descriptions, and files that open easily after purchase. Our Canva + Etsy workflow guide also offers useful direction for arranging a polished pattern layout and taking mockup photos that show the finished project clearly.
You can also carry a character beyond yarn by adapting its original line art into wall prints, stickers, or apparel through print-on-demand. Keep the artwork simple enough to reproduce cleanly at small sizes, and use your own original drawings rather than copying a pattern designer’s finished character. Our print-on-demand tools guide explains which platforms print and ship those products, so you can offer a second product line without storing boxes of inventory at home.
Once your listing is ready, finding profitable Etsy keywords can help you write titles, tags, and descriptions that make it easier for interested buyers to find your work.
Frequently Asked Questions
What yarn weight is best for amigurumi? Worsted-weight yarn, also called medium or category 4 yarn, is a common choice because it is easy to find and produces clearly defined stitches. Pair it with a hook 0.5 to 1 mm smaller than the label suggests to create a dense fabric that holds polyester fiberfill inside.
Do I need to know special stitches for amigurumi? Most projects use single crochet worked continuously in a spiral, plus increases and decreases for shaping. Learn to place a stitch marker in the first stitch of each round, count carefully, and use an invisible decrease for smooth curves. Those techniques cover nearly every project in this collection.
How do I keep my amigurumi from looking lumpy? Add small pinches of fiberfill every few rounds instead of forcing a large clump into the opening at the end. Use the blunt end of a chopstick or stuffing tool to fill the neck, ears, legs, and other narrow areas, then gently roll the piece between your palms to settle the filling evenly. An invisible decrease helps rounded sections close with a smoother surface.
Final Thoughts on Crochet Angels and Amigurumi
A simple cone-bodied angel or round teddy bear gives you plenty of practice with the stitches that shape nearly all small crochet figures. Work slowly enough to count each round, keep your tension firm, and add stuffing in light layers as the form grows. Once those habits feel natural, try ears, wings, color changes, and smaller keychain versions. A basket of finished angels and animals soon becomes a useful supply of handmade gifts, seasonal decorations, and products for a shop table.
Which crochet angel or amigurumi are you making first? Share a photo in the comments once it’s finished — I’d love to see your stitch work.


