

If you have ever looked at a plain tote and thought it could use a pair of ears, this is a fine excuse to pull out the fabric scraps. Cat-themed bags turn an ordinary canvas tote, drawstring pouch, or thrifted sweater into something with real character. Most of these projects begin with simple shapes, a little fabric glue, and a few hand stitches, so you can make a cheerful carryall without advanced sewing experience.
Affiliate Disclosure: This post contains affiliate links. As an Amazon Associate, I earn from qualifying purchases. If you buy through these links, I may earn a commission at no additional cost to you.
Key Facts:
- Technique: Cat-Themed Bags
- Total time: An hour
- Difficulty: Easy
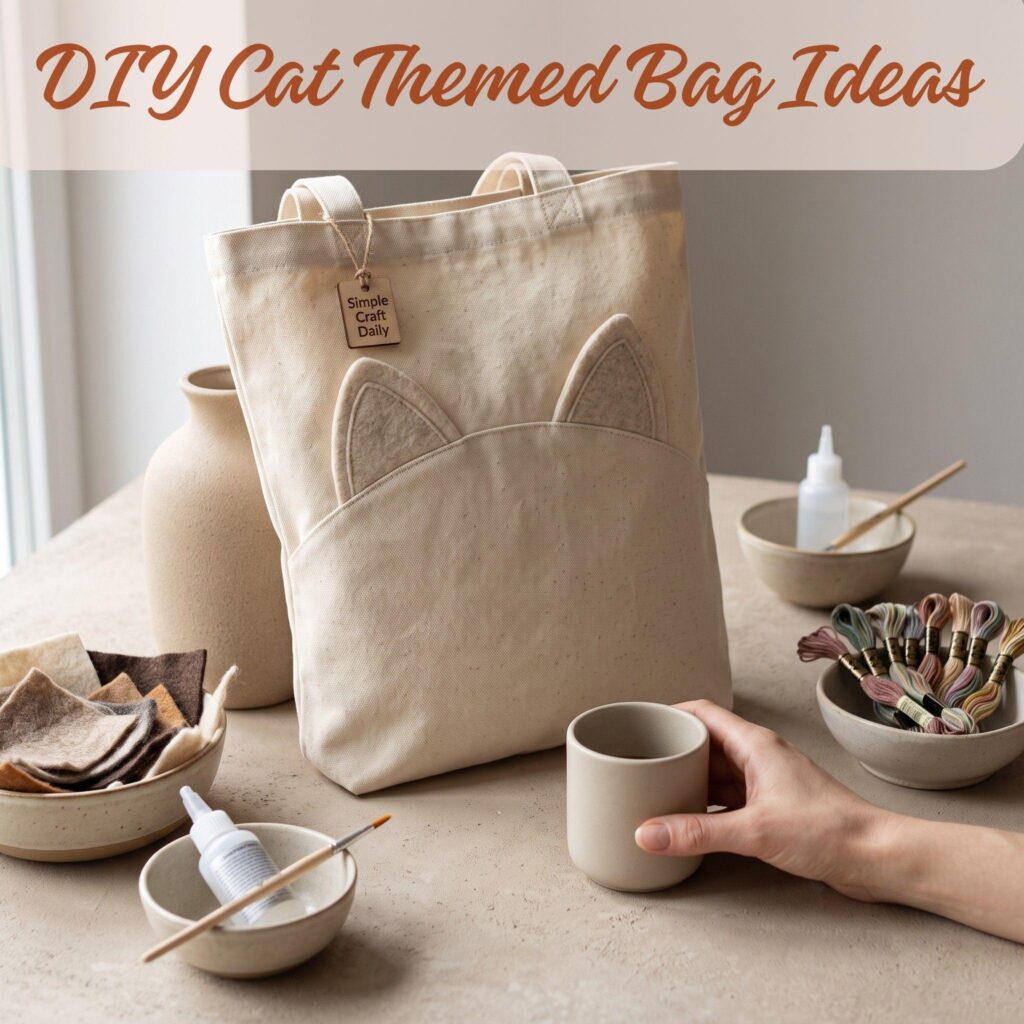
These 10 cat-themed bags are arranged from the quickest projects to the ones that need more cutting, stitching, and planning. Start with a no-sew tote if you want a relaxed afternoon craft, then move into embroidery, applique, or piecing when you feel ready. You will find practical tips throughout, along with a safety section near the end for families crafting with children.
What You’ll Need for Cat-Themed Bags
| Supply | Spec / Size | Used For |
|---|---|---|
| A plain canvas tote, drawstring bag, or fabric bag base | Base bag for the cat designs | |
| Felt in various colors | Black, white, gray, pink | Noses, ears, and facial details |
| Fabric glue or a hot glue gun | Attaching felt pieces without sewing | |
| Fabric paint or fabric markers | Drawing faces and whiskers | |
| Embroidery floss and a needle | Detail work on the bag | |
| Small pom-poms, buttons, or beads | Eyes and accent details |
Most of these ideas use the same small collection of supplies, so it helps to set them out before you begin:
- A plain canvas tote, drawstring bag, or fabric bag base | View on Amazon
- Felt in various colors (black, white, gray, pink for noses) | View on Amazon
- Fabric glue or a hot glue gun | View on Amazon
- A basic sewing kit, if you’re going the stitched route | View on Amazon
- Fabric paint or fabric markers | View on Amazon
- Embroidery floss and a needle, for detail work | View on Amazon
- Small pom-poms, buttons, or beads for eyes and accents | View on Amazon
- Fabric scissors and pinking shears | View on Amazon
Pro tip: Always wash and dry a plain canvas tote before decorating it. New fabric often has a light coating from manufacturing that can keep paint or glue from bonding properly.
1. No-Sew Felt Cat Ear Tote
- Cut two felt triangles about 2 1/2 inches tall, then fold the lower corners inward by roughly 1/4 inch so each piece takes on the shape of a softly pinched ear.
- Use fabric glue along the tote’s top seam, pressing the ears in place from the inside so they sit upright.
- Finish the face with a small pink felt triangle for the nose and three short whisker lines on each side drawn with a black fabric marker.
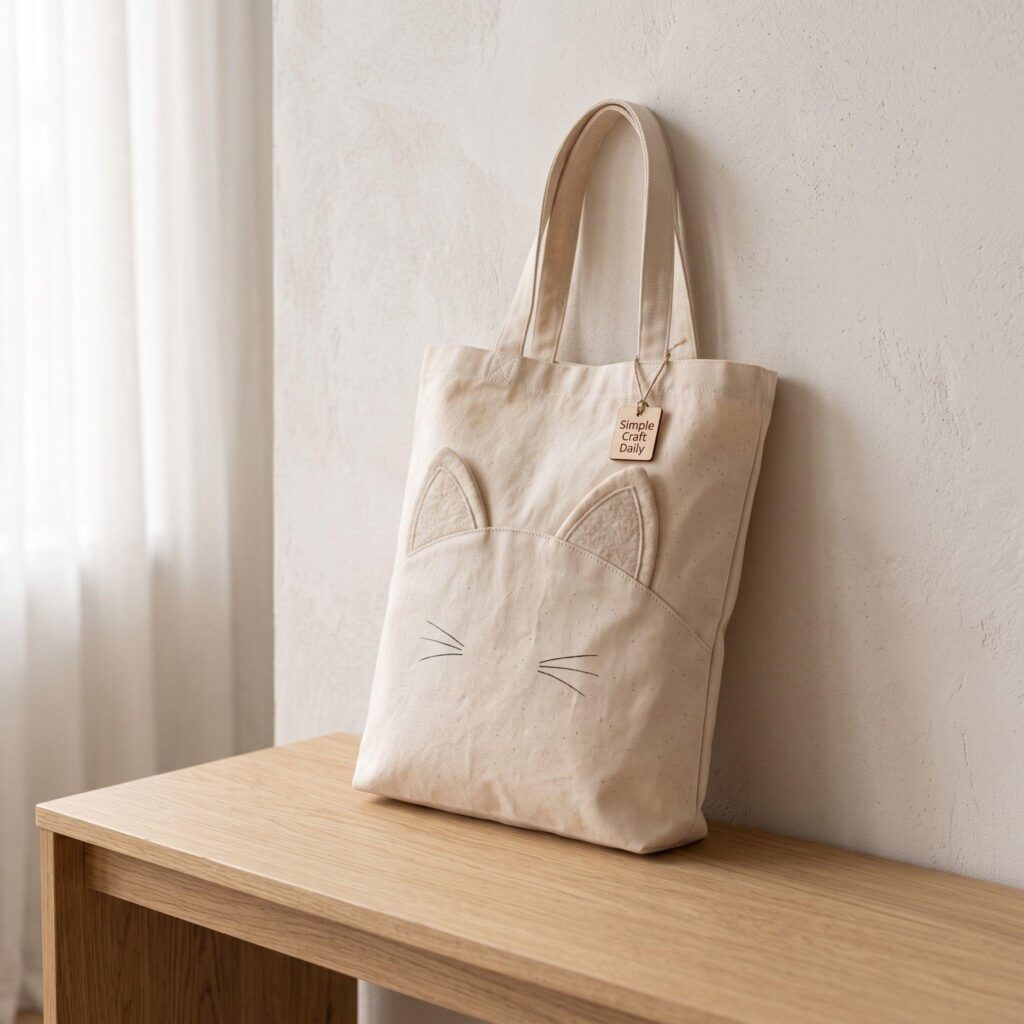
This is the fastest project on the list and a good place to begin with a plain canvas tote. Cut two felt triangles about 2 1/2 inches tall, then fold the lower corners inward by roughly 1/4 inch so each piece takes on the shape of a softly pinched ear. Use fabric glue along the tote’s top seam, pressing the ears in place from the inside so they sit upright. Finish the face with a small pink felt triangle for the nose and three short whisker lines on each side drawn with a black fabric marker.
Pro tip: Use fabric glue rather than a hot glue gun for this one. Hot glue can seep through thin canvas and show on the other side.
2. Embroidered Cat Face Bag
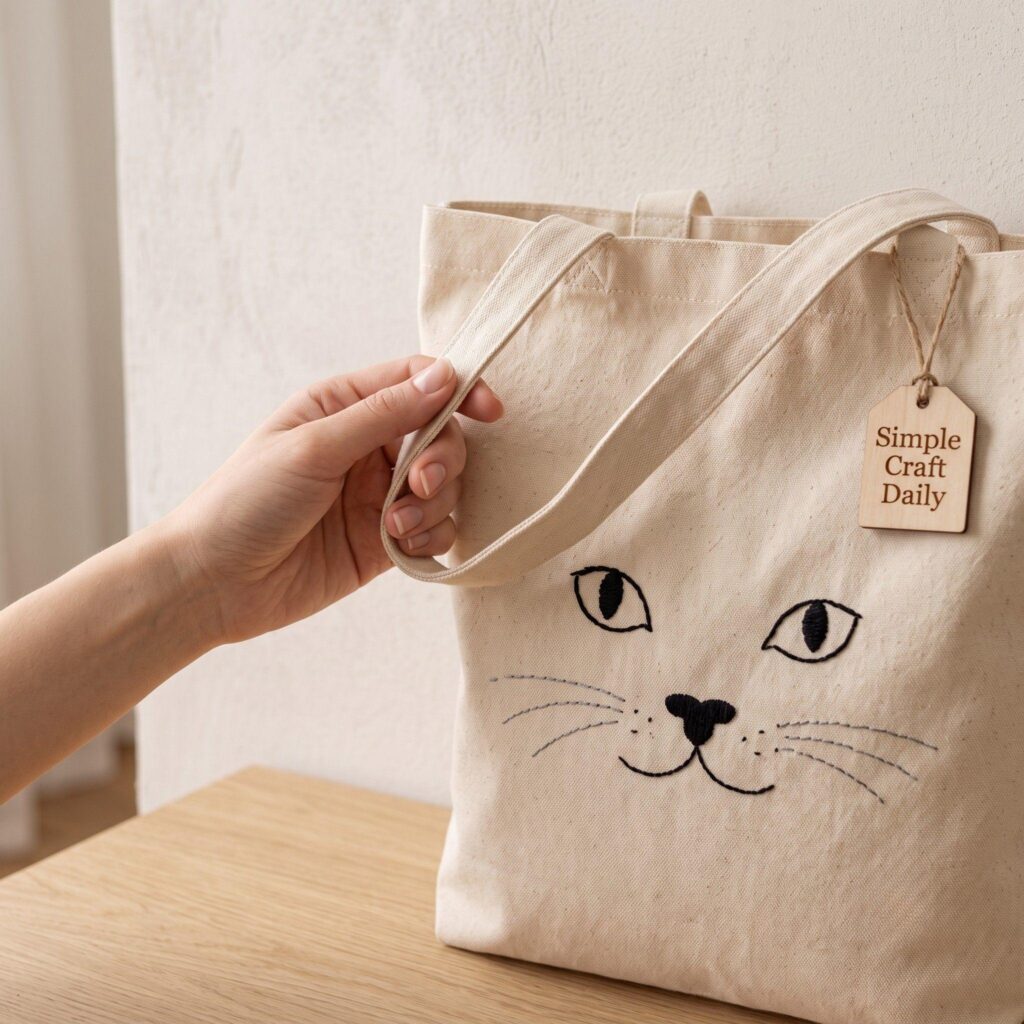
Sketch a simple cat face directly onto a plain canvas bag with a fabric pencil. Two pointed ears, round or sleepy eyes, a tiny nose, and a few whiskers give you all the structure you need. Fill the nose and eyes with satin stitch, then use backstitch for the outline and whiskers. Choose embroidery floss in three or four colors and keep the strands smooth as you pull them through the canvas, since uneven tension can pucker the fabric around the face.
This version takes more time than the glue-based bags, though the stitched details wear especially well. Thread sits down in the weave of the canvas and flexes with the bag, while painted details can eventually crack at the deepest folds and creases.
3. Stenciled Cat Silhouette Bag
Cut a cat silhouette from freezer paper or a reusable plastic stencil sheet. If you use freezer paper, place the shiny side against the fabric and press it with a dry iron on the cotton setting for 10 to 15 seconds; the paper will cling lightly enough to protect the surrounding canvas. Dab fabric paint through the opening with a foam pouncer rather than brushing heavily, which helps prevent paint from slipping beneath the edges. Let the paint dry until it no longer feels cool or tacky, peel away the stencil, and heat-set the design according to the paint label.
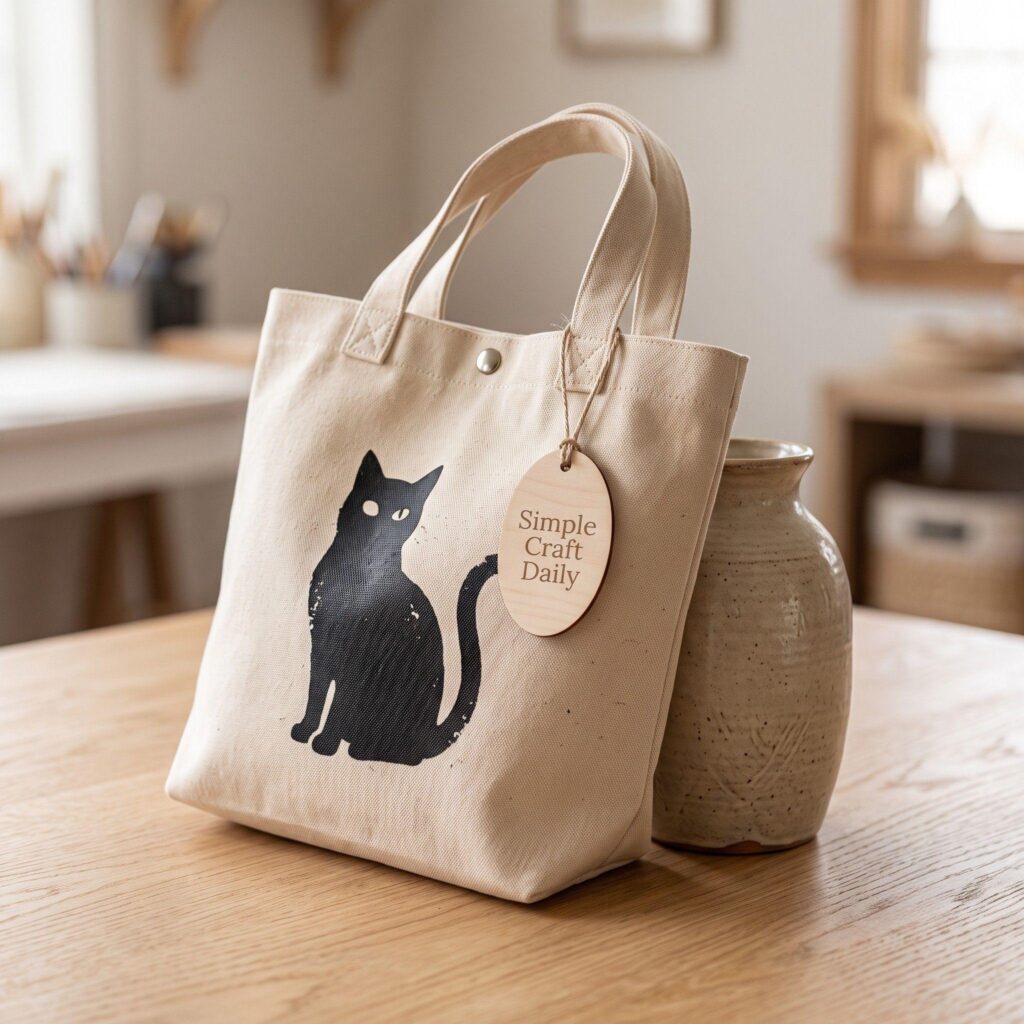
Pro tip: Dab paint on with a stencil brush in an up-and-down motion rather than brushing side to side. This keeps paint from sneaking under the stencil edges.
4. Patchwork Appliqué Cat Bag
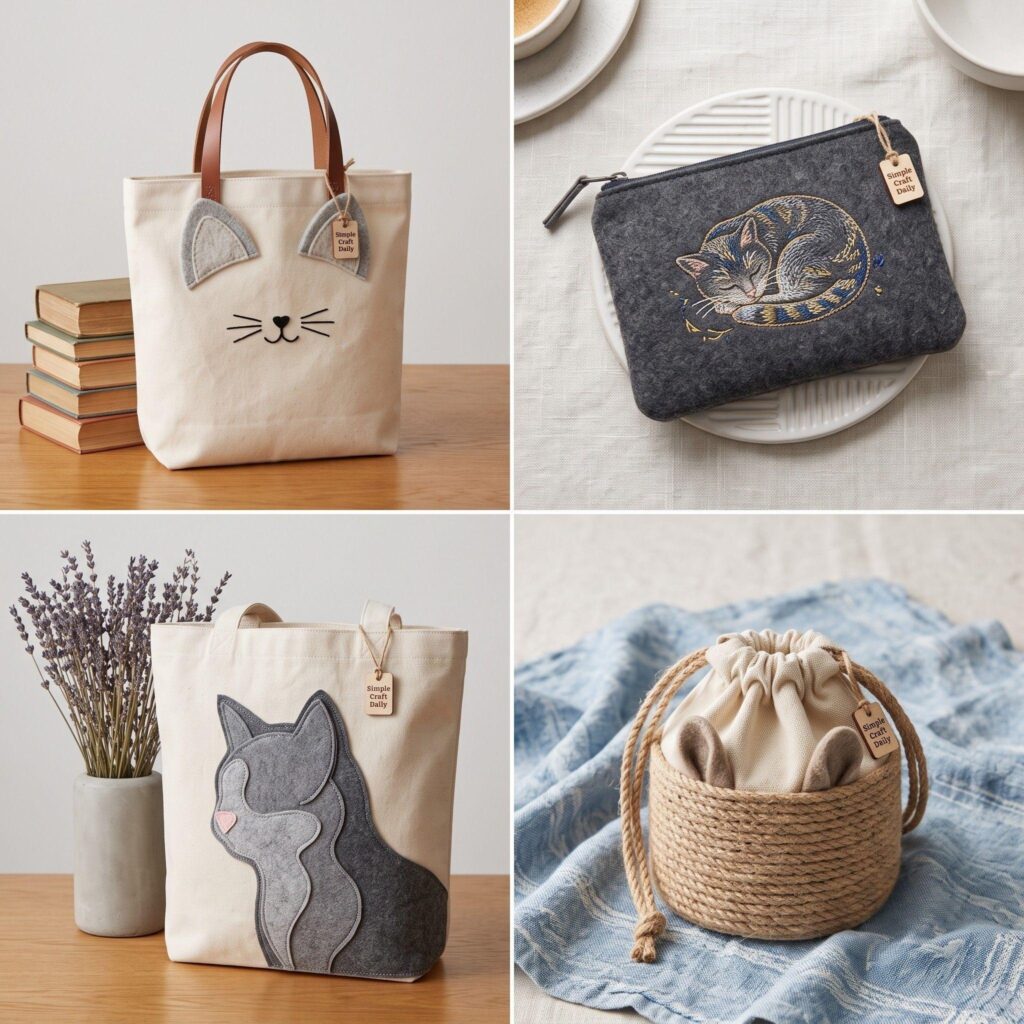
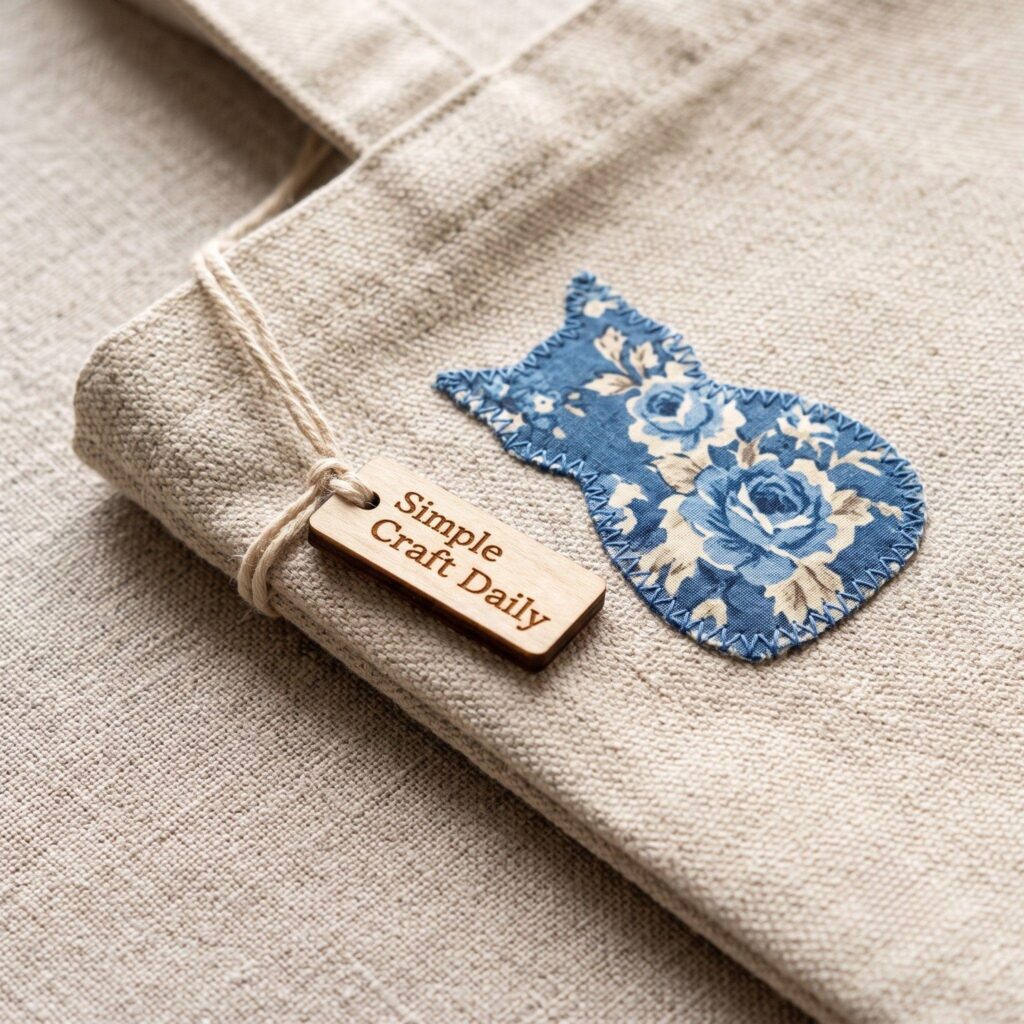
Cut a cat shape from a patterned fabric scrap and applique it onto a plain bag with a narrow zigzag stitch around the edges. Lightweight cotton prints work well here, especially florals, stripes, tiny checks, and odd scraps left from previous sewing projects. Fuse lightweight interfacing to the back of the cat shape before cutting if the fabric frays easily. Mismatched prints give the bag a handmade patchwork feel, and a small polka-dot cat can look far more lively than a flat solid-colored shape.
5. Whisker Embroidery Clutch
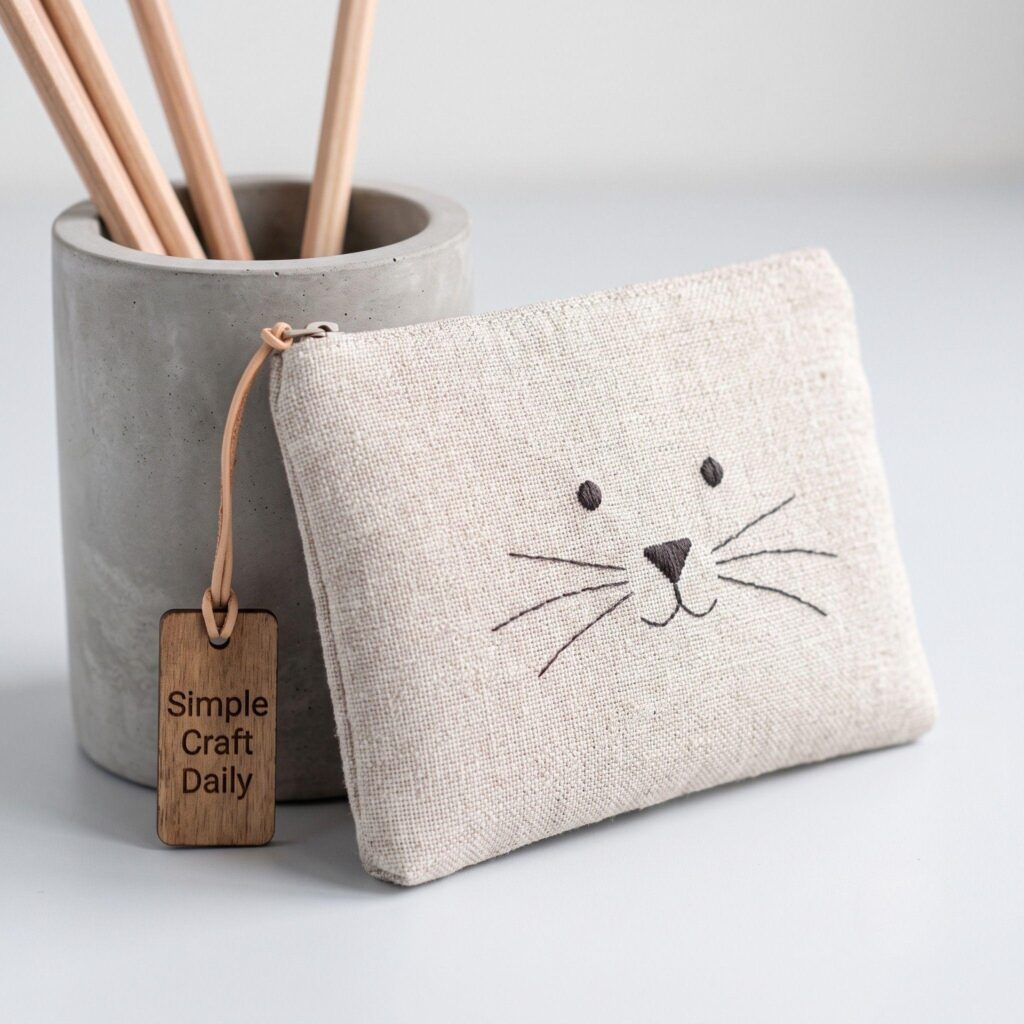
For a smaller handmade gift, embroider a minimal cat face onto a fabric clutch or zip pouch. Two French-knot eyes, a small triangle nose, and three whiskers on each cheek are enough to read clearly from across a table. The design usually takes less than an hour once you are comfortable threading a needle and making a backstitch. Slip a piece of tear-away stabilizer inside the pouch before stitching if the fabric feels thin or stretchy.
6. Quilted Cat Pattern Tote
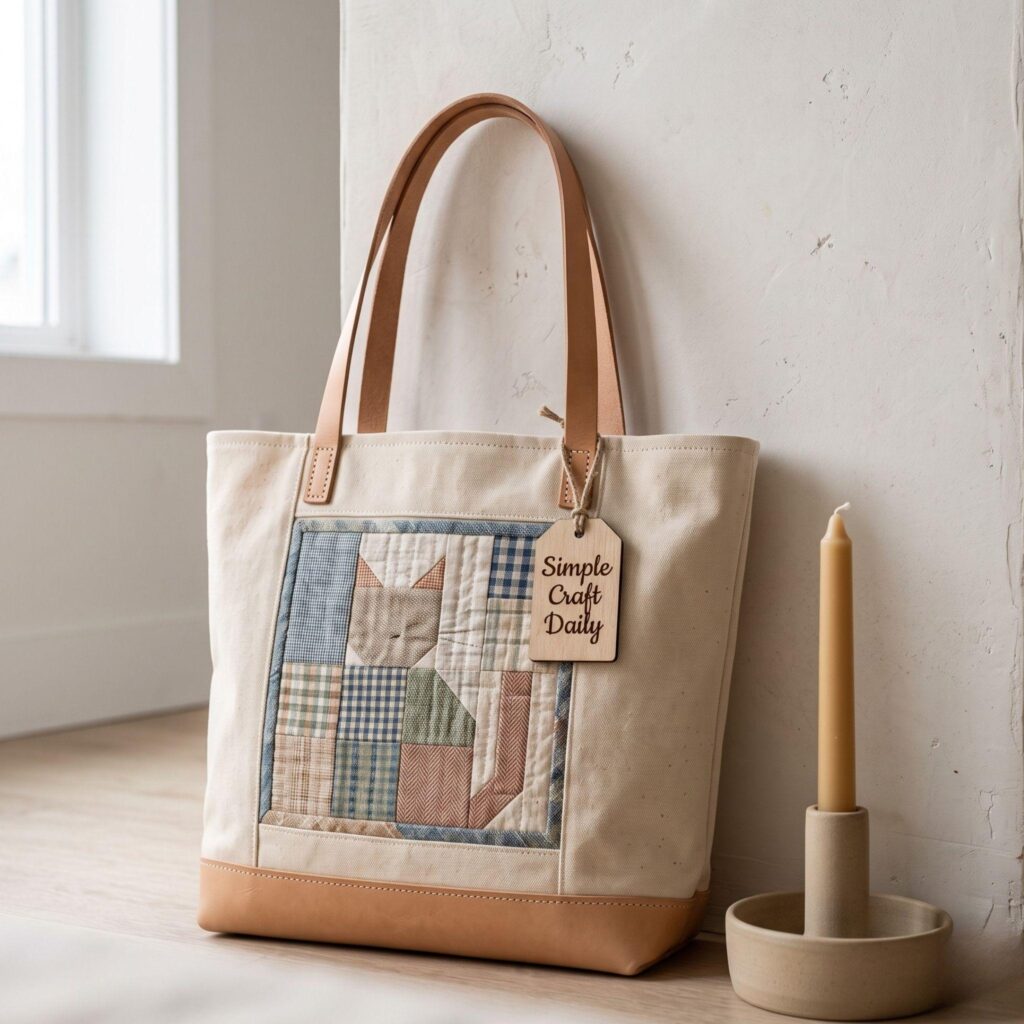
If quilting is already part of your sewing routine, piece a simple cat block from contrasting squares and triangles, then quilt it onto the tote’s front panel before you assemble the bag. A basic block can use one large square for the head, two triangles for ears, and small rectangles or circles for the eyes and nose. Cotton batting behind the patchwork gives the panel a pleasant padded hand and helps the seams lie flat. This is the most involved project on the list, so it is best saved for after you have made a few simpler bags and feel comfortable with accurate 1/4-inch seams.
7. Painted Canvas Cat Tote
Skip the stencil and paint a cat directly onto canvas with fabric paint and a fine round brush. A loose line drawing works beautifully for this approach: try a curled sleeping cat, a tall cat with an arched tail, or a face with uneven ears and oversized eyes. Lightly map the design first with a chalk pencil, then paint the outline in thin layers so the bristles do not drag across the canvas weave. The slight wobble of a hand-drawn line gives the finished bag a warm, personal look.
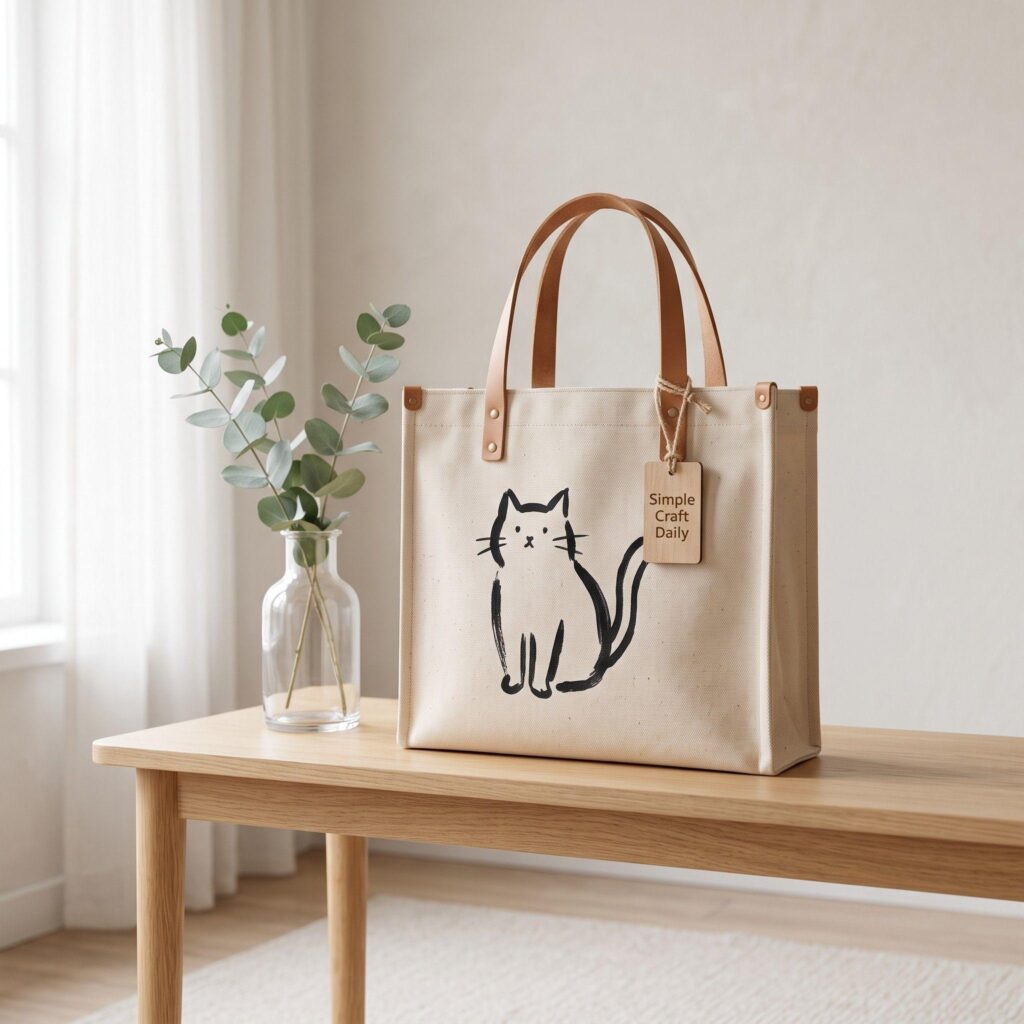
Pro tip: Sketch your design lightly in pencil first. Fabric paint is much harder to correct once it’s down, while pencil marks brush away easily.
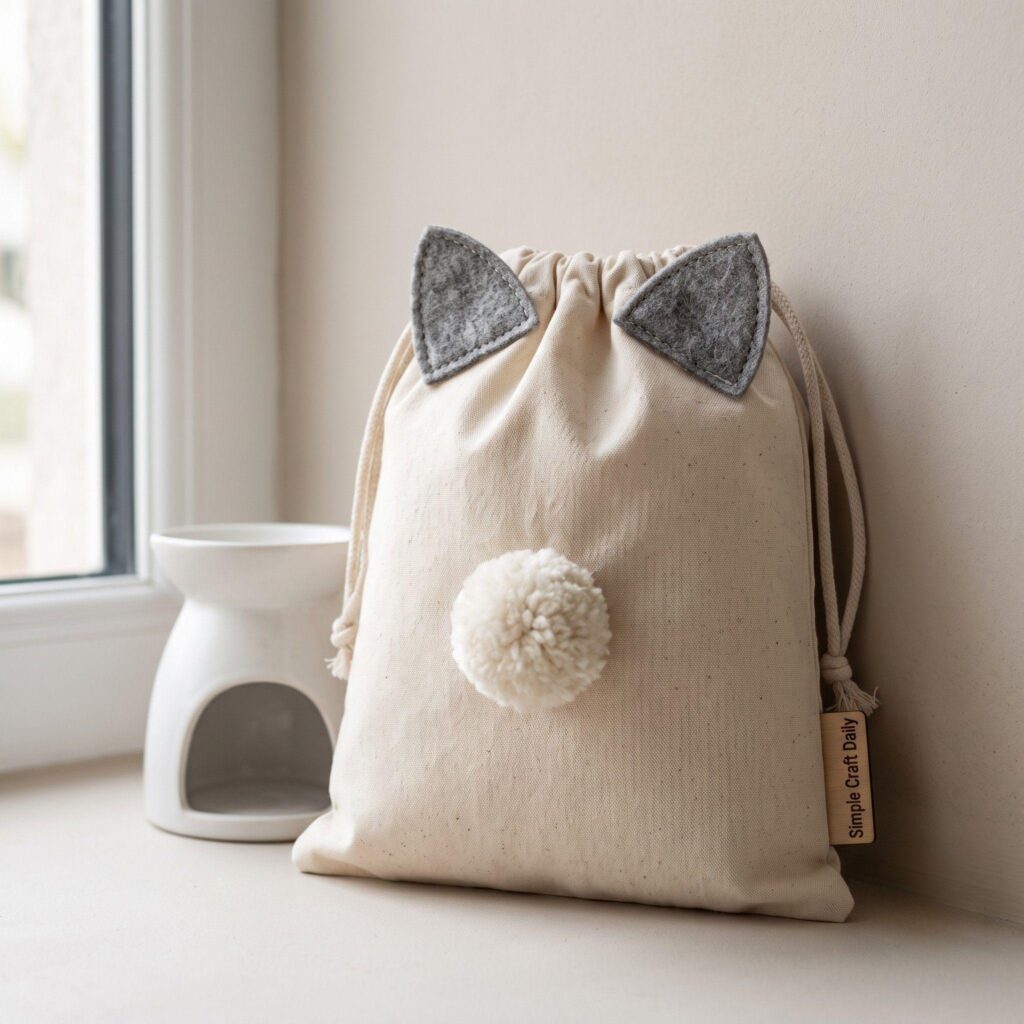
8. Pom-Pom Cat Ear Drawstring Bag
Attach small felt ears to the top of a drawstring bag, then add a soft pom-pom nose and button eyes for a playful plush-toy effect. Sew the buttons on securely with doubled thread, passing through each hole several times before knotting on the inside of the bag. Young children can glue the ears and pom-pom with adult help, but use embroidered eyes instead of buttons for bags intended for toddlers. The construction is forgiving, and the rounded drawstring shape makes a particularly cute cat head.
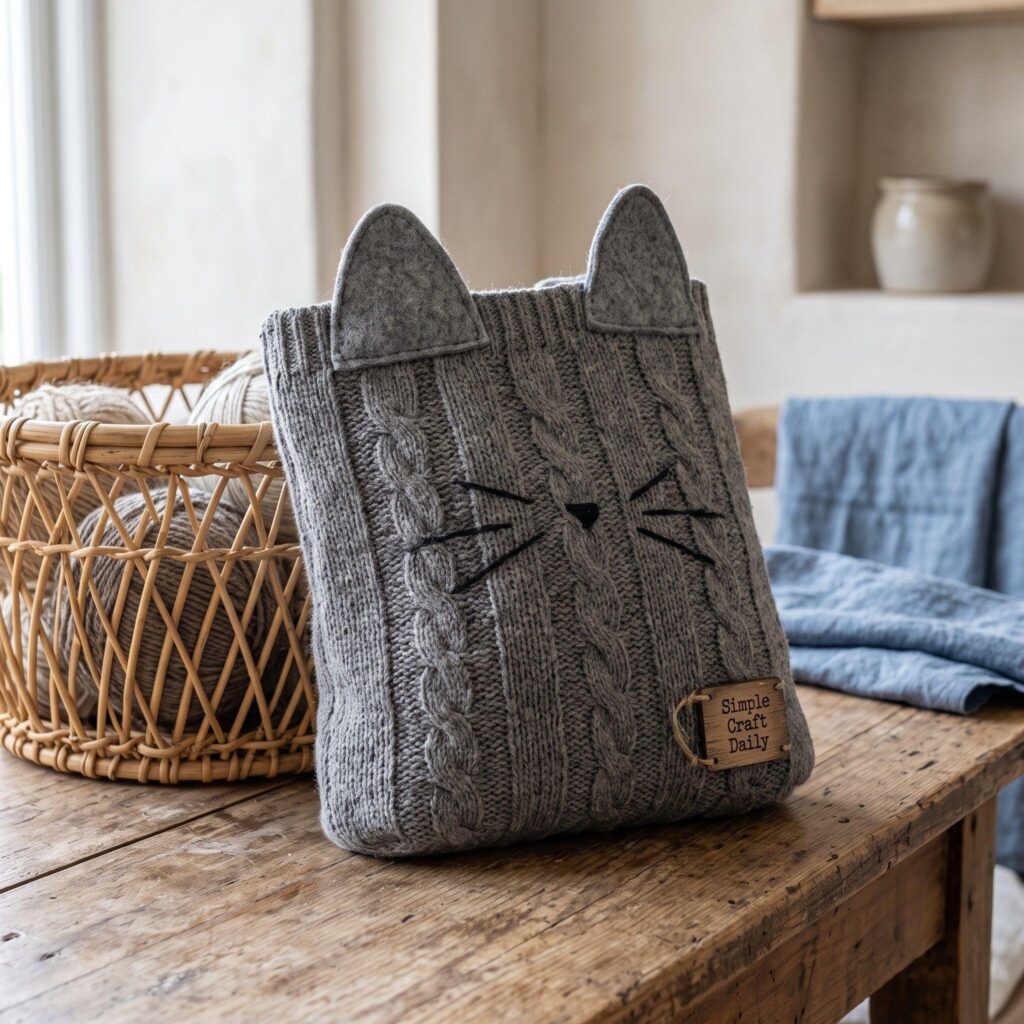
9. Upcycled Sweater Cat Bag
Cut the sleeve or body section from an old sweater, turn it inside out, and sew the open edges closed to make a simple pouch. A sturdy wool or cotton-blend knit gives the bag enough body to hold small supplies, while a thinner sweater can be lined with scrap cotton. Add felt ears and embroider the face with yarn or thick embroidery floss so the features stand out against the knit texture. This project gives a worn sweater a useful second life, and the soft loops of the fabric create a cozy surface that canvas cannot imitate.
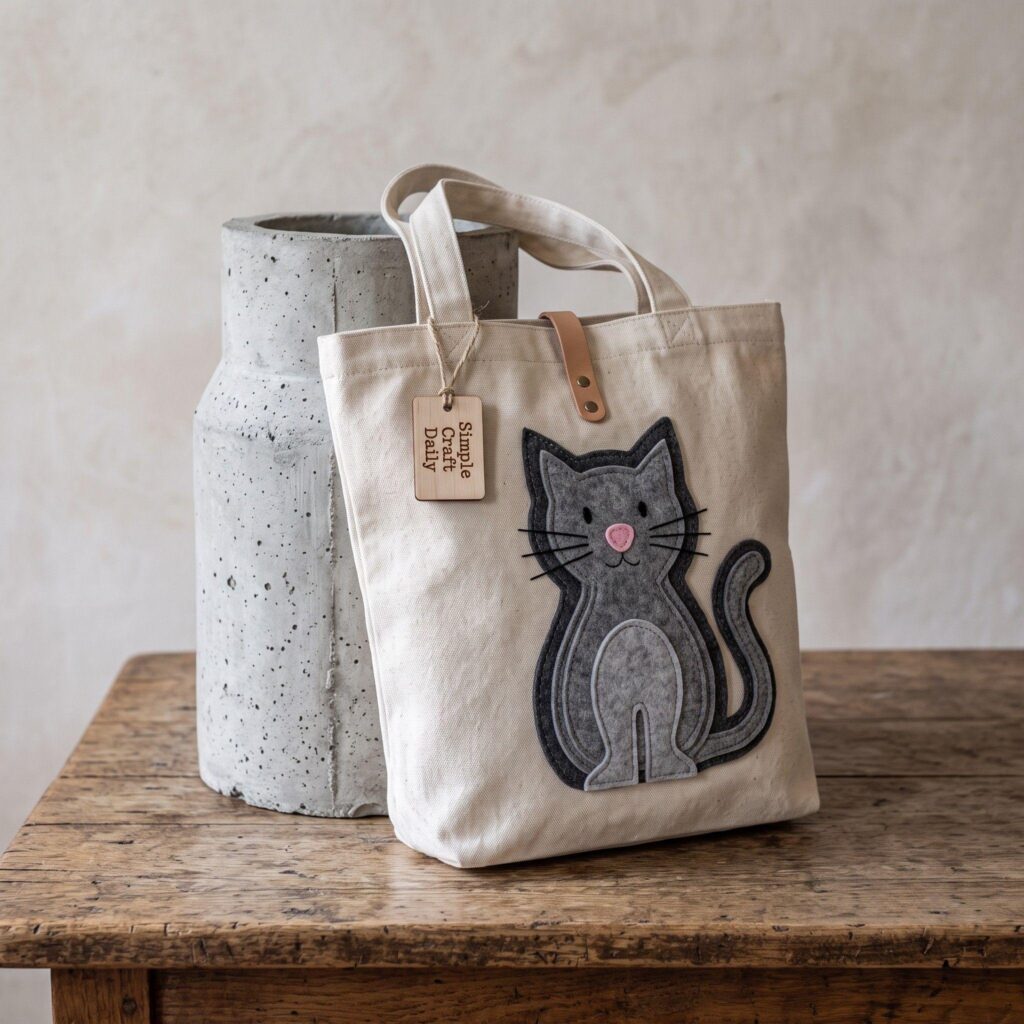
10. Layered Cat Silhouette Tote
Combine two or three fabric layers in different shades to build a cat silhouette with visible depth. Begin with a darker body shape, add a lighter chest patch, then finish with contrasting ear tips, paws, or a curled tail. Baste or glue each layer in place before stitching so nothing shifts while you work. Small details such as a narrow felt collar, a tiny bell, or embroidered stripes bring the layers together. This version asks for the most cutting and placement time, and the overlapping fabrics create a dimensional surface that catches the light as the bag moves.
If you enjoy layered, detail-heavy design work, you will probably also like our guide to creative mosaic art ideas, where the same build-from-the-background approach appears in tile rather than fabric.
More Animal-Themed Craft Inspiration
Cats are only one starting point for animal-inspired crafts. Our marine animal crafts guide uses a similar process for ocean creatures, while our post on seashell crafts and decorations may appeal to makers who enjoy combining found materials with handmade details, much like felt, buttons, and fabric scraps come together in these bags.
Important Crafting Safety Notes for Cat-Themed Bags
Keep a few practical precautions in mind before you begin:
- Supervise hot glue guns around kids. Hot glue can cause burns, so younger crafters should stick to fabric glue or have an adult handle the hot glue steps.
- Ventilate your space when using fabric paint or spray adhesive. Fumes can build up quickly in a small, closed room, so work near an open window or with a fan running.
- Watch small embellishments around pets and toddlers. Buttons, beads, and pom-poms are choking hazards if they come loose, so secure them with strong stitching or glue, not just a light dab.
- Heat-set painted designs carefully. Always check your fabric paint’s instructions before ironing, since some paints require a pressing cloth to avoid scorching.
- Test embroidery needles and pins away from curious cats. Ironically, the actual cat in your house may be the most interested party in your workspace, so keep sharp tools stored away between sessions.
How to Monetize Your Cat-Themed Bags
After you have made a few of these cat-themed bags, friends and family may begin asking where you found them. Cat lovers tend to notice a whiskered tote across a room, especially when it has a hand-stitched face or a pair of floppy felt ears. Those conversations can lead naturally to custom requests, birthday gifts, or a small batch of bags for a local craft market.
When I began selling handmade work from my own studio, I found that clear digital instructions could sit alongside finished pieces. I wrote simple assembly guides with supply lists, measurements, close-up photos, and each step in order, then offered them to other crafters who wanted to make the project themselves. A digital guide remains available after you have packed up the last physical bag, which can make it a useful addition if you decide to share your designs more widely.
You can apply the same idea here: sell your finished cat-themed bags directly, or package your technique into a digital pattern or guide for other cat-loving crafters to follow. If you want to explore the digital side of things, our guide on how to make money selling Etsy printables walks through exactly how to turn a craft skill like this into a real income stream.
Frequently Asked Questions
What’s the easiest cat-themed bag for a total beginner?
The no-sew felt-ear tote is the simplest place to start. You only need felt, fabric glue, a tote bag, and a fabric marker, so there is no stitching or machine setup required.
Can I make these without a sewing machine?
Yes. Most of these projects work with fabric glue or a few basic hand stitches. The quilted and applique versions are faster with a sewing machine, though you can sew both by hand with a sharp needle, sturdy thread, and a little extra time.
What kind of bag base works best?
A plain, sturdy canvas tote or drawstring bag holds up well to paint, glue, and embroidery. Thin fabric bags can still work, but add a square of lightweight stabilizer behind heavily embroidered areas so the fabric does not pull or sag.
Final Thoughts on Cat-Themed Bags
Cat-themed bags give you plenty of room to play with color, texture, and small expressive details. Begin with a felt-ear tote if you are new to fabric crafts, then try embroidery or applique when you want more time at the needle. A plain canvas bag becomes much more enjoyable to carry once it has a crooked whisker, a soft pink nose, or a pair of fabric ears peeking over the top edge.
Which cat-themed bag are you making first? Share a photo in the comments once it’s finished — bonus points if your actual cat is unimpressed by it.


