

Great candles are measured, tested, and patiently cured. DIY candle making becomes far more reliable when you use purpose-made vessels, weigh each ingredient, and treat every first pour as a small test batch rather than a finished gift.
A clean burn begins long before the wick is lit. Once you understand the safe DIY candle making material setup below, use these DIY soy candle pouring ideas to plan scents and simple jar styles without rushing the chemistry.
Affiliate Disclosure: This post contains affiliate links. As an Amazon Associate, I earn from qualifying purchases. If you buy through these links, I may earn a commission at no additional cost to you.
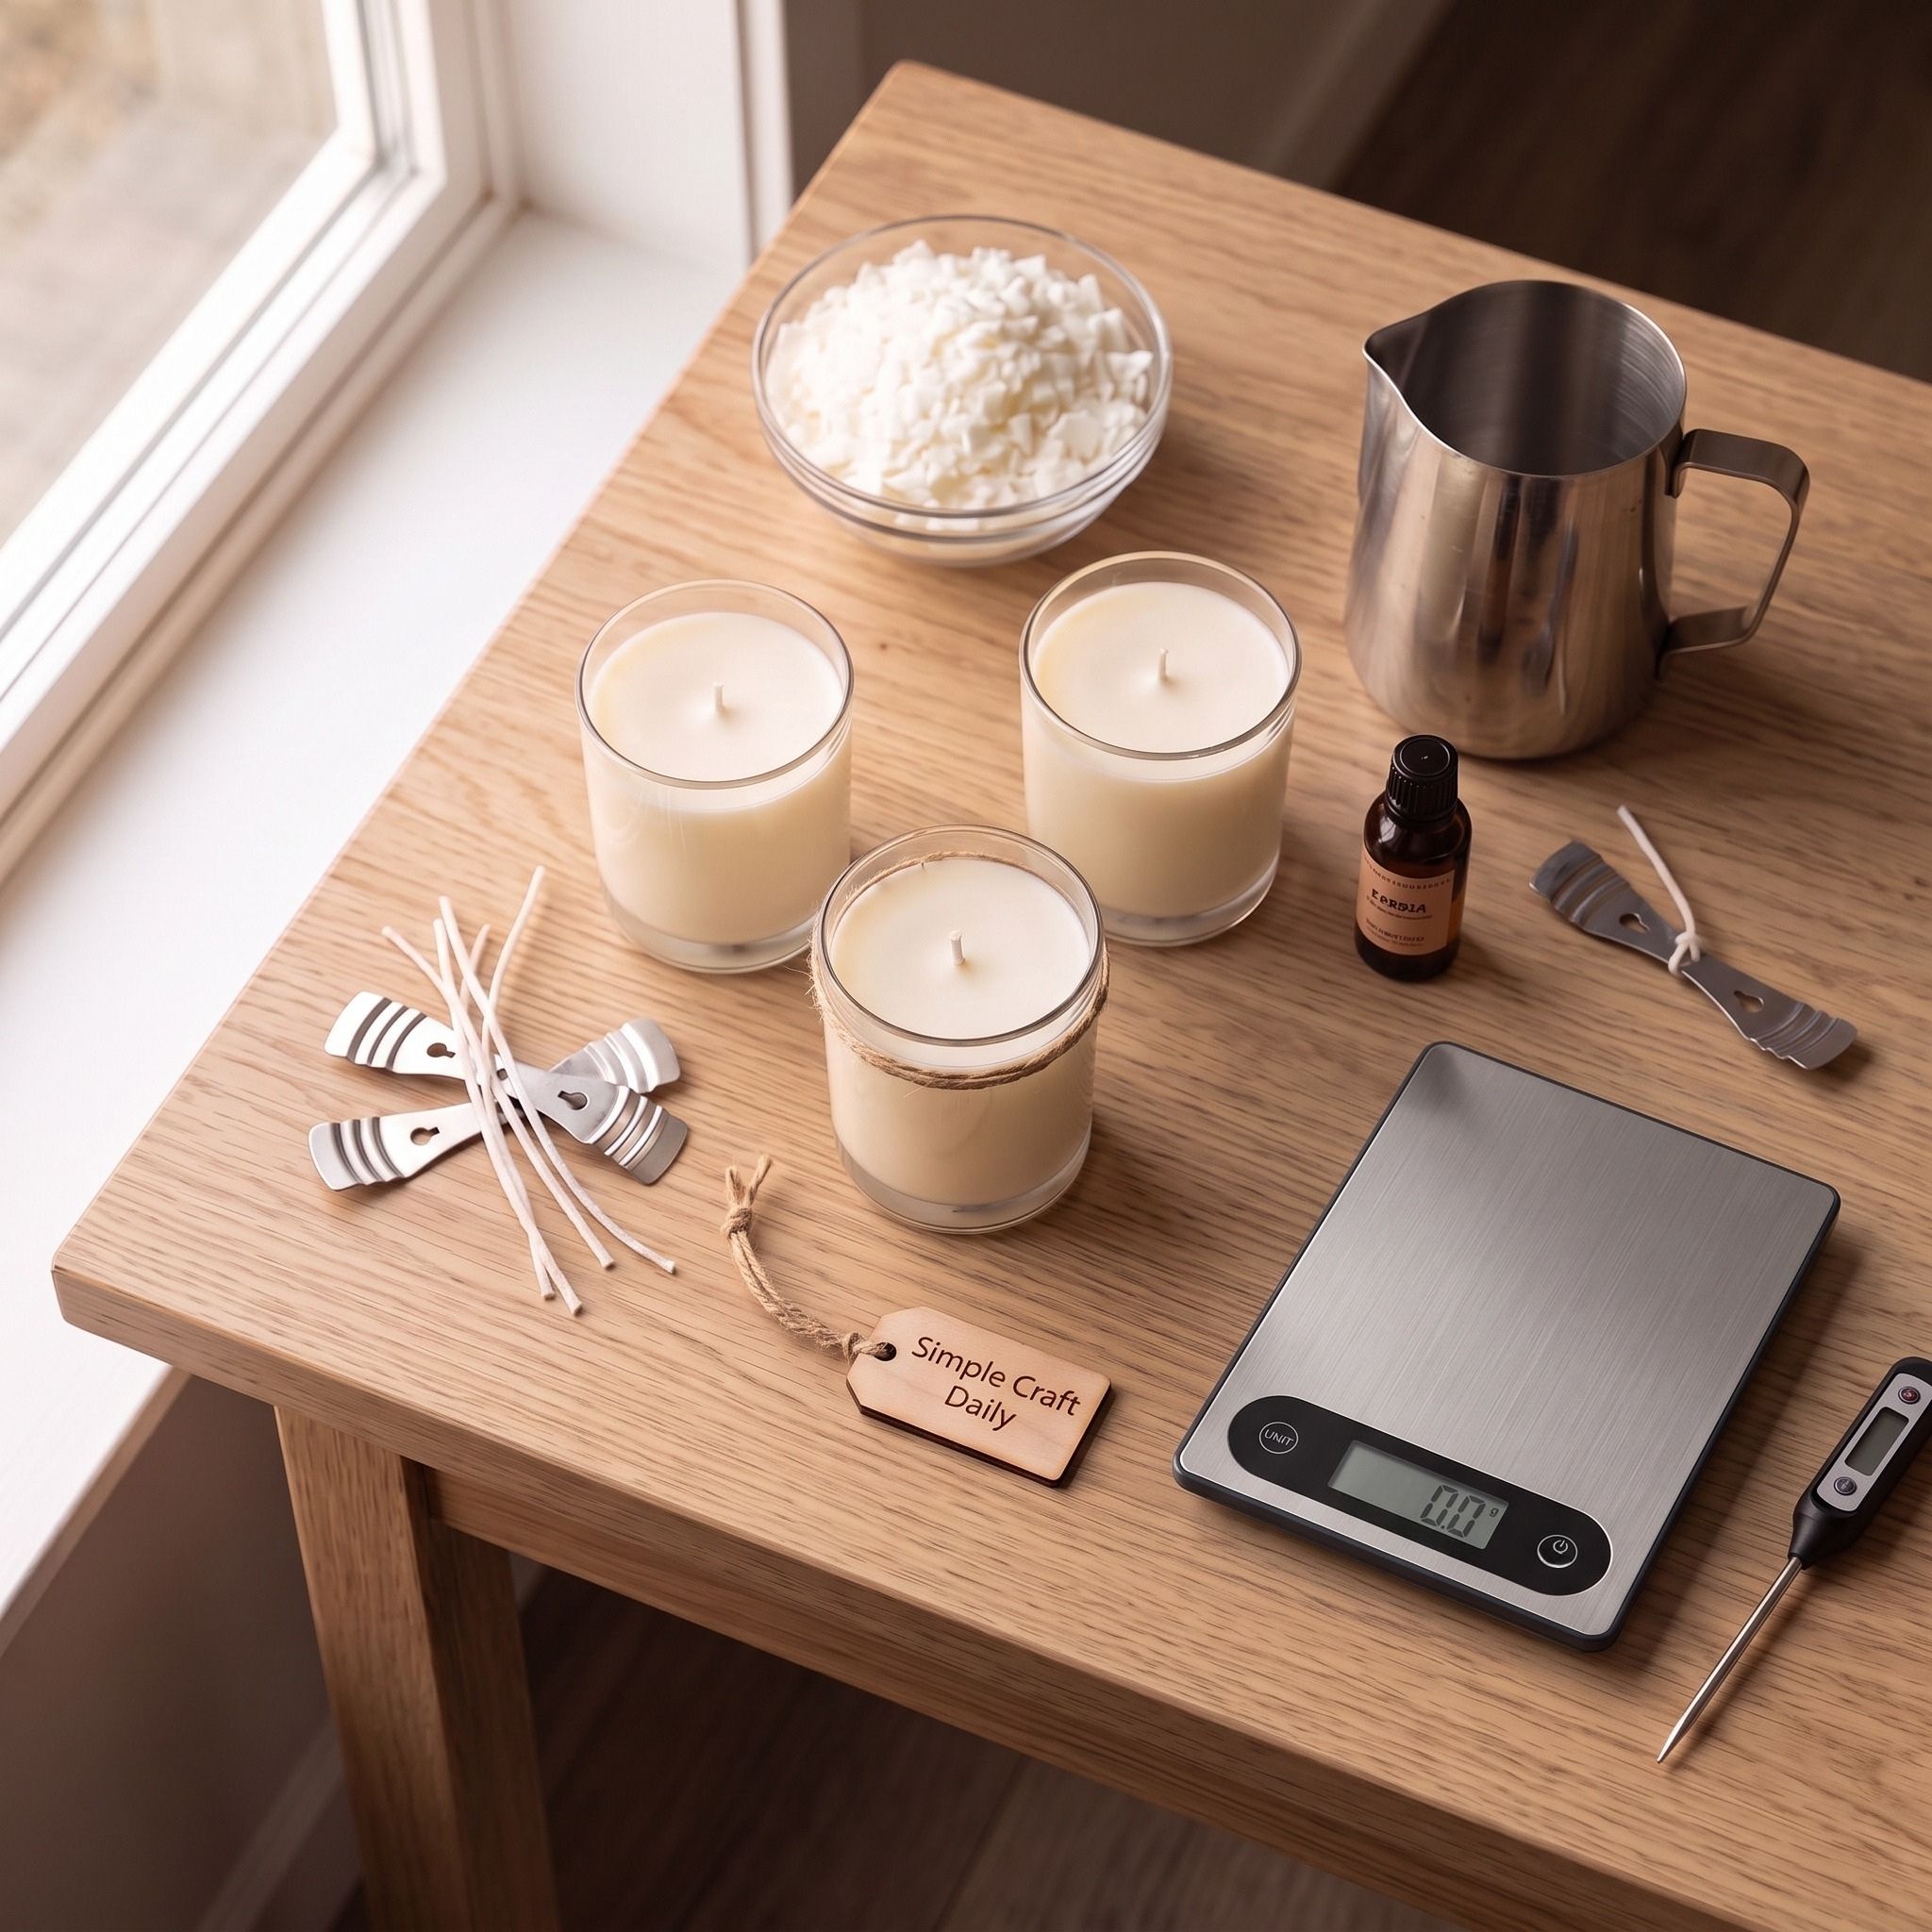
DIY Candle Making Starts With Safe Materials
Random jars, guessed fragrance amounts, and untested wicks create avoidable candle failures. A container candle holds hot liquid wax against glass for hours, so the wax, vessel, wick, fragrance load, and temperatures must work together as one tested formula.
Use seven checkpoints for each DIY candle making batch: choose container wax, inspect the jar, match and center a wick, weigh fragrance, monitor temperatures, cure fully, and complete a controlled test burn. A candle is not ready for gifting or sale until it has completed that test burn with its final wax, fragrance percentage, vessel diameter, and wick choice.
Keep decorative sealing wax separate from candle wax. Our custom wax seal stationery crafts use decorative wax for paper projects, while DIY candle making requires wax and fragrance specifically rated for candle burning.
Essential Materials for DIY Candle Making
These DIY candle making supplies support a repeatable small-batch process for 8 oz straight-sided jars. Read every manufacturer label before pouring, particularly the instructions for wax temperature, fragrance compatibility, wick recommendations, and cure time.
🕯️ Wax, Jars and Wicks
- Golden Brands 464 Soy Wax Flakes — A container-wax formulation with supplier guidance for fragrance, pouring, and curing |
[Check Price on Amazon] - Heat-Resistant Straight-Sided Glass Candle Jars with Lids — Consistent purpose-made vessels make candle wick sizing and burn testing easier to document |
[View Candle Jars on Amazon] - Pre-Tabbed Cotton Candle Wicks — Assorted wick trials let you test a wick series and size against the jar’s inside diameter |
[See Candle Wicks on Amazon]
🌿 Fragrance and Measuring
- Candle-Safe Fragrance Oil — Candle-rated oil provides a documented fragrance load instead of an unknown perfume or food extract |
[Find Fragrance Oil on Amazon] - 0.1 g Digital Kitchen Scale — Accurate gram measurements keep wax-to-fragrance ratios consistent from one test batch to the next |
[Check Digital Scale on Amazon]
🧰 Pouring and Temperature Tools
- Stainless Steel Candle Pouring Pitcher — A dedicated spouted pitcher gives hot wax a steady, controlled path into prepared jars |
[View Pouring Pitcher on Amazon] - Digital Probe Thermometer — A readable probe helps you follow the selected wax supplier’s melt, fragrance-addition, and pour windows |
[See Price on Amazon] - Wick Centering Bars and Wick Sticker Dots — These small tools secure the tab and hold the wick upright during cooling |
[Find Wick Centering Bars on Amazon]
🛡️ Safety and Starter Kit
- Silicone Heat-Resistant Craft Mat and Nitrile Gloves — The mat protects the bench from warm vessels while gloves help with fragrance oil and hot-container handling |
[Check Latest Price on Amazon] - Soy Candle Making Starter Kit — A kit can simplify sourcing, although you still need to verify its vessels, wick options, wax instructions, and fragrance limits |
[View on Amazon]
Seven DIY Candle Making Tips for Repeatable Pours
1. Choose Wax for DIY Candle Making Containers
Supplies Needed: Golden Brands 464 Soy Wax Flakes, 0.1 g Digital Kitchen Scale, Silicone Heat-Resistant Craft Mat and Nitrile Gloves, Soy Candle Making Starter Kit.
Choose a manufacturer-approved container wax, such as Golden Brands 464 Soy Wax Flakes, for a small DIY candle making test. Container wax is formulated to adhere to jar walls and burn inside a vessel; pillar waxes and decorative waxes follow different temperature and wick requirements.
First, place the empty 8 oz jar on the 0.1 g digital kitchen scale and tare it. Weigh 170 g of soy wax flakes into a separate dry container for one initial test candle. This amount is a starting batch weight, not a promise that every 8 oz vessel holds the same wax weight.
Set the silicone heat-resistant craft mat on a stable counter and wear the included nitrile gloves while staging materials. If you use a soy candle making starter kit, compare its wax label and wick guidance with this DIY candle making method before combining components. Wax type controls the permitted fragrance load, pour temperature, and candle wick sizing, so record the exact wax used.
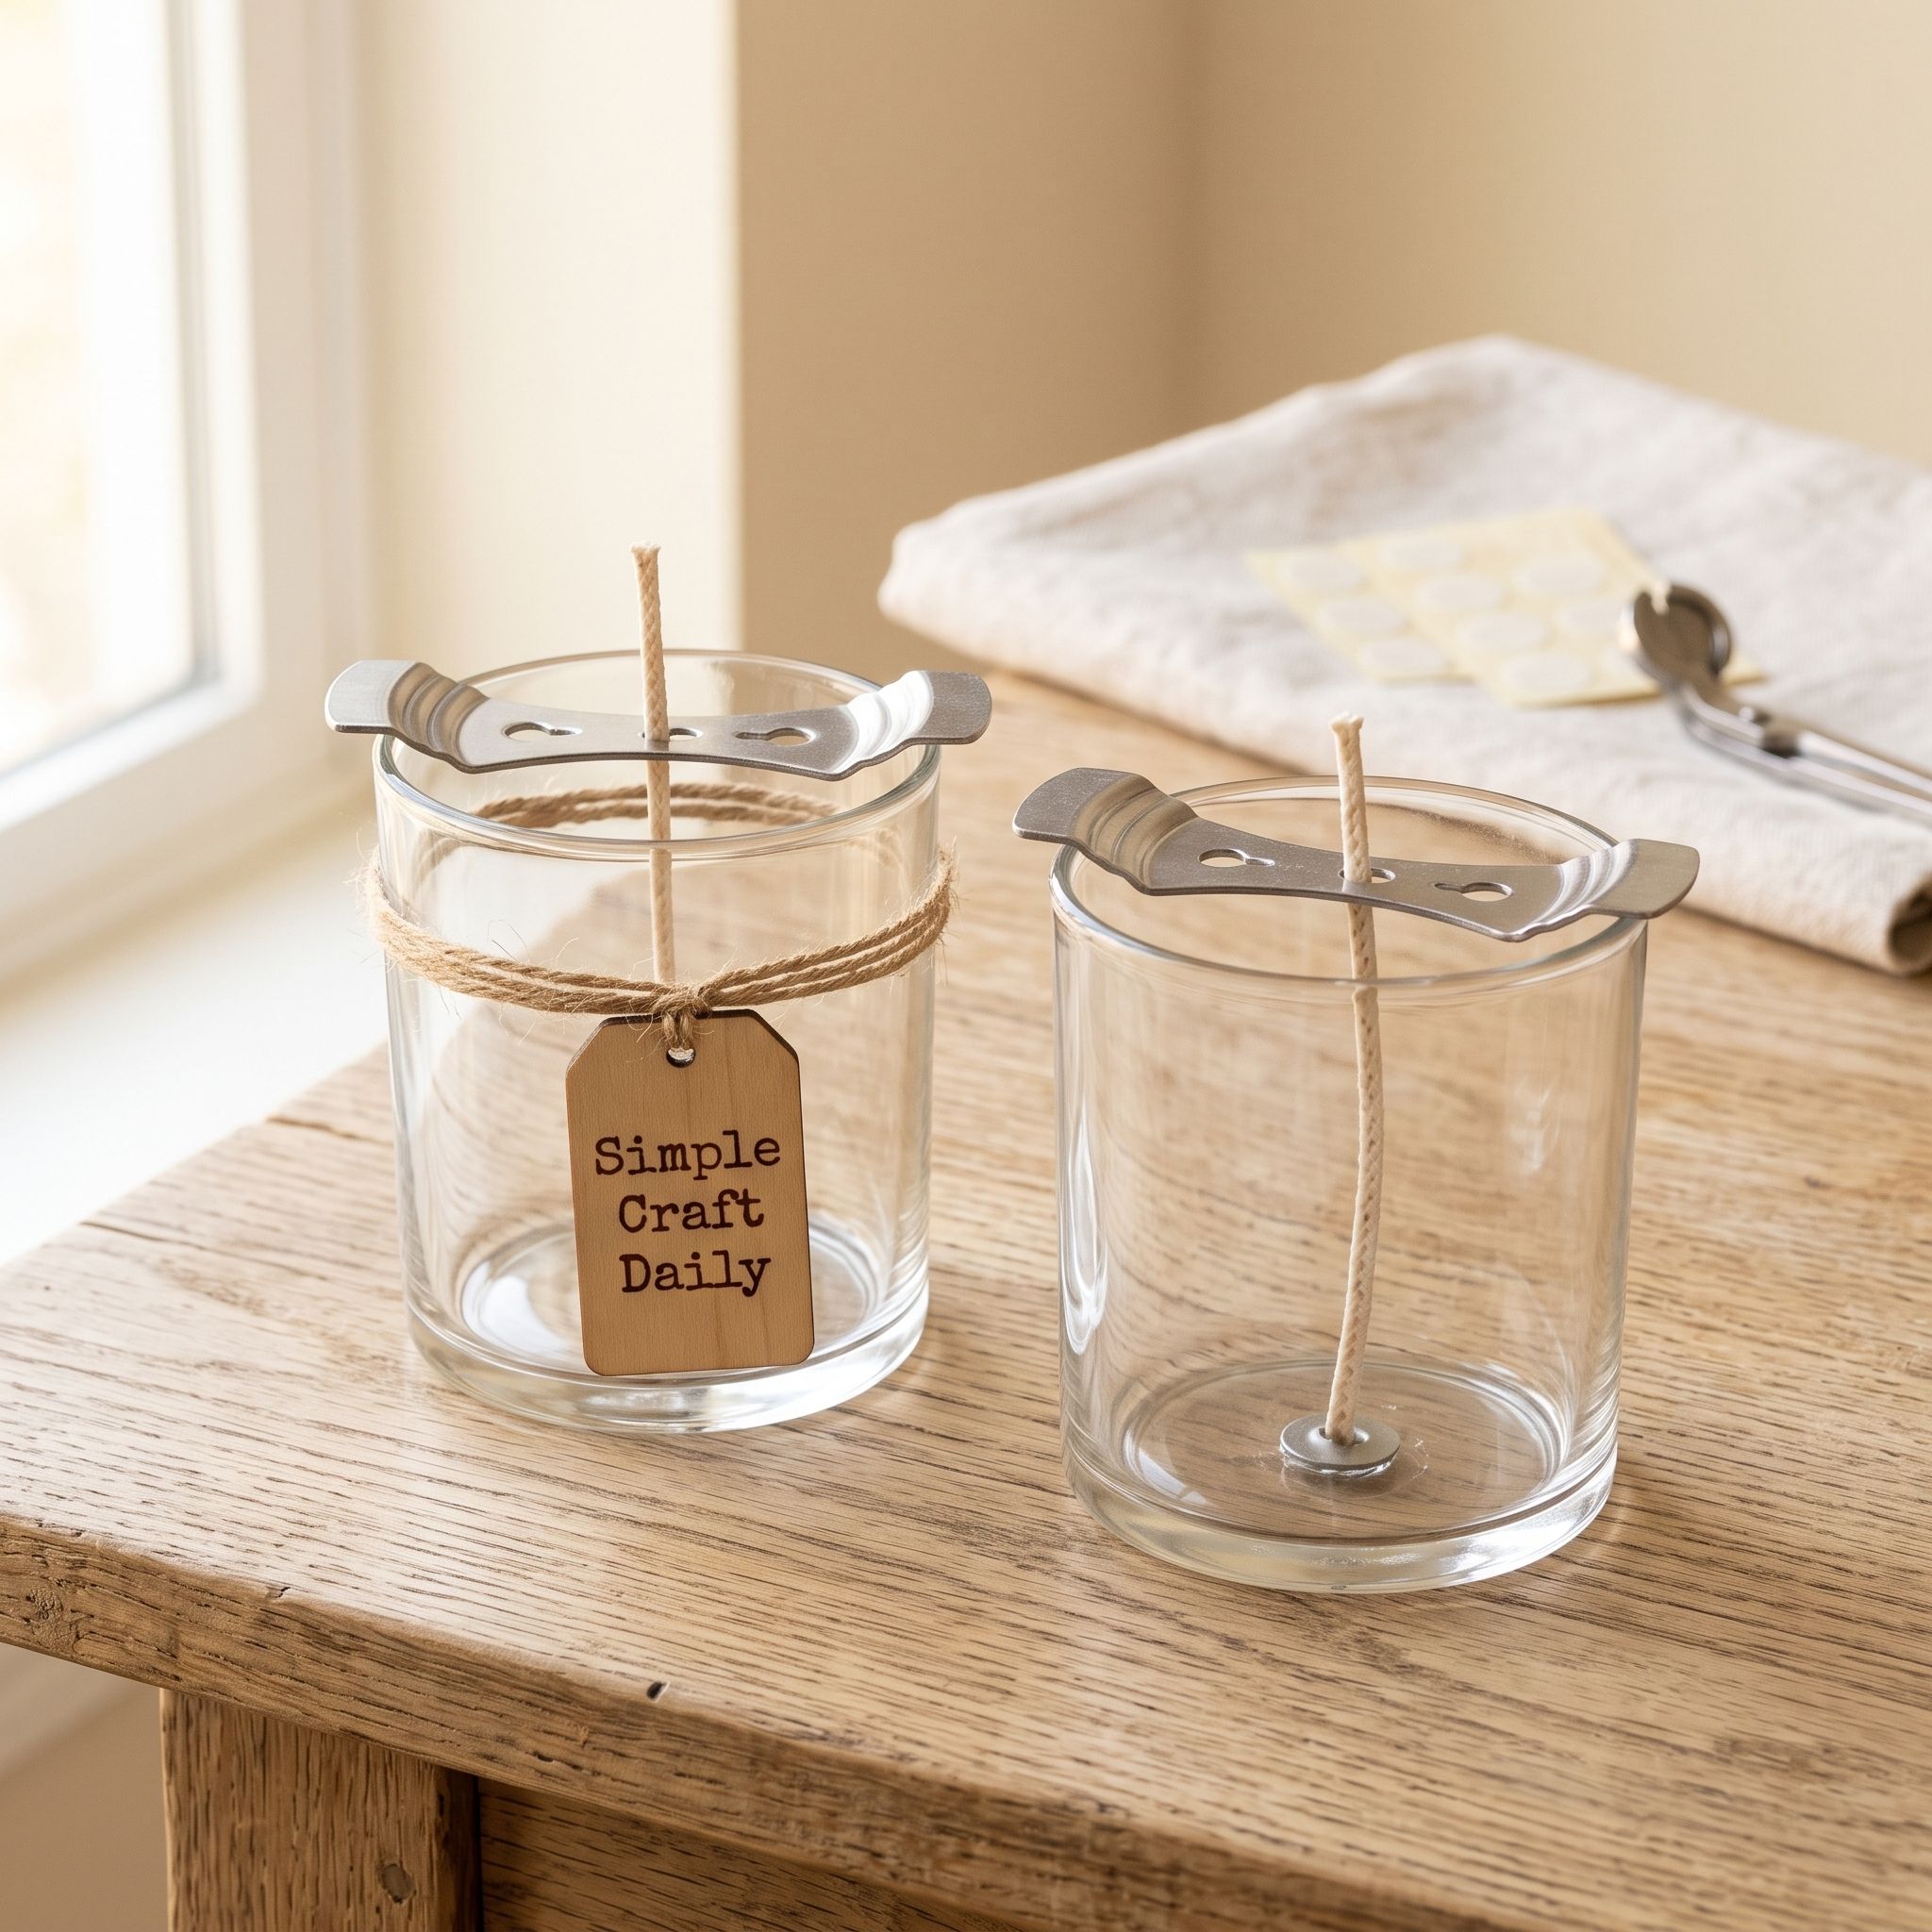
2. Use Heat-Safe Jars and Centered Wicks
Supplies Needed: Heat-Resistant Straight-Sided Glass Candle Jars with Lids, Pre-Tabbed Cotton Candle Wicks, Wick Centering Bars and Wick Sticker Dots.
Use only heat-resistant straight-sided glass candle jars made for candle pouring. Inspect each vessel under bright light and reject any jar with a chip, hairline crack, rough rim, or unknown heat rating. Drinking glasses and decorative containers do not provide a safe shortcut for DIY candle making.
Wash a new jar if needed, then dry it completely with no moisture left at the base or sidewalls. Remove one wick sticker dot, press it beneath the metal tab of a pre-tabbed cotton candle wick, and firmly press the tab into the exact center of the jar base for 10 seconds.
Next, place a wick centering bar across the rim and guide the wick through its center slot. Match wick trials to the vessel’s inside diameter, then test the final wax and fragrance combination. For decorative displays around a finished candle, browse these DIY candle holder ideas, but keep any separate holder away from direct flame unless it is specifically rated for that use.
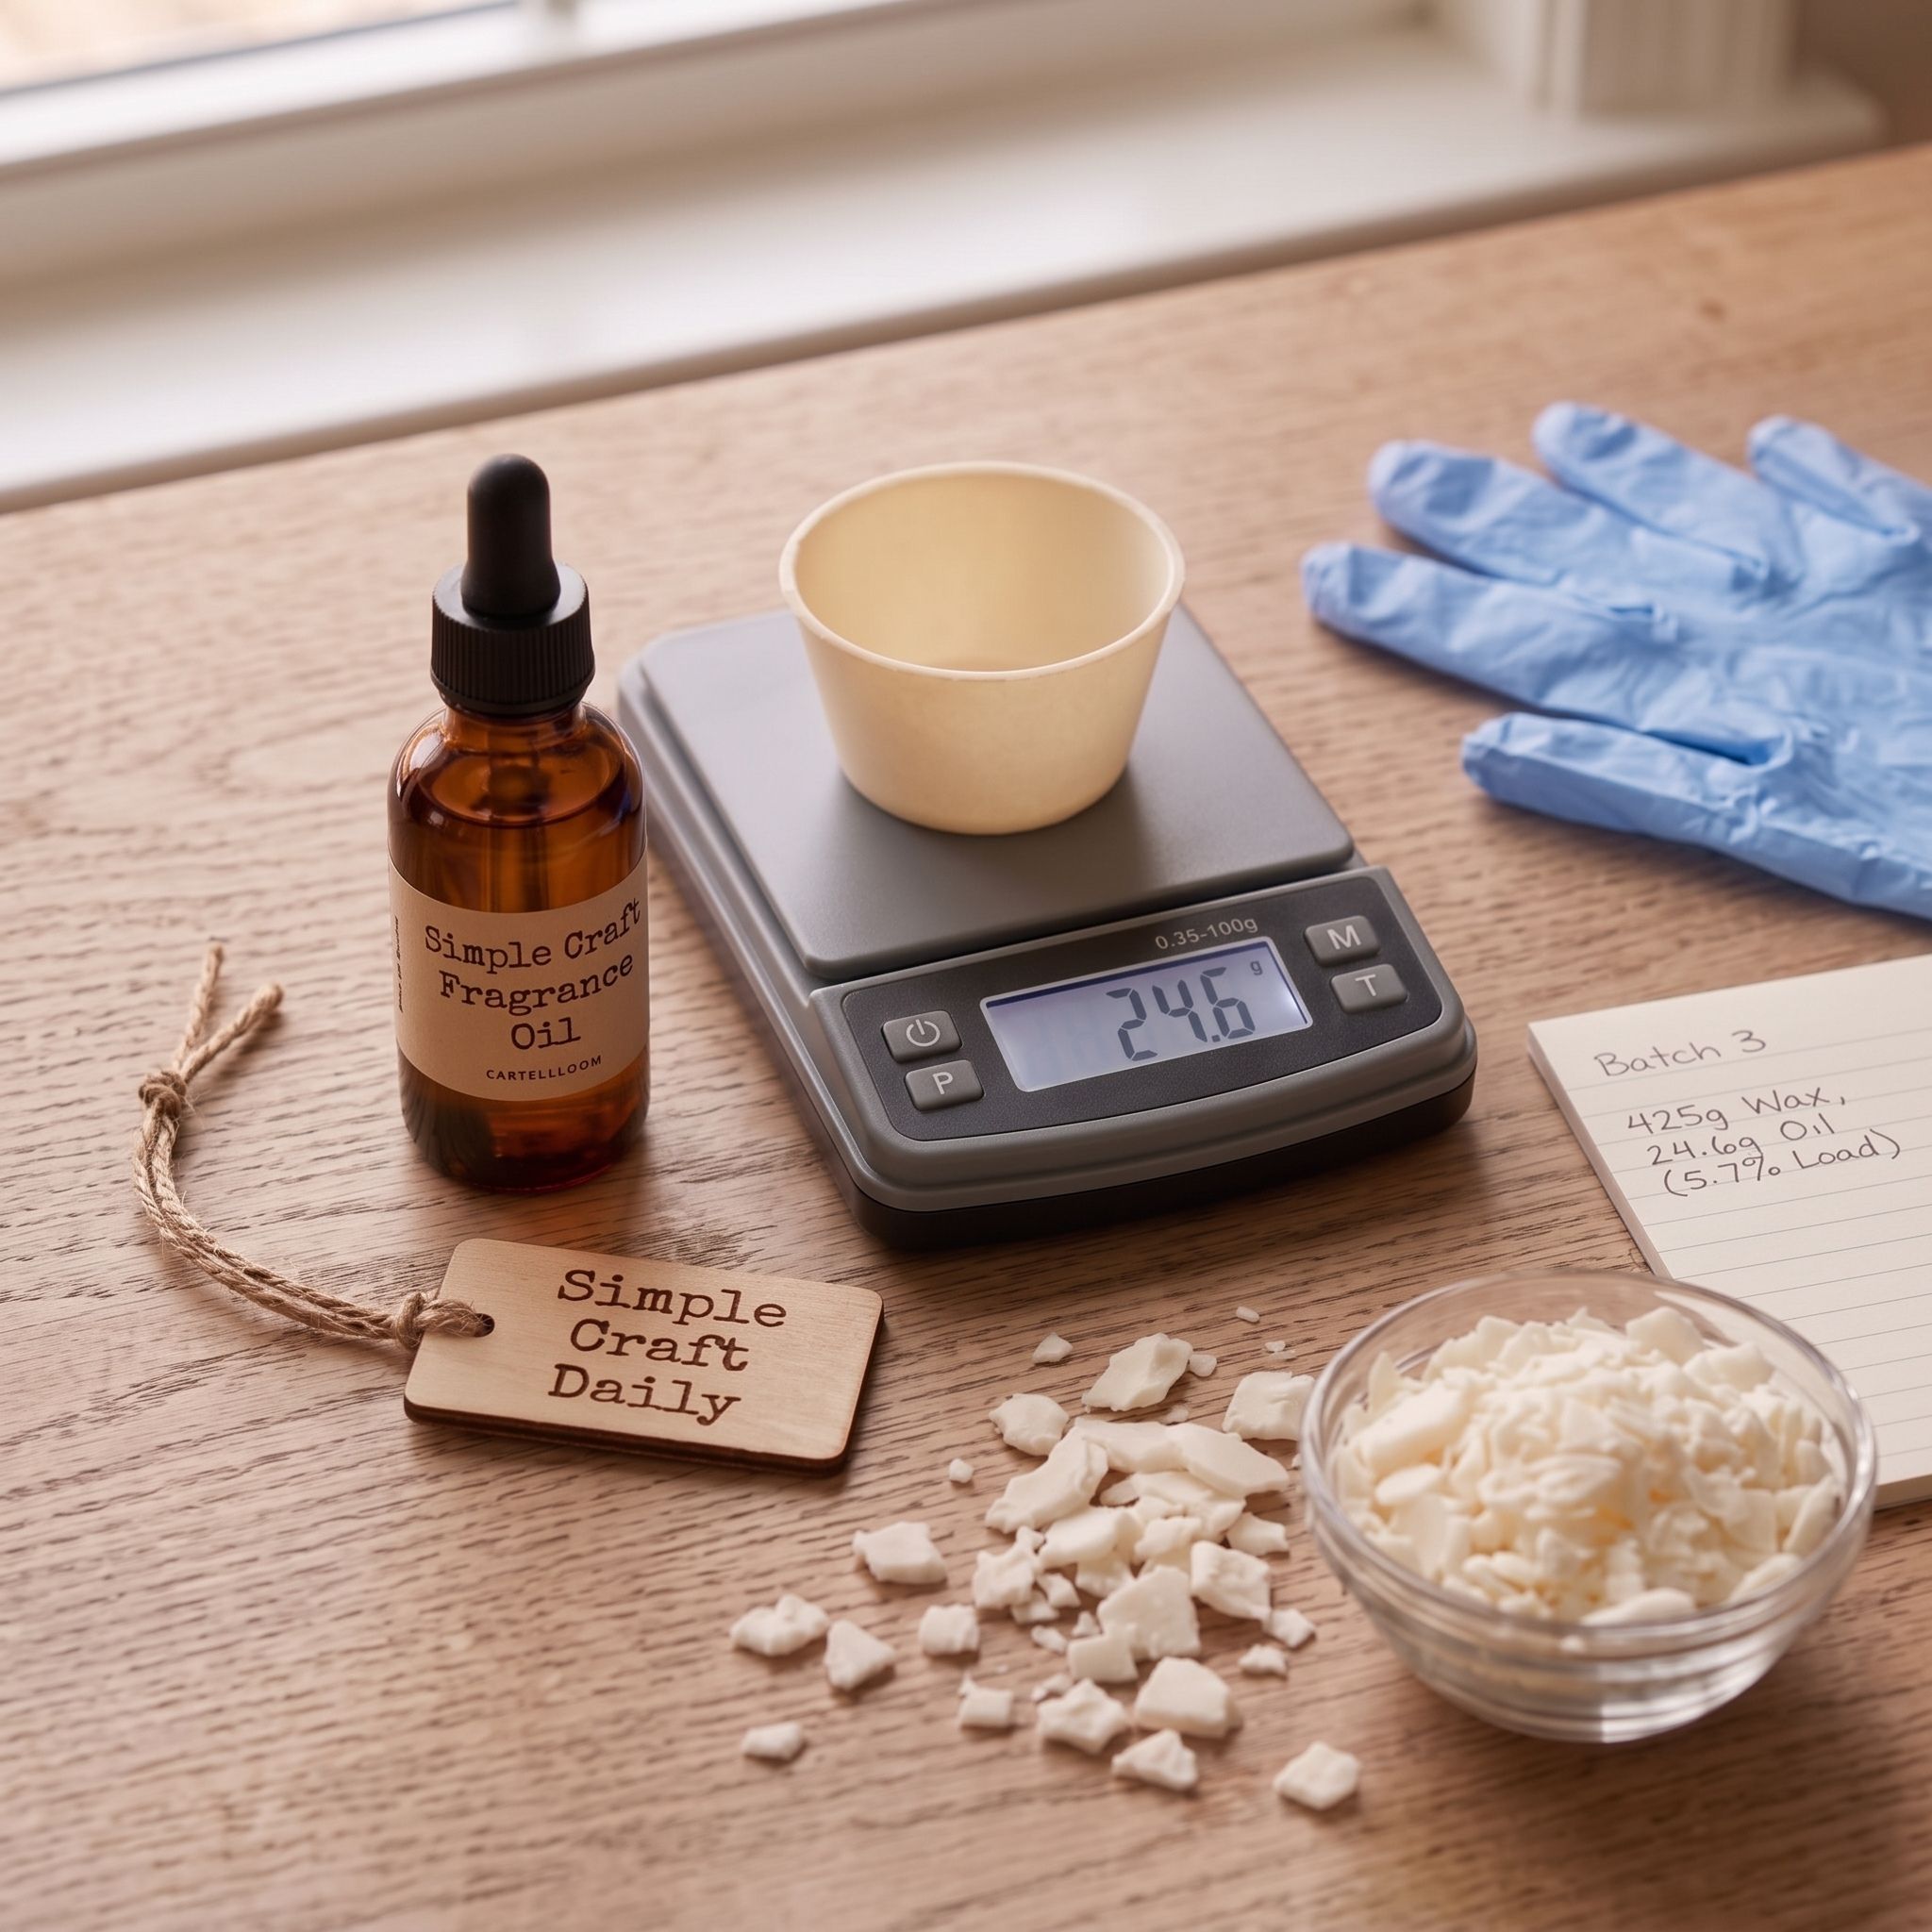
3. Measure a Safe Candle Fragrance Load
Supplies Needed: Candle-Safe Fragrance Oil, Golden Brands 464 Soy Wax Flakes, 0.1 g Digital Kitchen Scale, Silicone Heat-Resistant Craft Mat and Nitrile Gloves.
A safe candle fragrance load starts with the maximum percentage stated by the wax manufacturer and the fragrance supplier. Many soy container waxes work within a 6% to 10% range, although the correct limit depends on the exact wax and oil. Stay at the lower end for your first DIY candle making batch.
For a 170 g wax test batch at a 6% fragrance load, multiply 170 g by 0.06. The result is 10.2 g of candle-safe fragrance oil. Place a small dry cup on the scale, tare it, and weigh 10.2 g of oil while wearing nitrile gloves on the silicone heat-resistant craft mat.
Do not replace candle-safe fragrance oil with essential oils, food flavoring, perfume, or extracts unless the product documentation specifically approves candle use. Excess oil can sweat onto the candle surface, weaken the set wax, enlarge the flame, or produce poor scent performance. Record the wax weight and fragrance percentage in a DIY candle making batch notebook for later wick testing.
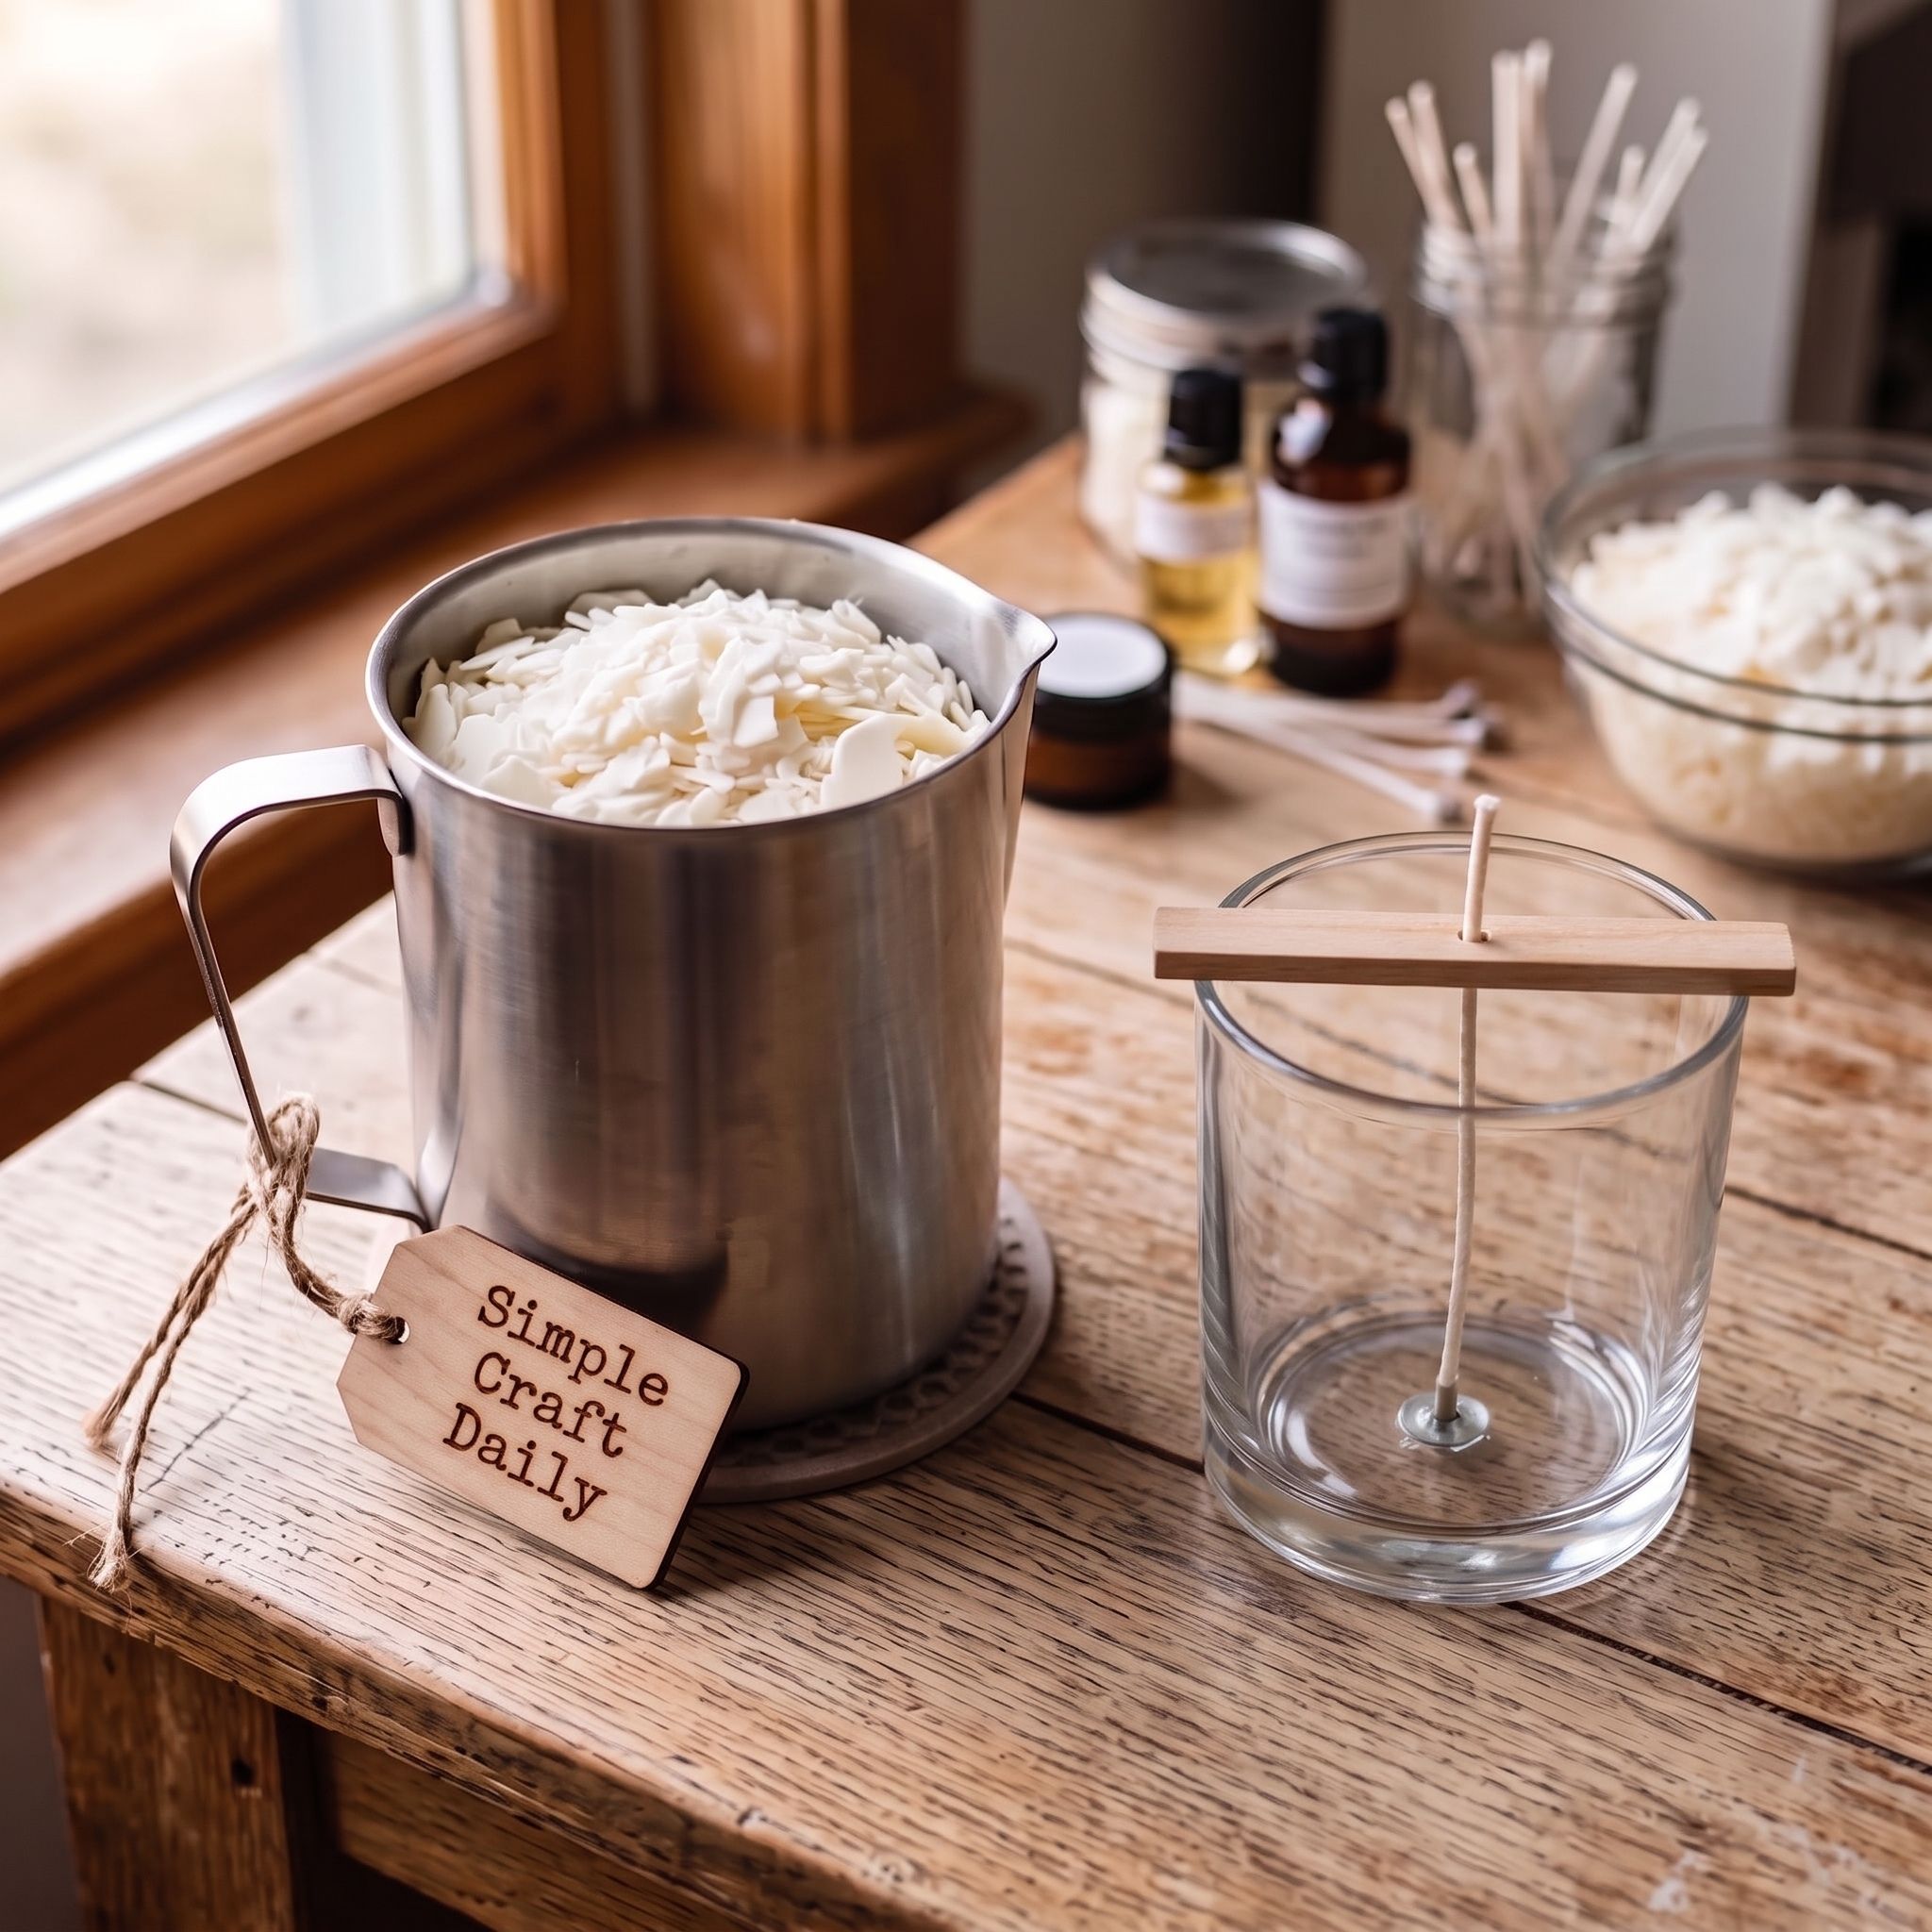
4. Control DIY Candle Making Temperatures
Supplies Needed: Golden Brands 464 Soy Wax Flakes, Stainless Steel Candle Pouring Pitcher, Digital Probe Thermometer, Candle-Safe Fragrance Oil, Silicone Heat-Resistant Craft Mat and Nitrile Gloves.
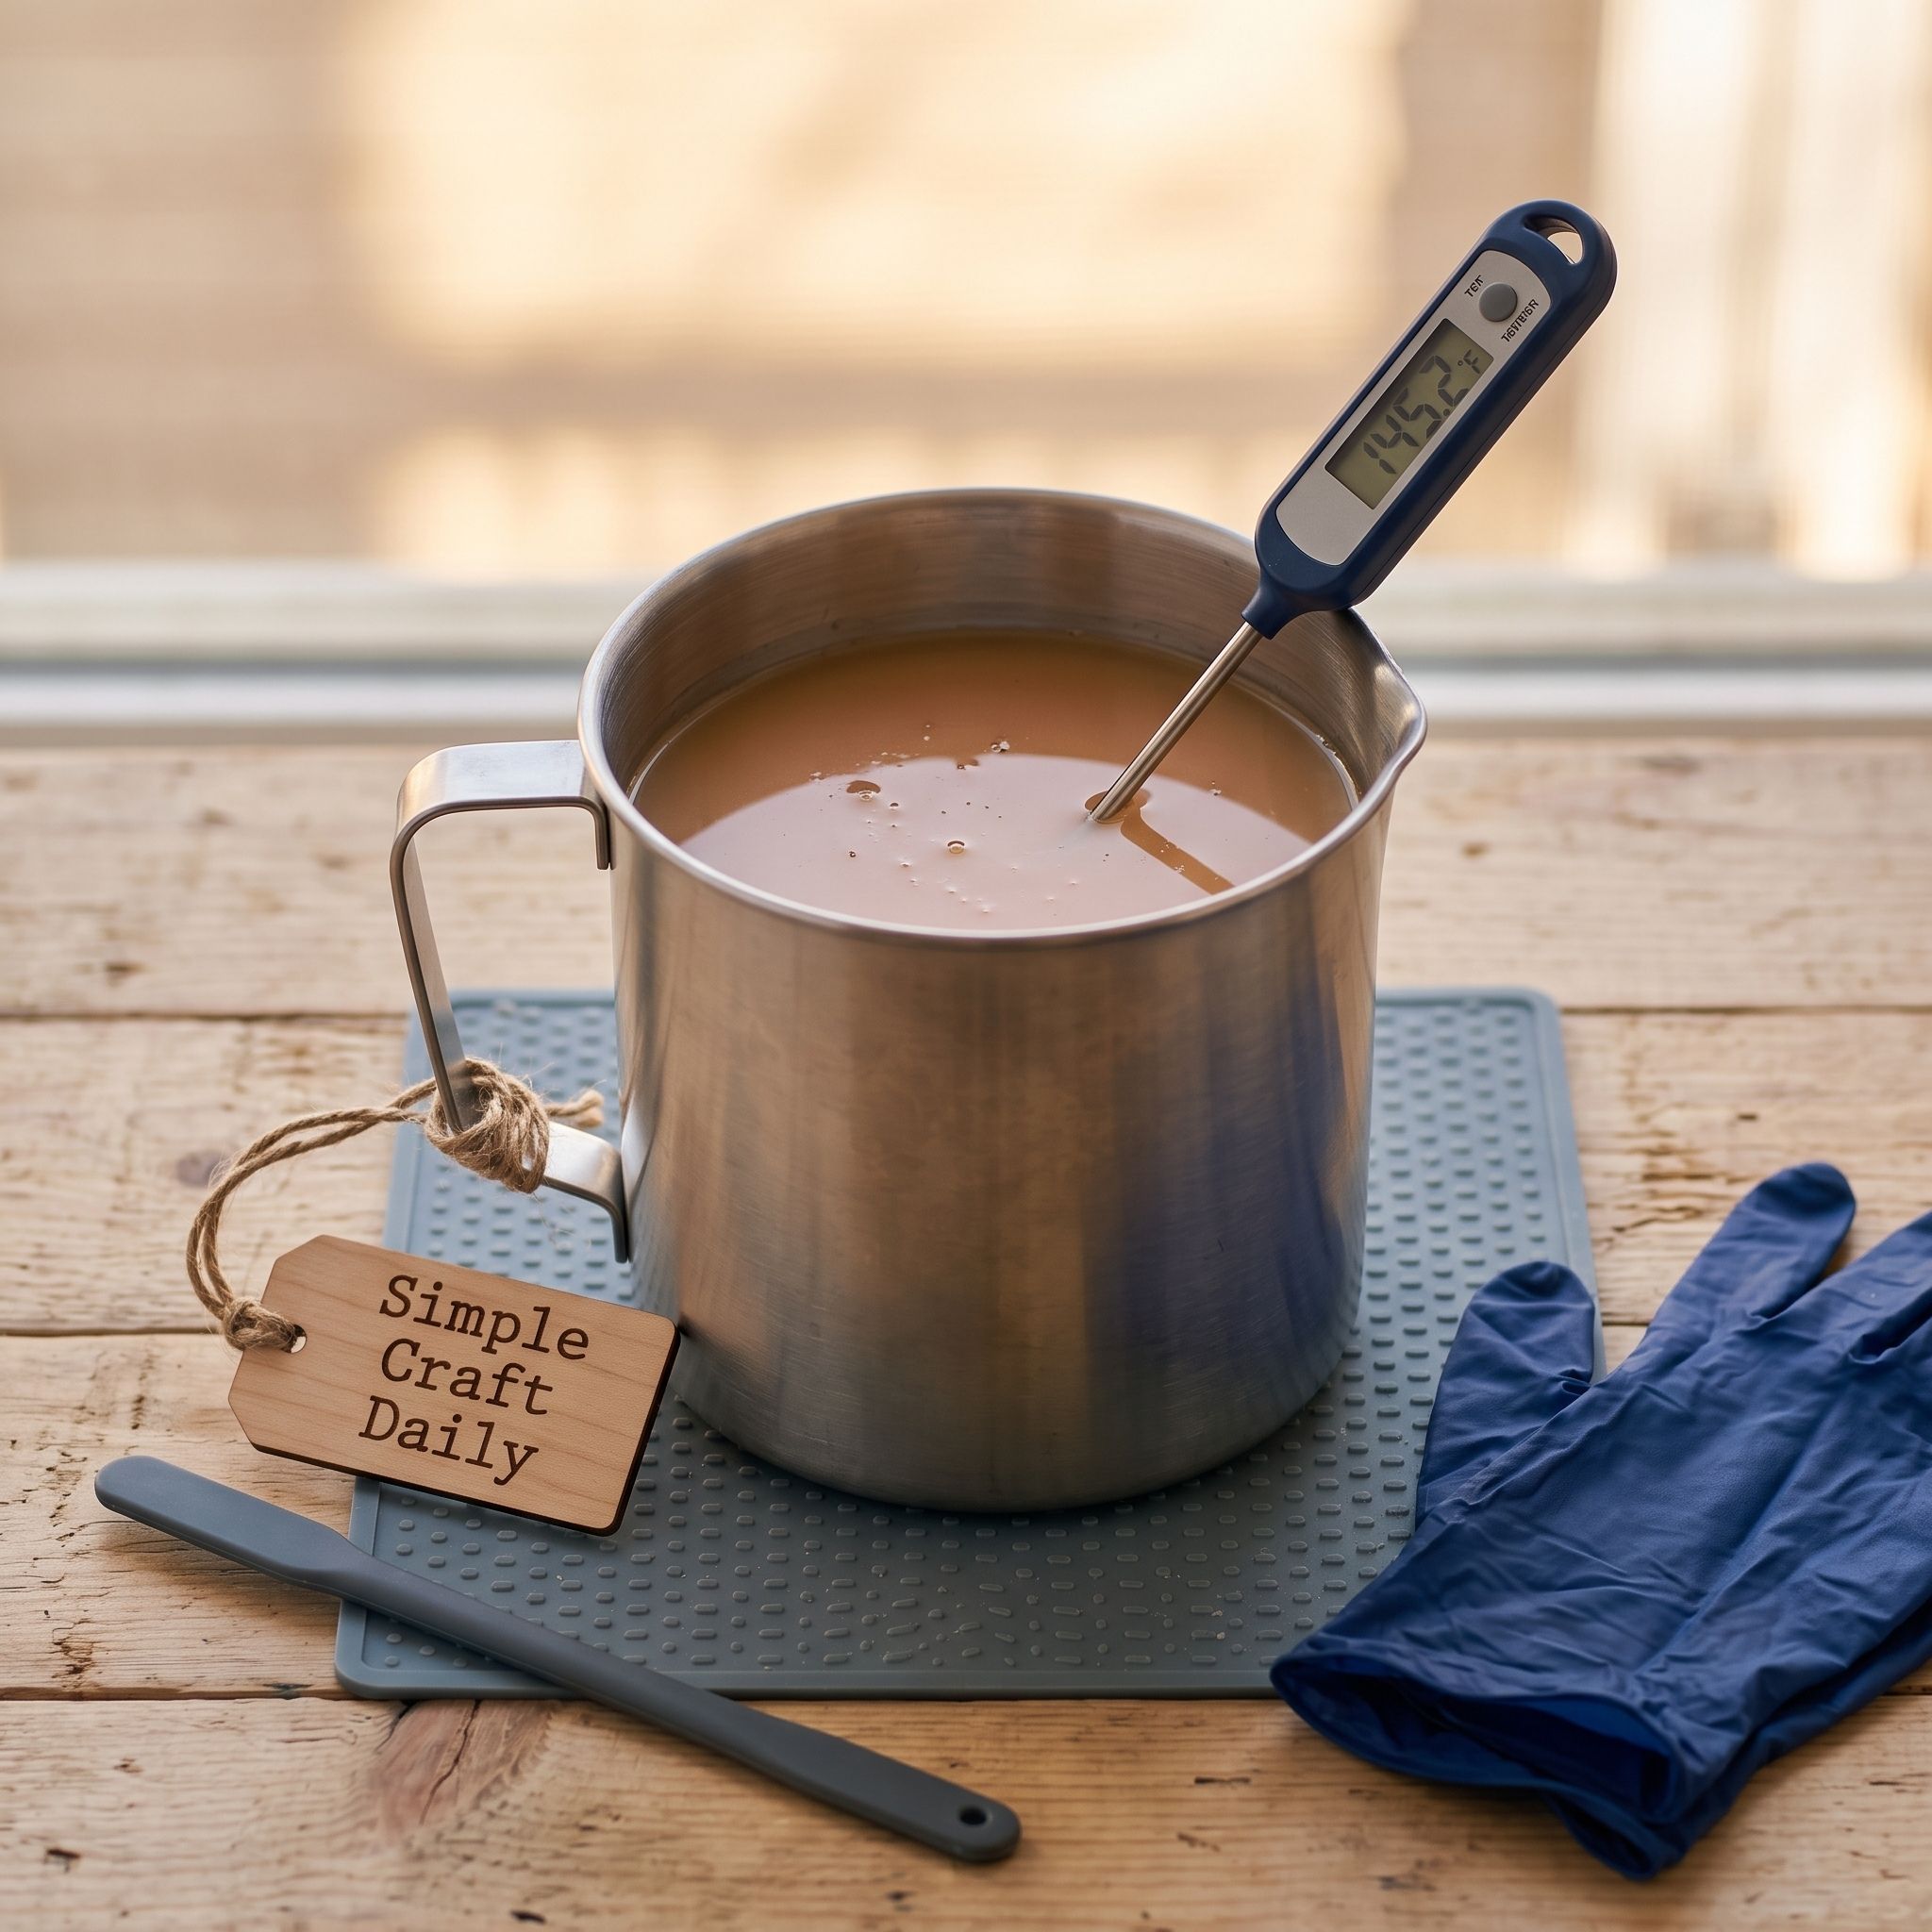
Temperature control gives DIY candle making its repeatable results. Put the weighed Golden Brands 464 Soy Wax Flakes in a dedicated stainless steel candle pouring pitcher. Set the pitcher in a gentle water bath on the stove, keeping water below the pitcher rim, and never leave heating wax unattended.
Check the wax regularly with the digital probe thermometer. Follow the exact melt, fragrance incorporation, and pour temperatures printed by your selected wax supplier because supplier specifications can change by formula and batch. Keep the probe tip in the liquid wax without touching the pitcher bottom.
After the wax reaches the supplier’s melt temperature, remove the pitcher from heat and set it on the silicone heat-resistant craft mat. Put on nitrile gloves, wait until the wax reaches the recommended fragrance-addition temperature, then add the pre-weighed candle-safe fragrance oil. Stir slowly and continuously for 2 full minutes with the clean probe thermometer so the oil disperses through the wax.
Allow the wax to cool to the supplier-recommended pour temperature before filling the prepared jars. Keep the pouring pitcher and thermometer dedicated to DIY candle making; do not return either item to food preparation.
5. Pour Cleanly Into Prepared Candle Jars
Supplies Needed: Heat-Resistant Straight-Sided Glass Candle Jars with Lids, Stainless Steel Candle Pouring Pitcher, Wick Centering Bars and Wick Sticker Dots, Silicone Heat-Resistant Craft Mat and Nitrile Gloves.
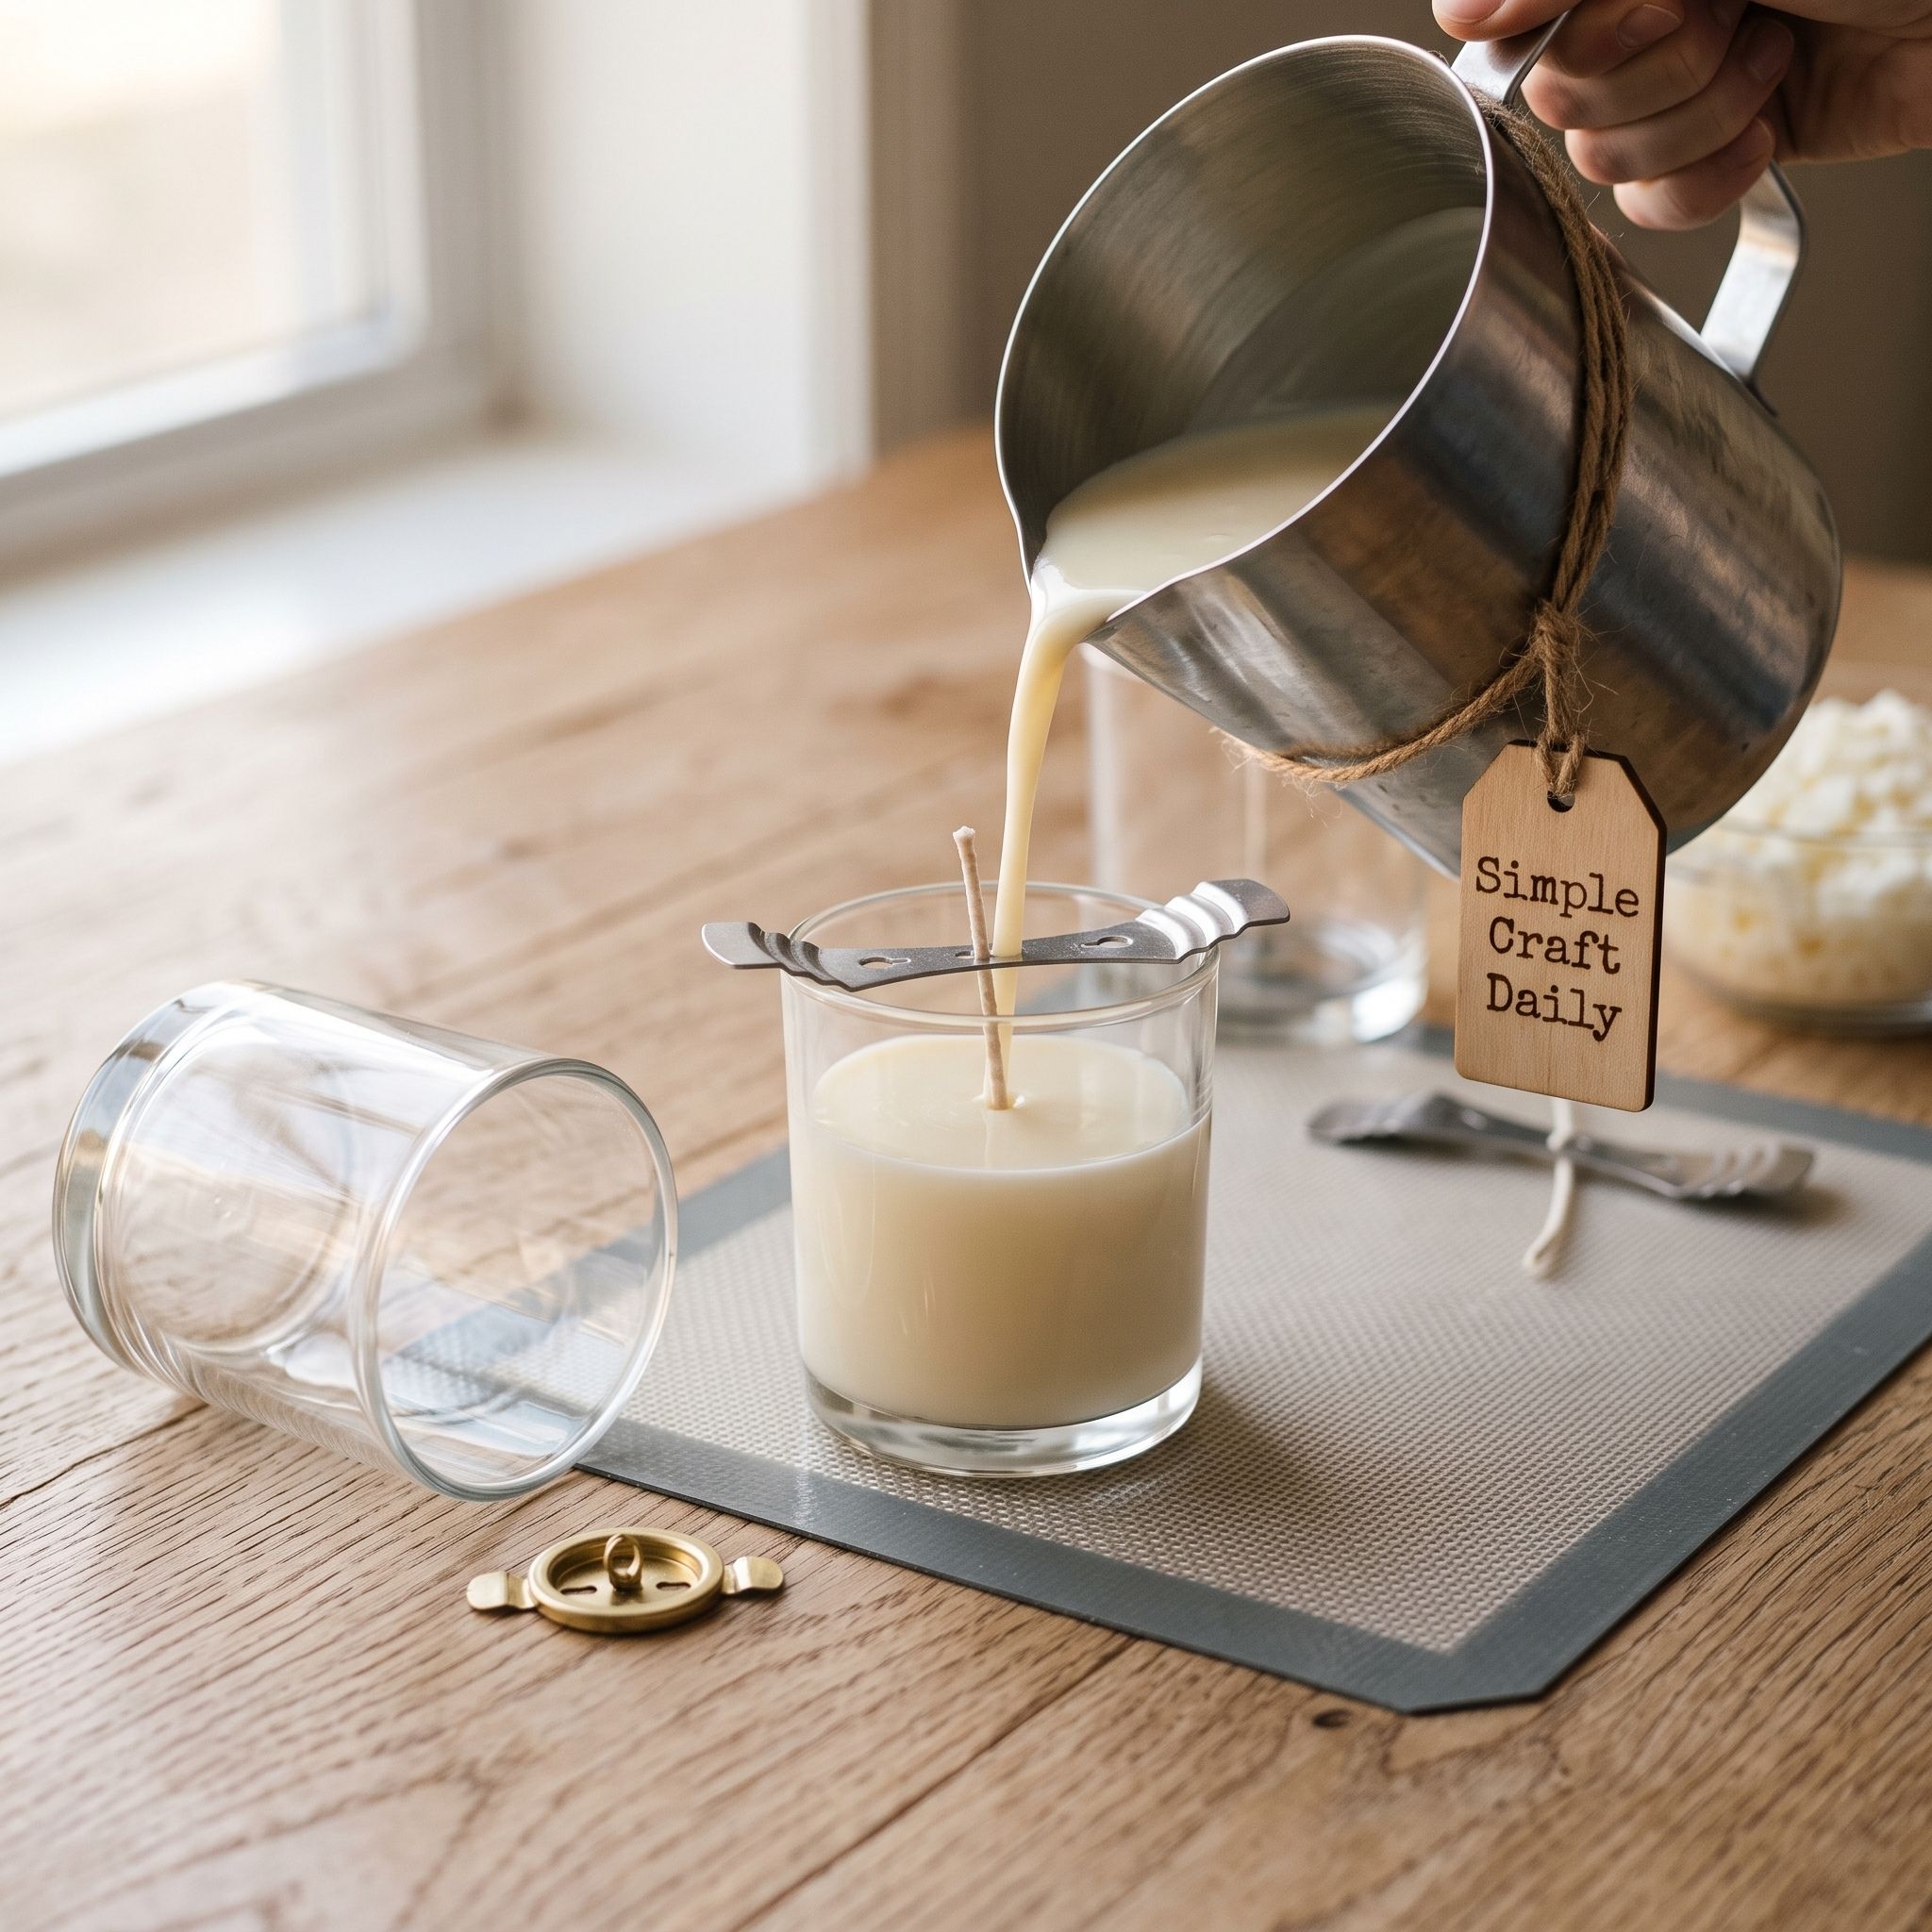
Place the prepared heat-resistant straight-sided glass candle jars on the silicone heat-resistant craft mat before lifting the pouring pitcher. Confirm that each wick sticker dot is firmly bonded, the wick is held upright by its centering bar, and the jars sit level.
Next, put on nitrile gloves and pour the cooled wax in one slow, steady stream. Hold the stainless steel candle pouring pitcher close to the jar opening to reduce splashes. Stop about 1/2 inch below the rim, unless your selected vessel supplier gives a different safe fill line.
Do not move the wick centering bars, top off a cooling candle, or press dried flowers, glitter, crystals, or other decorations into hot wax. Those additions can interfere with a safe flame and make DIY candle making test results unreliable. Leave the jars on the mat, away from drafts and direct sun, until the wax has set.
6. Cure Homemade Candles Before Lighting
Supplies Needed: Heat-Resistant Straight-Sided Glass Candle Jars with Lids, Pre-Tabbed Cotton Candle Wicks, Wick Centering Bars and Wick Sticker Dots.
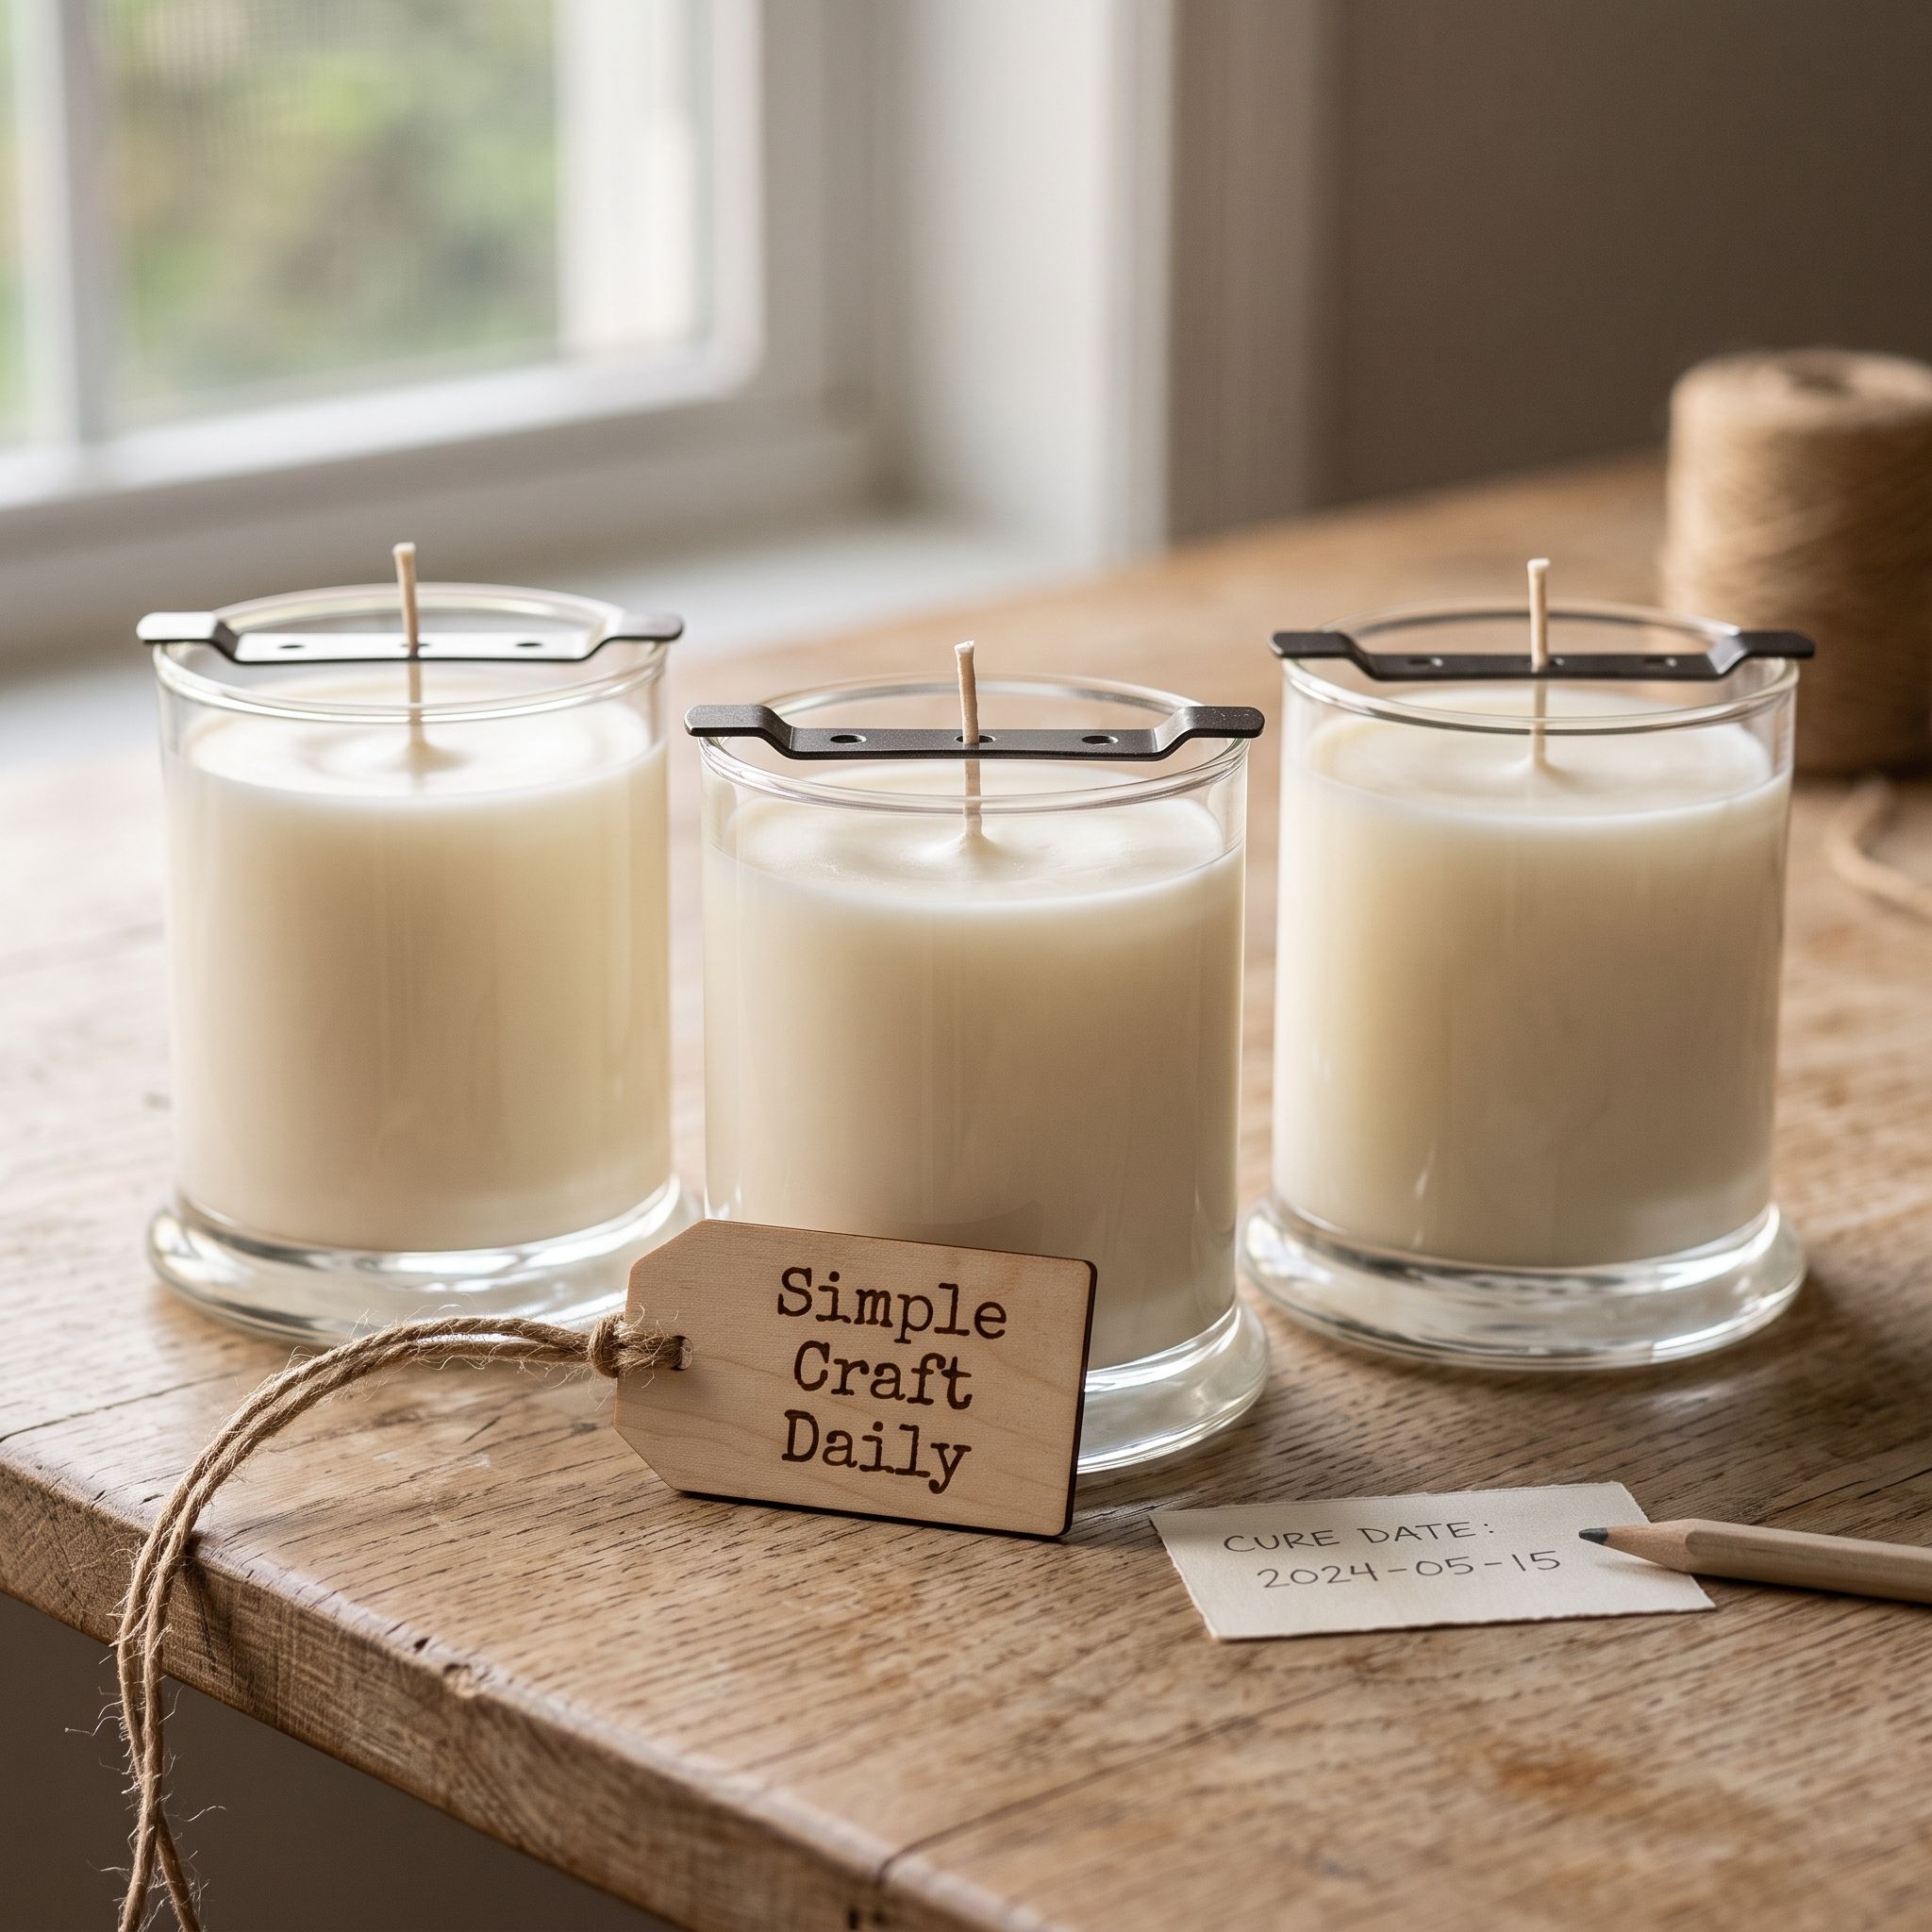
Surface hardening and homemade candle curing are separate stages. Leave each jar undisturbed at normal room temperature for at least 24 hours before handling it. Keep the wick centering bars in place until the wax is firm and the pre-tabbed cotton candle wick remains straight without support.
After 24 hours, remove the centering bar and trim the wick to 1/4 inch. Fit the lid loosely on the heat-resistant straight-sided glass candle jar to protect the surface from dust, then let the soy candle cure according to the wax and fragrance supplier guidance. For many soy wax formulas, a 7- to 14-day cure window develops more reliable scent performance.
Do not judge a fresh candle by its cold scent or first-day appearance. Record the pour date, wax type, fragrance percentage, and planned test date on a label or batch card. Patient curing gives your DIY candle making trial a fair starting point before you assess wick performance.
7. Test-Burn Every DIY Candle Making Batch
Supplies Needed: Heat-Resistant Straight-Sided Glass Candle Jars with Lids, Pre-Tabbed Cotton Candle Wicks, Golden Brands 464 Soy Wax Flakes, Candle-Safe Fragrance Oil.
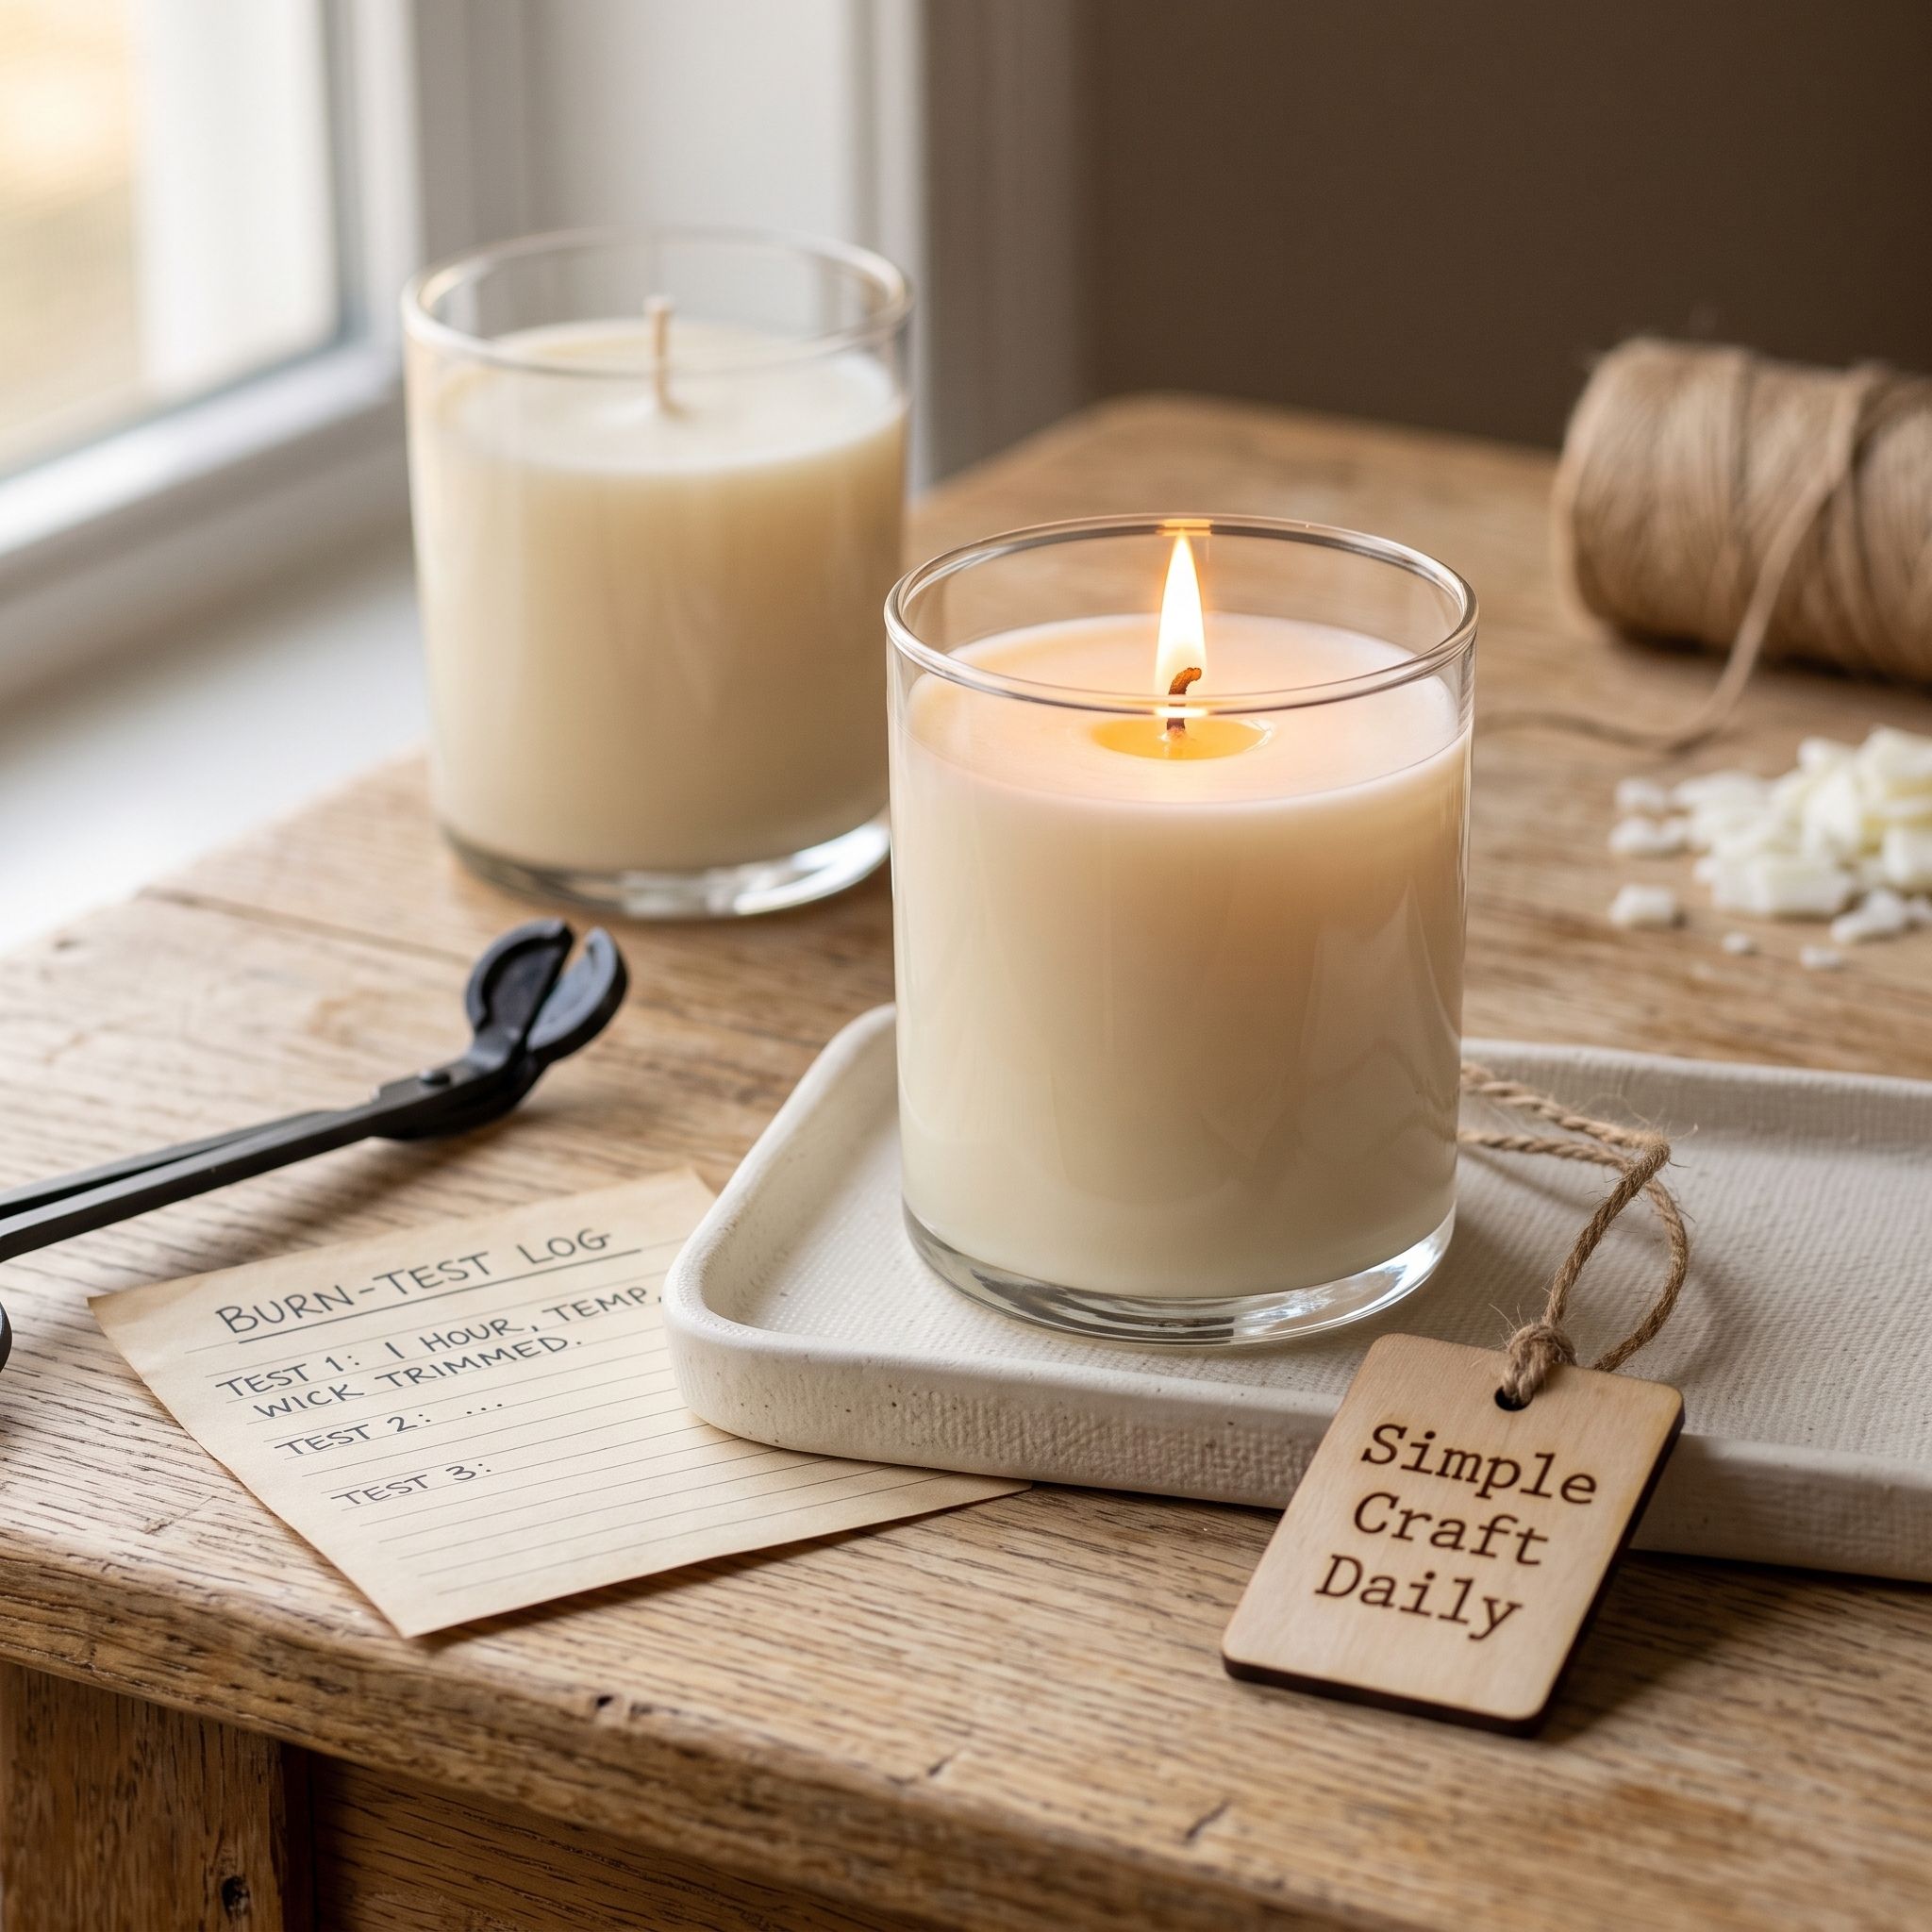
A controlled burn test confirms whether your DIY candle making formula behaves safely in its final heat-resistant straight-sided glass candle jar. Before lighting, trim the pre-tabbed cotton candle wick to 1/4 inch. Place the candle on a heat-resistant surface, keep it within sight, and remove it from drafts, curtains, children, pets, and flammable materials.
Burn one test candle for a time appropriate to its vessel size and your wick supplier’s guidance. Observe the melt pool, flame height, soot on the jar, visible smoke, and mushrooming on the wick. Extinguish the candle if the flame becomes unusually large, the jar becomes excessively hot, or soot builds quickly.
Record the Golden Brands 464 Soy Wax Flakes, candle-safe fragrance oil percentage, vessel inside diameter, wick series and size, cure time, burn duration, melt pool, flame behavior, soot, and mushrooming. Trim the wick to 1/4 inch before every relight, and stop burning when 1/2 inch of wax remains. Change only one variable for the next DIY candle making test, such as wick size or fragrance load, so the results stay useful.
DIY Candle Making Questions Beginners Ask
Can I use any glass jar for a candle?
No. Use purpose-made, heat-resistant candle jars that are crack-free and consistently sized. A drinking glass, thrifted container, or decorative holder may not tolerate repeated heating. In DIY candle making, test each final vessel-and-wick combination before gifting a candle.
How much fragrance oil is safe in soy wax?
Follow the maximum candle fragrance load stated by both the wax maker and fragrance supplier. Many soy wax formulas allow 6% to 10%, yet that range is not a universal instruction. Weigh oil in grams, begin with a modest test percentage, and document the result for each DIY candle making batch.
Why is my candle tunneling or producing soot?
Tunneling often points to a wick that is too small for the vessel diameter, while soot can result from an oversized wick, an untrimmed wick, drafts, too much fragrance, or several variables together. For candle wick sizing, keep the wax, jar, fragrance percentage, and cure time consistent while you test one wick change at a time.
How long should homemade soy candles cure before burning?
Let the candle cool undisturbed for at least 24 hours before handling. Then follow the wax and fragrance supplier’s homemade candle curing guidance; many soy container candles benefit from 7 to 14 days before the first full test burn. A longer cure does not replace safe DIY candle making wick testing.
Quick Reference: All Supplies at a Glance
For your convenience, here is a quick summary of all materials and tools used in this DIY candle making tutorial:
🕯️ Wax, Jars and Wicks
- Golden Brands 464 Soy Wax Flakes |
[Check Price on Amazon] - Heat-Resistant Straight-Sided Glass Candle Jars with Lids |
[View Candle Jars on Amazon] - Pre-Tabbed Cotton Candle Wicks |
[See Candle Wicks on Amazon]
🌿 Fragrance and Measuring
- Candle-Safe Fragrance Oil |
[Find Fragrance Oil on Amazon] - 0.1 g Digital Kitchen Scale |
[Check Digital Scale on Amazon]
🧰 Pouring and Temperature Tools
- Stainless Steel Candle Pouring Pitcher |
[View Pouring Pitcher on Amazon] - Digital Probe Thermometer |
[See Price on Amazon] - Wick Centering Bars and Wick Sticker Dots |
[Find Wick Centering Bars on Amazon]
🛡️ Safety and Starter Kit
- Silicone Heat-Resistant Craft Mat and Nitrile Gloves |
[Check Latest Price on Amazon] - Soy Candle Making Starter Kit |
[View on Amazon]
Important Crafting Safety Notes
DIY candle making is rewarding, but hot wax, fragrance oil, glass, and open flames require a careful workshop routine. Review these safety measures before starting any batch.
• Personal Protective Equipment (PPE) & Safe Handling: Wear safety glasses when inspecting damaged glass, cutting wick tabs, or clearing broken glass. Use nitrile gloves for candle-safe fragrance oil and cleanup materials, and use heat-resistant gloves or heat-safe tools when handling hot pitchers and vessels. Wear a particle mask when sanding cured resin, wood, or other dusty craft materials near your candle workspace.
• Room Ventilation & Fume Safety: Work with open windows, cross-ventilation, or active exhaust when using fragrance oil, cleaners, dyes, adhesives, sprays, or sealants. Do not inhale fragrance directly. Allow poured candles to cool and cure in an airy, protected area away from household traffic and everyday living spaces.
• Child & Pet Safety (Choking & Swallowing Prevention): Hot wax, fragrance oils, wick tabs, lids, wick sticker dots, and small hardware can cause burns, choking, poisoning, or intestinal obstruction. Keep raw DIY candle making supplies and finished candles out of reach of babies, children, and pets. Never leave a burning candle unattended, and do not add loose decorations that could reach the flame.
• Sharp Tool Storage & Clean Work Area: Store scissors, wick trimmers, probes, craft knives, and broken-glass cleanup tools in secure latching cases or high cabinets after use. Inspect the counter and sweep or vacuum the floor after crafting so glass fragments, wick tabs, pins, and wire clippings do not remain in walkways.
• Certified, Quality & Non-Toxic Supplies: Choose candle-rated wax, purpose-made vessels, properly sized wicks, and fragrance oil approved for candle use. Select ACMI AP-certified non-toxic supplies where applicable, and use lead-free, nickel-free hardware for related craft projects. Follow each manufacturer’s cure time, temperature, and handling instructions. Keep candle equipment dedicated to craft work and never reuse pouring pitchers, thermometers, or mixing tools for food preparation.
For more guidance on safe crafting practices, liability disclosures, and website use, please review our Terms and Conditions.
“Which DIY candle making scent will you test first, and what safety habit keeps your craft table calm and organized? Share it in the comments below—I’d love to hear what you create!”


