

Flat decor makes a room feel unfinished. Botanical DIY decor brings in the quiet color and fine texture of real leaves and petals, yet fragile plant material needs dry handling, measured placement, and a finish that protects it from dust, moisture, and fading.
These nine independent projects move from floating frames to resin charms, clay dishes, and giftable tags. If you enjoy warm wax projects, use our DIY wax sachets with botanical details as extra inspiration for arranging petals without burying their delicate shapes.
Affiliate Disclosure: This post contains affiliate links. As an Amazon Associate, I earn from qualifying purchases. If you buy through these links, I may earn a commission at no additional cost to you.
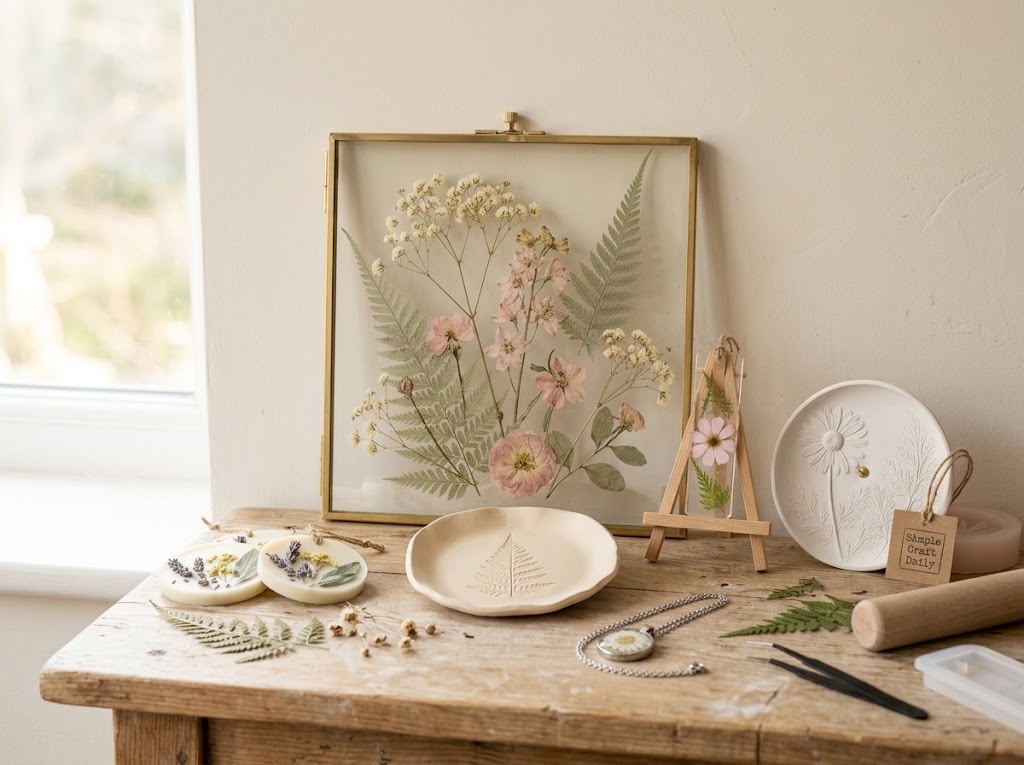
Essential Materials for Botanical DIY Decor
Keep flowers and leaves completely dry before enclosing them in wax, glue, resin, or glass. A flower that feels cool, flexible, or damp can brown, mold, or cloud a clear finish after the project is assembled.
The consumable materials below form the projects themselves, while the reusable tools help you measure, place, mix, trim, and finish each piece cleanly. For dependable botanical DIY decor, read each product label before beginning and plan the stated set, dry, and cure windows into your work session.
🌿 Flowers, Frames, Clay, Wax, and Resin
- Real Dried Pressed Flowers and Leaves — Flat, genuinely dry botanicals keep their shape inside clear resin, between glass panes, and beneath thin protective coats | [Check Price on Amazon]
- Double Glass Floating Picture Frames — Two glass panes hold petals securely without adhesive touching the flowers |
[See Price on Amazon] - Natural Soy Wax Flakes — A clean molding wax for flat botanical sachets with petals placed after the surface begins to set |
[Check Soy Wax Flakes on Amazon] - White Air Dry Clay — Fine white clay captures leaf impressions and creates smooth tags, markers, and shallow dishes |
[View White Air Dry Clay on Amazon] - Crystal Clear 1:1 Epoxy Resin Kit — A clearly labeled equal-ratio resin protects dry flowers in bookmarks, pendants, and window charms | [Find Epoxy Resin Kit on Amazon]
- Fine Casting Plaster — Fine-particle casting plaster produces crisp, smooth relief dishes when mixed at the manufacturer’s stated water ratio | [Check Latest Price on Amazon]
🧰 Precision Tools, Protective Finishes, and Studio Upgrades
- Acid-Free PVA Craft Glue and Water-Resistant Acrylic Varnish — Acid-free glue secures fragile flower pieces, while varnish protects clay or plaster only after it is dry throughout | [View on Amazon]
- Stainless Steel Jewelry Findings and Clear Glass Cabochons — Nickel-free hardware and clear cabochons provide a neat enclosure for small wearable flower pieces | [Check Jewelry Findings on Amazon]
- Silicone Molds, Graduated Mixing Cups, and Silicone Stir Sticks — Reusable silicone tools support measured resin, plaster, and wax work without using food utensils | [See Silicone Molds on Amazon]
- Precision Botanical Craft Tool Set — Fine tweezers, detail scissors, a clay roller, cutters, and smooth-jaw pliers help place petals without crushing them | [View Precision Tool Set on Amazon]
- Pressed Flower Resin Craft Starter Kit — An optional beginner route with compatible molds and mixing tools for small resin projects | [Find Resin Craft Starter Kit on Amazon]
- Resin Vacuum Degassing Bubble Remover Chamber — An optional studio tool for repeated clear resin casting where reduced trapped air improves clarity | [Check Price on Amazon]
- Daylight LED Magnifying Craft Lamp with Desk Clamp — A stable magnifying lamp helps you inspect petal placement and tiny jewelry findings before resin cures | [See Craft Lamp on Amazon]
- Heavy-Duty Three-Tier Rolling Craft Cart with Wooden Top — A rolling cart keeps dried flowers flat, resin supplies upright, and small findings contained between sessions | [View Rolling Craft Cart on Amazon]
9 Botanical DIY Decor Projects to Make
Make each botanical DIY decor project independently so you can match the material to your available work time and display space. First, inspect and dry the botanicals. Next, measure and form the base, then allow the stated set or cure time before sanding, sealing, or adding findings.
Keep resin pieces level and covered from dust, and keep clay or plaster on a breathable surface while moisture leaves the material. Before making the relief dish, browse our botanical plaster casting ideas for more mold and display inspiration.
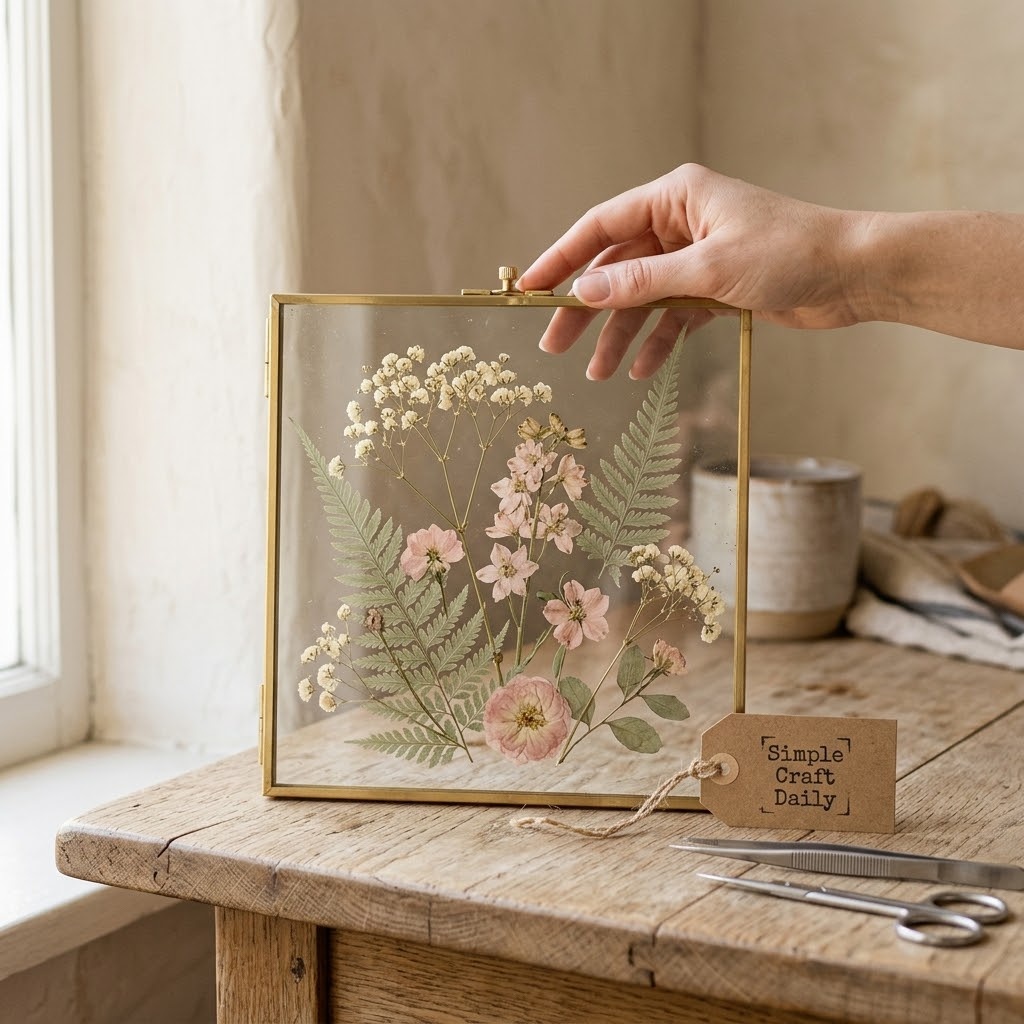
1. Botanical DIY Decor Floating Herbarium Frame
Supplies Needed: Real Dried Pressed Flowers and Leaves, Double Glass Floating Picture Frames, Precision Botanical Craft Tool Set with fine tweezers and a lint-free cloth.
Open the double glass floating frame and lay both panes flat on a clean work surface. Wipe each interior glass face with the lint-free cloth from the precision botanical craft tool set, then inspect the panes under angled light for dust or fingerprints.
Next, use fine tweezers to arrange fully dry flowers and leaves on the lower pane. Start with one larger stem, then add two or three smaller shapes around it. Keep every petal at least 1/4 inch from the frame edge so the metal rim does not pinch it.
Lower the upper pane slowly from one side to the other and close the frame according to its hardware design. Do not glue botanicals directly to glass; the enclosed panes hold them flat without darkening petals. Finally, hang this botanical DIY decor frame from its rated hanger or lean it on a stable shelf away from direct sun.
2. Botanical DIY Decor Soy Wax Sachets
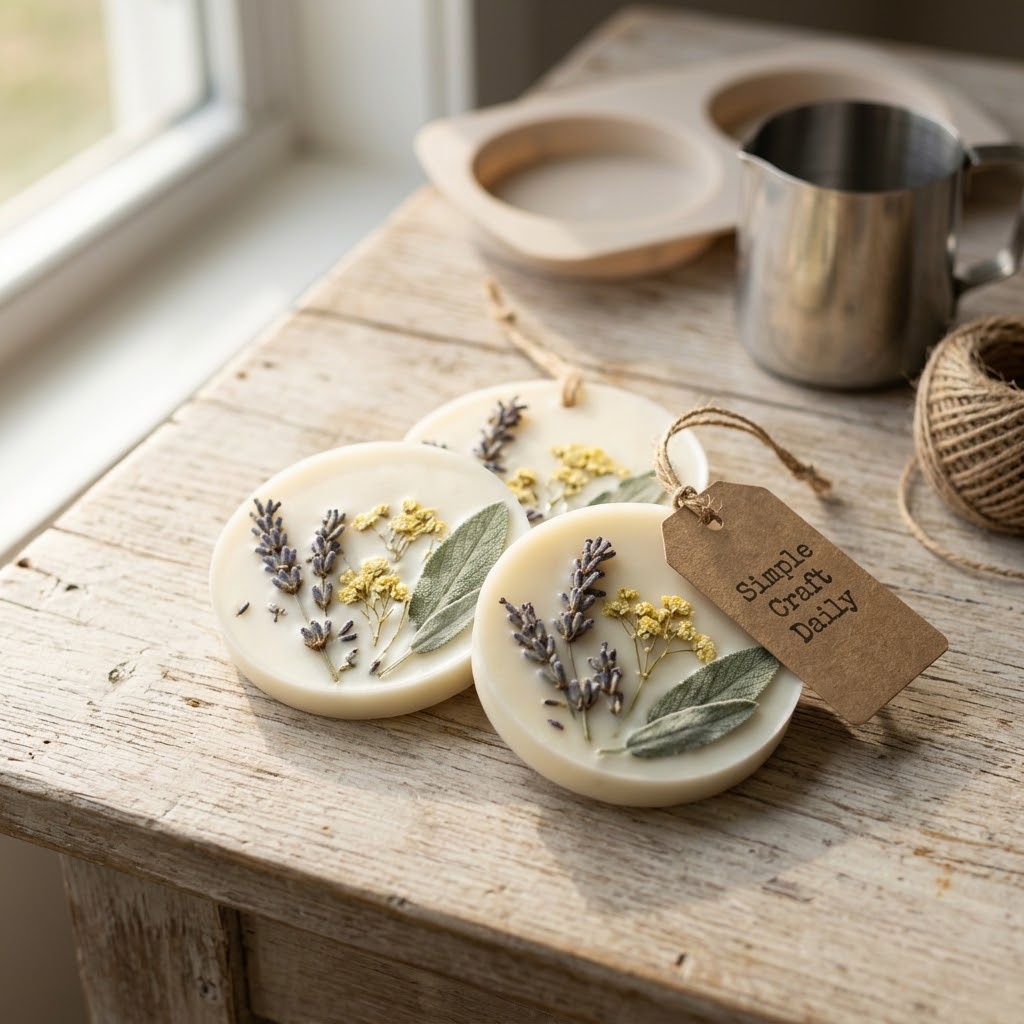
Supplies Needed: Natural Soy Wax Flakes, Real Dried Pressed Flowers and Leaves, Silicone Molds, Graduated Mixing Cups, Silicone Stir Sticks, and a digital wax thermometer.
Set a clean silicone mold on a level, heat-safe surface. Measure enough natural soy wax flakes to fill your mold cavities, then melt the wax using the selected manufacturer’s stated method and temperature guidance. Check the temperature with a digital wax thermometer rather than guessing from the wax appearance.
Pour the melted wax into each mold cavity, leaving about 1/8 inch below the rim. Let the wax cool undisturbed for 10 to 15 minutes, until the surface loses its glossy liquid look and begins to support light contact. At that stage, use silicone stir sticks or tweezers to place small, fully dry flower fragments on top.
Press each petal only far enough to anchor it in the setting wax. Keep the sachets flat until they are firm, then leave them in the mold for at least 12 hours before removing or hanging them. This cooling period gives botanical DIY decor wax sachets a firm, smooth surface; extend the wait if the product label calls for a longer cure.
3. Pressed Flower Resin Bookmark
Supplies Needed: Crystal Clear 1:1 Epoxy Resin Kit, Real Dried Pressed Flowers and Leaves, Silicone Molds, Graduated Mixing Cups, Silicone Stir Sticks, and Precision Botanical Craft Tool Set with fine tweezers and detail scissors.
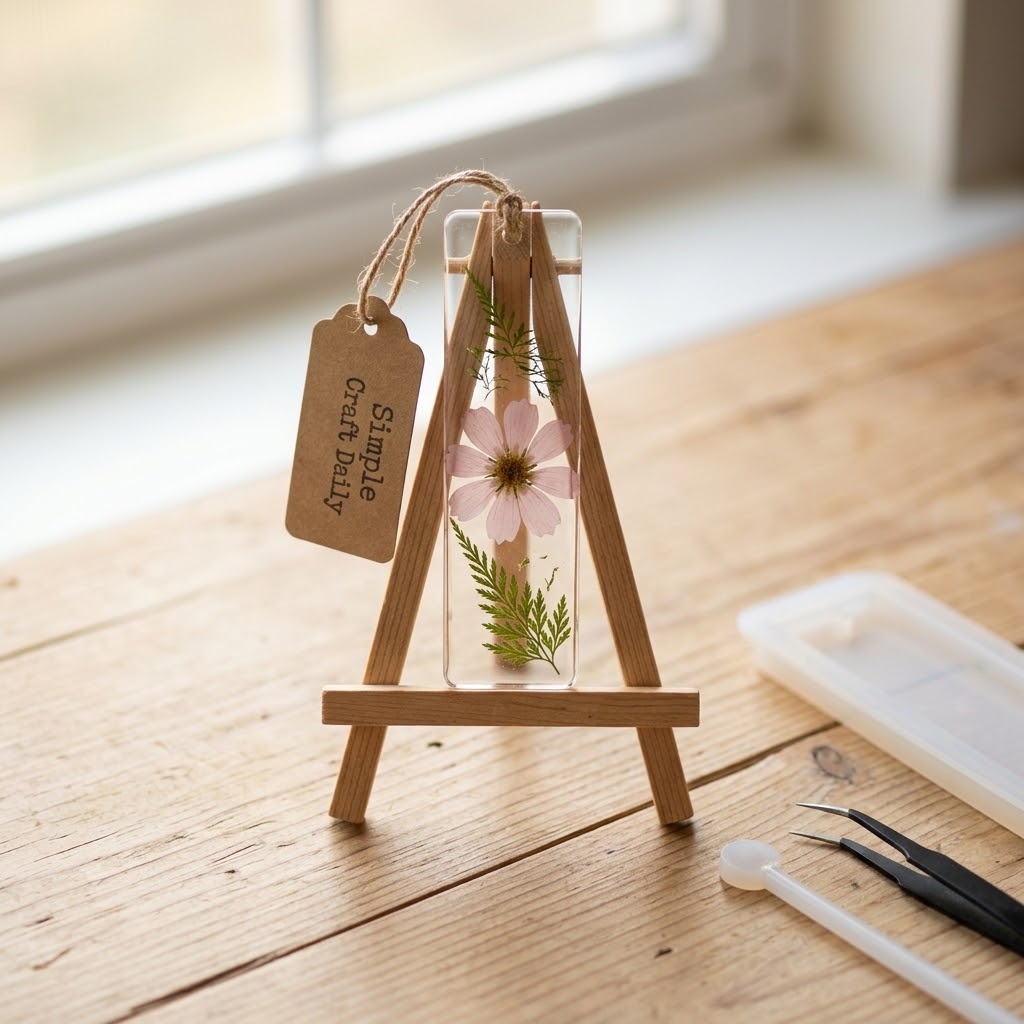
Place a clean silicone bookmark mold on a level surface and trim flower stems with the detail scissors so they fit inside the cavity. Measure Part A and Part B of the crystal clear 1:1 epoxy resin kit in separate graduated mixing cups at the exact ratio printed on the resin label.
Combine the two parts and stir slowly with a silicone stir stick for the full label-directed mixing time, scraping the cup walls and base. Pour a shallow first layer, about 1/16 inch deep, into the bookmark mold. Remove surface bubbles only with a low-heat method approved by your resin manufacturer.
When the first layer reaches the tacky stage stated on the label, use fine tweezers to place the dry flowers face down in the resin. Add the remaining resin slowly until the cavity reaches its rim. Cover the mold from dust and allow the bookmark to cure undisturbed for 12 to 24 hours, or longer if the resin label specifies a longer full-cure window.
After the resin reaches full cure, inspect the edges. If needed, lightly sand a sharp edge with the fine abrasive from the precision tool set, then wipe away dust before use. This clear botanical DIY decor project makes a practical accent for readers, journals, and small gifts.
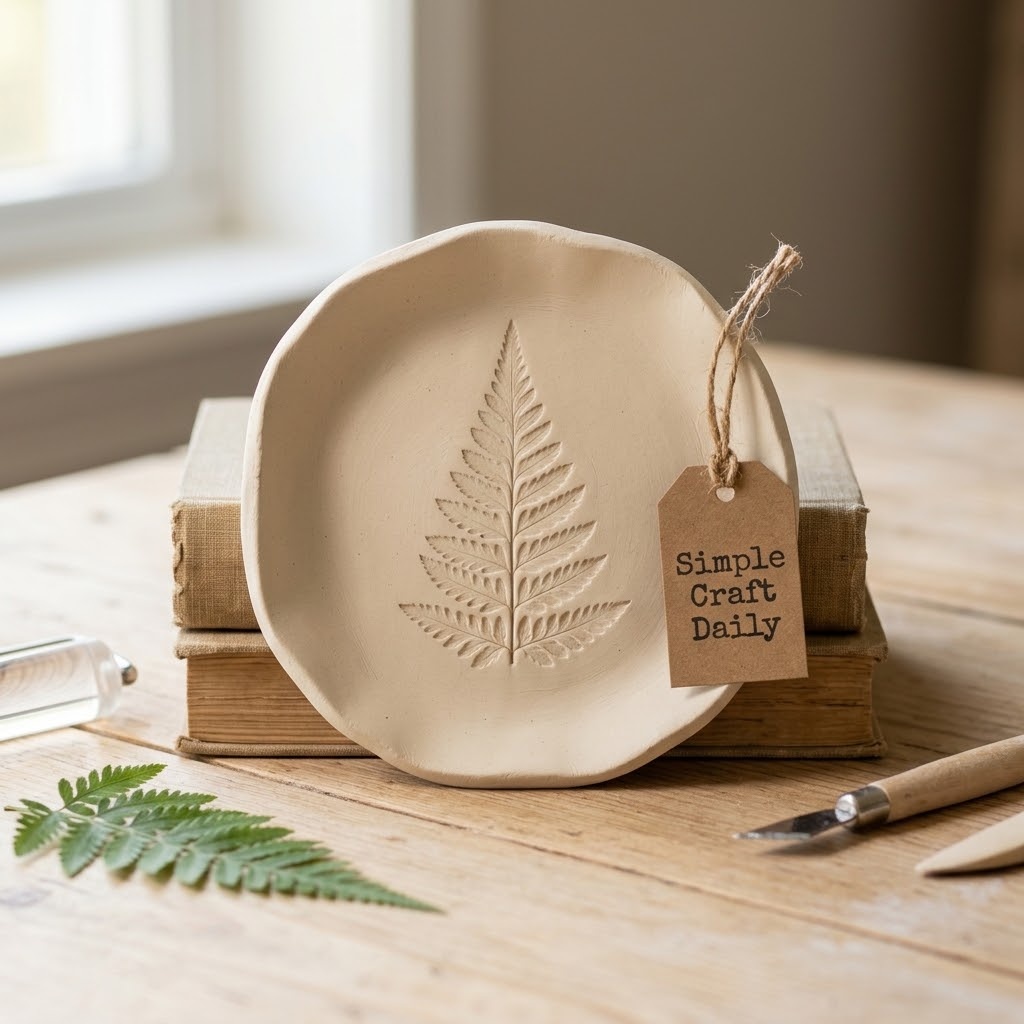
4. Botanical DIY Decor Leaf-Imprint Trinket Dish
Supplies Needed: White Air Dry Clay, Real Dried Pressed Flowers and Leaves, Acid-Free PVA Craft Glue and Water-Resistant Acrylic Varnish, and Precision Botanical Craft Tool Set with roller, guide rings, cutter, and fine sanding pad.
Condition a palm-sized portion of white air dry clay until it feels smooth and free of dry cracks. Place it between the guide rings from the precision botanical craft tool set and roll an even slab about 1/4 inch thick. An even thickness helps the dish dry at a similar rate across its base.
Lay a clean leaf with strong veins on the clay and roll once with light pressure to transfer the texture. Remove the leaf, cut a 4-inch circle, and set the circle over an upside-down bowl lined with smooth paper towel. Gently curve the edges down around the bowl without thinning the rim.
Dry the dish on a breathable surface for at least 24 hours, turning it carefully after 12 hours to limit warping. Thick clay, high humidity, or a cool room can require 48 hours or longer. Once the clay is dry all the way through, smooth rough edges with the fine sanding pad.
Use a thin PVA layer to secure one small dry flower fragment near the rim, then let the glue dry for at least 1 hour. Apply two thin coats of water-resistant acrylic varnish, waiting at least 2 hours between coats and allowing the final coat to dry for 24 hours before use. The finished botanical DIY decor dish suits rings, keys, and small keepsakes.
5. Glass-Cabochon Wildflower Pendant
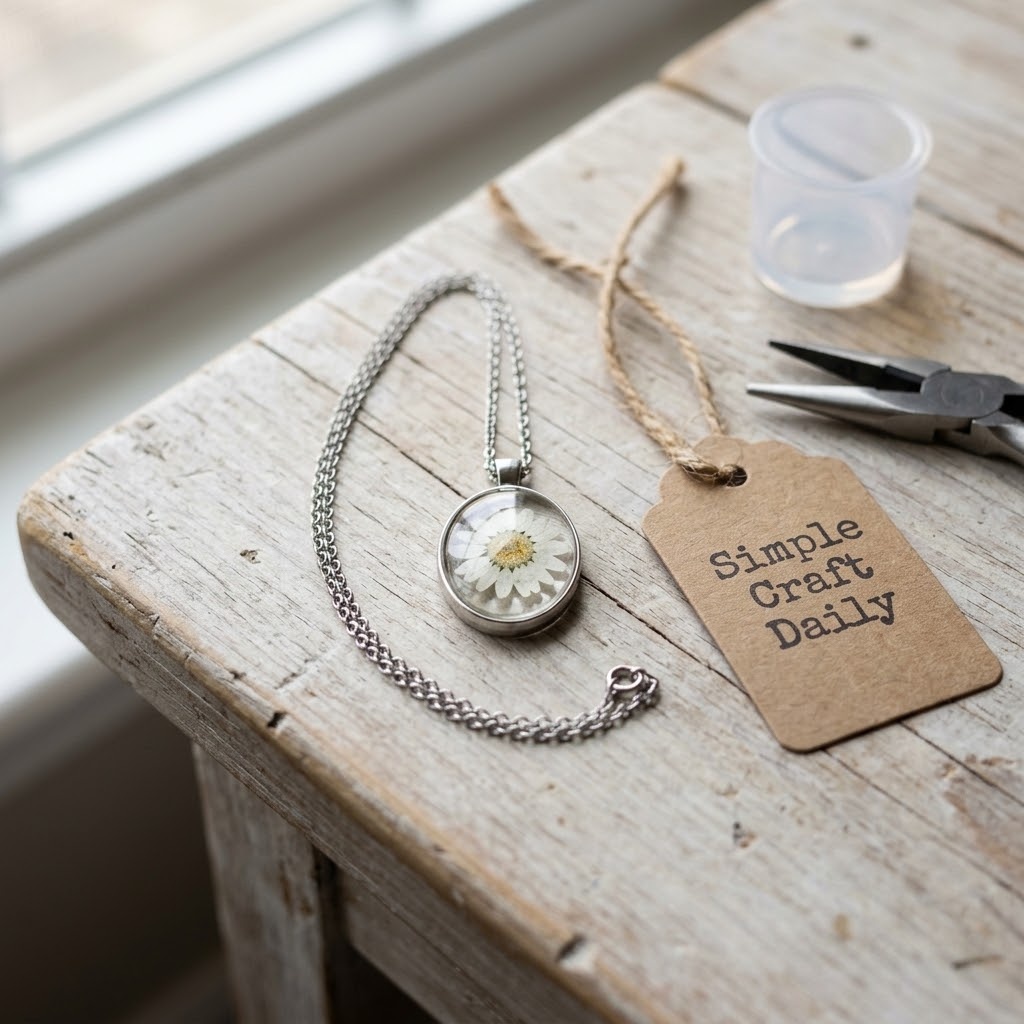
Supplies Needed: Crystal Clear 1:1 Epoxy Resin Kit, Real Dried Pressed Flowers and Leaves, Stainless Steel Jewelry Findings and Clear Glass Cabochons, and Precision Botanical Craft Tool Set with fine tweezers, detail scissors, and smooth-jaw pliers.
Choose a stainless steel pendant bezel and dry-fit a clear glass cabochon over it. Trim a flower fragment with detail scissors so it stays at least 1/16 inch below the cabochon edge. This clearance prevents petals from catching the glass rim or lifting into the adhesive area.
Measure the crystal clear 1:1 epoxy resin according to the label, then stir with a slow, steady motion for the stated mixing time. Add a thin resin layer to the bezel, place the flower with fine tweezers, and add resin until it covers the botanical without overflowing the rim.
Set the cabochon over the bezel if your finding design requires it, then cover the pendant from dust and allow the resin to cure on a level surface for 12 to 24 hours. Only after the resin is fully cured should you use smooth-jaw pliers to attach the pendant loop and chain. This small botanical DIY decor piece benefits from nickel-free stainless steel findings that sit comfortably against skin.
6. Botanical DIY Decor Plaster Relief Dish
Supplies Needed: Fine Casting Plaster, Real Dried Pressed Flowers and Leaves, Silicone Molds, Graduated Mixing Cups, Silicone Stir Sticks, and Acid-Free PVA Craft Glue and Water-Resistant Acrylic Varnish.
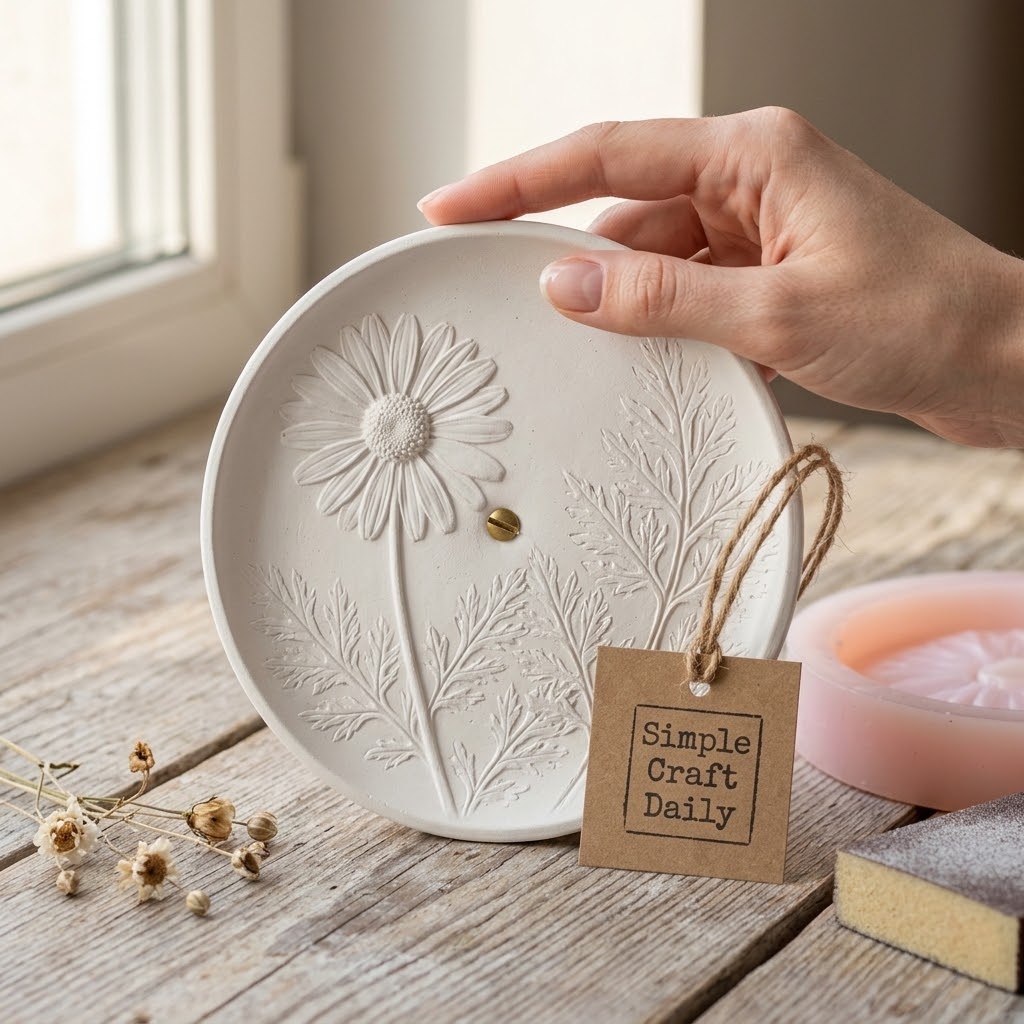
Choose a shallow silicone dish mold and place fully dry flowers or leaves face down in the base to create a relief texture. Set the mold on a level tray. Measure the water and fine casting plaster exactly according to the plaster manufacturer’s stated ratio; do not estimate the water-to-plaster proportion.
Add plaster powder to the measured water gradually, then stir with a silicone stir stick until the mix reaches the consistency and working time stated on the product label. Pour slowly into the mold, then tap the tray against the work surface several times to release trapped air.
Leave the casting undisturbed for at least 30 to 45 minutes before demolding, unless the plaster label requires a longer set time. Remove the dish carefully, peel away any loose botanical pieces, and place it on a breathable surface for 24 to 48 hours so it can dry throughout. For additional casting ideas, see our botanical plaster casting guide.
After the plaster is dry throughout, smooth a rough rim lightly with a fine sanding pad. Brush away dust, apply a thin PVA layer only if you are adding a separate dry flower accent, and let it dry for at least 1 hour. Finally, apply water-resistant acrylic varnish in two thin coats, waiting at least 2 hours between coats. Never seal damp plaster because trapped moisture can weaken the finish.
7. Decoupaged Botanical Clay Plant Markers
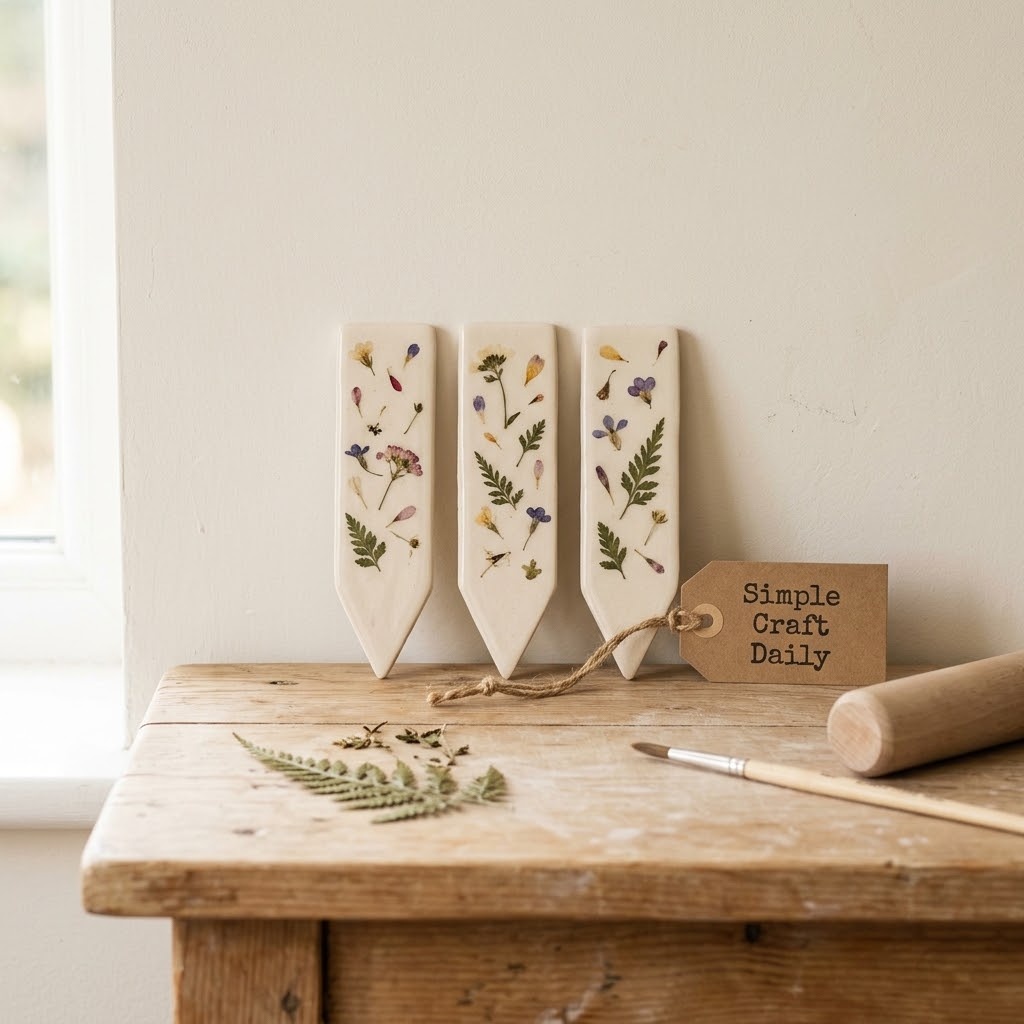
Supplies Needed: White Air Dry Clay, Real Dried Pressed Flowers and Leaves, Acid-Free PVA Craft Glue and Water-Resistant Acrylic Varnish, and Precision Botanical Craft Tool Set with roller, cutter, awl, and blunt smoothing tool.
Roll white air dry clay to an even 1/4-inch thickness with the roller and guide rings from the precision botanical craft tool set. Cut matching marker shapes about 1 inch wide and 5 inches long. Use the awl to make a hanging hole or stake hole before the clay starts drying.
Dry the markers flat on a breathable surface for at least 24 hours, turning them after 12 hours. If the center still feels cool or flexible, allow another 24 hours before decorating. After each marker is dry through its center, brush on a thin layer of acid-free PVA craft glue. Place small, dry flower fragments on the tacky glue, then smooth them gently with the blunt tool to release air pockets.
Allow the glue to dry for at least 1 hour. Next, apply two thin coats of water-resistant acrylic varnish, allowing at least 2 hours between coats and 24 hours after the final coat before placing markers in pots. These botanical DIY decor markers suit indoor pots and windowsill herbs. Use them outdoors only when the selected finish manufacturer specifically rates the product for exterior exposure.
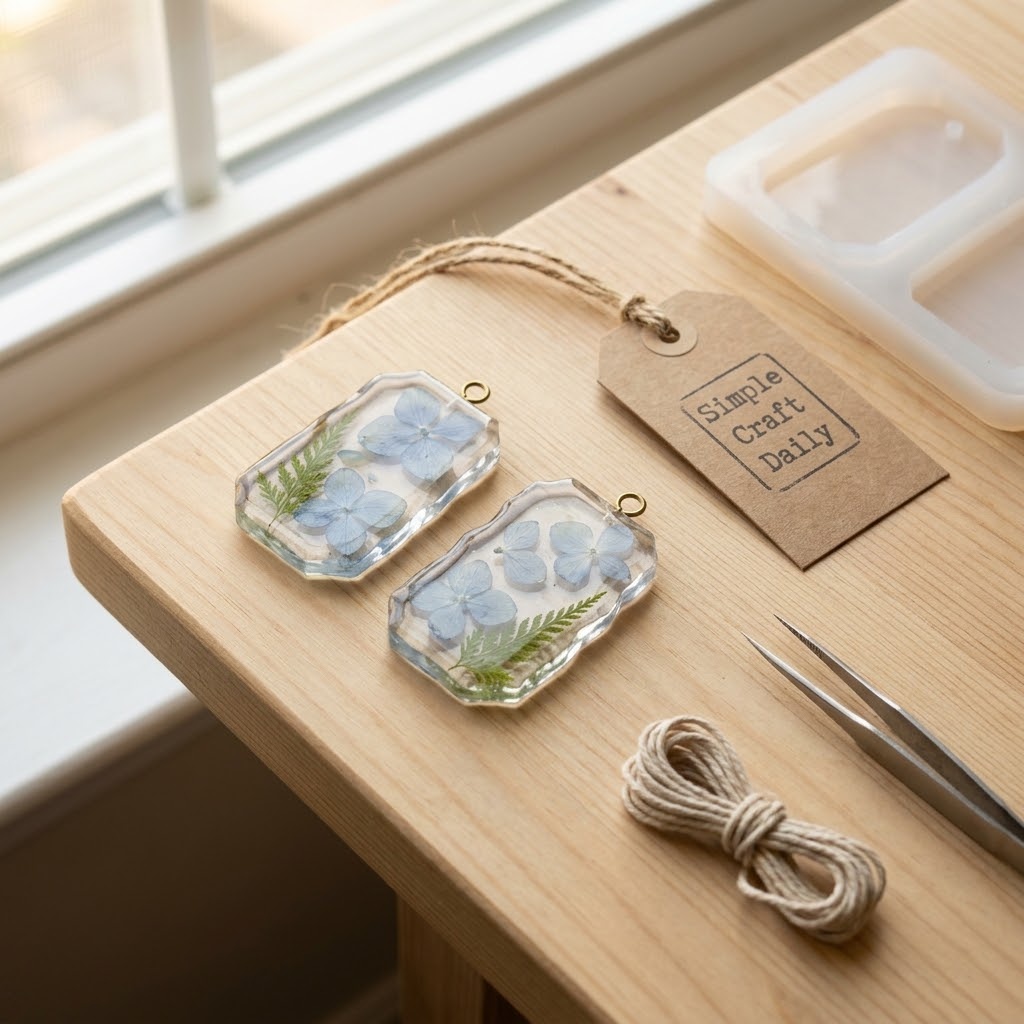
8. Botanical DIY Decor Resin Window Charms
Supplies Needed: Crystal Clear 1:1 Epoxy Resin Kit, Real Dried Pressed Flowers and Leaves, Stainless Steel Jewelry Findings and Clear Glass Cabochons, Silicone Molds, Graduated Mixing Cups, Silicone Stir Sticks, and Precision Botanical Craft Tool Set with tweezers and smooth-jaw pliers.
Choose a silicone charm mold with a built-in hanging hole or a channel that accepts an embedded finding. Keep the mold level, clean, and dry. Select only flowers that feel papery and moisture-free; even a slightly damp petal can create cloudiness inside clear botanical DIY decor resin.
Measure and mix the crystal clear 1:1 epoxy resin at the exact label ratio in graduated mixing cups. Stir slowly with silicone stir sticks for the full stated time. Pour a shallow layer, use tweezers to place small petals, and then top up the cavity without overfilling.
If the mold design uses embedded hanging hardware, position the stainless steel finding at the stage specified by that mold and resin manufacturer. Cover the mold to keep dust from settling on the surface, then allow the charms to cure on a level surface for 12 to 24 hours. After curing, remove each charm and use smooth-jaw pliers to attach the final jump ring or hanging loop.
9. Framed Botanical Gift Tags
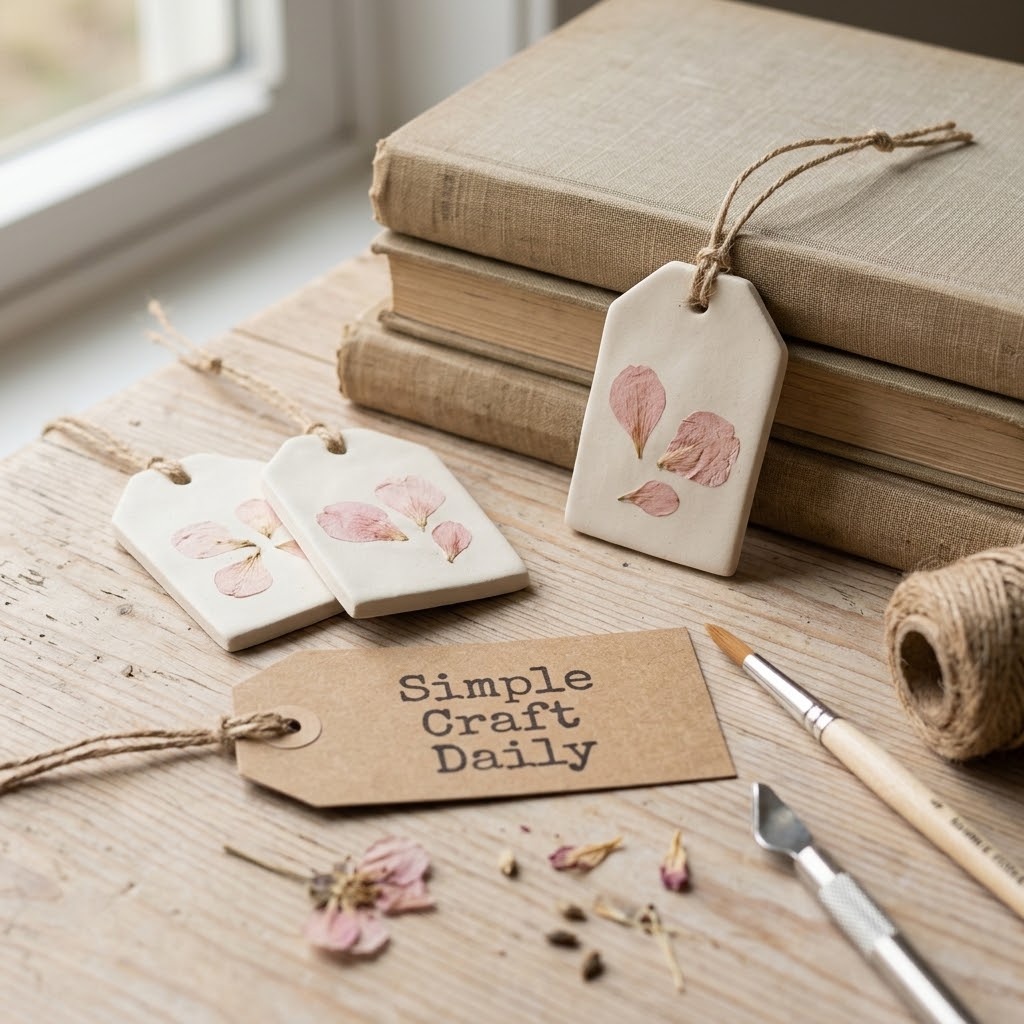
Supplies Needed: White Air Dry Clay, Real Dried Pressed Flowers and Leaves, Acid-Free PVA Craft Glue and Water-Resistant Acrylic Varnish, and Precision Botanical Craft Tool Set with roller, cutter, awl, and blunt smoothing tool.
Roll white air dry clay to a consistent 1/8-inch thickness, then cut rectangles about 2 inches by 3 inches with the cutter from the precision botanical craft tool set. Press a border around each tag with the blunt smoothing tool. Next, use the awl to make a 1/4-inch hole at least 3/8 inch below the top edge.
Leave the tags flat on a breathable surface for at least 24 hours, turning them after 12 hours if the edges begin to curl. Once dry throughout, brush a thin layer of acid-free PVA craft glue inside the framed border. Set a dry flower fragment into the glue and gently smooth from the center outward to remove trapped air.
Let the PVA layer dry for at least 1 hour, then apply a thin coat of water-resistant acrylic varnish. Wait at least 2 hours before adding a second coat, and let the final coat dry for 24 hours before stacking the tags. These small botanical DIY decor pieces make thoughtful additions to wrapped gifts, baskets, or indoor shelf displays.
Botanical DIY Decor FAQ
How dry do flowers need to be for botanical DIY decor?
Flowers should feel papery, crisp, and completely moisture-free before you enclose them in resin, wax, or glass. Flexible petals, cool stems, or soft centers can introduce moisture that causes browning, mold, and resin cloudiness.
Store prepared botanicals flat between clean sheets of absorbent paper in a dark, dry container. Check each piece before use, especially thicker flowers and leaves with raised veins, so your botanical DIY decor stays clear and clean-looking over time.
Can I seal dried flowers with acrylic varnish?
Water-resistant acrylic varnish works well over dry flowers that are adhered to fully dry clay, plaster, paper, or wood-like surfaces with a thin PVA layer. Apply thin coats, wait at least 2 hours between coats, and test a spare petal first because some delicate colors can darken slightly.
Varnish is not a substitute for resin casting. Use resin or a double glass frame when a flower needs a clear, enclosed display with more depth and edge protection.
Why is my botanical resin cloudy or bubbly?
Cloudiness often comes from damp botanicals, inaccurate Part A and Part B measurements, cold working conditions, or rapid stirring that whips air into the resin. Measure at the manufacturer’s exact ratio and stir slowly for the full recommended time.
Use only the low-heat bubble-removal method approved on your resin label. A resin vacuum degassing chamber can help makers who cast clear botanical DIY decor pieces often; however, it cannot correct moisture trapped inside flowers.
Quick Reference: Botanical DIY Decor Supplies at a Glance
For your convenience, here is a quick summary of all materials and tools used in this tutorial:
🌿 Flowers, Frames, Clay, Wax, and Resin
- Real Dried Pressed Flowers and Leaves | [Check Price on Amazon]
- Double Glass Floating Picture Frames | [See Price on Amazon]
- Natural Soy Wax Flakes | [Check Soy Wax Flakes on Amazon]
- White Air Dry Clay | [View White Air Dry Clay on Amazon]
- Crystal Clear 1:1 Epoxy Resin Kit | [Find Epoxy Resin Kit on Amazon]
- Fine Casting Plaster | [Check Latest Price on Amazon]
🧰 Precision Tools, Protective Finishes, and Studio Upgrades
- Acid-Free PVA Craft Glue and Water-Resistant Acrylic Varnish | [View on Amazon]
- Stainless Steel Jewelry Findings and Clear Glass Cabochons | [Check Jewelry Findings on Amazon]
- Silicone Molds, Graduated Mixing Cups, and Silicone Stir Sticks | [See Silicone Molds on Amazon]
- Precision Botanical Craft Tool Set | [View Precision Tool Set on Amazon]
- Pressed Flower Resin Craft Starter Kit | [Find Resin Craft Starter Kit on Amazon]
- Resin Vacuum Degassing Bubble Remover Chamber | [Check Price on Amazon]
- Daylight LED Magnifying Craft Lamp with Desk Clamp | [See Craft Lamp on Amazon]
- Heavy-Duty Three-Tier Rolling Craft Cart with Wooden Top | [View Rolling Craft Cart on Amazon]
Important Crafting Safety Notes
Crafting is a rewarding creative activity, but maintaining a safe workshop environment protects you, your family, and your pets. Please review these safety precautions before starting:
• Personal Protective Equipment (PPE) & Safe Handling: Wear safety glasses when clipping jump rings, trimming hard findings, or sanding cured resin, clay, or plaster. Use nitrile gloves while mixing resin or handling solvent-based products. Protect your hands from hot wax, heated tools, and hot containers with a heat-resistant mat and appropriate heat protection.
• Room Ventilation & Fume Safety: Work in a well-ventilated area with open windows, cross-ventilation, or active exhaust when using epoxy resin, adhesives, varnishes, sprays, or heat-curing materials. Allow resin, glue, and varnish to cure and off-gas fully in an airy area away from everyday living spaces.
• Child & Pet Safety (Choking & Swallowing Prevention): Small components including beads, cabochons, jump rings, clasps, loose petals, unbaked clay scraps, and resin pieces can cause choking, intestinal obstruction, or ingestion hazards. Keep materials out of reach of children and pets. For items handled by young children, avoid detachable plastic components and choose securely stitched or permanently fixed details instead.
• Sharp Tool Storage & Clean Work Area: Store craft knives, detail scissors, snips, rotary cutters, bent-tip needles, and jewelry pliers in secure latching cases or high cabinets after use. Sweep or vacuum the work area and floor after every session so dropped pins, wire clippings, and sharp fragments do not remain where pets or bare feet could encounter them.
• Certified, Quality & Non-Toxic Supplies: Choose ACMI AP-certified non-toxic supplies where applicable and select lead-free, nickel-free hardware for wearable projects. Follow every manufacturer instruction for resin ratios, cure times, working temperatures, and disposal. Never reuse kitchen utensils, cookware, or food containers for resin, plaster, varnish, or other craft chemicals.
For more detailed guidance on safe crafting practices, liability disclosures, and website usage, please review our Terms and Conditions.
“Which botanical DIY decor project will you try first? Drop a comment below with your favorite flower, leaf, or display idea—I’d love to see what you create!”


