

Rushed stitches make even lovely fabric feel stiff. These slow stitching projects give scraps, visible thread tails, and uneven marks a useful place to land, one calm hand-sewn line at a time.
Choose one small piece, thread a needle, and let the cloth guide the pace rather than chasing a perfect result. If you enjoyed making our natural DIY clay diffuser stones, this is another screen-free sensory ritual with texture, scent, and a satisfying finish.
Affiliate Disclosure: This post contains affiliate links. As an Amazon Associate, I earn from qualifying purchases. If you buy through these links, I may earn a commission at no additional cost to you.
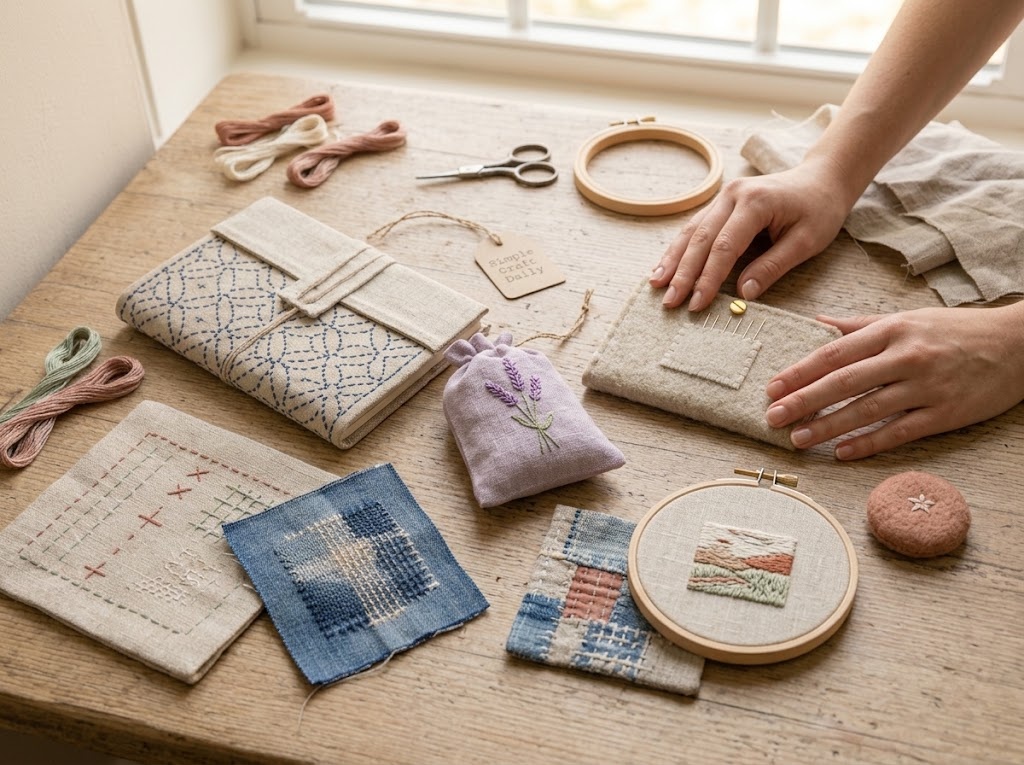
Essential Materials for Slow Stitching Projects
Natural woven cloth gives your needle a steady path, while divisible cotton floss lets you change the weight of each mark. Prewash any washable salvage fabric before stitching so later laundering does not shrink the patchwork or distort your seams.
Choose muted colors with enough contrast to make the stitch rhythm visible. In addition, a sharp needle, a taut-but-gentle hoop, and clean cutting tools make these slow stitching projects comfortable from the first thread tail to the final finish.
🧵 Cloth, Thread, and Gentle Color
- Natural Cotton and Linen Fabric Scrap Bundle — Medium-weight woven scraps hold running stitches cleanly and bring varied grain, color, and texture to patches and appliqué | [Check Fabric Scraps on Amazon]
- Six-Strand Cotton Embroidery Floss Assortment — Separate the strands for fine seed stitches or retain more strands for bold, tactile lines | [See Price on Amazon]
- Wool Felt Sheets in Warm Neutral Colors — Firm yet soft felt makes stable coaster backings, needle-book pages, and small tokens | [View Wool Felt Sheets on Amazon]
- Dried Lavender Buds — A dry botanical filling gives a stitched sachet a quiet natural scent without adding moisture to the fabric | [Find Dried Lavender Buds on Amazon]
✂️ Hand Tools for Mindful Making
- Embroidery Needle Set, Sizes 5 to 10 — Use a needle eye large enough for your separated floss, with a shaft that slips through the cloth without enlarging holes | [Check Embroidery Needles on Amazon]
- Beechwood Embroidery Hoop Set, 4 to 8 Inch — Smooth wooden hoops hold fabric taut for even stitches without pulling the weave out of shape | [See Embroidery Hoops on Amazon]
- Stainless Steel Embroidery Scissors — Fine pointed blades trim floss and rounded fabric patches close to the work without clipping nearby stitches | [View Embroidery Scissors on Amazon]
- Water-Soluble Fabric Marking Pen — A fine removable line helps mark seam allowances, patch boundaries, and stitch paths on natural cloth | [Find Fabric Marking Pen on Amazon]
🪢 Finishing Loops and Beginner Kits
- Cotton Twill Tape and Natural Jute Cord — Soft twill tape creates journal ties, while jute cord forms simple hanger loops without relying on adhesive | [Check Twill Tape and Jute Cord on Amazon]
- Slow Stitching Starter Kit with Fabric and Floss — A coordinated starter kit gives new makers a one-box way to begin stitching, then build a personal scrap collection over time | [View Slow Stitching Starter Kit on Amazon]
🏆 Workshop Upgrades and Precision Equipment
- Daylight LED Magnifying Craft Lamp with Desk Clamp — Adjustable light and magnification help you see fine weave structure during evening stitching sessions | [Check Price on Amazon]
- Adjustable Wooden Embroidery Lap Stand — A hands-free support holds a hoop at a comfortable angle and leaves both hands free for steady stitch control | [View Embroidery Lap Stand on Amazon]
- Heavy-Duty Rolling Craft Cart with Organizer Top — Dedicated storage keeps floss, fabric, scissors, and works in progress visible and ready for the next quiet session | [Find Rolling Craft Cart on Amazon]
How to Set a Slow Stitching Projects Rhythm
Set your cloth, floss, needles, and scissors on a clean surface before you begin. First, choose one fabric piece and cut an 18- to 20-inch length of floss; longer thread tangles easily and interrupts the calm rhythm.
- Separate two or three strands from the six-strand floss. Thread a size 7 or 8 embroidery needle for medium-weight cotton or linen, then knot the end only when the stitch needs an anchored starting point.
- Start with running stitch for a steady dashed line. Next, use back-stitch where you want a continuous contour, scatter seed stitches for small texture, or couch a loose thread line in place with tiny stitches.
- Keep your grip relaxed and pull each stitch only until it lies flat. However, if the cloth puckers, loosen the last stitch and re-stitch it with less tension.
- Finish by weaving the thread tail through three or four stitches on the reverse side, then trim it with embroidery scissors. Avoid bulky knots on pieces that will be pressed, worn, or used as coasters.
- Pause whenever your hands tighten or your eyes tire. Finally, park the needle inside a felt needle book before leaving your slow stitching projects, so the thread stays clean and the point stays safely contained.
8 Slow Stitching Projects to Make by Hand
1. Slow Stitching Projects Sampler for Daily Grounding
Supplies Needed: Natural Cotton and Linen Fabric Scrap Bundle, Six-Strand Cotton Embroidery Floss Assortment, Embroidery Needle Set Sizes 5 to 10, Beechwood Embroidery Hoop Set 4 to 8 Inch, Stainless Steel Embroidery Scissors, pressing cloth, dry iron.
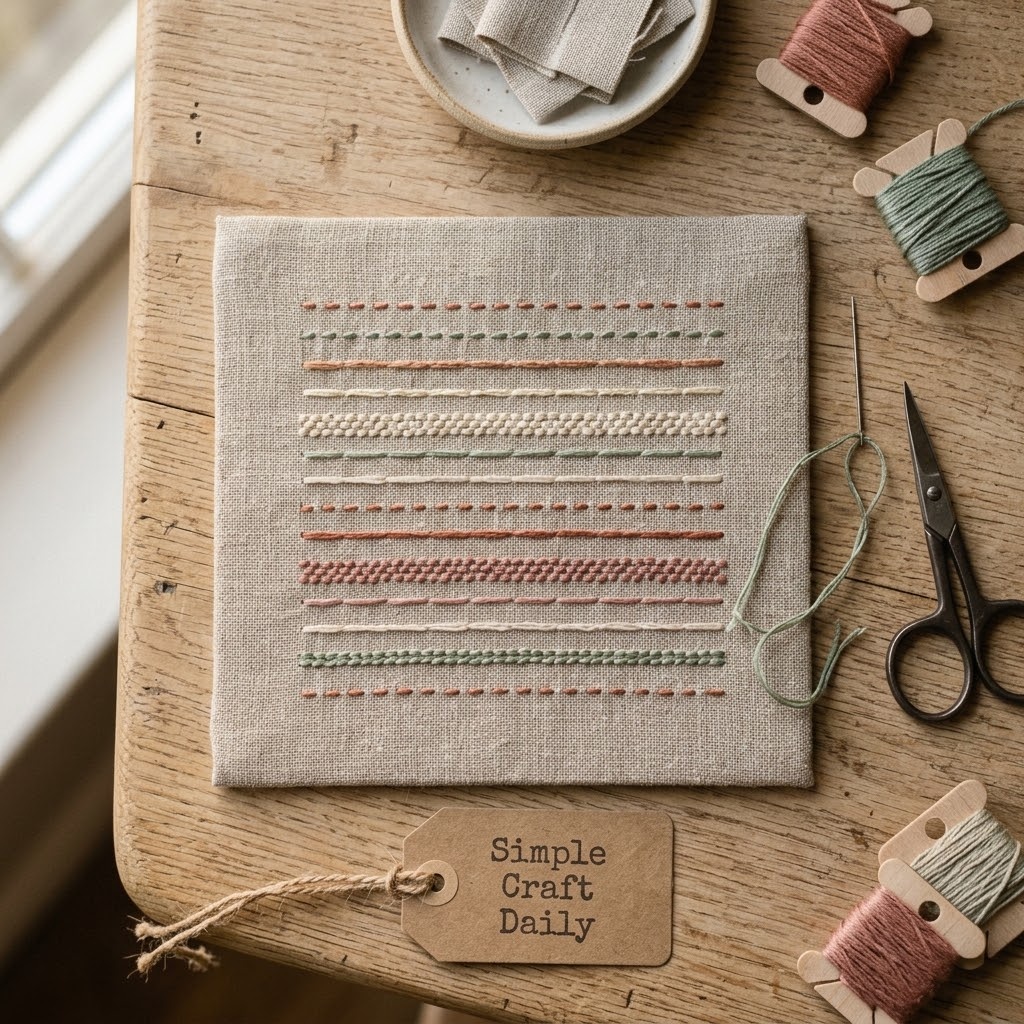
Cut a 7-by-7-inch cotton or linen square and center it in a 6-inch hoop. Tighten the screw until the cloth feels smooth under your fingertip, yet the weave still sits square rather than stretched.
Thread two strands of cotton floss through a size 7 or 8 needle. First, stitch three rows of running stitch with rows spaced 1/2 inch apart. Next, add three rows of seed stitch with marks about 1/4 inch apart, then finish with three back-stitch rows.
Use a different muted floss color for each stitch family if you want the rhythm easy to read. After this slow stitching project is complete, remove it from the hoop, place it face down on a pressing cloth, and press the reverse with a dry iron on the setting suitable for the fabric. Store the sampler flat or return it to the hoop for display.
2. Slow Stitching Projects Visible-Mend Pocket Patch
Supplies Needed: Natural Cotton and Linen Fabric Scrap Bundle, Six-Strand Cotton Embroidery Floss Assortment, Embroidery Needle Set Sizes 5 to 10, Water-Soluble Fabric Marking Pen, Stainless Steel Embroidery Scissors, worn denim or canvas pocket.
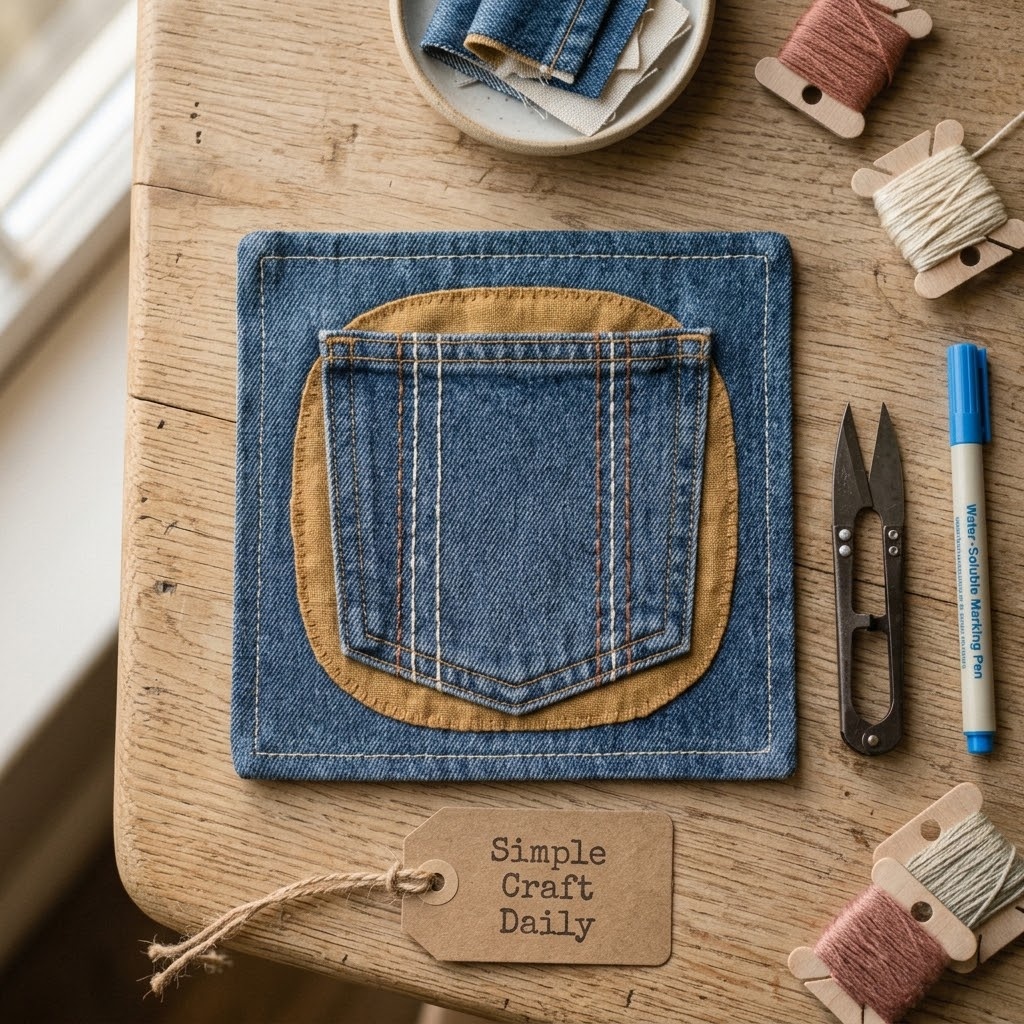
Lay the worn denim or canvas pocket flat and use the water-soluble marking pen to outline the weak area. Cut a rounded cotton or linen patch that extends at least 1 inch beyond the marked damage on every side. Rounded corners resist lifting better than sharp corners during wear and washing.
Place the patch behind the damaged cloth with its right side facing outward through the worn opening. Thread three strands of cotton floss through a size 5 to 7 needle, then secure the perimeter with running stitches set about 1/4 inch from the patch edge.
Next, work parallel reinforcing stitches across the damaged section, spacing them about 1/4 inch apart. Keep the threads firm enough to support the pocket but loose enough for the fabric to flex. Weave each tail through the reverse stitches and trim it with embroidery scissors. This slow stitching project turns a thin spot into a visible, durable repair.
3. Slow Stitching Projects Fabric Journal Wrap
Supplies Needed: Natural Cotton and Linen Fabric Scrap Bundle, Six-Strand Cotton Embroidery Floss Assortment, Cotton Twill Tape and Natural Jute Cord, Embroidery Needle Set Sizes 5 to 10, Water-Soluble Fabric Marking Pen, Stainless Steel Embroidery Scissors, 5-by-7-inch journal.
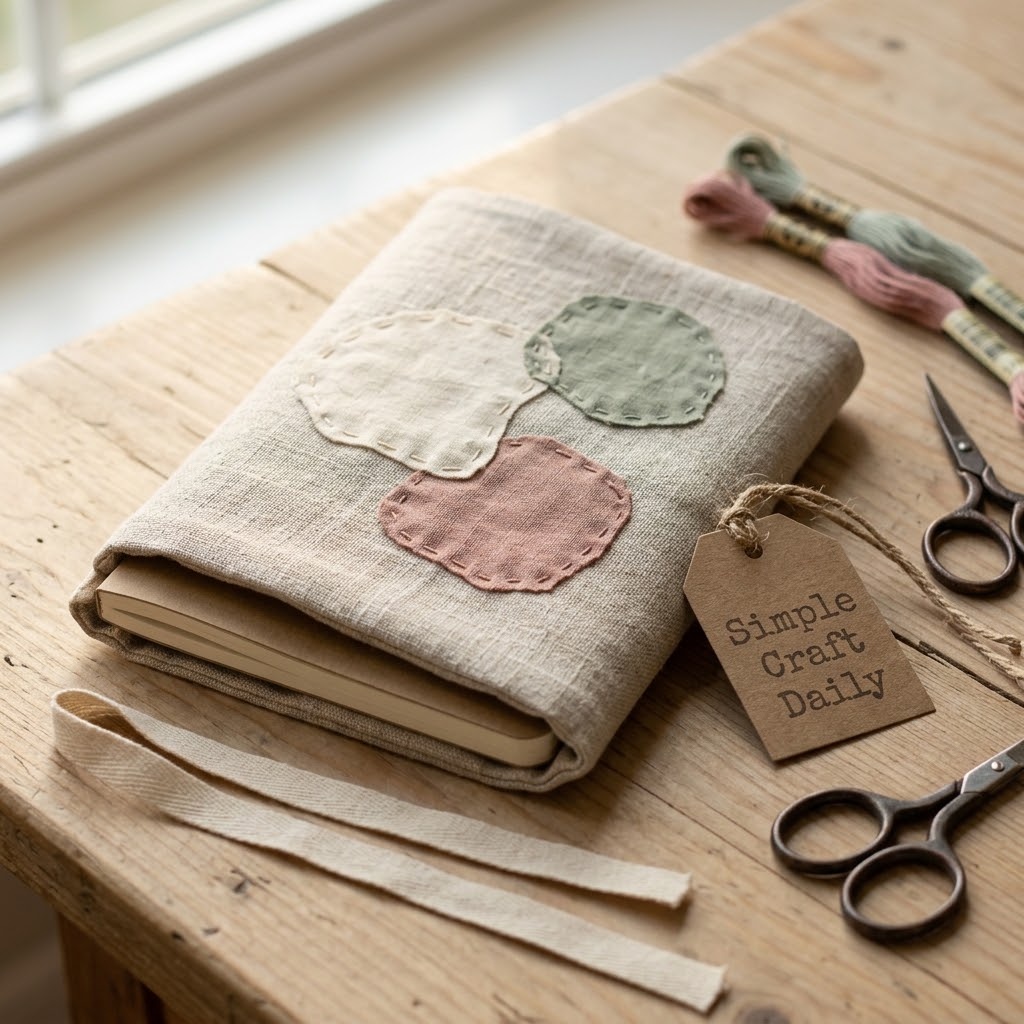
Open the 5-by-7-inch journal flat and measure its full cover width. Cut a fabric rectangle 2 inches wider and 1 inch taller than that open measurement. Mark a 1/2-inch turn-under allowance on all four edges with the water-soluble pen.
Fold each raw edge inward along the marks and secure the hem with small running stitches using two strands of cotton floss. Then cut three small appliqué scraps from the fabric bundle and place them across the front panel. Stitch around each scrap with uneven running stitch or seed stitch so the layers sit flat.
Cut two 12-inch lengths of cotton twill tape. Sew one tie to each opening edge, centered vertically, with several backstitches through the tape and wrap fabric. Subsequently, slide the completed wrap around the journal and tie the tapes in a soft bow. The removable format makes this one of the most practical slow stitching projects for daily notes.
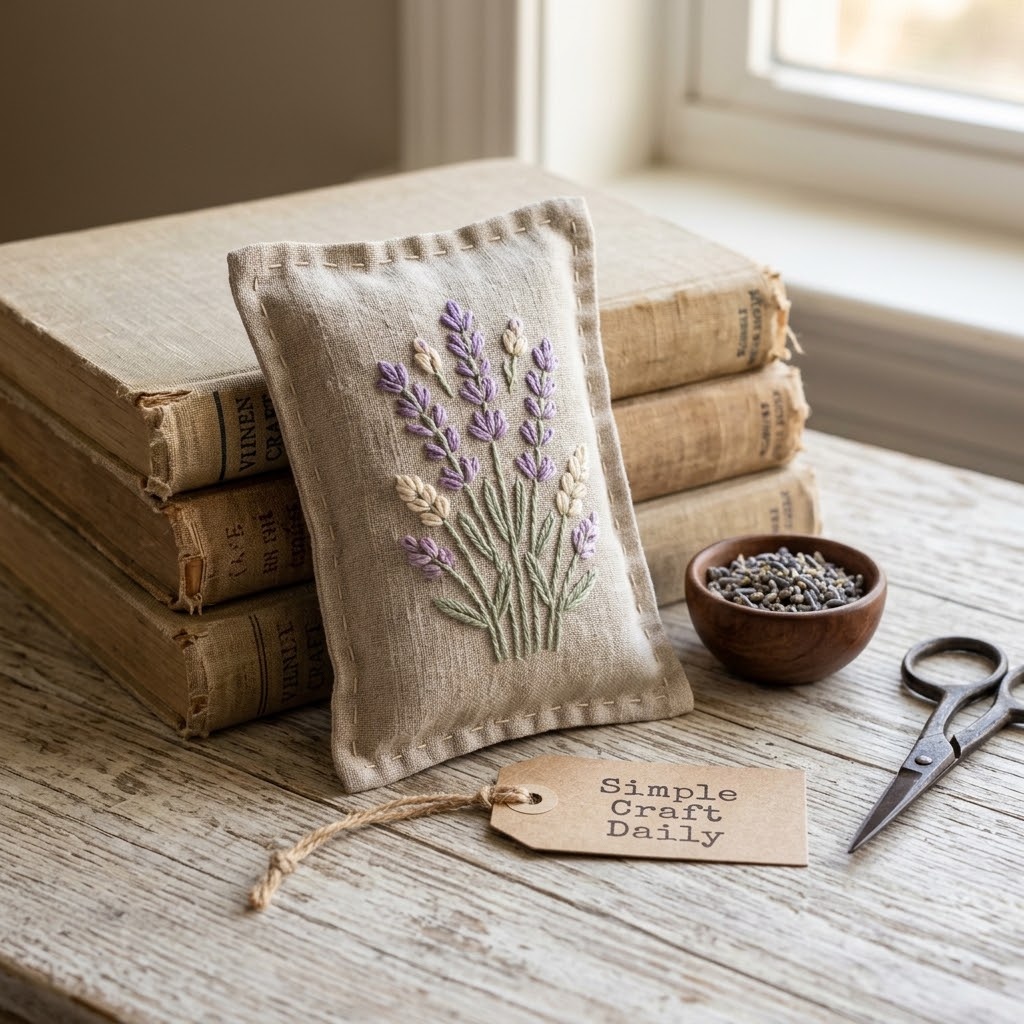
4. Slow Stitching Projects Lavender Sachet
Supplies Needed: Natural Cotton and Linen Fabric Scrap Bundle, Six-Strand Cotton Embroidery Floss Assortment, Dried Lavender Buds, Embroidery Needle Set Sizes 5 to 10, Stainless Steel Embroidery Scissors.
Cut two 4-by-5-inch linen rectangles with embroidery scissors. Before assembly, decorate one front panel with a small patch from the fabric bundle and a few running stitches in two strands of cotton floss. Keep the stitched design at least 1/2 inch from every edge so it stays clear of the seam allowance.
Place the rectangles right sides together. Thread a size 7 needle with three strands of floss and stitch around three sides with a 1/4-inch seam allowance. Then turn the sachet right side out, using the blunt end of the scissors carefully to shape the corners without piercing the cloth.
Measure 2 tablespoons of dried lavender buds and pour them through the open edge. Fold both raw opening edges inward by 1/4 inch. Finally, close the opening with small whipstitches, weaving the final floss tail through the inside seam before trimming. Keep the sachet dry and place it in a drawer, linen shelf, or bedside basket.
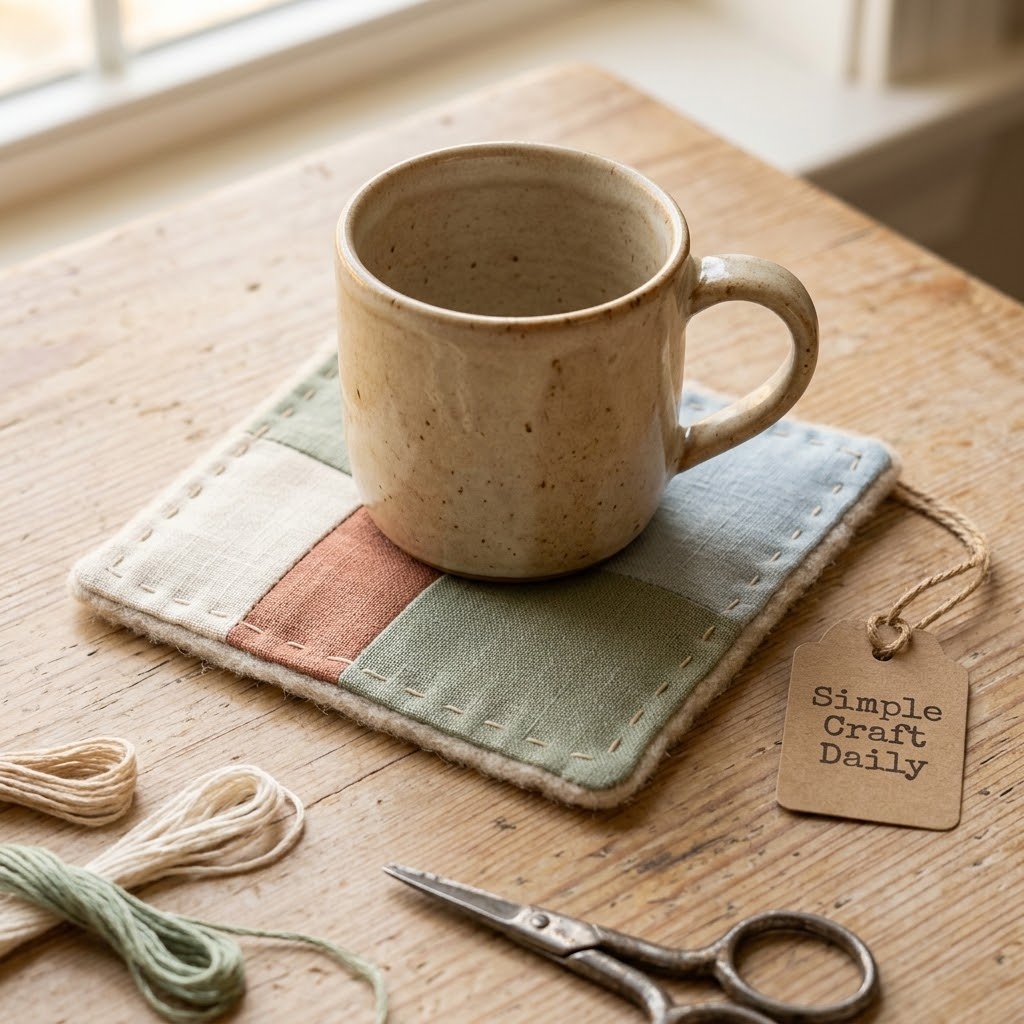
5. Slow Stitching Projects Patchwork Mug Coaster
Supplies Needed: Natural Cotton and Linen Fabric Scrap Bundle, Wool Felt Sheets in Warm Neutral Colors, Six-Strand Cotton Embroidery Floss Assortment, Embroidery Needle Set Sizes 5 to 10, Stainless Steel Embroidery Scissors.
Cut four 2 1/2-inch fabric squares from the cotton and linen scraps. Arrange them into a two-by-two layout, then stitch the first pair together with a 1/4-inch running-stitch seam. Repeat with the second pair, open the seams with your fingers, and join the two rows to form a 4 1/2-inch patchwork panel.
Cut one 4 1/2-inch square of wool felt and place it behind the patchwork panel. Thread a size 5 to 7 needle with three strands of floss. Secure the perimeter through both layers with blanket stitch, keeping each stitch about 1/4 inch apart.
Next, add evenly spaced running stitches through both layers in a loose grid, with lines about 3/4 inch apart. The quilting holds the cotton panel against the felt and helps the coaster lie flat under a mug. Therefore, weave the thread tail through the back stitches and trim it close.
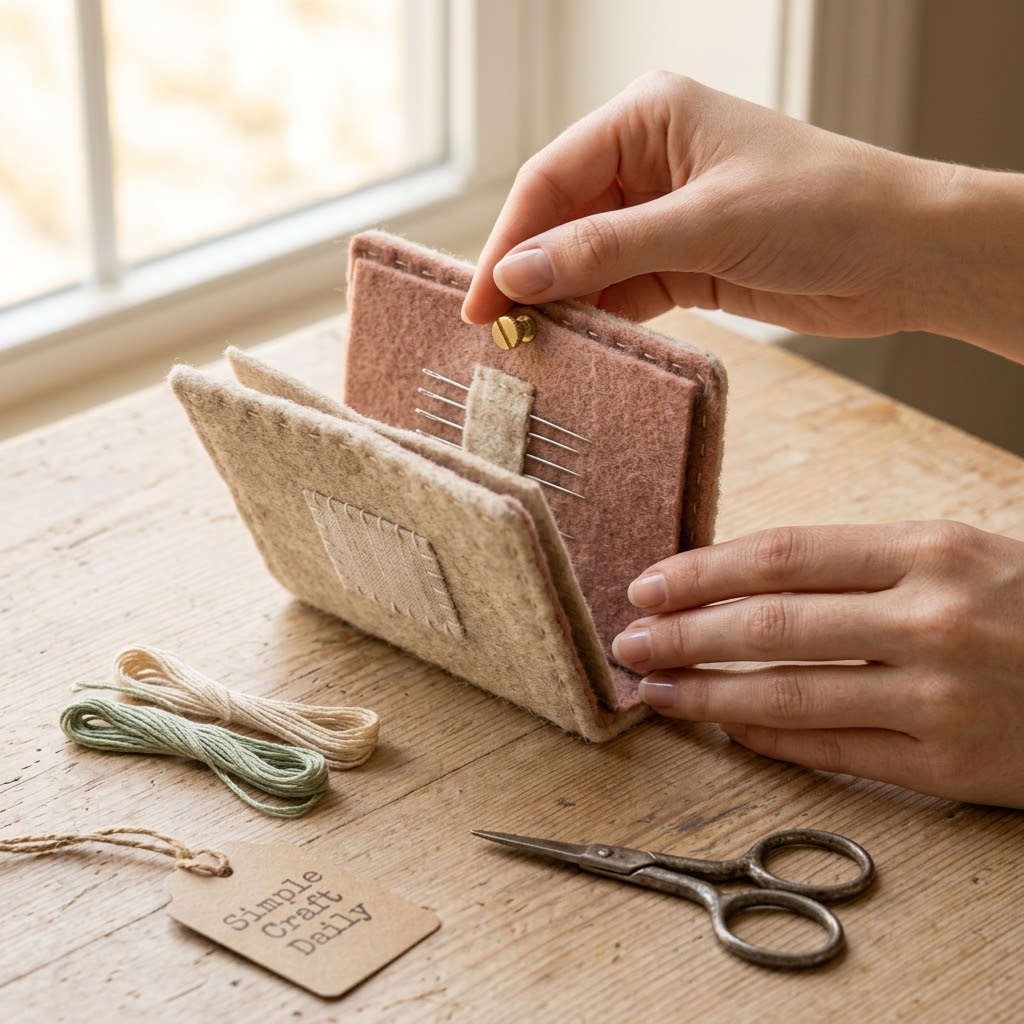
6. Slow Stitching Projects Felt Needle Book
Supplies Needed: Wool Felt Sheets in Warm Neutral Colors, Natural Cotton and Linen Fabric Scrap Bundle, Six-Strand Cotton Embroidery Floss Assortment, Embroidery Needle Set Sizes 5 to 10, Stainless Steel Embroidery Scissors.
Cut one 4-by-6-inch outer rectangle from wool felt and two inner pages measuring 3 1/2 by 5 1/2 inches. Cut a small cotton or linen patch from the scrap bundle and stitch it to the outer felt cover with running stitch. Add one short couching line by laying a floss strand across the cover and securing it with tiny perpendicular stitches.
Place the two smaller felt pages inside the outer rectangle and fold the stack at the center. Thread a size 5 to 7 needle with three strands of floss. Make three evenly spaced backstitches along the fold, each passing through all layers, to bind the pages.
Weave the floss tail through the center binding stitches and trim it with embroidery scissors. Then slide hand-sewing needles into the inner felt pages, with the points fully embedded. This slow stitching project keeps your working needles organized between short sessions.
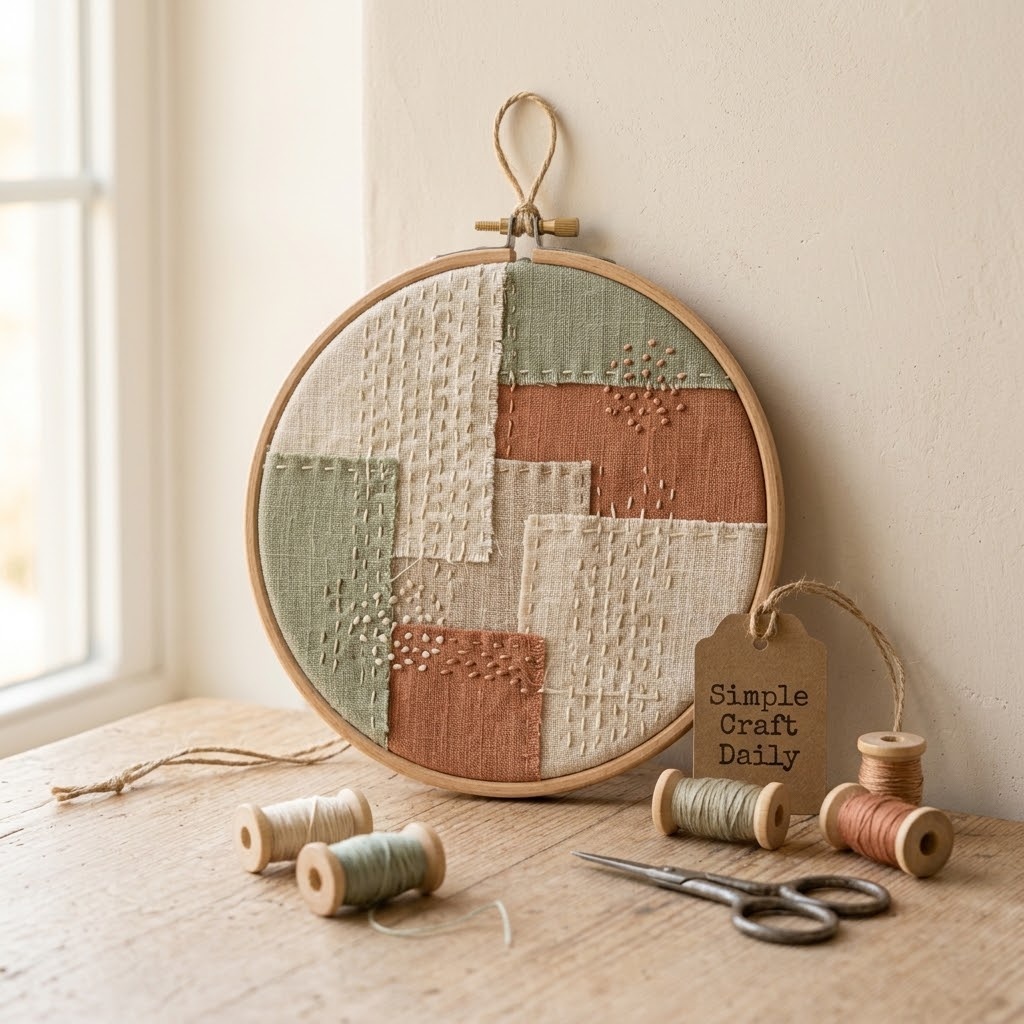
7. Slow Stitching Projects Hoop Wall Hanging
Supplies Needed: Natural Cotton and Linen Fabric Scrap Bundle, Six-Strand Cotton Embroidery Floss Assortment, Beechwood Embroidery Hoop Set 4 to 8 Inch, Cotton Twill Tape and Natural Jute Cord, Embroidery Needle Set Sizes 5 to 10, Stainless Steel Embroidery Scissors.
Cut a 7-inch linen square and lay three smaller cotton or linen scraps across its center. Place the layered cloth inside a 6-inch beechwood hoop, then tighten the screw until the base fabric is smooth. Keep each patch edge loose enough to retain a soft, gathered character.
Thread two strands of floss through a size 7 or 8 needle. Secure every patch with a mix of running stitch and seed stitch. Pull the thread only until each scrap rests against the base cloth; tight tension can draw the hoop fabric into unwanted ridges.
When the front is complete, trim the backing fabric to 1 inch beyond the hoop with embroidery scissors. Next, work a running stitch around the excess backing, pull the thread gently to gather it at the rear, and weave in the tail. Cut a 12-inch length of jute cord, tie both ends around the upper hoop, and knot the center to form a hanging loop.
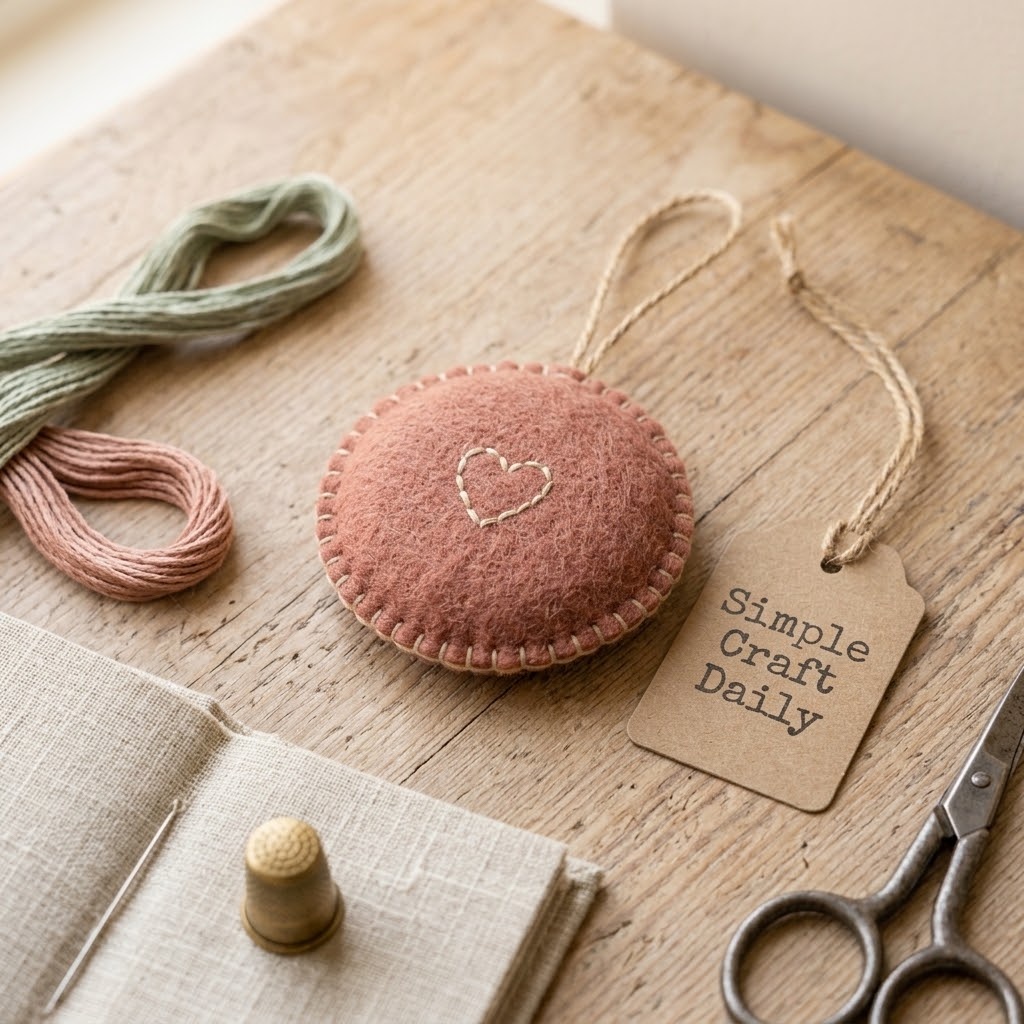
8. Pocket-Sized Stitched Intention Token
Supplies Needed: Wool Felt Sheets in Warm Neutral Colors, Six-Strand Cotton Embroidery Floss Assortment, Cotton Twill Tape and Natural Jute Cord, Embroidery Needle Set Sizes 5 to 10, Stainless Steel Embroidery Scissors.
Cut two 2 1/2-inch circles or rounded squares from wool felt. Choose a short word, initial, leaf shape, or simple symbol for the front piece. Thread a size 7 needle with two strands of cotton floss and stitch the design in back-stitch, keeping the letters at least 1/4 inch from the edge.
Place the plain felt shape behind the decorated front. Use three strands of floss and blanket stitch around the edge, with stitches about 1/4 inch apart. When 1 inch of the perimeter remains open, cut a 4-inch length of jute cord, fold it in half, and tuck both cut ends between the felt layers.
Continue blanket stitching across the cord ends, then weave the final thread tail inside the token before trimming. Hang this small slow stitching project from a bedside hook or bag. For another portable handmade idea, try these mini leather bag charms.
Care Tips for Slow Stitching Projects
Spot clean hand-stitched pieces only after testing an inconspicuous thread area with a damp cloth. Use cool water and a small amount of mild soap, then press the moisture out with a clean towel rather than twisting the fabric.
Store finished pieces dry, away from direct sunlight, damp basements, and hot windowsills. Meanwhile, keep lavender sachets dry so the buds do not transfer moisture or stain the linen.
Check frequently handled slow stitching projects, such as journal wraps and pocket repairs, every few weeks. If a stitch loosens, thread matching floss through a sharp needle, reinforce the area, and weave the new tails through the reverse before trimming.
If dimensional details appeal to you, pair your textile work with a small floral accent from our DIY wire flower crafts guide.
Slow Stitching Projects FAQ
These practical answers help you begin slow stitching projects with comfortable materials, realistic expectations, and safe storage habits.
What fabric works best for slow stitching projects?
Medium-weight cotton, linen, denim, and stable woven scraps work especially well because a hand needle can pass through them without snagging or stretching the surface. Choose cloth that feels firm enough to hold stitches yet soft enough to fold.
Avoid slippery satin, loose open-weave fabric, and heavily stretchy knits for your first slow stitching projects. If you use a knit garment for visible mending, place a stable woven patch behind it so the repair does not pull out of shape.
How long should a mindful making session last?
A 10- to 20-minute session is plenty for a calming handwork practice. Sit with your shoulders relaxed, support your elbows if needed, and stop when your hands tense or your eyes begin to tire.
Then park the needle in a felt needle book and lay the unfinished cloth flat in a clean basket. Short sessions make it easier to return without treating the project like a deadline.
Can slow stitching repair clothing that will be washed?
Yes, washable cotton floss and a securely stitched patch can repair gently laundered clothing. First, prewash the patch fabric, then stitch the entire perimeter before adding parallel reinforcing lines across the damaged area.
Use a gentle wash cycle, turn the garment inside out, and air dry when possible. After laundering, inspect the repair and reinforce any loose thread before the weak area spreads.
Is slow stitching a form of craft therapy?
Slow stitching can feel grounding, reflective, and restorative because it gives your hands a quiet repeating task. An Ultimate Guide to Craft Therapy can offer creative ideas, but handwork is a personal wellness practice rather than medical treatment.
It does not replace professional mental-health care. Makers who enjoy deliberate repetitive handwork may also enjoy our DIY wire wrap pendant crystal designs for another focused, hands-on project.
Quick Reference: All Supplies at a Glance
For your convenience, here is a quick summary of all materials and tools used in this tutorial:
🧵 Cloth, Thread, and Gentle Color
- Natural Cotton and Linen Fabric Scrap Bundle | [Check Fabric Scraps on Amazon]
- Six-Strand Cotton Embroidery Floss Assortment | [See Price on Amazon]
- Wool Felt Sheets in Warm Neutral Colors | [View Wool Felt Sheets on Amazon]
- Dried Lavender Buds | [Find Dried Lavender Buds on Amazon]
✂️ Hand Tools for Mindful Making
- Embroidery Needle Set, Sizes 5 to 10 | [Check Embroidery Needles on Amazon]
- Beechwood Embroidery Hoop Set, 4 to 8 Inch | [See Embroidery Hoops on Amazon]
- Stainless Steel Embroidery Scissors | [View Embroidery Scissors on Amazon]
- Water-Soluble Fabric Marking Pen | [Find Fabric Marking Pen on Amazon]
🪢 Finishing Loops and Beginner Kits
- Cotton Twill Tape and Natural Jute Cord | [Check Twill Tape and Jute Cord on Amazon]
- Slow Stitching Starter Kit with Fabric and Floss | [View Slow Stitching Starter Kit on Amazon]
🏆 Workshop Upgrades and Precision Equipment
- Daylight LED Magnifying Craft Lamp with Desk Clamp | [Check Price on Amazon]
- Adjustable Wooden Embroidery Lap Stand | [View Embroidery Lap Stand on Amazon]
- Heavy-Duty Rolling Craft Cart with Organizer Top | [Find Rolling Craft Cart on Amazon]
Important Crafting Safety Notes
Crafting is a rewarding creative activity, but maintaining a safe workshop environment is essential for yourself, your family, and your pets. Please review these safety precautions before starting:
• Personal Protective Equipment (PPE) & Safe Handling: Keep scissors closed when not in use and point embroidery needles away from your hands and body. Wear safety glasses when cutting wire, findings, or other hard craft materials. Use heat protection around irons and hot tools, plus nitrile gloves and a particle mask when sanding, using resin, or handling chemical solvents.
• Room Ventilation & Fume Safety: Work near open windows or active airflow when washing fabric, applying optional fabric treatments, using adhesives, sealants, sprays, or heat-curing materials. Allow treated materials to dry and off-gas fully in an airy space away from everyday living areas.
• Child & Pet Safety (Choking & Swallowing Prevention): Needles, small fabric pieces, floss cutoffs, jute cord, dried lavender buds, beads, clasps, jump rings, and fiberfill can cause choking or intestinal blockage. Keep raw materials and unfinished projects out of reach. For child-handled textile gifts, use securely embroidered details instead of detachable plastic parts.
• Sharp Tool Storage & Clean Work Area: Store embroidery needles, rotary cutters, craft knives, snips, scissors, and pliers in secure latching cases or high cabinets after every session. Then inspect, sweep, or vacuum the work area and floor for dropped needles, pins, thread snippets, or wire clippings.
• Certified, Quality & Non-Toxic Supplies: Choose ACMI AP-certified non-toxic paints and adhesives when applicable, plus lead-free and nickel-free hardware. Follow all manufacturer cure-time and temperature instructions. Never reuse kitchen utensils or food-preparation surfaces for craft chemicals or treated materials.
For more detailed guidance on safe crafting practices, liability disclosures, and website usage, please review our Terms and Conditions.
“Which slow stitching project will you make first? Share your favorite fabric scraps, stitches, or mindful handwork rituals in the comments below.”


