

Making your reading hours aesthetic is actually very easy. In fact, if you love handmade projects, this craft is perfect for you. In this guide, we share a creative way to personalize your books. Specifically, we will explore how to build a beautiful polymer clay bookmark step by step.
Certainly, you do not need to buy ordinary plastic bookmarks. Instead, you can design pieces that reflect your own style. Therefore, we combine oven-bake clay with elegant paper elements. Consequently, this creates unique results. For instance, if you enjoyed making our natural DIY clay diffuser stones or tried our textured DIY coffee clay recipe, you will love this project. Ultimately, let us dive into this elegant craft today.
This post contains affiliate links. As an Amazon Associate, I earn from qualifying purchases. If you buy through these links, I may earn a commission at no additional cost to you.
Key Facts:
- Technique: Polymer clay modeling
- Bake time: 15–20 minutes
- Difficulty: Easy
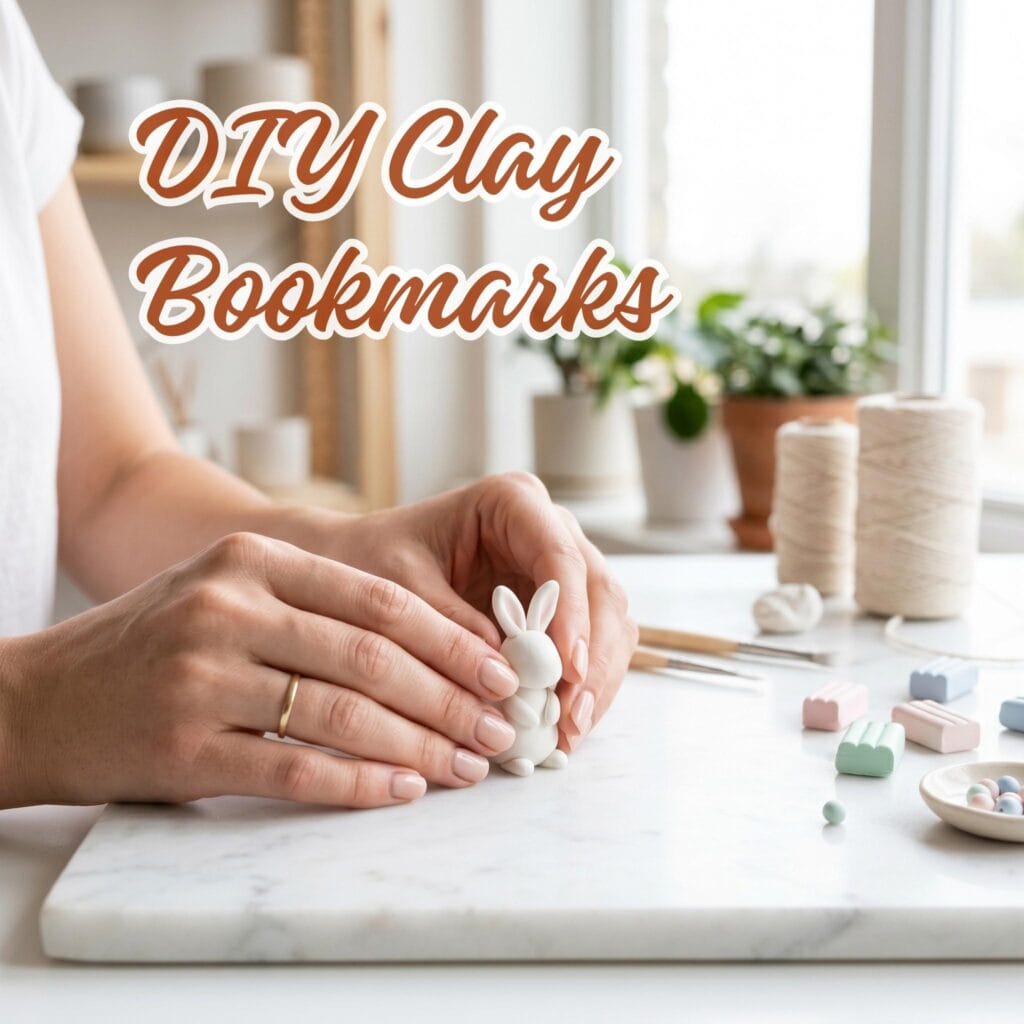
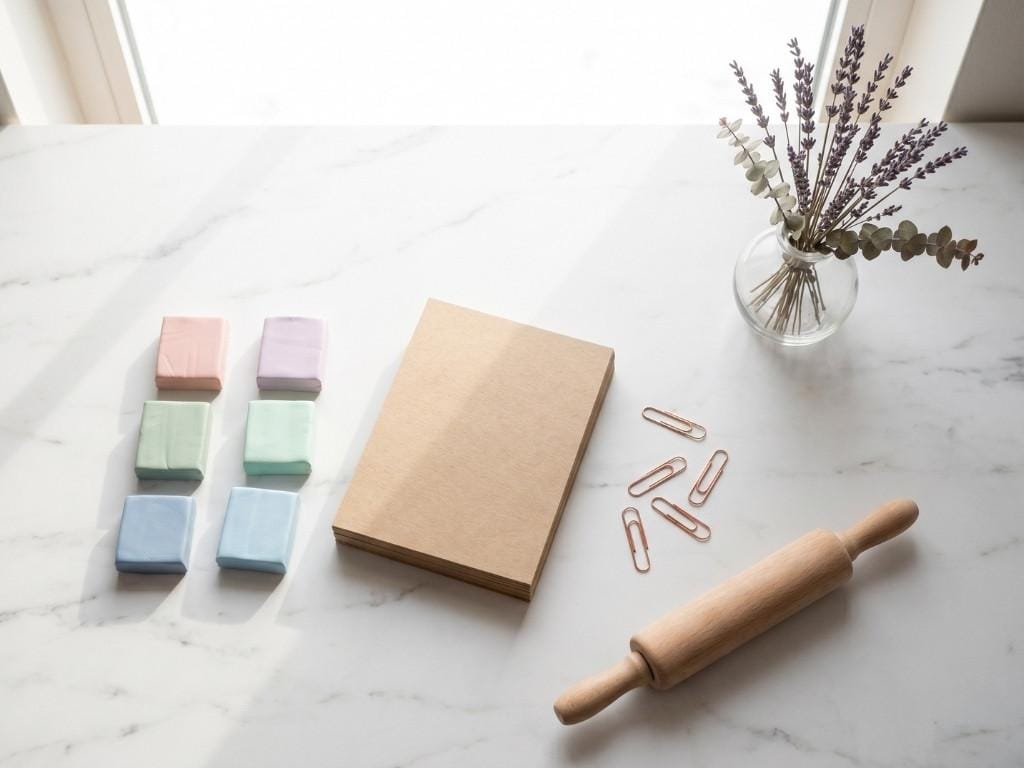
Essential Supplies for Your Polymer Clay Bookmark
| Supply | Spec / Size | Used For |
|---|---|---|
| Premium Polymer Clay (Assorted Colors) | oven-bake clay that holds fine detail and cures rock-hard | |
| Thick Textured Paper or Kraft Cardstock | a rigid, low-heat-safe base that supports the figurine without bending | |
| Clay Sculpting Tools | carves fine details like veins, fur texture, and facial features | |
| Smooth Acrylic Roller | flattens clay to an even, quarter-inch thickness | |
| Marble or Glass Work Surface | a smooth, non-stick surface that keeps clay clean while rolling and… | |
| Rubbing Alcohol & Cotton Swabs | removes fingerprints and dust from wet clay for a flawless matte… |
A few foundational materials are used throughout this project, marked with a (used throughout) tag below.
🧶 Clay & Color
Polymer clay in soft, mixable tones forms every figurine in this guide.
- Premium Polymer Clay (Assorted Colors) (used throughout) — oven-bake clay that holds fine detail and cures rock-hard | Check Price on Amazon
📄 Paper & Base Materials
A sturdy paper base anchors your clay figurine to the metal clip and gives it structure.
- Thick Textured Paper or Kraft Cardstock (used throughout) — a rigid, low-heat-safe base that supports the figurine without bending | Check Price on Amazon
✂️ Shaping & Smoothing Tools
These tools take your clay from a rough ball to a clean, professional figurine.
- Clay Sculpting Tools (used throughout) — carves fine details like veins, fur texture, and facial features | Check Price on Amazon
- Smooth Acrylic Roller (used throughout) — flattens clay to an even, quarter-inch thickness | Check Price on Amazon
- Marble or Glass Work Surface (used throughout) — a smooth, non-stick surface that keeps clay clean while rolling and shaping | Check Price on Amazon
- Rubbing Alcohol & Cotton Swabs — removes fingerprints and dust from wet clay for a flawless matte finish | Check Price on Amazon
🔩 Hardware
The functional core that turns your figurine into an actual bookmark.
- Metal Paperclips or Thin Metal Bookmark Blanks (used throughout) — the structural clip that holds your bookmark in place on the page | Check Price on Amazon
🧴 Adhesives & Baking Essentials
Secures every element together and protects your baking sheet during curing.
- Strong Clear Craft Glue (Clay & Paper Compatible) (used throughout) — bonds the clay figurine to the paper base permanently | Check Price on Amazon
- Parchment Paper — lines your baking sheet to protect it and prevent sticking | Check Price on Amazon
✨ Optional Finishing
A glossy top coat is optional but gives your finished piece a polished, boutique look.
- Water-Based Gloss Varnish (Polymer Clay Compatible) — adds a shiny, protective finish once your piece has fully cooled | Check Price on Amazon
Step-by-Step Polymer Clay Bookmark Instructions
Step 1: Preparing the Workspace and Clay
First, clean your work surface thoroughly. Specifically, choose a smooth marble or glass sheet. Next, take your polymer clay. Indeed, you must condition it by kneading it between your hands for a few minutes. Once the clay becomes completely flexible, roll it out evenly. Therefore, use your acrylic roller to reach a thickness of about one-quarter inch.
Step 2: Shaping Your Polymer Clay Bookmark Figurine
After rolling the clay, you can start shaping a tiny figurine. For example, you can choose a small leaf or a minimal animal shape. Alternatively, a simple geometric form also works well. Furthermore, use your sculpting tools to add fine details and textures. Naturally, taking your time during this step is highly important for a clean result.
Step 3: Combining with the Paper Element
When your figurine is ready, prepare the metal paperclip. Next, attach your pre-cut thick paper base to the top part of the clip using craft glue. Immediately afterward, fix your shaped polymer clay figurine onto this paper base. Specifically, use a single drop of clear glue. Consequently, the clay and paper elements will bond together as one piece.
The Perfect Smoothness Test
Achieving a professional finish requires a pristine surface texture. However, you might notice fingerprints or dust particles on the wet clay. Fortunately, you can fix them easily before baking. Simply dip your fingertip into a tiny bit of rubbing alcohol. Then, gently smooth out the imperfections. As a result, your polymer clay bookmark will get a flawless matte finish.
3 Creative Ideas for Your Polymer Clay Bookmark
Undoubtedly, here are three modern and minimalist design ideas to inspire your own collection.
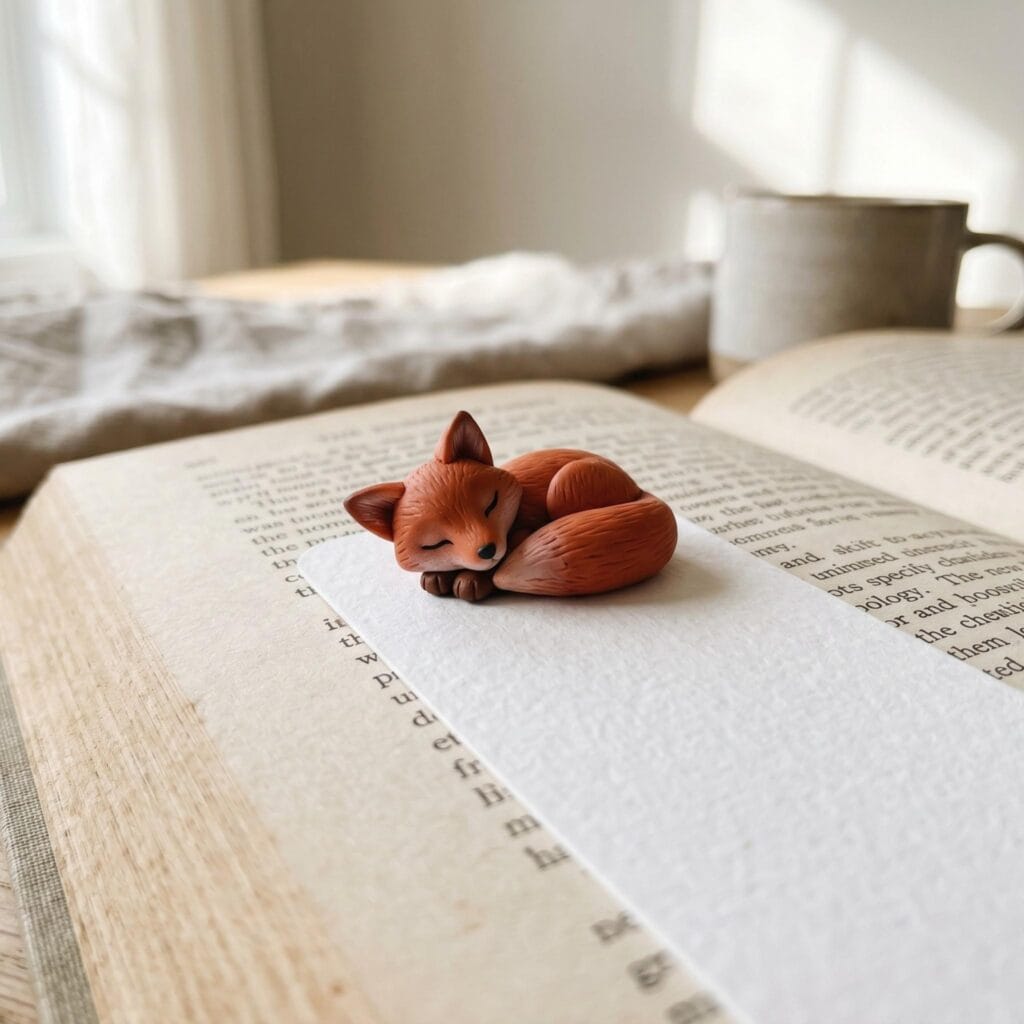
1. The Sleeping Fox Figurine
Supplies Needed: Polymer Clay (soft orange and white), Thick White Cardstock, Clay Sculpting Tools, Craft Glue.
- Combine soft orange and white polymer clay.
- Shape the clay into a tiny sleeping fox.
- Fix the figurine onto a thick white cardstock base with craft glue.
First, you can combine soft orange and white clay. Next, shape them into a tiny sleeping fox. Afterwards, fix this cute figurine onto a thick white cardstock base. Surely, this brings a cozy warmth to your favorite books. Moreover, this model is specifically perfect for autumn reading sessions.
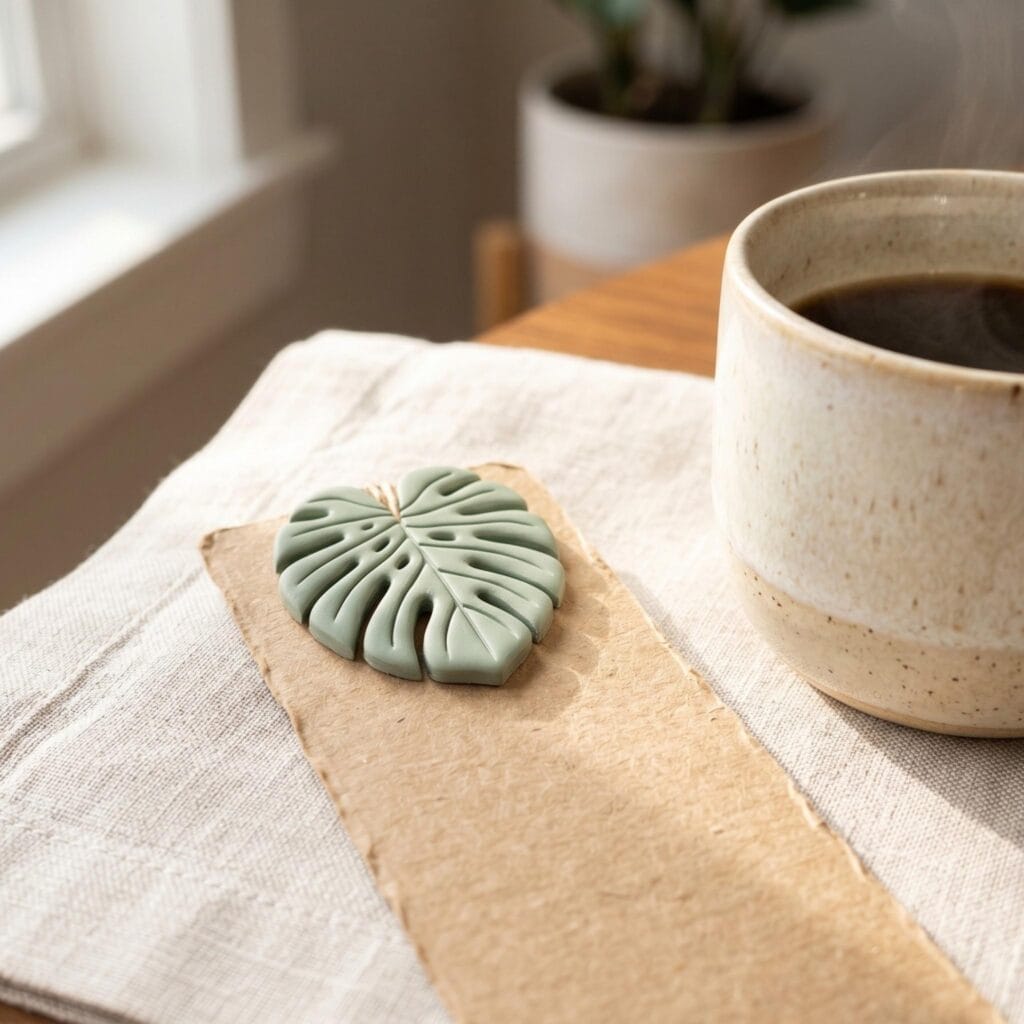
2. The Chic Monstera Leaf Design
Supplies Needed: Polymer Clay (sage green), Kraft Paper Base, Clay Sculpting Tools (for vein carving), Craft Glue.
Alternatively, sage green clay is an excellent choice if you prefer a modern style. Furthermore, shape the clay into a delicate monstera leaf. Then, carve the leaf veins gently using a craft needle. Consequently, when paired with a thick kraft paper base, it creates a luxurious bohemian look for your polymer clay bookmark.
3. The Little White Bunny Concept
Supplies Needed: Polymer Clay (white and pastel pink), Cardstock Base, Clay Sculpting Tools, Craft Glue.
Finally, you can mold a tiny bunny head from pure white clay for a timeless option. In addition, add tiny pastel pink details inside the ears to complete the design. Therefore, this model coordinates beautifully with light pastel book covers.
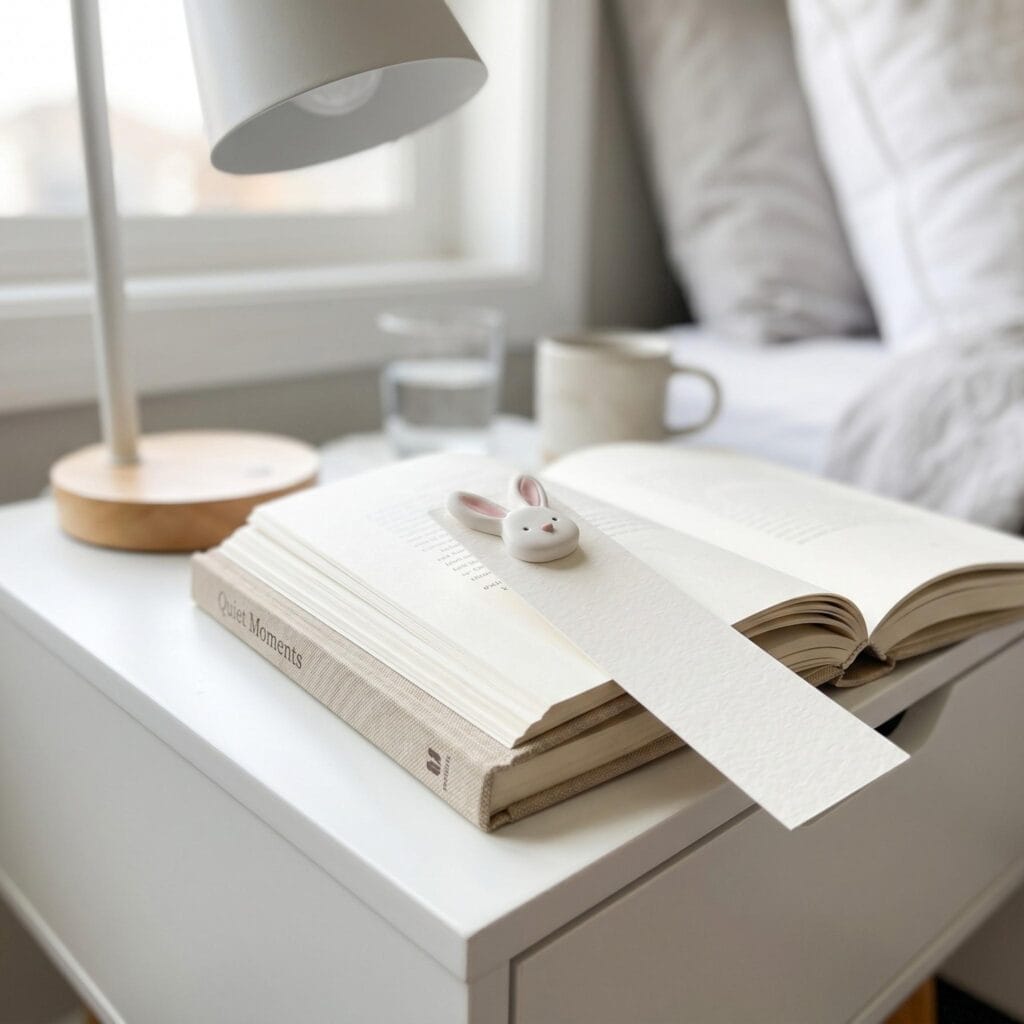
Pro-Tip: Always apply the craft glue sparingly when attaching your clay figurine to the paper base. Next, use a cotton swab to wipe away any excess glue before baking. Ultimately, this ensures a perfectly clean finish.
Baking and Curing Your Polymer Clay Bookmark
Evidently, you must follow the correct baking procedure to ensure your clay becomes durable.
First, preheat your oven properly. Meanwhile, check your clay packaging for the exact temperature. This is usually between 230°F and 275°F or 110°C to 135°C. Next, place your assembled bookmarks on a baking sheet lined with parchment paper. Because the design contains a paper element, keeping the temperature stable is crucial. Therefore, you will prevent any unwanted discoloration. Bake the pieces for 15 to 20 minutes. Finally, let them cool down completely.
Frequently Asked Questions About Your Polymer Clay Bookmark
Will the paper element burn in the oven?
No, because the baking temperature for polymer clay is quite low. Therefore, high-quality thick cardstock can easily withstand this low heat. Ultimately, it will not burn or turn yellow.
Can I make the finished figurine glossy?
Yes, absolutely. First, let the clay cool down completely after baking. Then, apply a thin coat of water-based gloss varnish to achieve a shiny finish. However, make sure the varnish is completely compatible with polymer clay.
How do I prevent the figurine from detaching?
In general, use a high-quality craft glue to secure the metal paperclip to the paper base. Additionally, create a wider flat surface on the back of your clay figurine. Consequently, this provides a stronger bond with the paper template.
Bring a Little Handmade Charm to Every Chapter
Creating your own polymer clay bookmark is a small project with a genuinely satisfying payoff — a piece that’s uniquely yours, ready to mark your place in style. Once you’ve tried one design, mixing and matching colors for the seasons ahead is half the fun.
QUICK REFERENCE: ALL SUPPLIES AT A GLANCE
Ready to start shaping your first bookmark? Here’s everything from this guide in one place before you gather your materials.
CLAY & COLOR
- Premium Polymer Clay (Assorted Colors) | Check Price on Amazon
PAPER & BASE MATERIALS
- Thick Textured Paper or Kraft Cardstock | Check Price on Amazon
SHAPING & SMOOTHING TOOLS
- Clay Sculpting Tools | Check Price on Amazon
- Smooth Acrylic Roller | Check Price on Amazon
- Marble or Glass Work Surface | Check Price on Amazon
- Rubbing Alcohol & Cotton Swabs | Check Price on Amazon
HARDWARE
- Metal Paperclips or Thin Metal Bookmark Blanks | Check Price on Amazon
ADHESIVES & BAKING ESSENTIALS
- Strong Clear Craft Glue (Clay & Paper Compatible) | Check Price on Amazon
- Parchment Paper | Check Price on Amazon
OPTIONAL FINISHING
- Water-Based Gloss Varnish (Polymer Clay Compatible) | Check Price on Amazon
Important Crafting Safety Notes:
Polymer clay can release a slight odor while baking in the oven. Therefore, open a window to keep your kitchen well-ventilated during the process. Additionally, remember to protect your baking sheet with parchment paper, and avoid using the same baking sheet for food afterward unless it’s been thoroughly cleaned first — dedicate a separate sheet for craft projects if possible. Furthermore, keep crafting tools separate from kitchen utensils.
A note on rubbing alcohol: it’s flammable and can irritate skin with repeated contact — use it in a ventilated space and wash your hands afterward.
Finally, always store small clay pieces, metal paperclips, and bookmark blanks safely away from pets and children, since both the clay figurines and the metal hardware present a choking hazard.
So, which figurine will you shape first — the sleepy fox, the modern monstera leaf, or the timeless bunny? Share your favorite in the comments below!


