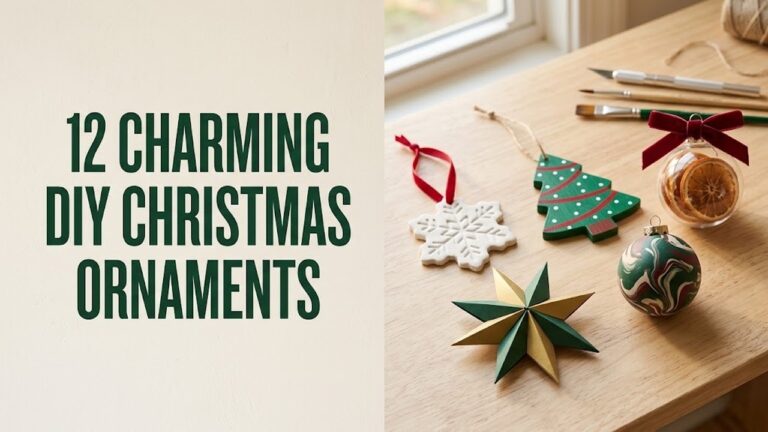

Are you searching for a great gift? Handmade Father’s Day crafts show real appreciation, and durable shop materials keep the gift in daily use. Each of the ten projects below carries its own supply list and a complete set of ordered steps with dimensions, so you can pick the one that fits his shop, desk, or travel kit and build it in an afternoon.
Affiliate Disclosure: This post contains affiliate links. As an Amazon Associate, I earn from qualifying purchases. If you buy through these links, I may earn a commission at no additional cost to you.
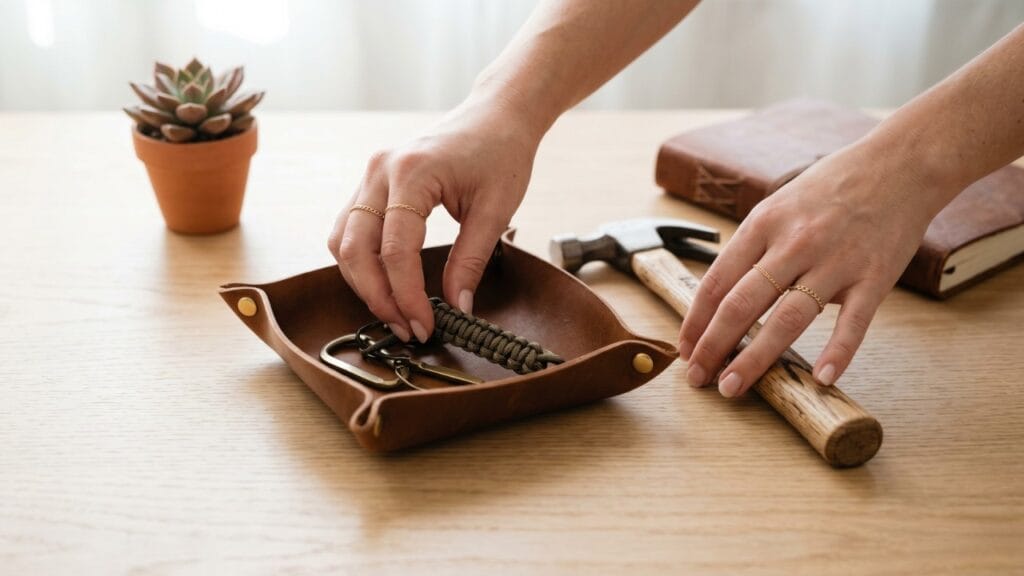
10 Functional Projects to Try
Ten projects, one supply list each, and ordered steps with dimensions — start with the one whose materials you already have.
Essential Materials & Tools
✨ Consumable Raw Materials
- Vegetable-Tanned Leather Hide — Firm, unfinished leather is ideal for molding valet trays, stitching cable wraps, making wristbands, and creating durable passport holders. | Check Vegetable-Tanned Leather Hide on Amazon
- Waxed Polyester Leather Thread — Strong, low-fray thread creates clean and long-lasting saddle stitches on leather accessories. | Check Price on Amazon
- Olive Drab 550 Paracord — Durable seven-strand paracord braids into rugged keychain lanyards; it is a craft cord, not a load-rated or life-safety line. | View Olive Drab 550 Paracord on Amazon
- Hardwood Hammer with Unfinished Handle — An unfinished wood-handled hammer provides a practical surface for a personal wood-burned message. | Find Hardwood Hammer with Unfinished Handle on Amazon
- Copper Tubing — Rigid copper tubing creates the clean industrial framework for a stable handmade device stand. | See Price on Amazon
- Red Oak Hardwood Board — Dense oak is a durable choice for grill scrapers, bookend inserts, and other rugged handmade gifts. | See Red Oak Hardwood Board on Amazon
- Rapid-Setting Concrete Mix — Creates heavy, compact bases that give handmade bookends dependable shelf stability. | Explore Rapid-Setting Concrete Mix on Amazon
- Sandpaper Assortment — Progressive grits smooth wood edges, refine the grill scraper, and prepare oak for oil or clear finish. | View Sandpaper Assortment on Amazon
- Leather Edge Burnishing Gum — Smooths and seals cut leather edges for a professional finish on passport covers, wraps, and trays. | See Price on Amazon
- Brass Snap Fasteners — Makes cable wraps and passport-holder closures easy to open, close, and reuse. | Explore Brass Snap Fasteners on Amazon
- Swivel Snap Keychain Clasps — Adds a dependable attachment point so the braided paracord accessory can clip onto keys, packs, or belt loops. | View on Amazon
- Copper Elbow and Tee Fittings — Preformed fittings allow makers to assemble square, stable copper stand joints without complicated bending. | Find on Amazon
- Food-Grade Mineral Oil — Conditions and protects an oak grill scraper without leaving a food-unsafe finish. | Check Food-Grade Mineral Oil on Amazon
- Industrial Strength Neodymium Magnets — Compact high-strength magnets securely hold screws, nails, and small metal hardware inside a wristband. | Check Price on Amazon
- Heavy-Duty Hook-and-Loop Strap — Provides an adjustable wrist closure for a magnetic tool band that fits comfortably and stays secure. | View Heavy-Duty Hook-and-Loop Strap on Amazon
- Black Iron Pipe Fittings — Flanges, elbows, and tees create the rugged industrial framework for a custom desk clock. | Find Black Iron Pipe Fittings on Amazon
- Black Iron Pipe Nipples — Threaded lengths that pair with the tees and elbows to build the Project 10 clock frame (two 15 cm and two 10 cm). | Check Price on Amazon
- Blank Clock Face Mounting Board — The board the quartz movement shaft passes through in Project 10 — drill the 6 mm centre hole. | Check Price on Amazon
- Dark Leather Dye — Dyes the vegetable-tanned hide for the mahogany passport holder in Project 9. | Check Price on Amazon
🛠 Reusable Core Tools
- Leather Stitching Punch Set — Creates evenly spaced stitching holes for neat hand-sewn leather projects. | View on Amazon
- Leather Edge Beveler — Rounds sharp leather edges before burnishing for a more comfortable and refined result. | Find on Amazon
- Wood Burning Tool Set — Lets makers add names, dates, and decorative linework to hammer handles and other hardwood gifts. | Check Wood Burning Tool Set on Amazon
- Mini Tubing Cutter — Makes clean, straight cuts in copper tubing for accurately sized stand components. | Check Price on Amazon
- Reusable Silicone Casting Molds — Flexible molds simplify casting consistently shaped concrete blocks and release cured pieces cleanly. | Find Reusable Silicone Casting Molds on Amazon
- Leather Sewing Needles — Curved and straight needles sized for the saddle stitch on Projects 6 and 9, matching the waxed thread used here. | Check Price on Amazon
- Leather Rivet Setter and Mallet — The matching setter and a solid mallet drive the double-cap rivets of Project 1 home without twisting the leather. | Check Price on Amazon
- Rotary Leather Cutter and Cutting Mat — One clean pass on a self-healing mat handles every leather pattern in Projects 1, 6, 8, and 9. | Check Price on Amazon
- Plastic Mixing Bucket — Measures and mixes the concrete for Project 7 — dedicate it to crafts, not food. | Check Price on Amazon
- Safety Glasses — Eye protection for the tubing-cutting, wood-sanding, and power-tool steps across the projects | View Safety Glasses on Amazon
- Particle Dust Mask — Filters sanding dust when shaping the wood projects | View Particle Dust Mask on Amazon
🔩 Project Hardware (Rivets & Clock Parts)
- Solid Brass Double-Cap Rivets — Provides attractive, durable reinforcement for leather valet tray corners and utility wristbands. | See Solid Brass Double-Cap Rivets on Amazon
- Quartz Clock Movement Mechanism — A reliable movement and matching hands turn a handmade industrial clock body into a working gift. | See Price on Amazon
Optional Studio Upgrades
Never required to finish the projects above — convenience upgrades for makers who want them.
- Benchtop Belt and Disc Sander — Speeds up precise shaping and edge smoothing for oak grill scrapers, bookends, and other wood gifts. | See Benchtop Belt and Disc Sander on Amazon
📦 Beginner Project Kits & Coordinated Bundles
For beginners or makers starting from scratch, these coordinated bundles and all-in-one project packs bring together the core supplies in one convenient order.
- Leather Crafting Starter Kit — A coordinated project kit can provide leather, hand tools, hardware, and instructions for first-time leather makers. | Find on Amazon
1. The Leather Valet Tray for Father’s Day Crafts
Supplies Needed: Vegetable-Tanned Leather Hide, Solid Brass Double-Cap Rivets, Leather Edge Burnishing Gum, Leather Edge Beveler, Leather Rivet Setter and Mallet, Rotary Leather Cutter and Cutting Mat
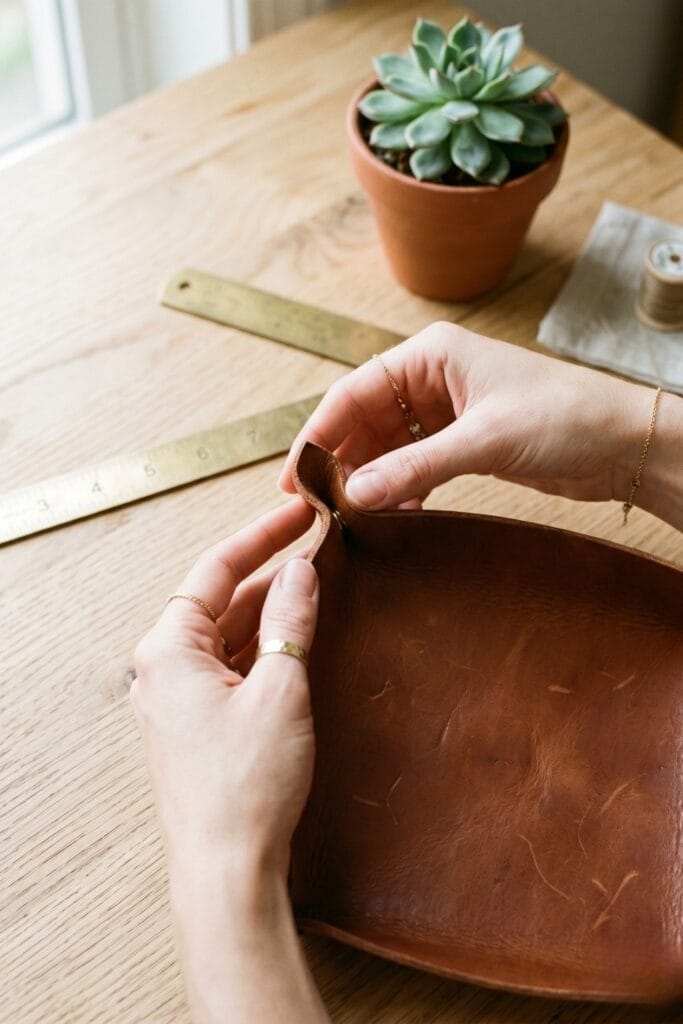
Every dad needs a place for his keys, and a hand-molded leather tray keeps the daily carry in one spot. The mini-tutorial below covers wet-molding the corners, punching, and rivet setting; our longer walkthrough on how to make a stunning no-sew leather valet tray shows extra angles.
- Cut the panel. Cut a 23 × 18 cm (9 × 7 in) rectangle from the vegetable-tanned hide on the cutting mat with the rotary cutter, using a steel ruler as the guide; square all four corners.
- Wet-mold the sides. Soak the panel in cool water for 10 minutes, fold the long sides up to about 3 cm (1.2 in), and clamp the notched corners at 90°; let it dry 3–6 hours until the leather holds its shape.
- Set the corner rivets. Punch three holes through each overlapped corner with the stitching punch, seat a brass double-cap rivet in each, and strike the rivet setter with the mallet until both caps sit flush.
- Finish the edges. Work burnishing gum into the top edge with a slicker or canvas scrap until smooth; let it dry 30 minutes and let the tray cure overnight before loading it with keys and coins.
- Troubleshooting. If a corner springs open, re-wet just that corner, re-clamp, and set the rivet one strike tighter; never force dry leather into a fold.
2. Paracord Survival Keychain for Father’s Day Crafts
Supplies Needed: Olive Drab 550 Paracord, Swivel Snap Keychain Clasps
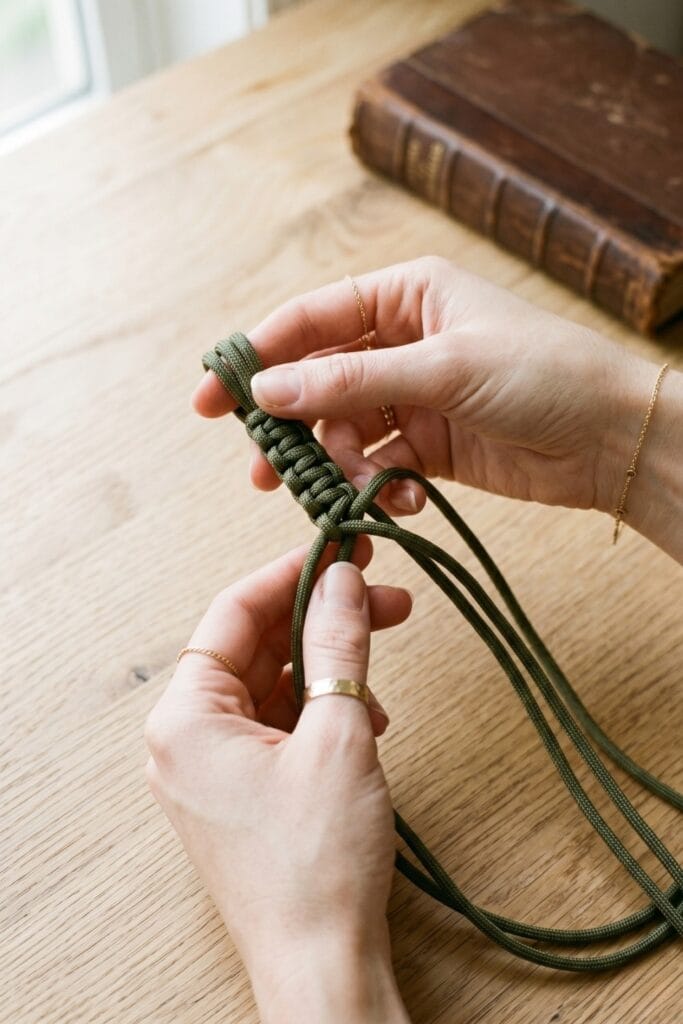
A braided keychain suits an outdoorsy father: 550 paracord takes real daily use, and the braid below works out to about 4 cm (1.5 in) once the pattern is familiar.
- Prep the cord. Cut a 1.2 m (4 ft) length of 550 paracord and briefly melt both cut ends with a lighter until rounded; press flat on a metal surface (not your fingers) to stop fraying.
- Attach the clasp. Fold the cord in half, pass the loop through the swivel snap, and pull the two loose ends through the loop (a lark’s head knot) so the clasp hangs at the middle.
- Braid. Tie a cobra stitch down the doubled core: alternate the left and right strand over the core, keeping every pass snug — 8–10 passes gives about 4 cm (1.5 in) of braid.
- Lock the ends. Trim the tails to 1 cm (0.4 in), melt them into the last stitch, and after a minute of cooling give each tail a firm tug to confirm the seal held.
- Troubleshooting. If the braid twists, undo the last pass and keep the tension even instead of pulling harder; the melted end stays hot for about 30 seconds.
3. Wood-Burned Wooden Hammer
Supplies Needed: Hardwood Hammer with Unfinished Handle, Wood Burning Tool Set, Sandpaper Assortment
A personalized tool earns its place on any workbench: wood-burn a short message into the unfinished oak handle — the steps set the pen heat and pass count so the lettering stays clean.
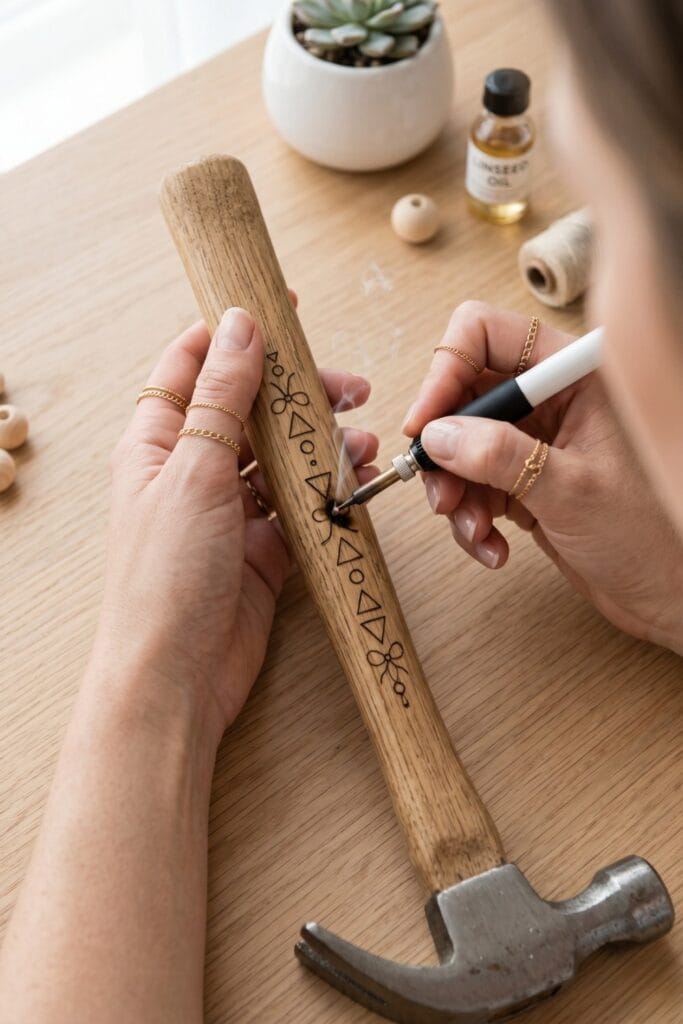
- Sand the handle. Sand the oak handle with 220-grit until smooth and wipe off all dust — dust left behind makes the burn line skip.
- Mark the message. Write the message lightly in pencil, starting 5 cm (2 in) below the head; test your line weight on the underside of the handle first.
- Burn it. Set the wood-burning pen to medium heat and rest it in its stand; trace the pencil lines with slow, even passes — two light passes beat one deep one.
- Seal. Let the handle cool, re-sand lightly to knock down raised grain, wipe, and condition with a few drops of mineral oil before wrapping.
- Troubleshooting. Shaky lines mean the heat is too high — turn it down and move slower; keep the hot tip on its stand whenever you pause.
4. Copper Pipe Tablet Stand (Father’s Day Crafts)
Supplies Needed: Copper Tubing, Copper Elbow and Tee Fittings, Mini Tubing Cutter
An industrial copper stand keeps a tablet propped at the desk. The steps fix the tubing diameter, cut lengths, and ledge angle, and they cap the build at tablets up to about 11 in (28 cm) and 700 g — check your device against those numbers before you cut.
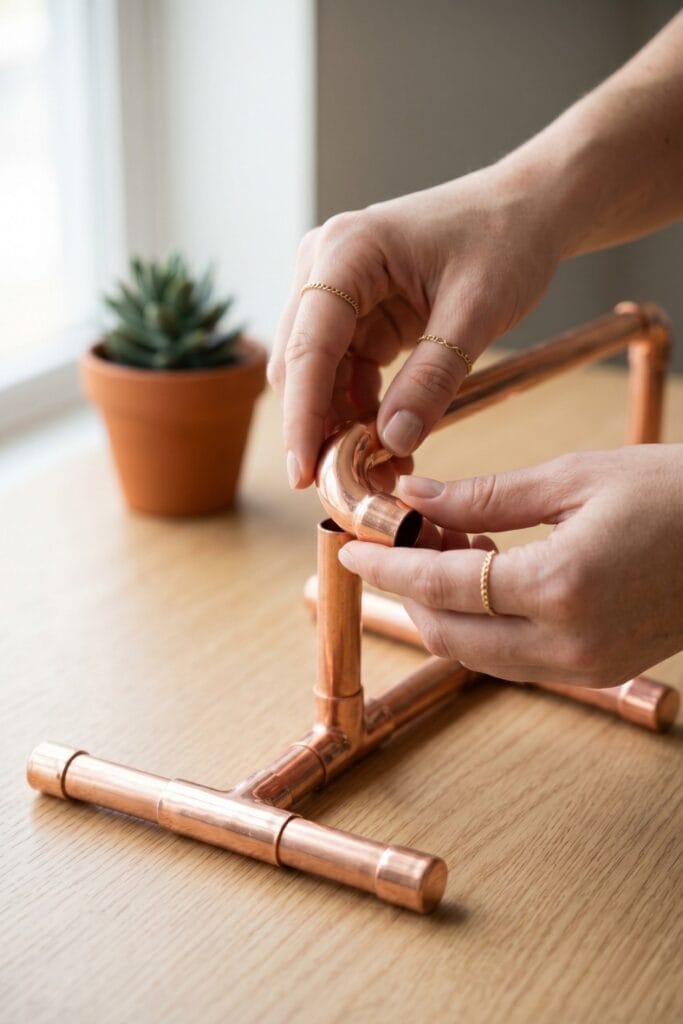
- Cut the tubing. With the mini tubing cutter, cut two 15 cm (6 in) uprights, one 18 cm (7 in) base rail, and one 10 cm (4 in) ledge rail from the ½ in copper tubing; ream or sand each cut end free of burrs.
- Dry-fit the frame. Press each tube 15 mm (⅜ in) into its tee or elbow — tap home with a mallet over a cloth — so the two uprights rise from the base rail with about 10° of lean.
- Add the ledge. Bridge the uprights with the 10 cm ledge rail 10 cm (4 in) above the base; the fitting lips keep the device from sliding forward.
- Test within the limits. Set your device on the stand and check it against what this build supports: up to 11 in (28 cm) and about 700 g, landscape only; press the frame on a hard surface — if it rocks, reseat both uprights fully.
- Troubleshooting. A loose fitting gets one more tap; a wobble almost always means one tube is not fully seated — never add a device beyond the limits above to a loose frame.
5. Wood Slatted Grill Scraper
Supplies Needed: Red Oak Hardwood Board, Food-Grade Mineral Oil, Sandpaper Assortment
A solid oak scraper sidesteps the loose-wire-bristle problem of metal brushes. The steps finish it with food-grade mineral oil and add a before-every-use inspection — splinters, scorching, cracks, grate fit — so it keeps earning its place by the grill.
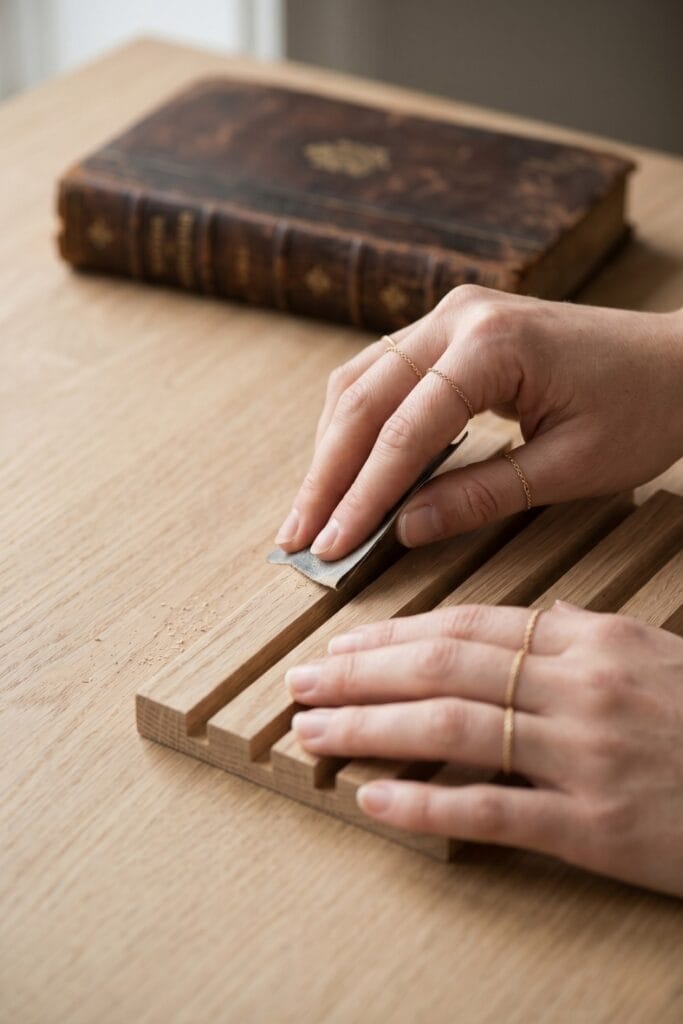
- Cut the paddle. Cut the oak board into a 30 × 7 cm (12 × 3 in) paddle and shape a 12 cm (5 in) handle at one end; round every edge with 100-grit, then smooth with 220-grit.
- Match the grates. Cut three shallow grooves (about 5 mm / 0.2 in deep) across the scraping edge, spaced to your grill’s grate spacing, so the head seats between the bars.
- Oil it. Wipe food-grade mineral oil into every face; let it soak 15 minutes, wipe off the excess, and repeat once more before first use.
- Inspect before every use. Check for splinters, scorch marks, cracks, or warping, and confirm the grooves still fit the grates; stop using the scraper the moment any of them appear.
- Troubleshooting. Raised grain after washing means a light re-sand with the grain, then another coat of mineral oil.
6. Hand-Stitched Leather Cable Wrap
Supplies Needed: Vegetable-Tanned Leather Hide, Waxed Polyester Leather Thread, Brass Snap Fasteners, Leather Stitching Punch Set, Leather Sewing Needles, Rotary Leather Cutter and Cutting Mat
A hand-stitched leather wrap keeps chargers from tangling in a drawer or on a desk. The saddle-stitch pattern below is the same one used on the passport holder, so the two projects share one skill.
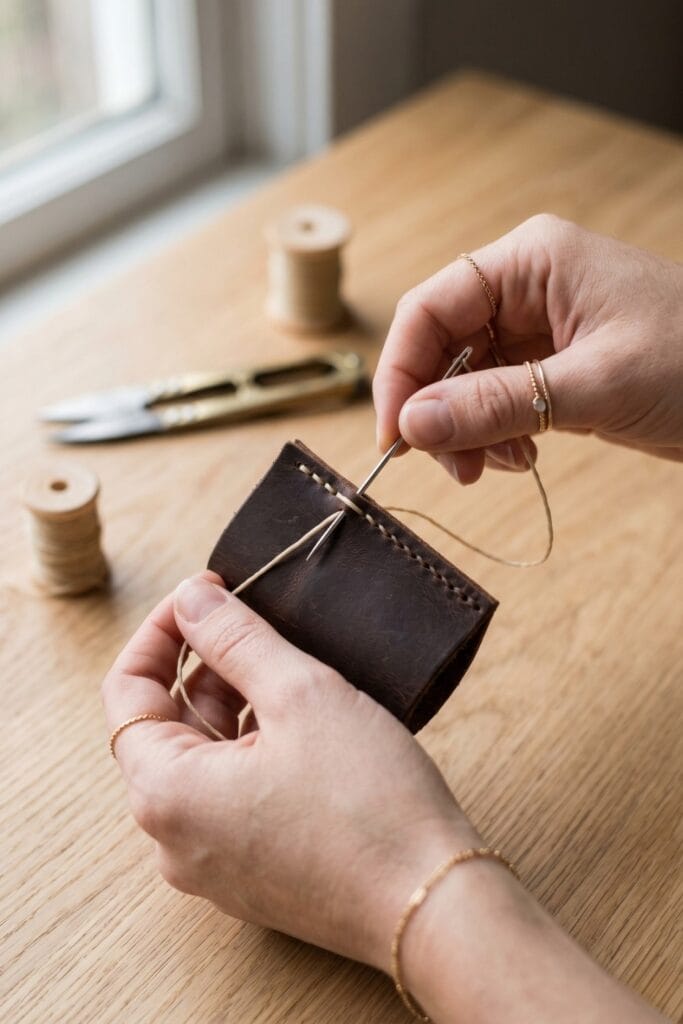
- Cut and mark. Cut a 16 × 8 cm (6 × 3 in) leather strip on the cutting mat, fold it in half, and mark a stitch line 5 mm (0.2 in) inside both open edges.
- Punch. Punch the paired holes through both layers with the stitching punch at 4 mm spacing; keep the layers clamped so the holes line up.
- Stitch. Saddle-stitch both open edges with doubled waxed thread and the leather needles, pulling each pass snug but not tight; finish with a doubled backstitch and a knot on the inside.
- Add the snap. Set a brass snap fastener at each end with the punch so the wrap closes around a coiled charger cable.
- Troubleshooting. If the wrap gapes, punch one row closer to the edge and re-stitch; if it pinches the cable, cut the next strip 1 cm wider.
7. Concrete and Wood Bookends (Father’s Day Crafts)
Supplies Needed: Rapid-Setting Concrete Mix, Reusable Silicone Casting Molds, Red Oak Hardwood Board, Sandpaper Assortment, Water, Plastic Mixing Bucket
These bookends pair the weight of concrete with an oak back. The steps cover the mix ratio, bubble tapping, a 24-hour cure, and how the concrete grips the oak while it sets.
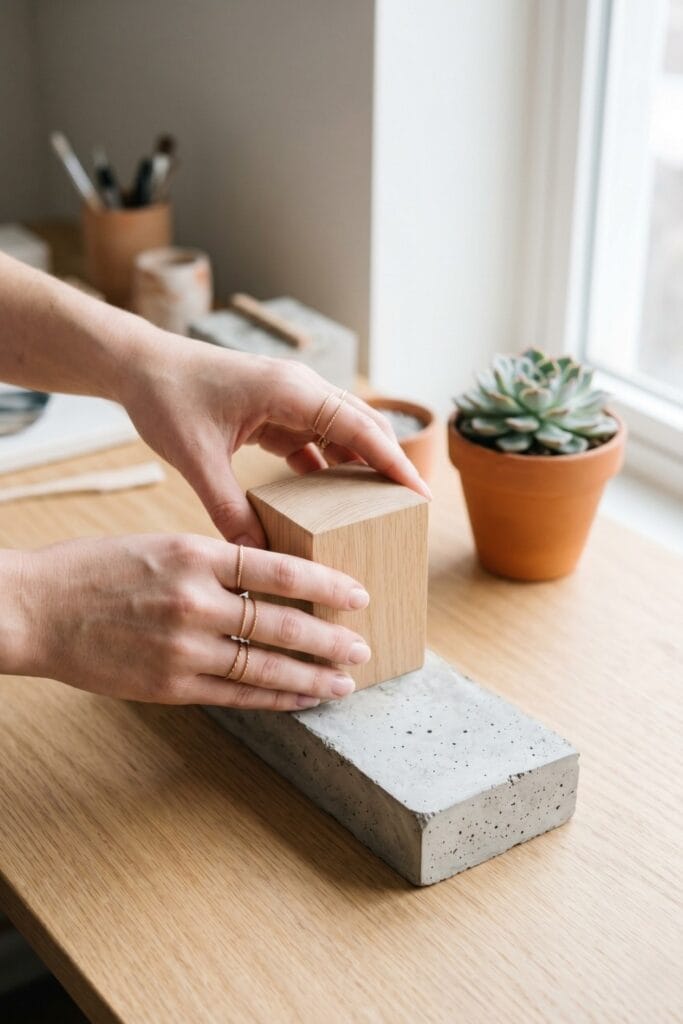
- Mix. Pour cold water into the mixing bucket — about a quarter of the bag’s weight (follow the bag’s ratio) — then sprinkle in the rapid-setting mix while stirring until no dry pockets remain (about 2 minutes).
- Pour. Half-fill each silicone mold cavity, tap the mold 10 times on the bench to release bubbles, then top up to the rim and press the sanded end of each oak piece into the wet concrete so it grips as it cures.
- Cure. Let the bookends set 1 hour before demolding, then cure 24 hours (48 hours in a cold room) before using them as bookends.
- Clean up. Sand the cast faces lightly with 120-grit — concrete dust is alkaline: wear a mask and gloves and wash your hands after — then wipe with a damp cloth.
- Troubleshooting. Pinholes on the face mean the mix was too thick or was not tapped enough; a rough corner sands flat once the block is fully cured.
8. Magnetic Tool Wristband
Supplies Needed: Vegetable-Tanned Leather Hide, Industrial Strength Neodymium Magnets, Heavy-Duty Hook-and-Loop Strap, Waxed Polyester Leather Thread, Rotary Leather Cutter and Cutting Mat
A leather band with embedded neodymium magnets holds screws, nuts, and washers at the wrist. Sizing, magnet spacing, and the stitched pockets are all in the steps below.
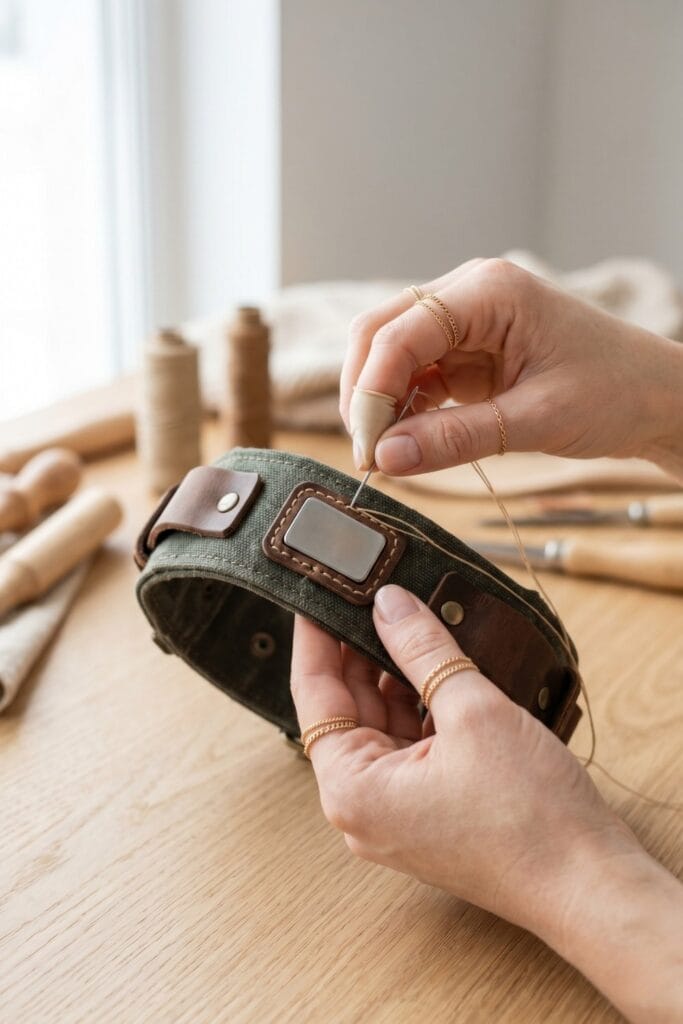
- Size the band. Cut a leather strip 25 × 7 cm (10 × 3 in) (adjust to a 17–22 cm wrist) on the cutting mat and punch stitch holes 5 mm (0.2 in) from both long edges.
- Seat the magnets. Lay 3–4 neodymium bar magnets along the centerline at 4 cm spacing, tape them in place, and stitch a snug leather pocket around each one so nothing shifts.
- Close the band. Stitch the pocket layer to the band, then attach the hook-and-loop strap at both ends so the band adjusts and closes at the wrist.
- Load test. Press 8–10 screws onto the band and shake the wrist: they should hold flat; a slipping magnet means its pocket needs one more row of stitches.
- Safety. Magnets pinch hard between two pieces and can wipe cards or electronics — keep the band away from children, wallets, and devices, and never sew with them loose on the table.
9. Minimalist Leather Passport Holder
Supplies Needed: Vegetable-Tanned Leather Hide, Waxed Polyester Leather Thread, Leather Stitching Punch Set, Leather Edge Burnishing Gum, Leather Sewing Needles, Rotary Leather Cutter and Cutting Mat, Dark Leather Dye
A hand-stitched passport cover takes real travel well. For the dark mahogany finish, dye the vegetable-tanned hide first (supplied) or start from pre-dyed leather — both routes are in the steps.
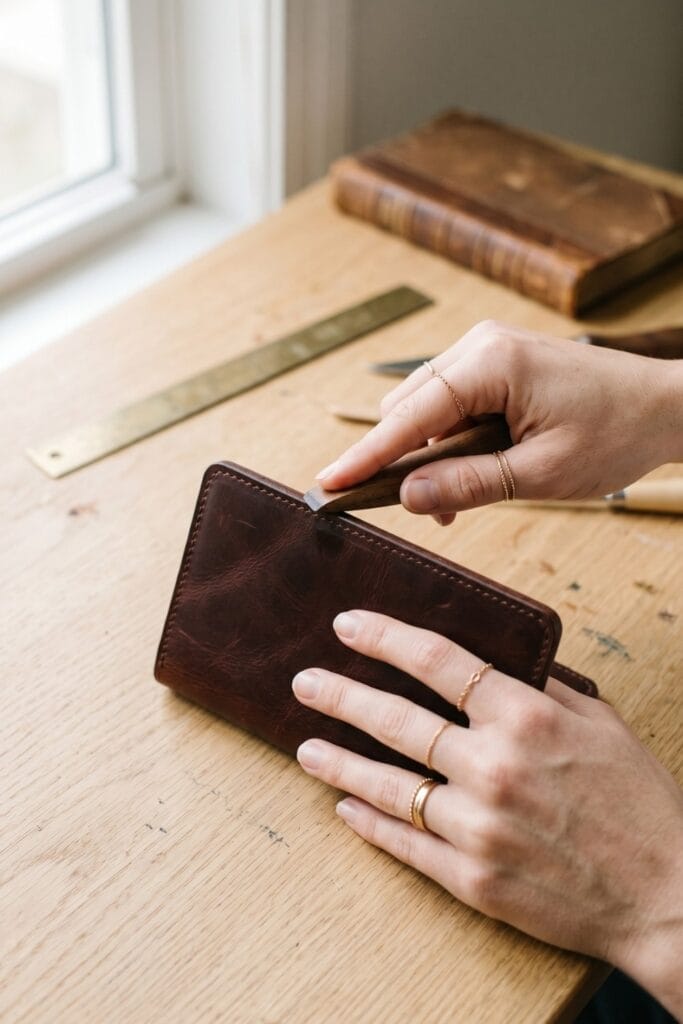
- Dye first (for the natural hide). With gloves on, rub dark leather dye over the vegetable-tanned hide in thin, even coats with a cloth; let it dry 1 hour, add a second coat if the tone is uneven, and buff after 24 hours — or skip this step with pre-dyed leather.
- Cut the panels. Cut two 15 × 23 cm (6 × 9 in) panels and one 10 × 9 cm pocket piece on the cutting mat; round the corners with the rotary cutter.
- Stitch the pocket. Punch stitch holes 5 mm (0.2 in) from the edges, then saddle-stitch the pocket to the front panel with waxed thread and leather needles; the passport slides behind the pocket.
- Assemble and burnish. Lay the panels together, punch through both layers along the sides and bottom, saddle-stitch them (open at the top), then work burnishing gum along every edge and let it dry 30 minutes.
- Troubleshooting. If the dye streaks, buff between coats with a fresh cloth; if holes misalign, re-punch through both layers at once.
10. Industrial Pipe Desk Clock (Father’s Day Crafts)
Supplies Needed: Black Iron Pipe Fittings, Black Iron Pipe Nipples, Quartz Clock Movement Mechanism, Blank Clock Face Mounting Board, Red Oak Hardwood Board
A black-iron pipe frame turns a quartz movement into a desk clock with an industrial look. The steps below give the pipe lengths, the clock-face board, and how the movement shaft mounts through it.
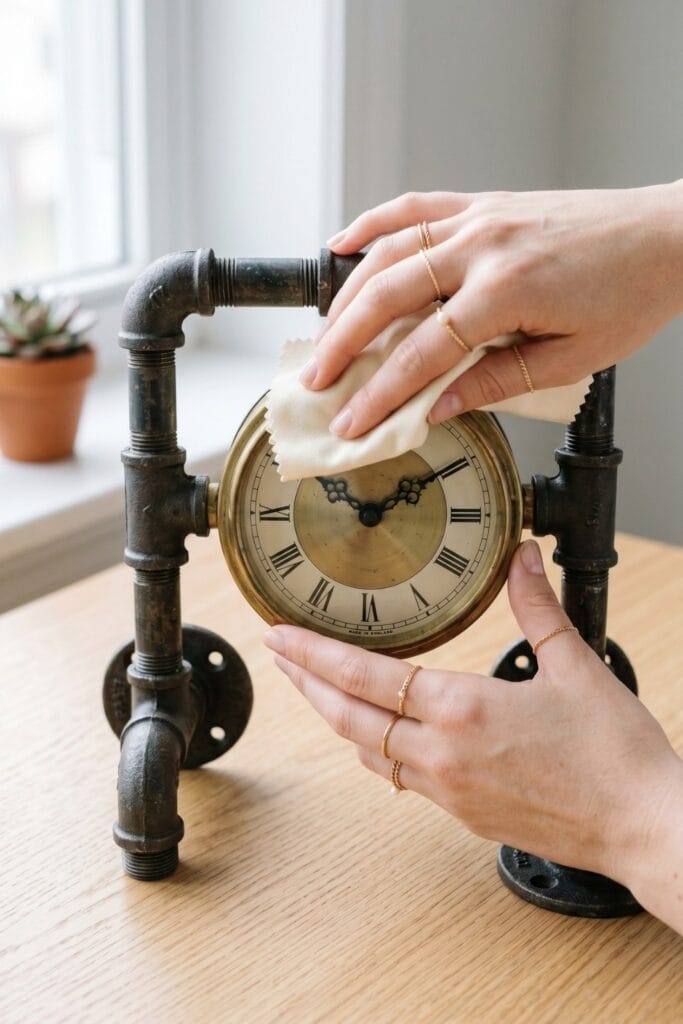
- Cut or choose the pipe lengths. Build the frame with two 15 cm (6 in) and two 10 cm (4 in) threaded black iron nipples — choose them pre-cut or cut stock with a pipe cutter and deburr the threads.
- Build the frame. Thread each nipple into an elbow or tee — finger-tight plus a quarter-turn with a wrench — into a rectangle, and stand it on two flange feet; check it sits square on the desk.
- Prepare the clock face. Cut the blank clock-face board to 15 × 15 cm (6 in) square (or use a store-bought blank), sand it smooth, and drill a 6 mm (¼ in) hole dead centre for the movement shaft.
- Mount the movement. Push the quartz movement through from the back so the shaft projects 8–12 mm (⅜–¾ in) on the face side; press the hour hand then the minute hand onto the hub only — never bend them — and confirm the hands clear the board.
- Finish. Add the battery, set the time, and rest the frame on its flange feet; wipe the pipe with a dry cloth first — black iron can shed a thin mill oil. Troubleshooting: a rocking frame means one fitting is proud — loosen, square, retighten.
Final Thought
These ten Father’s Day crafts turn shop materials into personal gifts. Which one are you building first? Leave a comment below — and share a photo of the finished gift with the community!
Important Crafting Safety Notes
These projects use blades, a hot burning pen, dusty concrete, and strong magnets, so the project-specific rules below matter more than generic craft advice. Review them before you start, and re-check them before each build:
• Cutting leather, wood, and copper: Cut leather on the cutting mat with the rotary cutter — blade away from your body, fingers behind the marked line. Deburr every cut copper end, support the workpiece when sawing or sanding wood, and never steady a part with your free hand near the blade.
• Hot wood-burning pen: Rest the pen in its stand while it heats, unplug it to cool, and never leave it unattended — the tip stays hot for minutes. Work in a ventilated space and keep the tip away from pets, children, and flammable scraps.
• Concrete dust and alkalinity: Stir slowly or wear a dust mask so dry powder stays in the bucket; wet concrete is alkaline and irritates skin and eyes — wear gloves, wash your hands after, and let pieces cure fully (24–48 hours) before sanding them.
• Strong magnets: Neodymium magnets pinch hard between two pieces and can damage cards and electronics — keep them away from children, wallets, and devices, and seat each magnet in its stitched pocket before the band is worn.
• Sanding dust and power tools: Sanding oak and cured concrete creates dust — work in a ventilated spot with a mask, wear eye protection with the belt/disc sander, and switch the sander off before adjusting the workpiece.
• Inspect before every use: Check the scraper for splinters, scorching, cracks, or a poor grate fit; check that rivets, snaps, stitch lines, and clock hands sit tight — retire any gift that shows wear before it is used again.
For more detailed guidance on safe crafting practices, liability disclosures, and website usage, please review our Terms and Conditions.
Father’s Day Crafts FAQ
What kind of leather should I use for the valet tray?
Vegetable-tanned leather hide — firm, unfinished leather that molds when wet. Soak the cut panel in cool water for 10 minutes, fold the long sides up, clamp the notched corners at 90°, and let it dry before setting the rivets.
Can I start without special tools?
Start with the project whose materials you already have — every project carries its own supply list. The paracord survival keychain needs only a length of 550 cord, a lighter, and a swivel snap.
Is paracord safe for a keychain?
The 550 paracord in this guide is a craft cord for braiding, not a load-rated or life-safety line. Melt both cut ends with a lighter until rounded and press them flat on a metal surface — never on your finger.
How do I fix a leather corner that springs open?
Re-wet just that corner, re-clamp it, and set the rivet one strike tighter. Never force dry leather into a fold — wet-mold the panel first and let it dry fully before riveting.
“Which of these DIY Father’s Day Crafts He Will Love ideas are you excited to try first, or do you have a creative tip of your own to share? Drop a comment below—I’d love to hear your thoughts and see what you create!”