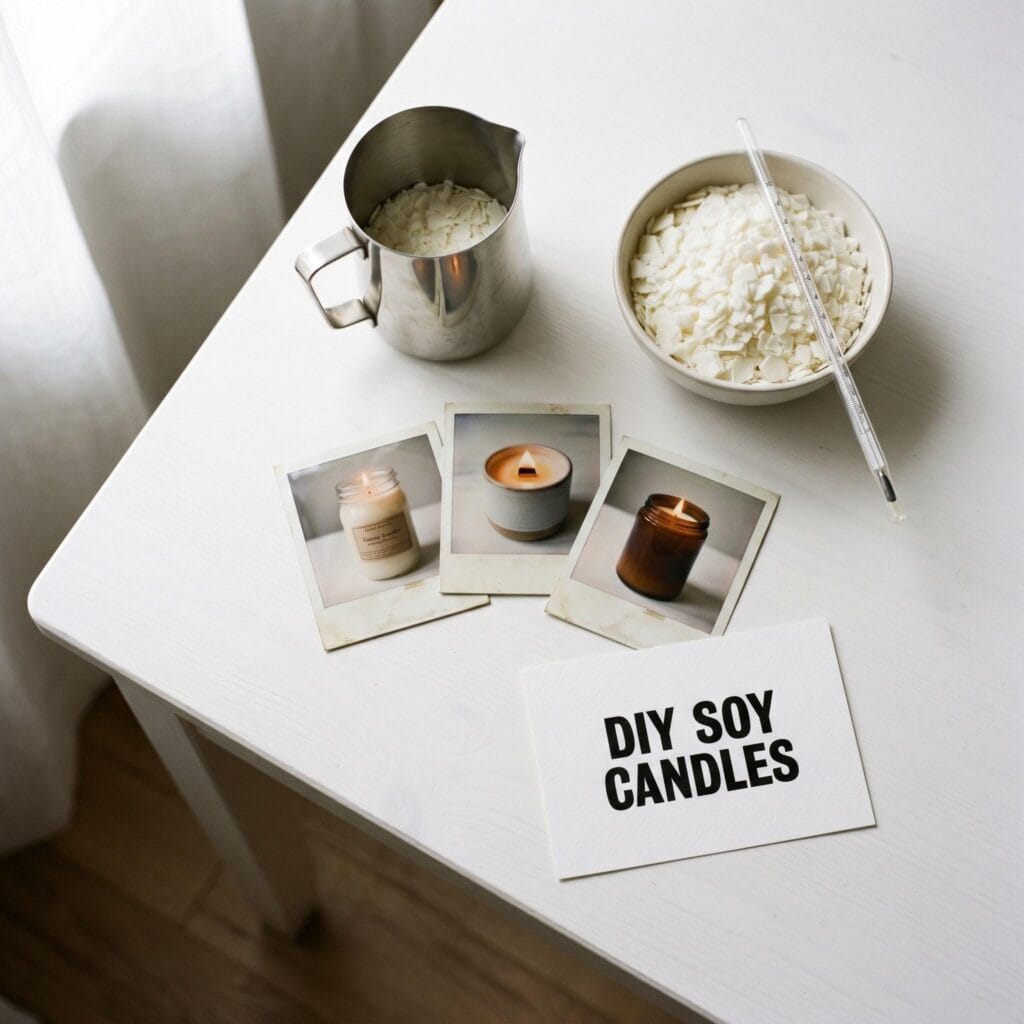
There is something incredibly grounding about lighting a candle you poured yourself. First of all, making your own DIY soy candles is a highly calming weekend project. Furthermore, it allows you perfectly control the ingredients. Therefore, you can customize the exact scent blends you love. Without a doubt, this is a fantastic way to create high-quality gifts. If you are eager to get your hands waxy right away, simply scroll to the bottom of this post for the complete step-by-step pouring guide. But first, let’s explore some creative inspiration.
Affiliate Disclosure: Affiliate Disclosure: This post contains affiliate links. As an Amazon Associate, I earn from qualifying purchases. If you buy through these links, I may earn a commission at no additional cost to you.
Key Facts:
- Technique: Candle making
- Total time: 24 hours
- Makes: 10 project ideas
Essential Materials & Tools
| Supply | Spec / Size | Used For |
|---|---|---|
| Golden Brands 464 Soy Wax Flakes | A beginner-friendly container wax with smooth tops, reliable… | |
| Candle-Safe Fragrance Oil Discovery Set | Provides skin-safe candle fragrance options for testing lavender,… | |
| Lavender Bergamot Candle Fragrance Oil | A ready-blended floral-citrus fragrance option for calming bedside… | |
| Coffee Vanilla Candle Fragrance Oil | Creates the warm breakfast-inspired aroma described for coffee and… | |
| Liquid Candle Dye Set | Lets makers add subtle custom color while maintaining an even finish… | |
| Stainless Steel Candle Pouring Pitcher | A heat-safe pitcher with a controlled spout makes transferring melted… |
✨ Consumable Raw Materials
- Golden Brands 464 Soy Wax Flakes — A beginner-friendly container wax with smooth tops, reliable adhesion, and strong fragrance performance for jar and tin candles. | Check Price on Amazon
- Candle-Safe Fragrance Oil Discovery Set — Provides skin-safe candle fragrance options for testing lavender, citrus, coffee, woodsy, floral, and holiday-inspired scent blends. | See Price on Amazon
- Lavender Bergamot Candle Fragrance Oil — A ready-blended floral-citrus fragrance option for calming bedside candles. | Check Lavender Bergamot Candle Fragrance Oil on Amazon
- Coffee Vanilla Candle Fragrance Oil — Creates the warm breakfast-inspired aroma described for coffee and vanilla bean candles without placing flammable food items in the wax. | See Coffee Vanilla Candle Fragrance Oil on Amazon
- Liquid Candle Dye Set — Lets makers add subtle custom color while maintaining an even finish in soy container wax. | View Liquid Candle Dye Set on Amazon
🧰 Core Crafting Tools & Equipment
- Stainless Steel Candle Pouring Pitcher — A heat-safe pitcher with a controlled spout makes transferring melted wax into vessels cleaner and more precise. | Find Stainless Steel Candle Pouring Pitcher on Amazon
- Digital Candle Thermometer — Helps makers monitor melt, fragrance-addition, and pouring temperatures for more consistent candles. | Check Latest Price on Amazon
- Silicone Wax Stirring Spatula Set — Heat-resistant spatulas are useful for thoroughly incorporating fragrance oil and scraping wax from the pouring pitcher. | View on Amazon
- Metal Wick Centering Bars — Keeps wicks upright and centered as the wax cools, producing an even burn path. | Check Price on Amazon
💎 Hardware, Fasteners & Finishing
- Pre-Waxed Cotton Candle Wicks with Sustainers — An assorted wick pack allows makers to match wick size to different jar diameters and wax-fragrance combinations. | See Price on Amazon
- Wick Sticker Tabs — Heat-resistant adhesive tabs secure the wick sustainer firmly to the base of each candle vessel. | Check Wick Sticker Tabs on Amazon
- Heat-Safe Glass Candle Jars with Lids — Purpose-made containers provide a polished presentation for floral, spa, kitchen, and giftable soy candles. | See Heat-Safe Glass Candle Jars with Lids on Amazon
- Seamless Candle Tins with Lids — Matte black tins suit sandalwood, black pepper, cedarwood, and amber-inspired minimalist candle designs. | View Seamless Candle Tins with Lids on Amazon
- Candle Warning Labels and Dust Covers — Adds clear burn-safety information and a professional finishing touch for gifting or storing cured candles. | Find Candle Warning Labels and Dust Covers on Amazon
📦 All-in-One Starter Kits
- Soy Candle Making Starter Kit — An all-in-one option for first-time makers who need wax, vessels, wicks, fragrance, and basic pouring supplies together. | Check Latest Price on Amazon
⚡ Studio Tools & Workshop Equipment
- Electric Wax Melter with Pouring Spout — A temperature-controlled melter streamlines batch production and provides a cleaner, more controlled wax-pouring workflow. | View on Amazon
- Daylight LED Magnifying Task Lamp — Bright, color-accurate task lighting helps makers inspect wick placement, labels, vessel cleanliness, and finished surfaces. | Check Price on Amazon
- Heavy Duty Rolling Craft Cart — A mobile storage cart keeps wax, fragrance oils, vessels, labels, and tools organized in a dedicated candle-making workspace. | See Price on Amazon
10 Beautiful Scent Ideas for DIY soy candles
Supplies Needed: Golden Brands 464 Soy Wax Flakes, Candle-Safe Fragrance Oil Discovery Set, Pre-Waxed Cotton Candle Wicks with Sustainers, Seamless Candle Tins with Lids, Wick Sticker Tabs, Silicone Wax Stirring Spatula Set, Candle Warning Labels and Dust Covers
Fresh and Floral Candle Blends
1. Lavender & Bergamot Sleep Blend: DIY soy candles Idea
Supplies Needed: Golden Brands 464 Soy Wax Flakes, Lavender Bergamot Candle Fragrance Oil, Pre-Waxed Cotton Candle Wicks with Sustainers, Heat-Safe Glass Candle Jars with Lids, Stainless Steel Candle Pouring Pitcher, Digital Candle Thermometer, Metal Wick Centering Bars
- Secure a pre-waxed wick to the vessel base with a wick sticker tab, then hold it upright with a metal wick centering bar.
- Melt the soy wax flakes in the stainless steel pouring pitcher, monitoring melt, fragrance-addition, and pouring temperatures with the digital candle thermometer.
- Stir in the candle-safe fragrance oil with a silicone spatula to incorporate it thoroughly.
- Pour the melted wax into the heat-safe glass jar through the pitcher’s controlled spout.
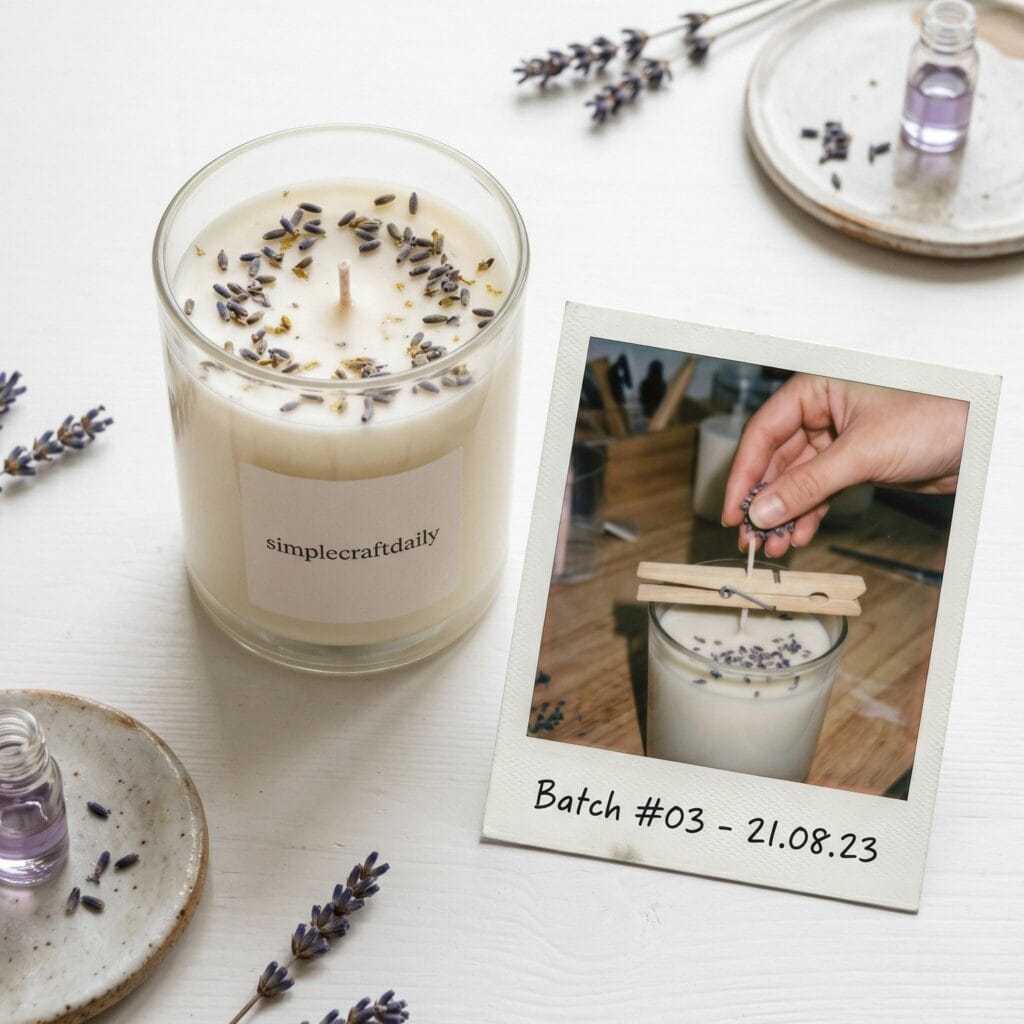
This is a classic, calming combination. Specifically, the earthy floral notes of lavender pair perfectly with the bright edge of bergamot. Consequently, pouring this into a frosted white glass jar creates a clean bedside aesthetic.
2. Rosemary & Lemon Kitchen Candle: DIY soy candles Idea
Supplies Needed: Golden Brands 464 Soy Wax Flakes, Candle-Safe Fragrance Oil Discovery Set, Pre-Waxed Cotton Candle Wicks with Sustainers, Heat-Safe Glass Candle Jars with Lids, Wick Sticker Tabs, Silicone Wax Stirring Spatula Set, Candle Warning Labels and Dust Covers
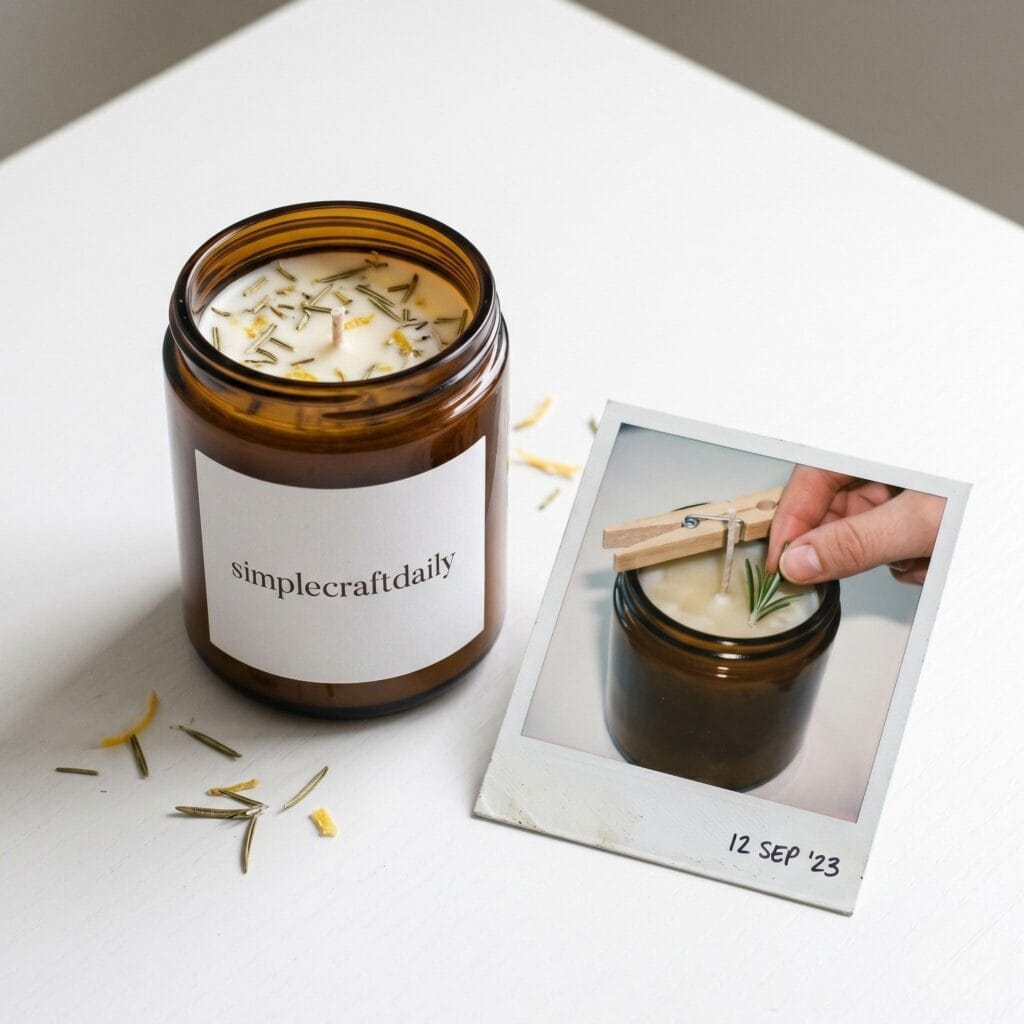
This fresh scent is perfect for neutralizing cooking odors. First, the sharp lemon cuts through the air. Meanwhile, the rosemary grounds it beautifully. Overall, a simple amber glass jar matches this rustic vibe.
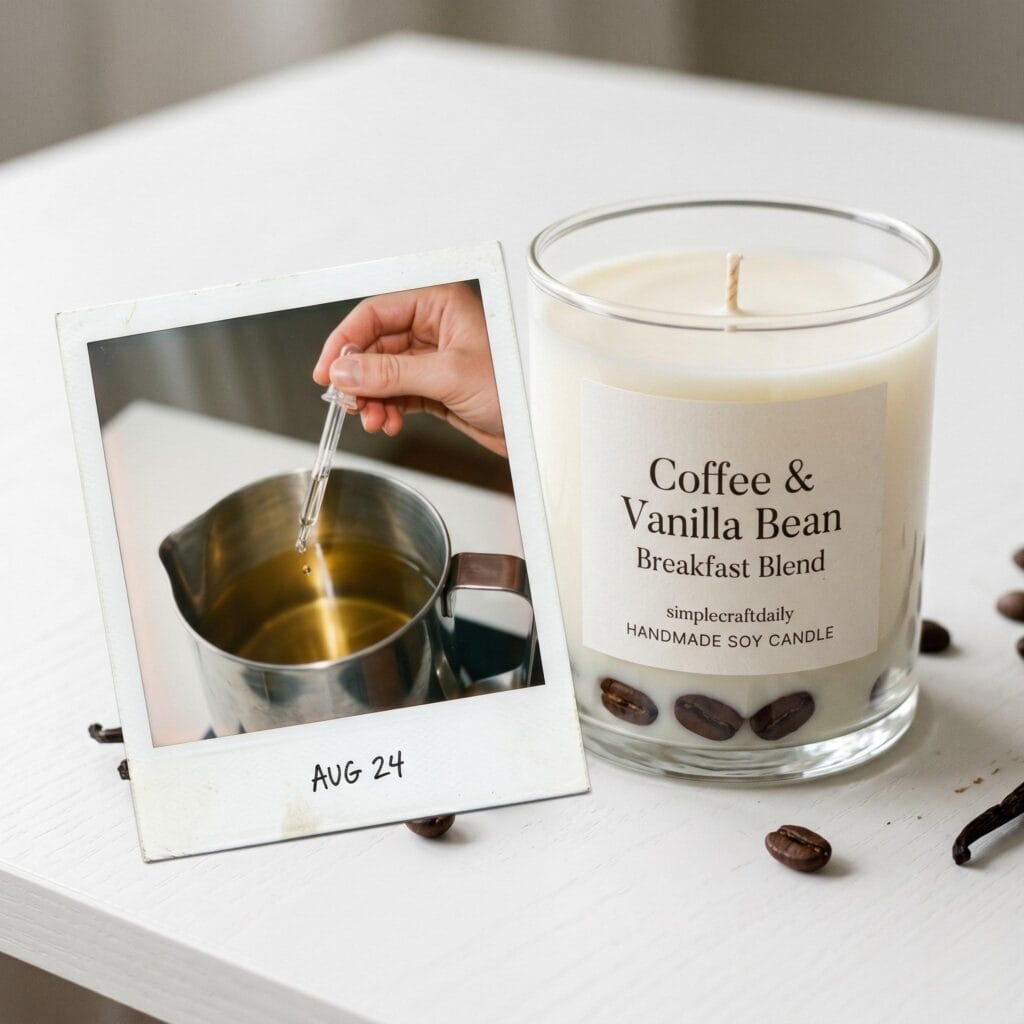
3. Coffee & Vanilla Bean Breakfast Blend: DIY soy candles Idea
Supplies Needed: Golden Brands 464 Soy Wax Flakes, Coffee Vanilla Candle Fragrance Oil, Pre-Waxed Cotton Candle Wicks with Sustainers, Heat-Safe Glass Candle Jars with Lids, Stainless Steel Candle Pouring Pitcher, Digital Candle Thermometer, Metal Wick Centering Bars
This combination is warm, inviting, and slightly sweet. Moreover, you can place three roasted coffee beans at the bottom of the jar before pouring. As a result, you get a hidden visual surprise as the candle burns.
4. Sandalwood & Black Pepper Minimalist: DIY soy candles Idea
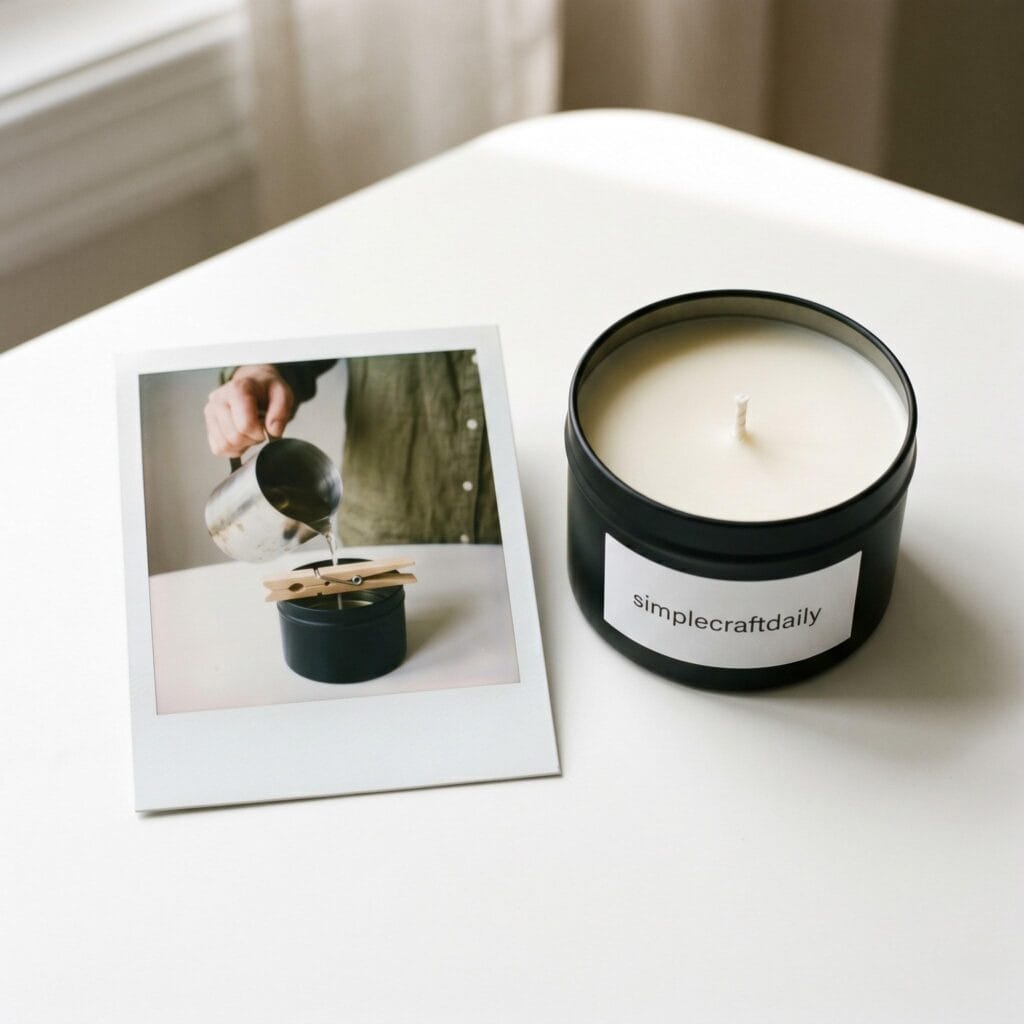
Supplies Needed: Golden Brands 464 Soy Wax Flakes, Candle-Safe Fragrance Oil Discovery Set, Pre-Waxed Cotton Candle Wicks with Sustainers, Seamless Candle Tins with Lids, Wick Sticker Tabs, Metal Wick Centering Bars, Candle Warning Labels and Dust Covers
This offers a deep, woodsy, and slightly masculine blend. Indeed, this scent profile works incredibly well in matte black metal tins. Therefore, it gives your DIY soy candles an expensive, boutique-style look.
5. Eucalyptus & Mint Spa Candle: DIY soy candles Idea
Supplies Needed: Golden Brands 464 Soy Wax Flakes, Candle-Safe Fragrance Oil Discovery Set, Pre-Waxed Cotton Candle Wicks with Sustainers, Heat-Safe Glass Candle Jars with Lids, Liquid Candle Dye Set, Stainless Steel Candle Pouring Pitcher, Digital Candle Thermometer
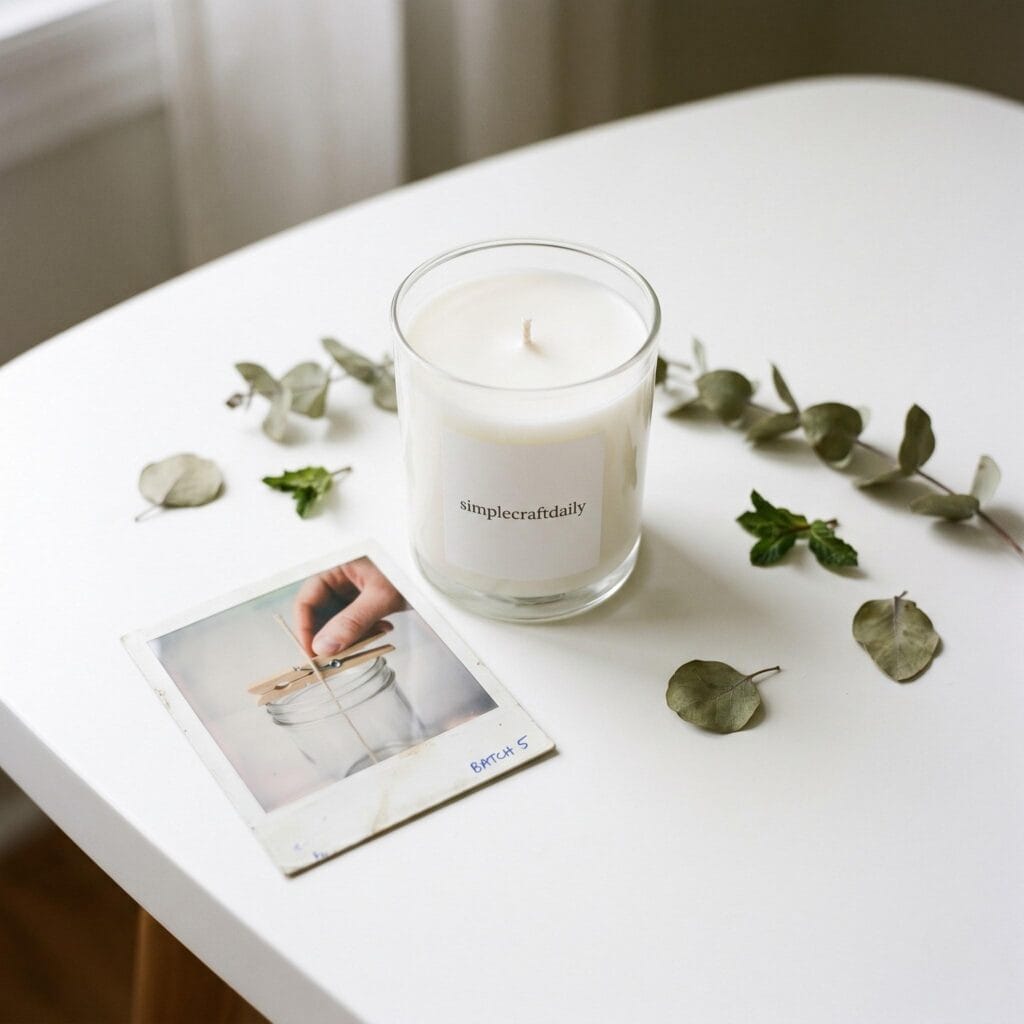
This is the ultimate bathroom candle. Undoubtedly, it is crisp, clearing, and instantly relaxing. To achieve this, keep the design completely clean with pure white wax in a clear glass vessel.
Before you continue: If you enjoy working with natural materials to create beautiful home items, don’t miss our highly popular guide on silk scarf painted bandanas for another elegant weekend craft.
Earthy and Cozy Candle Designs
6. Dried Rose & Patchouli Botanical
Supplies Needed: Golden Brands 464 Soy Wax Flakes, Candle-Safe Fragrance Oil Discovery Set, Pre-Waxed Cotton Candle Wicks with Sustainers, Heat-Safe Glass Candle Jars with Lids, Wick Sticker Tabs, Metal Wick Centering Bars, Candle Warning Labels and Dust Covers
This is a highly romantic, earthy blend. While the wax is cooling, you can gently press a few tiny, crushed dried rose petals near the edges of the jar.
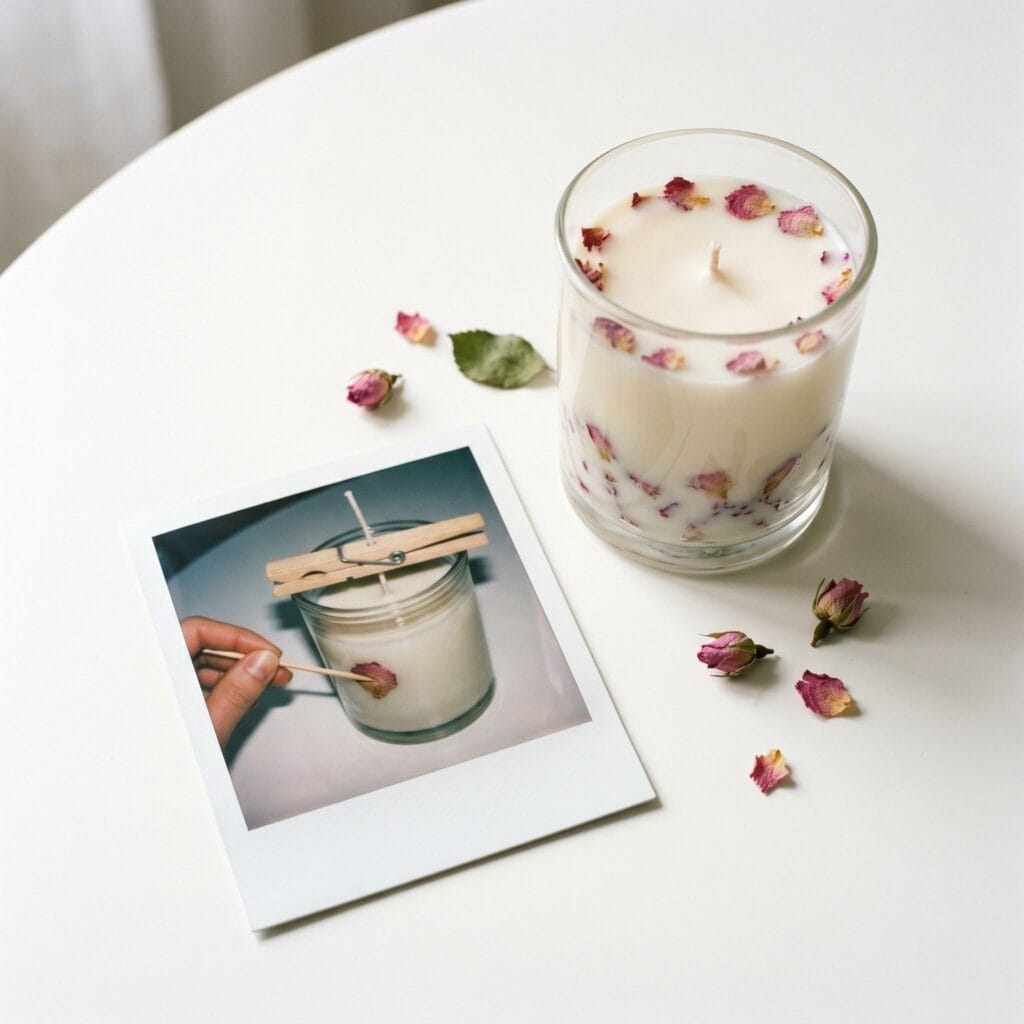
Pro-Tip: Keep any dried botanicals strictly to the outer edge of the glass, far away from the wick. If botanicals touch the flame, they become a serious fire hazard. Less is always more.
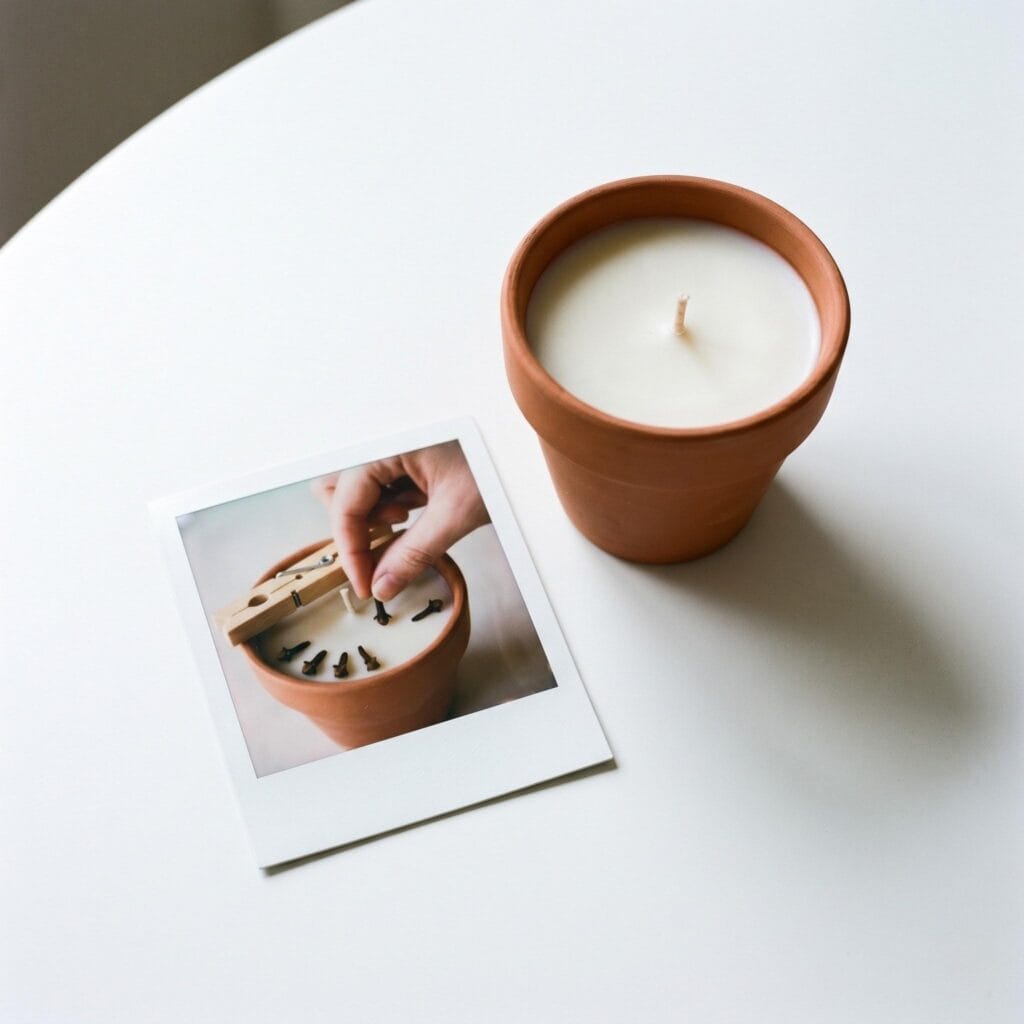
7. Orange & Clove Holiday Pour
Supplies Needed: Golden Brands 464 Soy Wax Flakes, Candle-Safe Fragrance Oil Discovery Set, Pre-Waxed Cotton Candle Wicks with Sustainers, Seamless Candle Tins with Lids, Stainless Steel Candle Pouring Pitcher, Digital Candle Thermometer, Silicone Wax Stirring Spatula Set
Spicy, festive, and warm. Essentially, this combination fills the room with the scent of baked goods. For example, pour it into small, sealed terracotta pots for a cozy touch.
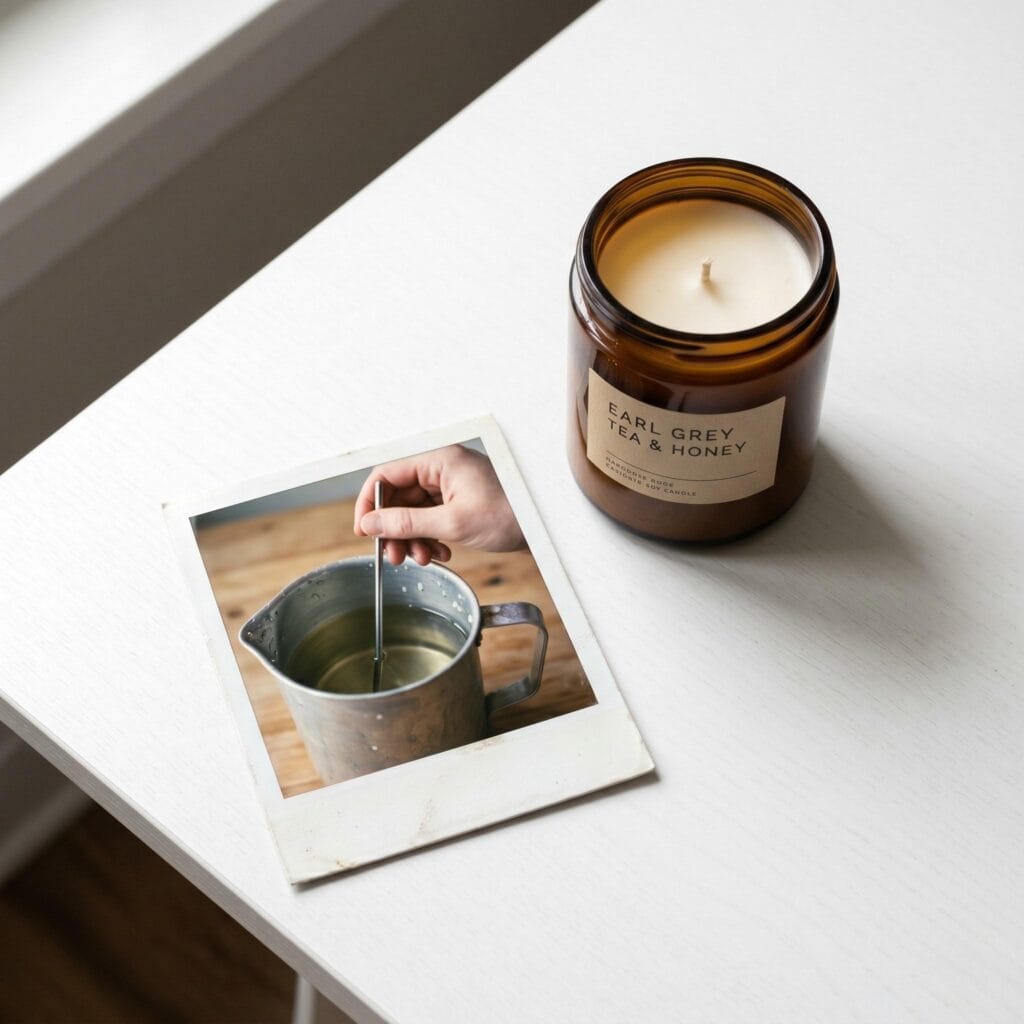
8. Earl Grey Tea & Honey
Supplies Needed: Golden Brands 464 Soy Wax Flakes, Candle-Safe Fragrance Oil Discovery Set, Pre-Waxed Cotton Candle Wicks with Sustainers, Heat-Safe Glass Candle Jars with Lids, Wick Sticker Tabs, Metal Wick Centering Bars, Candle Warning Labels and Dust Covers
This profile mimics a hot cup of tea perfectly. Specifically, the bergamot notes mixed with warm honey make this ideal for a rainy afternoon. Thus, it is a very comforting project.
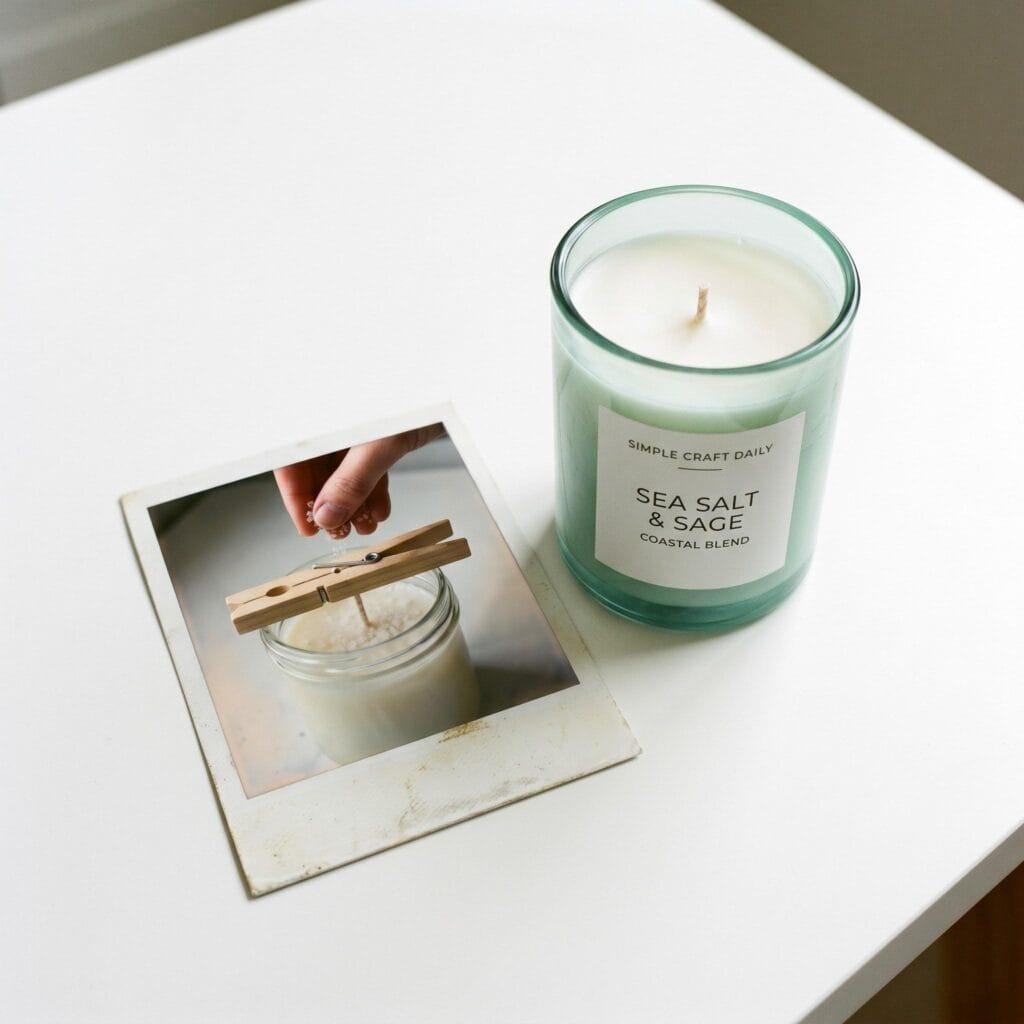
9. Sea Salt & Sage Coastal Blend
Supplies Needed: Golden Brands 464 Soy Wax Flakes, Candle-Safe Fragrance Oil Discovery Set, Pre-Waxed Cotton Candle Wicks with Sustainers, Heat-Safe Glass Candle Jars with Lids, Stainless Steel Candle Pouring Pitcher, Digital Candle Thermometer, Metal Wick Centering Bars
This scent is clean, fresh, and slightly mineral. Because it is so light, it is a great everyday candle for the living room. In addition, using a sea-foam green tinted jar enhances the coastal aesthetic.
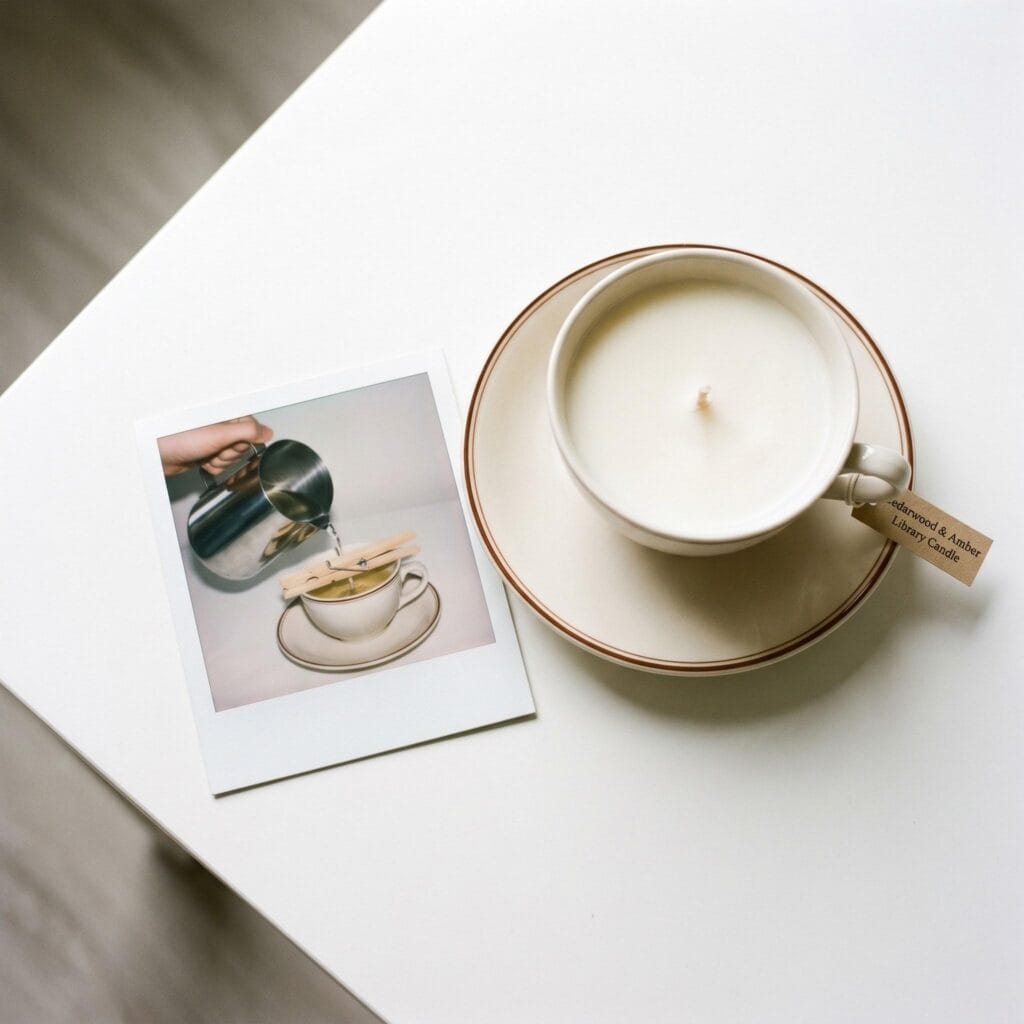
10. Cedarwood & Amber Library Candle
Deep, moody, and very sophisticated. Basically, it smells exactly like old books and wood cabins. this is an excellent scent to pour into vintage teacups for a highly unique upcycled project.
Love upcycling? If you enjoy giving new life to old containers, be sure to explore our beautiful guide on upcycled glass jar crafts for even more stunning DIY home decor inspiration.
Step-by-Step Guide: How to Make DIY soy candles
Now that you have chosen your scent, it is time to pour. Above all, making DIY soy candles is mostly about temperature control and patience.
Preparing the Jars and Melting
Step 1 – Prep Your Jar and Wick:
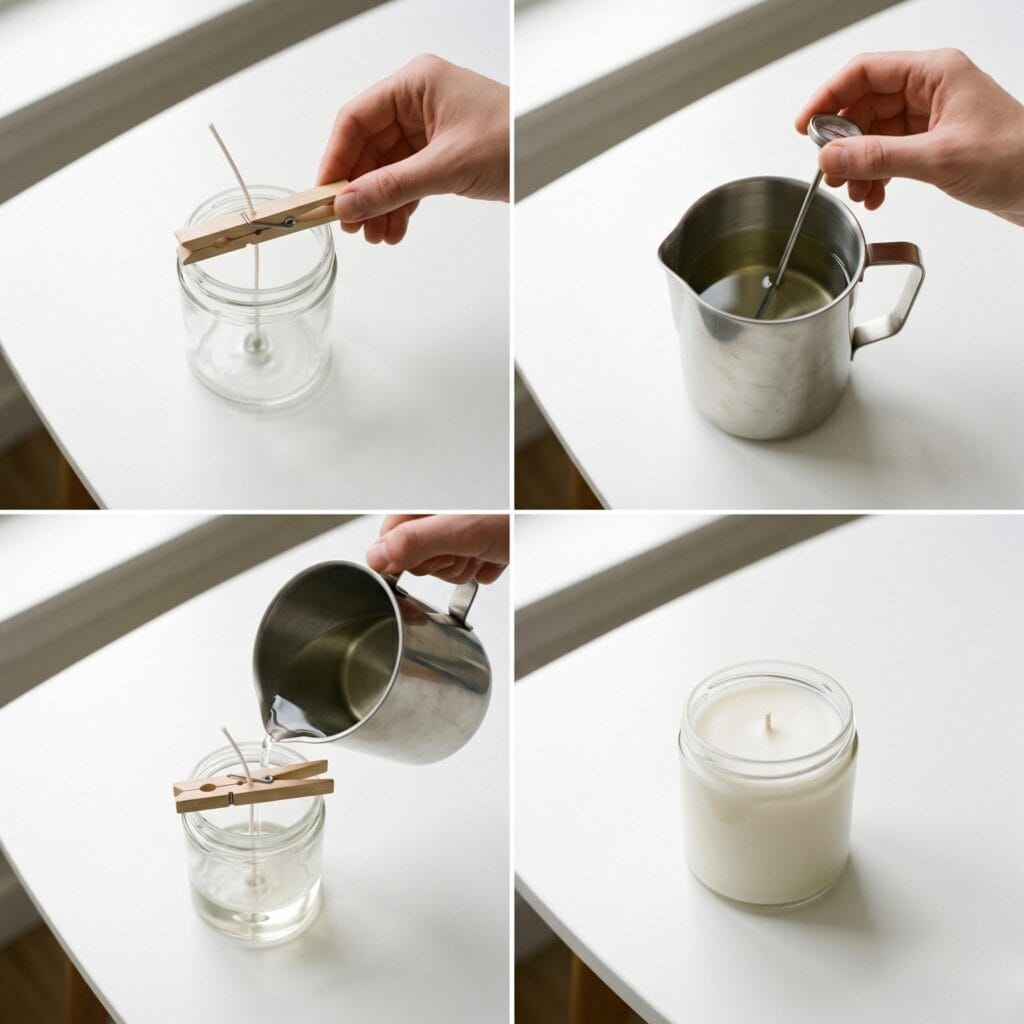
First, ensure your glass jars are completely clean and dry. Next, dip the metal tab of your cotton wick into melted wax and press it into the center of the jar. Then, use a wooden clothespin across the top to keep the wick perfectly straight.
Step 2 – Melt the Soy Wax:
To begin, weigh your soy wax flakes. Generally, you need twice the volume of unmelted flakes to fill a container. Now, create a double boiler by placing a metal pitcher inside a pot of simmering water. Finally, heat the wax until it reaches about 185°F (85°C).
Pro-Tip: Never melt wax directly in a pan over a flame. Wax is highly flammable, and a double boiler ensures a gentle, safe, and even melt.
Scenting and Pouring the Wax
Step 3 – Add Your Fragrance:
Once the wax hits 185°F (85°C), remove it from the heat. Importantly, this is the optimal temperature to add your essential oils because it allows the scent to bind perfectly. Afterward, stir gently for about 2 minutes.
Step 4 – Pour the Wax:
Slowly First, let the wax cool in the pitcher until it reaches about 135°F (57°C). Because pouring at this lower temperature prevents the wax from shrinking too fast, you avoid ugly sinkholes. Next, pour the wax very slowly into your jars.
Pro-Tip: Slightly warming your glass jars with a hairdryer before pouring easily helps prevent “wet spots”—those areas where the cooled wax pulls away from the cold glass.
Step 5 – Trim and Cure:
Lastly, let the DIY soy candles cool undisturbed for 24 hours. Once they are solid, trim the wick to 1/4 inch. Most importantly, let the candle cure with the lid on for 1 to 2 weeks before lighting it for the best scent throw.
While you wait: Curing takes time, so if you are looking for another quick project this weekend, check out our easy tutorial on handmade pet crafts to spoil your furry friends!
Important Crafting Safety Note:
Always melt wax using a double boiler method, never directly on a stove burner, and never leave melting wax unattended. Ensure your workspace is clear of flammable materials. When decorating candles, never place dried flowers, coffee beans, or crystals near the wick where they can catch fire or cause the glass to overheat and shatter. Keep all finished burning candles away from drafts, pets, and children.
Quick Reference: All Supplies at a Glance
For your convenience, here is a quick summary of all materials and tools used in this tutorial:
✨ Consumable Raw Materials
- Golden Brands 464 Soy Wax Flakes | Check Price on Amazon
- Candle-Safe Fragrance Oil Discovery Set | See Price on Amazon
- Lavender Bergamot Candle Fragrance Oil | Check Lavender Bergamot Candle Fragrance Oil on Amazon
- Coffee Vanilla Candle Fragrance Oil | See Coffee Vanilla Candle Fragrance Oil on Amazon
- Liquid Candle Dye Set | View Liquid Candle Dye Set on Amazon
🧰 Core Crafting Tools & Equipment
- Stainless Steel Candle Pouring Pitcher | Find Stainless Steel Candle Pouring Pitcher on Amazon
- Digital Candle Thermometer | Check Latest Price on Amazon
- Silicone Wax Stirring Spatula Set | View on Amazon
- Metal Wick Centering Bars | Check Price on Amazon
💎 Hardware, Fasteners & Finishing
- Pre-Waxed Cotton Candle Wicks with Sustainers | See Price on Amazon
- Wick Sticker Tabs | Check Wick Sticker Tabs on Amazon
- Heat-Safe Glass Candle Jars with Lids | See Heat-Safe Glass Candle Jars with Lids on Amazon
- Seamless Candle Tins with Lids | View Seamless Candle Tins with Lids on Amazon
- Candle Warning Labels and Dust Covers | Find Candle Warning Labels and Dust Covers on Amazon
📦 All-in-One Starter Kits
- Soy Candle Making Starter Kit | Check Latest Price on Amazon
⚡ Studio Tools & Workshop Equipment
- Electric Wax Melter with Pouring Spout | View on Amazon
- Daylight LED Magnifying Task Lamp | Check Price on Amazon
- Heavy Duty Rolling Craft Cart | See Price on Amazon
Important Crafting Safety Notes
Crafting is a rewarding creative activity, but maintaining a safe workshop environment is essential for yourself, your family, and your pets. Please review these vital safety precautions before starting:
• Personal Protective Equipment (PPE) & Safe Handling: Always wear safety glasses or protective eyewear when cutting metal wire, clipping jump rings, trimming hard findings, or using power tools to prevent flying shards. Use heat-resistant work mats and exercise caution around high-temperature glue guns, irons, or heating tools to avoid burns. Wear disposable nitrile gloves and a particle dust mask when sanding wood or working with clays, resins, and solvent-based sealants to protect your skin and lungs.
• Room Ventilation & Fume Safety: Always craft in a well-ventilated space with open windows, cross-ventilation, or active exhaust whenever using solvent-based adhesives, instant bonders, aerosol sprays, epoxy resins, or heat-curing materials. Never inhale chemical fumes directly, and allow finished pieces to off-gas and cure completely in an airy area away from everyday living spaces.
• Child & Pet Safety (Choking & Swallowing Prevention): Small craft components—including safety eyes, split rings, clasps, jump rings, beads, bells, small magnets, unbaked clay scraps, and loose polyester fiberfill—present severe choking, intestinal obstruction, and ingestion hazards for babies, toddlers, and pets. Keep all unattached hardware, yarn cutoffs, and stuffing strictly out of reach. For handmade gifts intended for infants or young children, omit plastic washer eyes and detachable findings entirely in favor of securely stitched, double-knotted embroidered details.
• Sharp Tool Storage & Clean Work Area: Store sharp tools—such as rotary cutters, craft knives, bent-tip yarn needles, snips, scissors, and jewelry pliers—in secure, latching cases or high cabinets immediately after use. Thoroughly inspect, sweep, or vacuum your craft area and floor after finishing to ensure no dropped needles, pins, wire clippings, or small findings remain where curious pets or bare feet could step on or swallow them.
• Certified, Quality & Non-Toxic Supplies: Always choose verified non-toxic craft supplies (such as ACMI AP-certified paints and adhesives, lead-free and nickel-free jewelry findings, and skin-safe materials). Follow manufacturer label guidelines for curing durations, safe operating temperatures, and proper product disposal. Never use food preparation utensils or kitchen cookware for craft chemicals.
For more detailed guidance on safe crafting practices, liability disclosures, and website usage, please review our Terms and Conditions.