

Upgrading your kitchen decor is actually very simple. In fact, you do not need expensive items to make your space feel cozy. In this guide, we share a wonderful crafting activity. Specifically, we will explore how to make beautiful decorative clay magnets from scratch.
This blog post contains affiliate links. As an Amazon Associate, I earn from qualifying purchases. The content on some of these projects may be enhanced with structural craft inspirations.
Key Facts:
- Technique: Decorative Clay Magnets
- Total time: 24–48 hours
- Difficulty: Easy
- Makes: 5 Decorative Clay Magnets
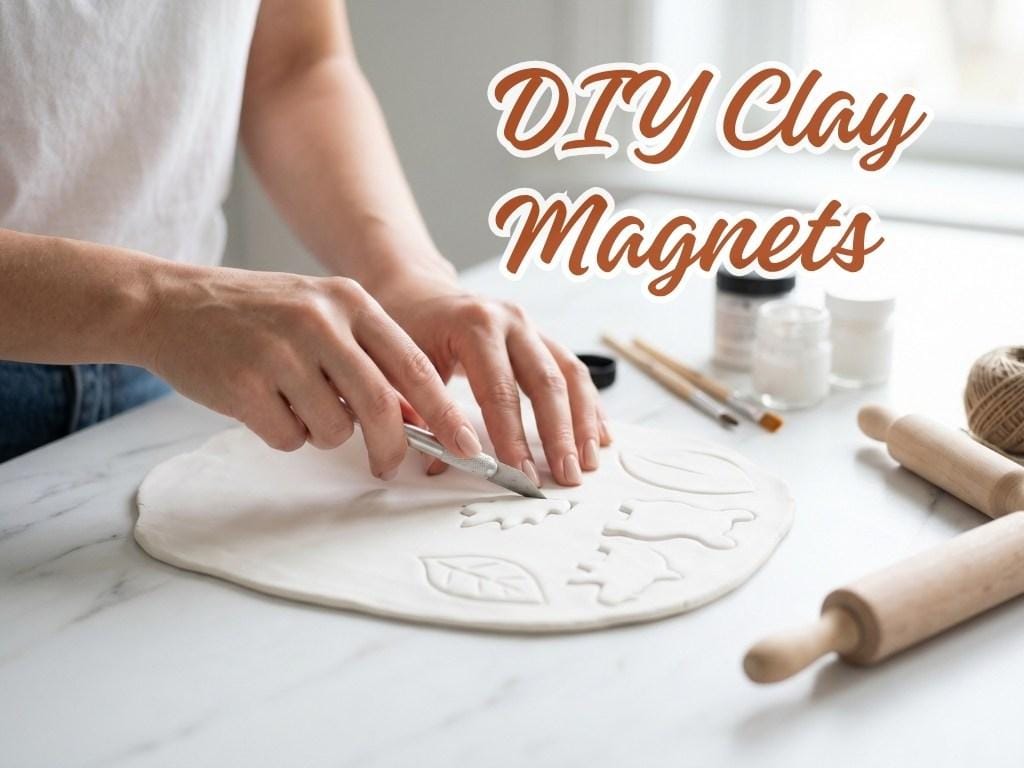
You can easily replace generic plastic magnets with beautiful handmade pieces. Therefore, this project offers a highly relaxing weekend activity. For example, if you enjoyed our DIY coffee clay recipe or loved crafting a polymer clay bookmark, you will definitely love this tutorial. Ultimately, let us start making these adorable fridge accessories today.
Essential Supplies for Decorative Clay Magnets
| Supply | Spec / Size | Used For |
|---|---|---|
| White Air Dry Clay | soft, easy to shape, and dries hard without baking | |
| Small Dried Leaves or Pressed Flowers | leaves a delicate, natural fossil-like imprint | |
| Smooth Acrylic Rolling Pin | flattens clay to an even, consistent thickness | |
| Precision Craft Knife | for freehand organic shapes, fine detail work, and precise trimming | |
| Small Metal Cookie Cutters | for clean, repeatable geometric and decorative silhouettes | |
| Small Round Ceramic Magnets | strong enough to hold notes and photos on a fridge |
To begin with, you only need a few simple supplies to start this fun project. Gather these before you sit down, and the whole process will go smoothly from rolling to painting.
A few foundational materials are used in every single design in this guide, marked with a (used throughout) tag below.
🏺 Clay Base
White air dry clay is the foundation every single magnet in this guide starts from — no oven or kiln required.
- White Air Dry Clay (used throughout) — soft, easy to shape, and dries hard without baking | Check Air Dry Clay on Amazon
🌿 Botanical Add-Ins
One design in this guide presses real dried botanicals into the wet clay before it sets.
- Small Dried Leaves or Pressed Flowers — leaves a delicate, natural fossil-like imprint | View Pressed Botanicals on Amazon
✂️ Shaping & Cutting Tools
A smooth rolling pin flattens every batch of clay, while a craft knife or cookie cutters shape it into each design’s final silhouette.
- Smooth Acrylic Rolling Pin (used throughout) — flattens clay to an even, consistent thickness | See Rolling Pins on Amazon
- Precision Craft Knife (used throughout) — for freehand organic shapes, fine detail work, and precise trimming | Check Craft Knives on Amazon
- Small Metal Cookie Cutters (used throughout) — for clean, repeatable geometric and decorative silhouettes | View Cookie Cutters on Amazon
🔩 Hardware & Assembly
- Small Round Ceramic Magnets (used throughout) — strong enough to hold notes and photos on a fridge | View Ceramic Magnets on Amazon
- Strong Industrial Craft Glue (used throughout) — bonds the magnet permanently to the dried clay back | See Craft Glue on Amazon
🎨 Paint & Finishing
- Acrylic Paints & Fine Brush (used throughout) — for solid colors, fine specks, and thin painted lines | Check Acrylic Paints on Amazon
- Water-Based Matte or Gloss Varnish (used throughout) — seals the porous clay and protects the paint from chipping | View Varnish on Amazon
Step-by-Step Instructions for Decorative Clay Magnets
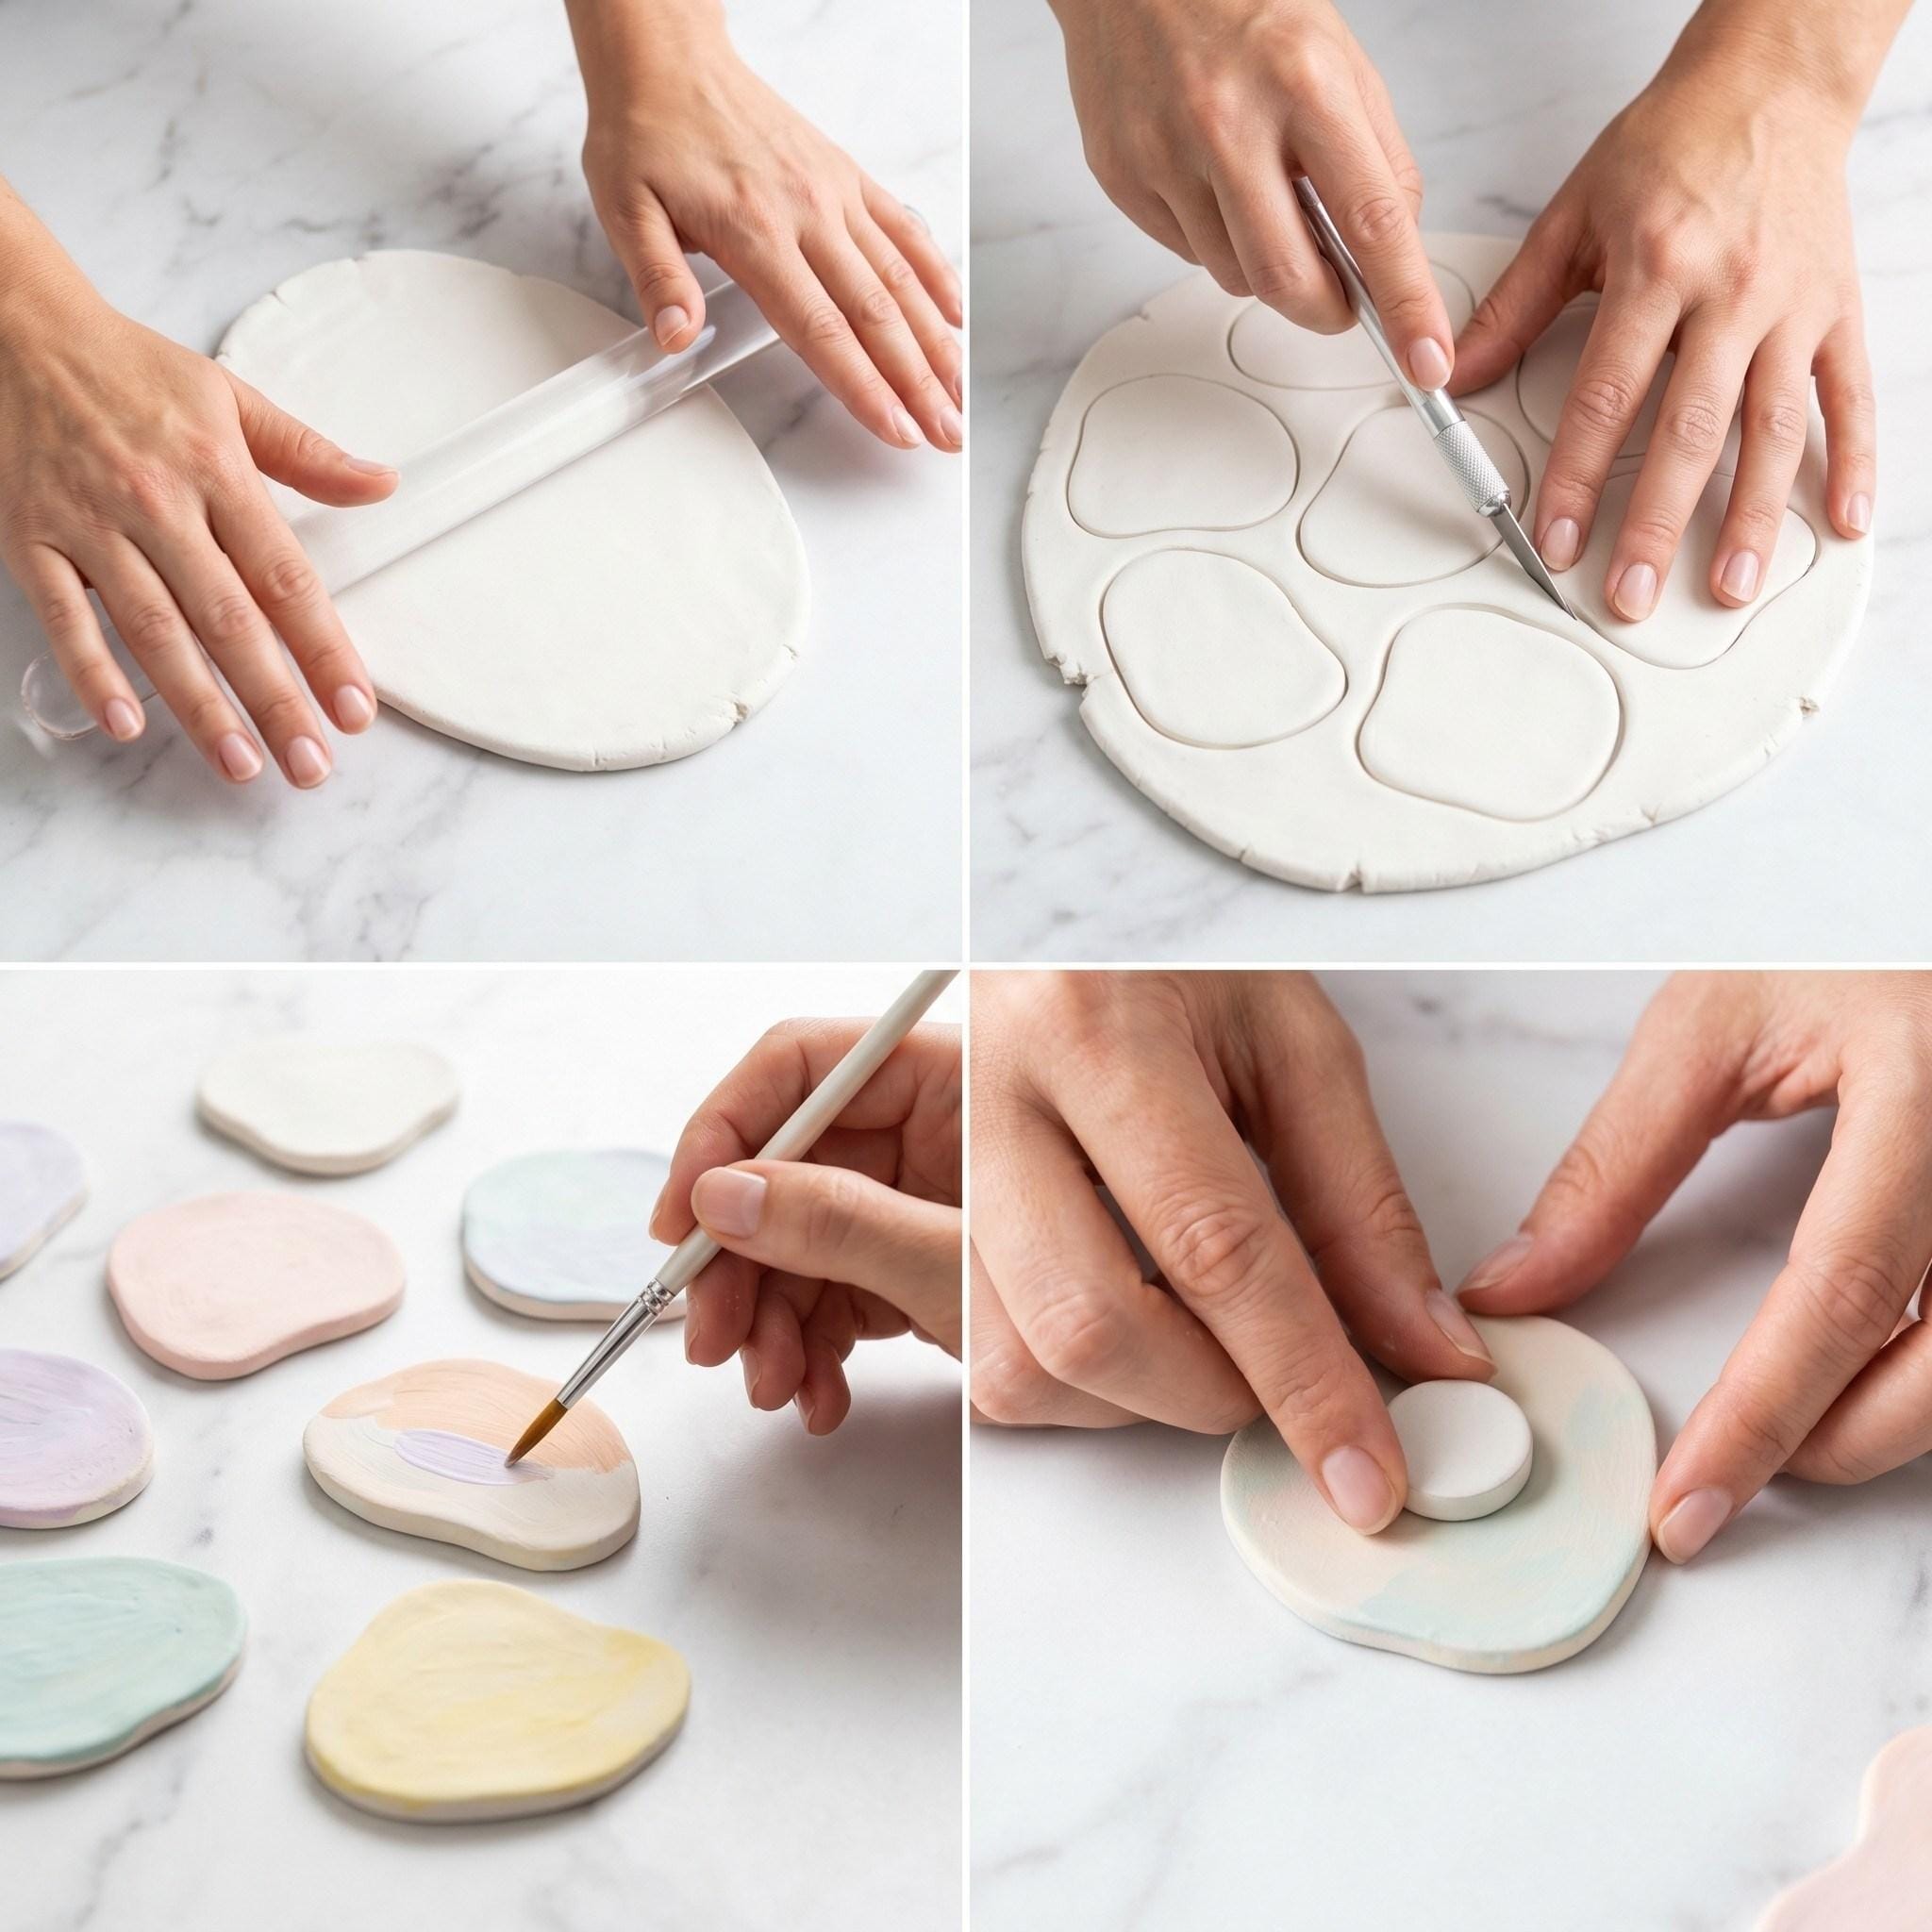
Step 1: Rolling the Clay
First, clean your crafting table completely. Next, take a small piece of your air dry clay. You must knead it gently until it becomes soft. Once it is completely smooth, roll the clay out flat. Make sure it is about a quarter-inch thick. Consequently, this thickness provides a sturdy base.
Step 2: Cutting the Shapes
After rolling the dough, you can start cutting your shapes. Specifically, use your craft knife for organic forms. Alternatively, use small cookie cutters for precise circles or arches. Furthermore, dip your finger in a little water to smooth out any rough edges. Therefore, you will achieve a truly professional finish. (Always cut away from your body when using a craft knife — see our safety note below.)
Step 3: Drying the Decorative Clay Magnets
When your shapes are ready, place them on a sheet of parchment paper. Next, leave them in a dry and warm room. Depending on the humidity, they will take about 24 to 48 hours to dry completely. Remember to flip them over halfway through the drying process. Ultimately, this ensures they dry perfectly flat.
Step 4: Painting and Attaching Magnets
Once the clay is rock hard, you can start painting. Indeed, use your acrylic paints to add beautiful colors. After the paint dries completely, apply a protective layer of varnish. Finally, use strong craft glue to attach the ceramic magnet to the back of each piece. Let the glue set overnight.
Pro-Tip: Before applying the glue, lightly score the back of the dried clay with your craft knife. Consequently, this rough texture creates a much stronger grip for the ceramic magnet.
5 Decorative Clay Magnets to Inspire You
Undoubtedly, finding the right inspiration is the best part of crafting. Here are five lovely concepts to try for your kitchen.
1. Botanical Imprint Decorative Clay Magnets
Supplies Needed: White Air Dry Clay, Small Dried Leaves or Pressed Flowers, Acrylic Paints & Fine Brush, Small Round Ceramic Magnets, Strong Industrial Craft Glue, Varnish.
- Press small dried leaves or flowers into the wet clay.
- Peel the plant away to reveal a beautiful fossil impression.
- Paint the imprint with a soft sage green color.
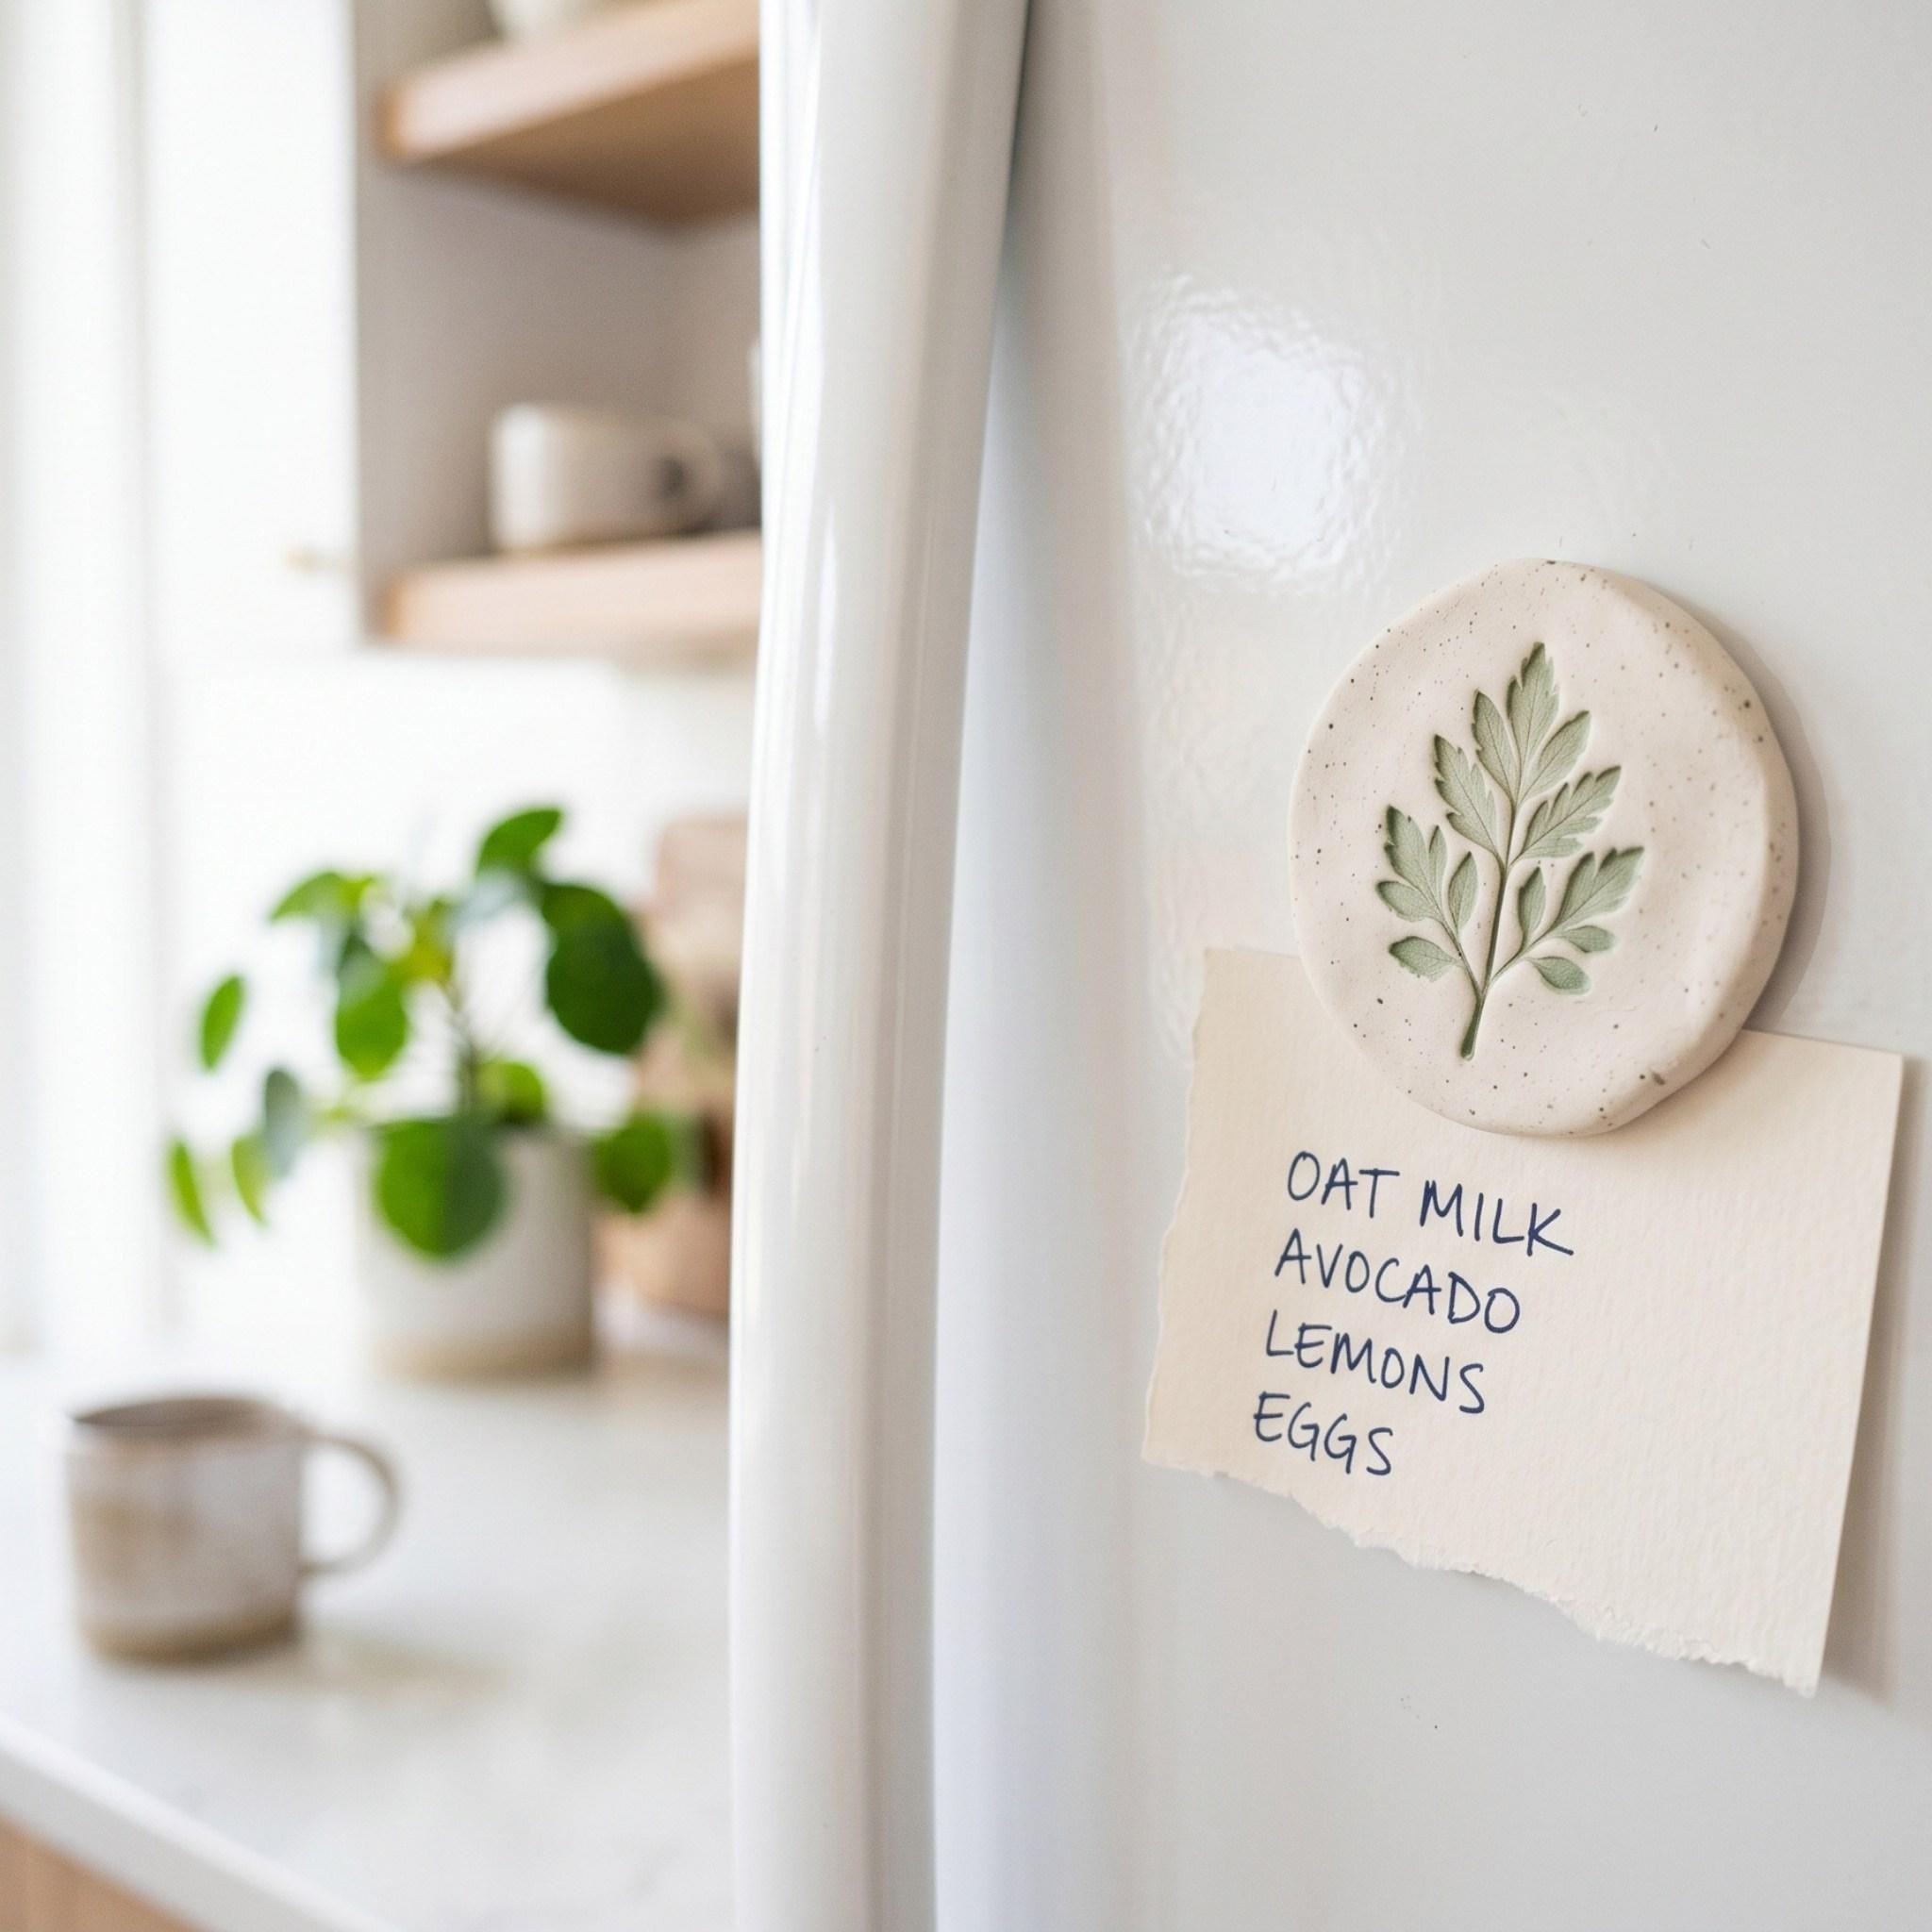
First, you can press small dried leaves or flowers into the wet clay. Next, carefully peel the plant away to reveal a beautiful fossil impression. Afterwards, paint the imprint with a soft sage green color. Surely, this brings a natural touch to your kitchen decor.
2. Minimalist Rainbow Shapes
Supplies Needed: White Air Dry Clay, Craft Knife or Cookie Cutters, Acrylic Paints & Fine Brush, Small Round Ceramic Magnets, Strong Industrial Craft Glue, Varnish.
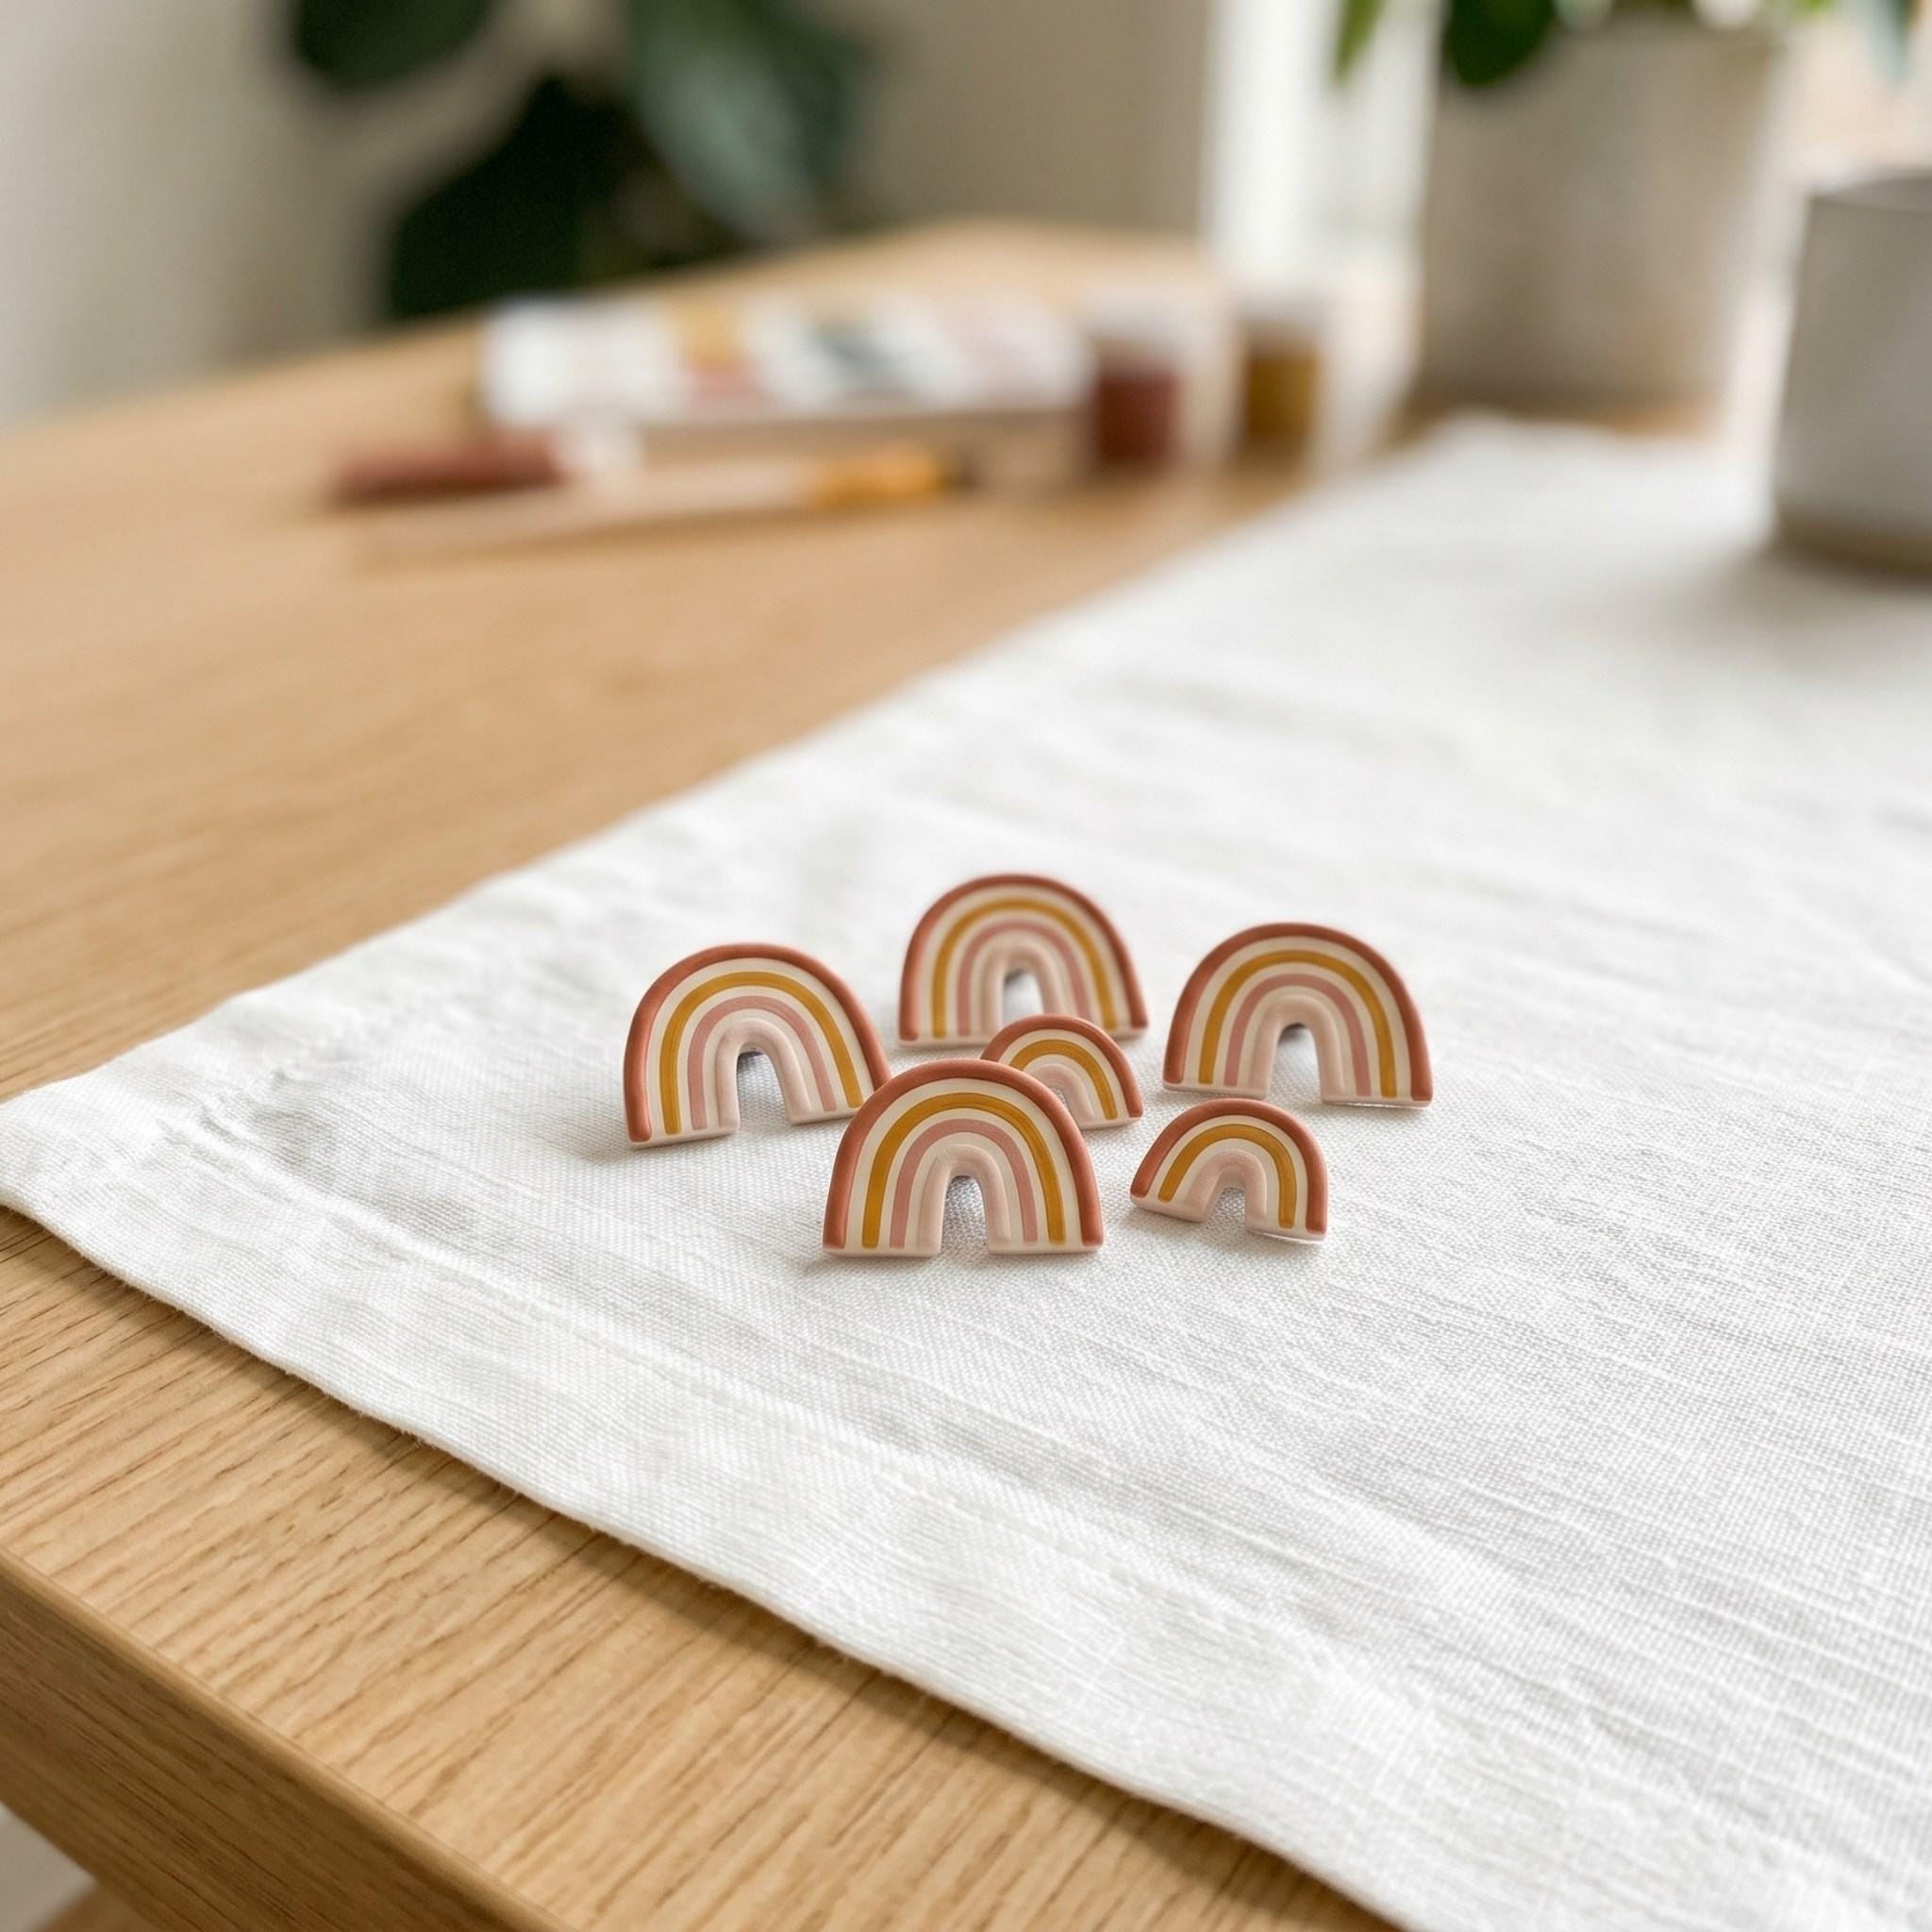
Alternatively, cut your clay into small half-circle arch shapes. Once they dry, paint three simple curved lines using muted earthy tones. For instance, you can use terracotta, mustard, and blush pink. Consequently, these tiny boho rainbows will instantly brighten up your mood.
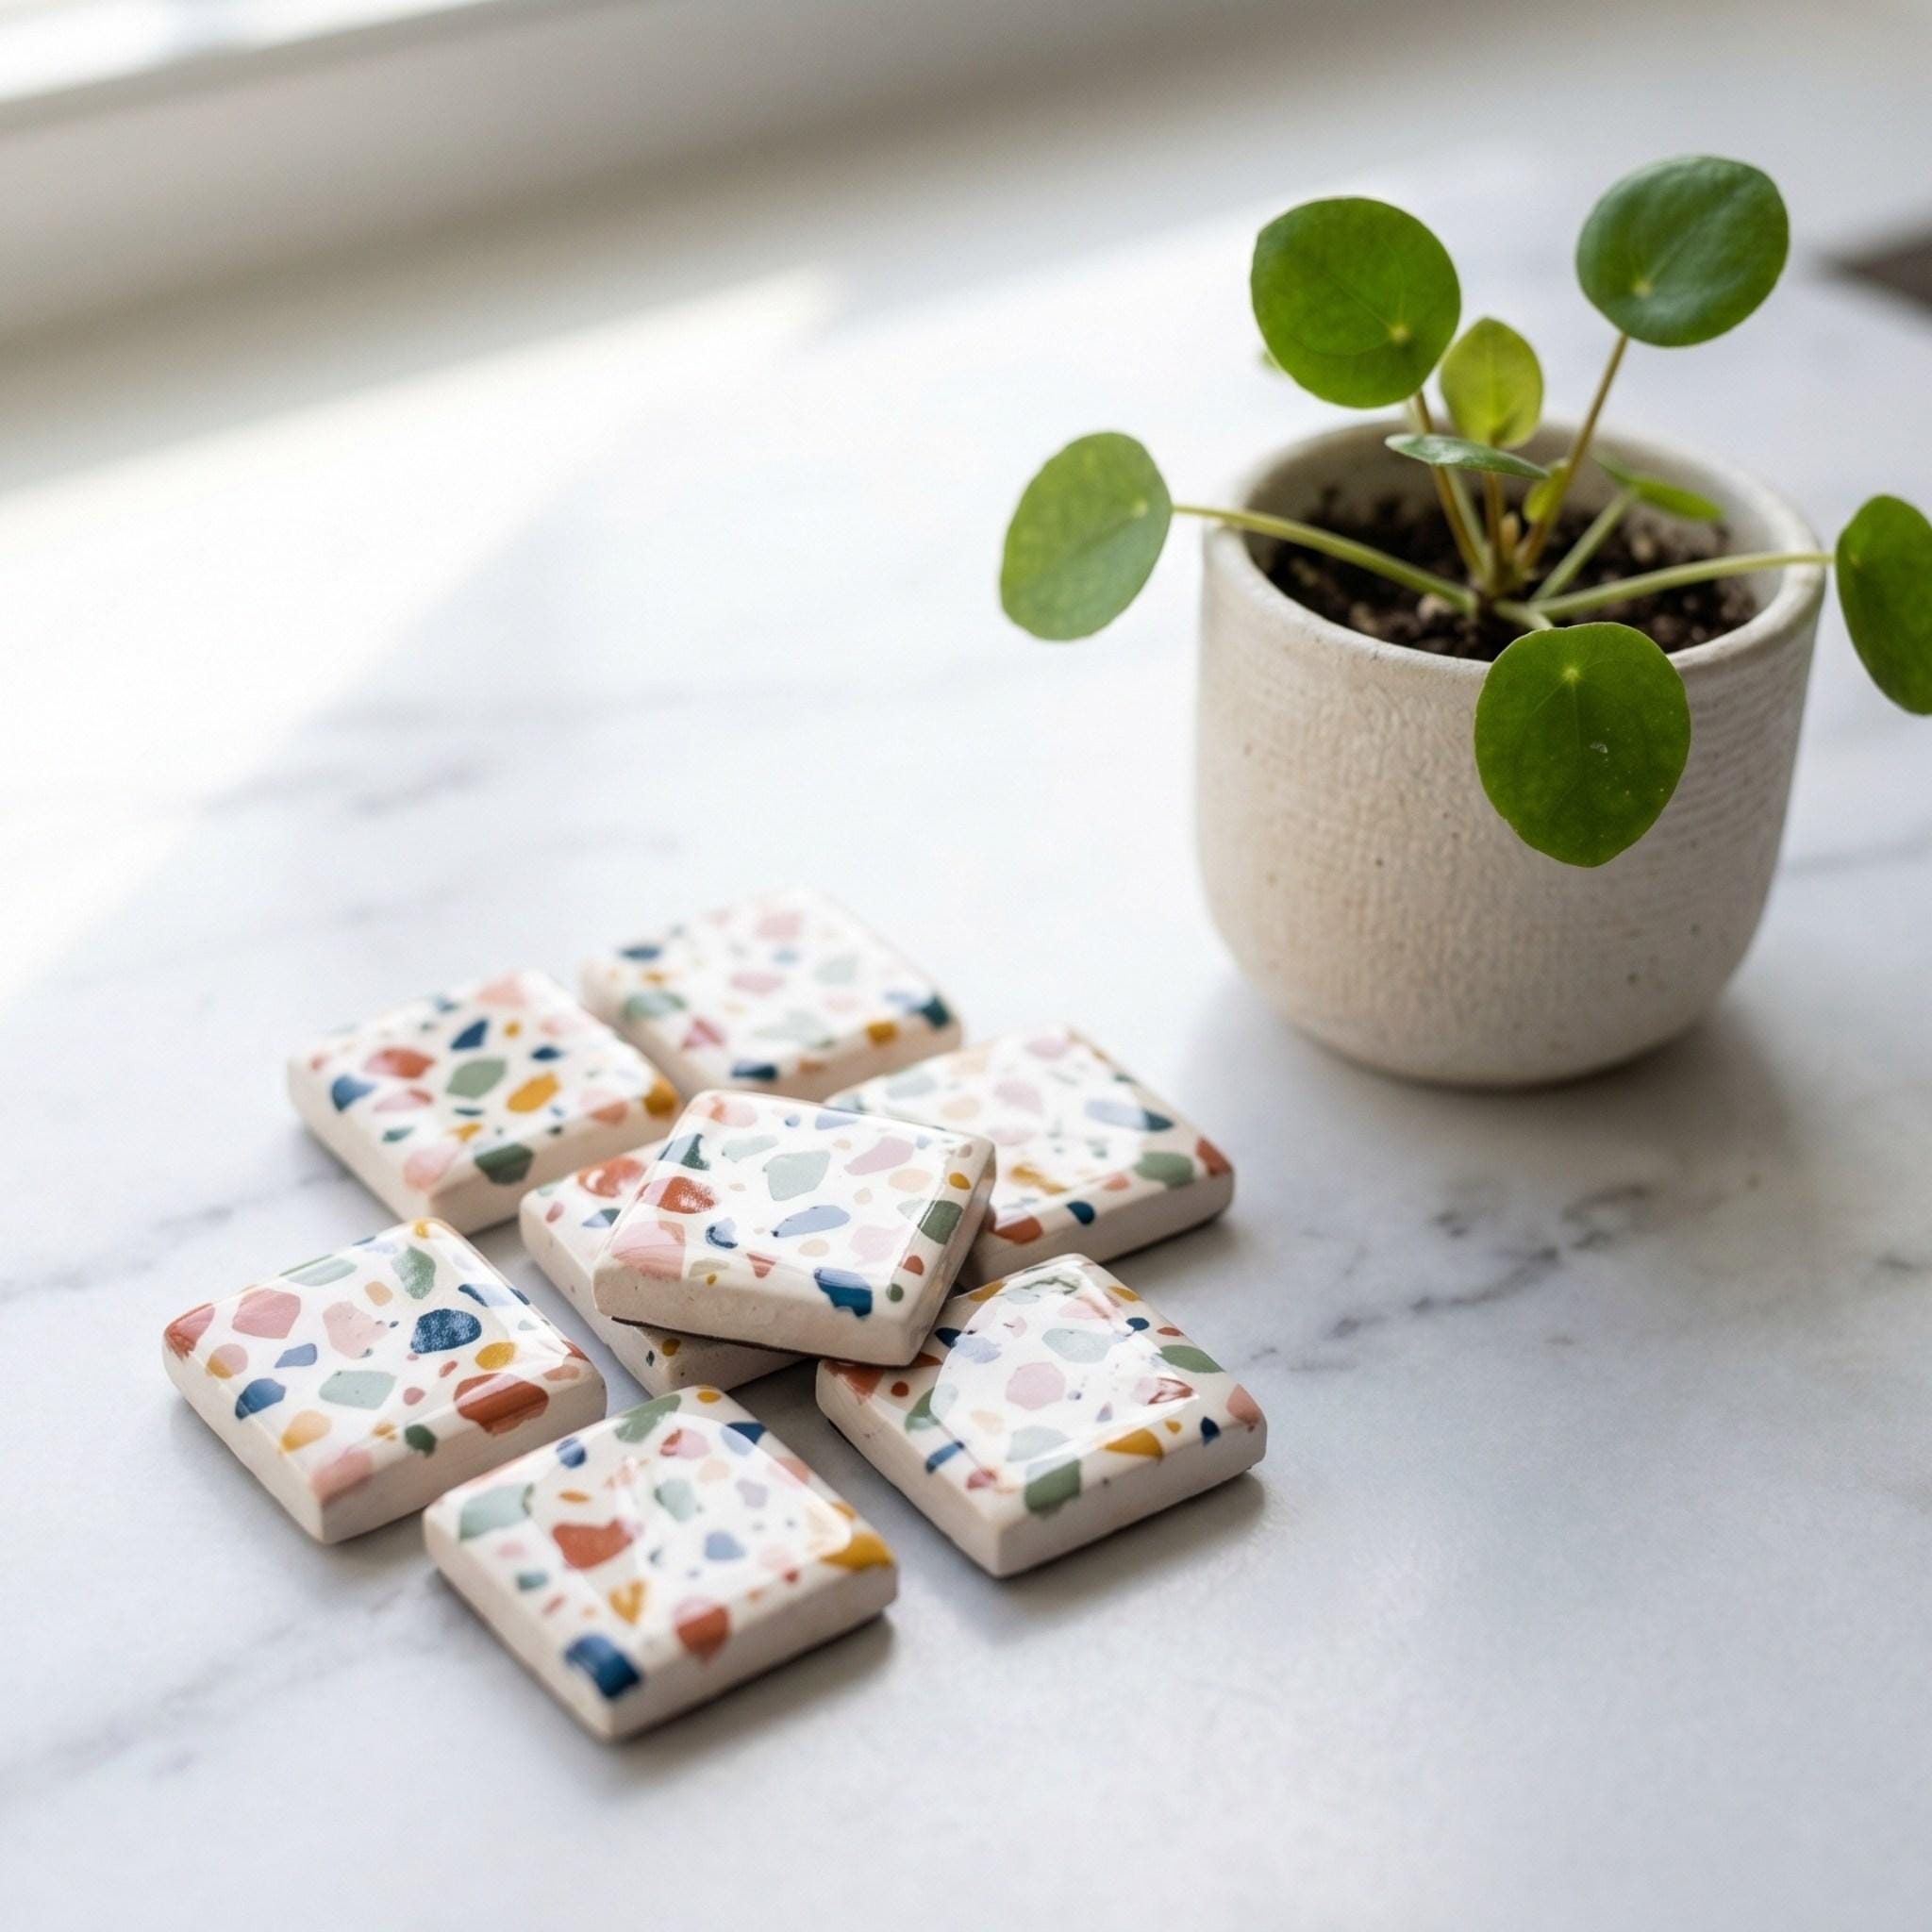
3. Tiny Terrazzo Tiles
Supplies Needed: White Air Dry Clay, Craft Knife or Cookie Cutters, Acrylic Paints & Fine Brush, Small Round Ceramic Magnets, Strong Industrial Craft Glue, Varnish.
To begin with, cut your clay into perfect little squares. Then, paint small irregular specks of different colors across the white surface. Therefore, you will mimic the look of trendy terrazzo flooring. Furthermore, adding a glossy varnish makes them look like real ceramic tiles.
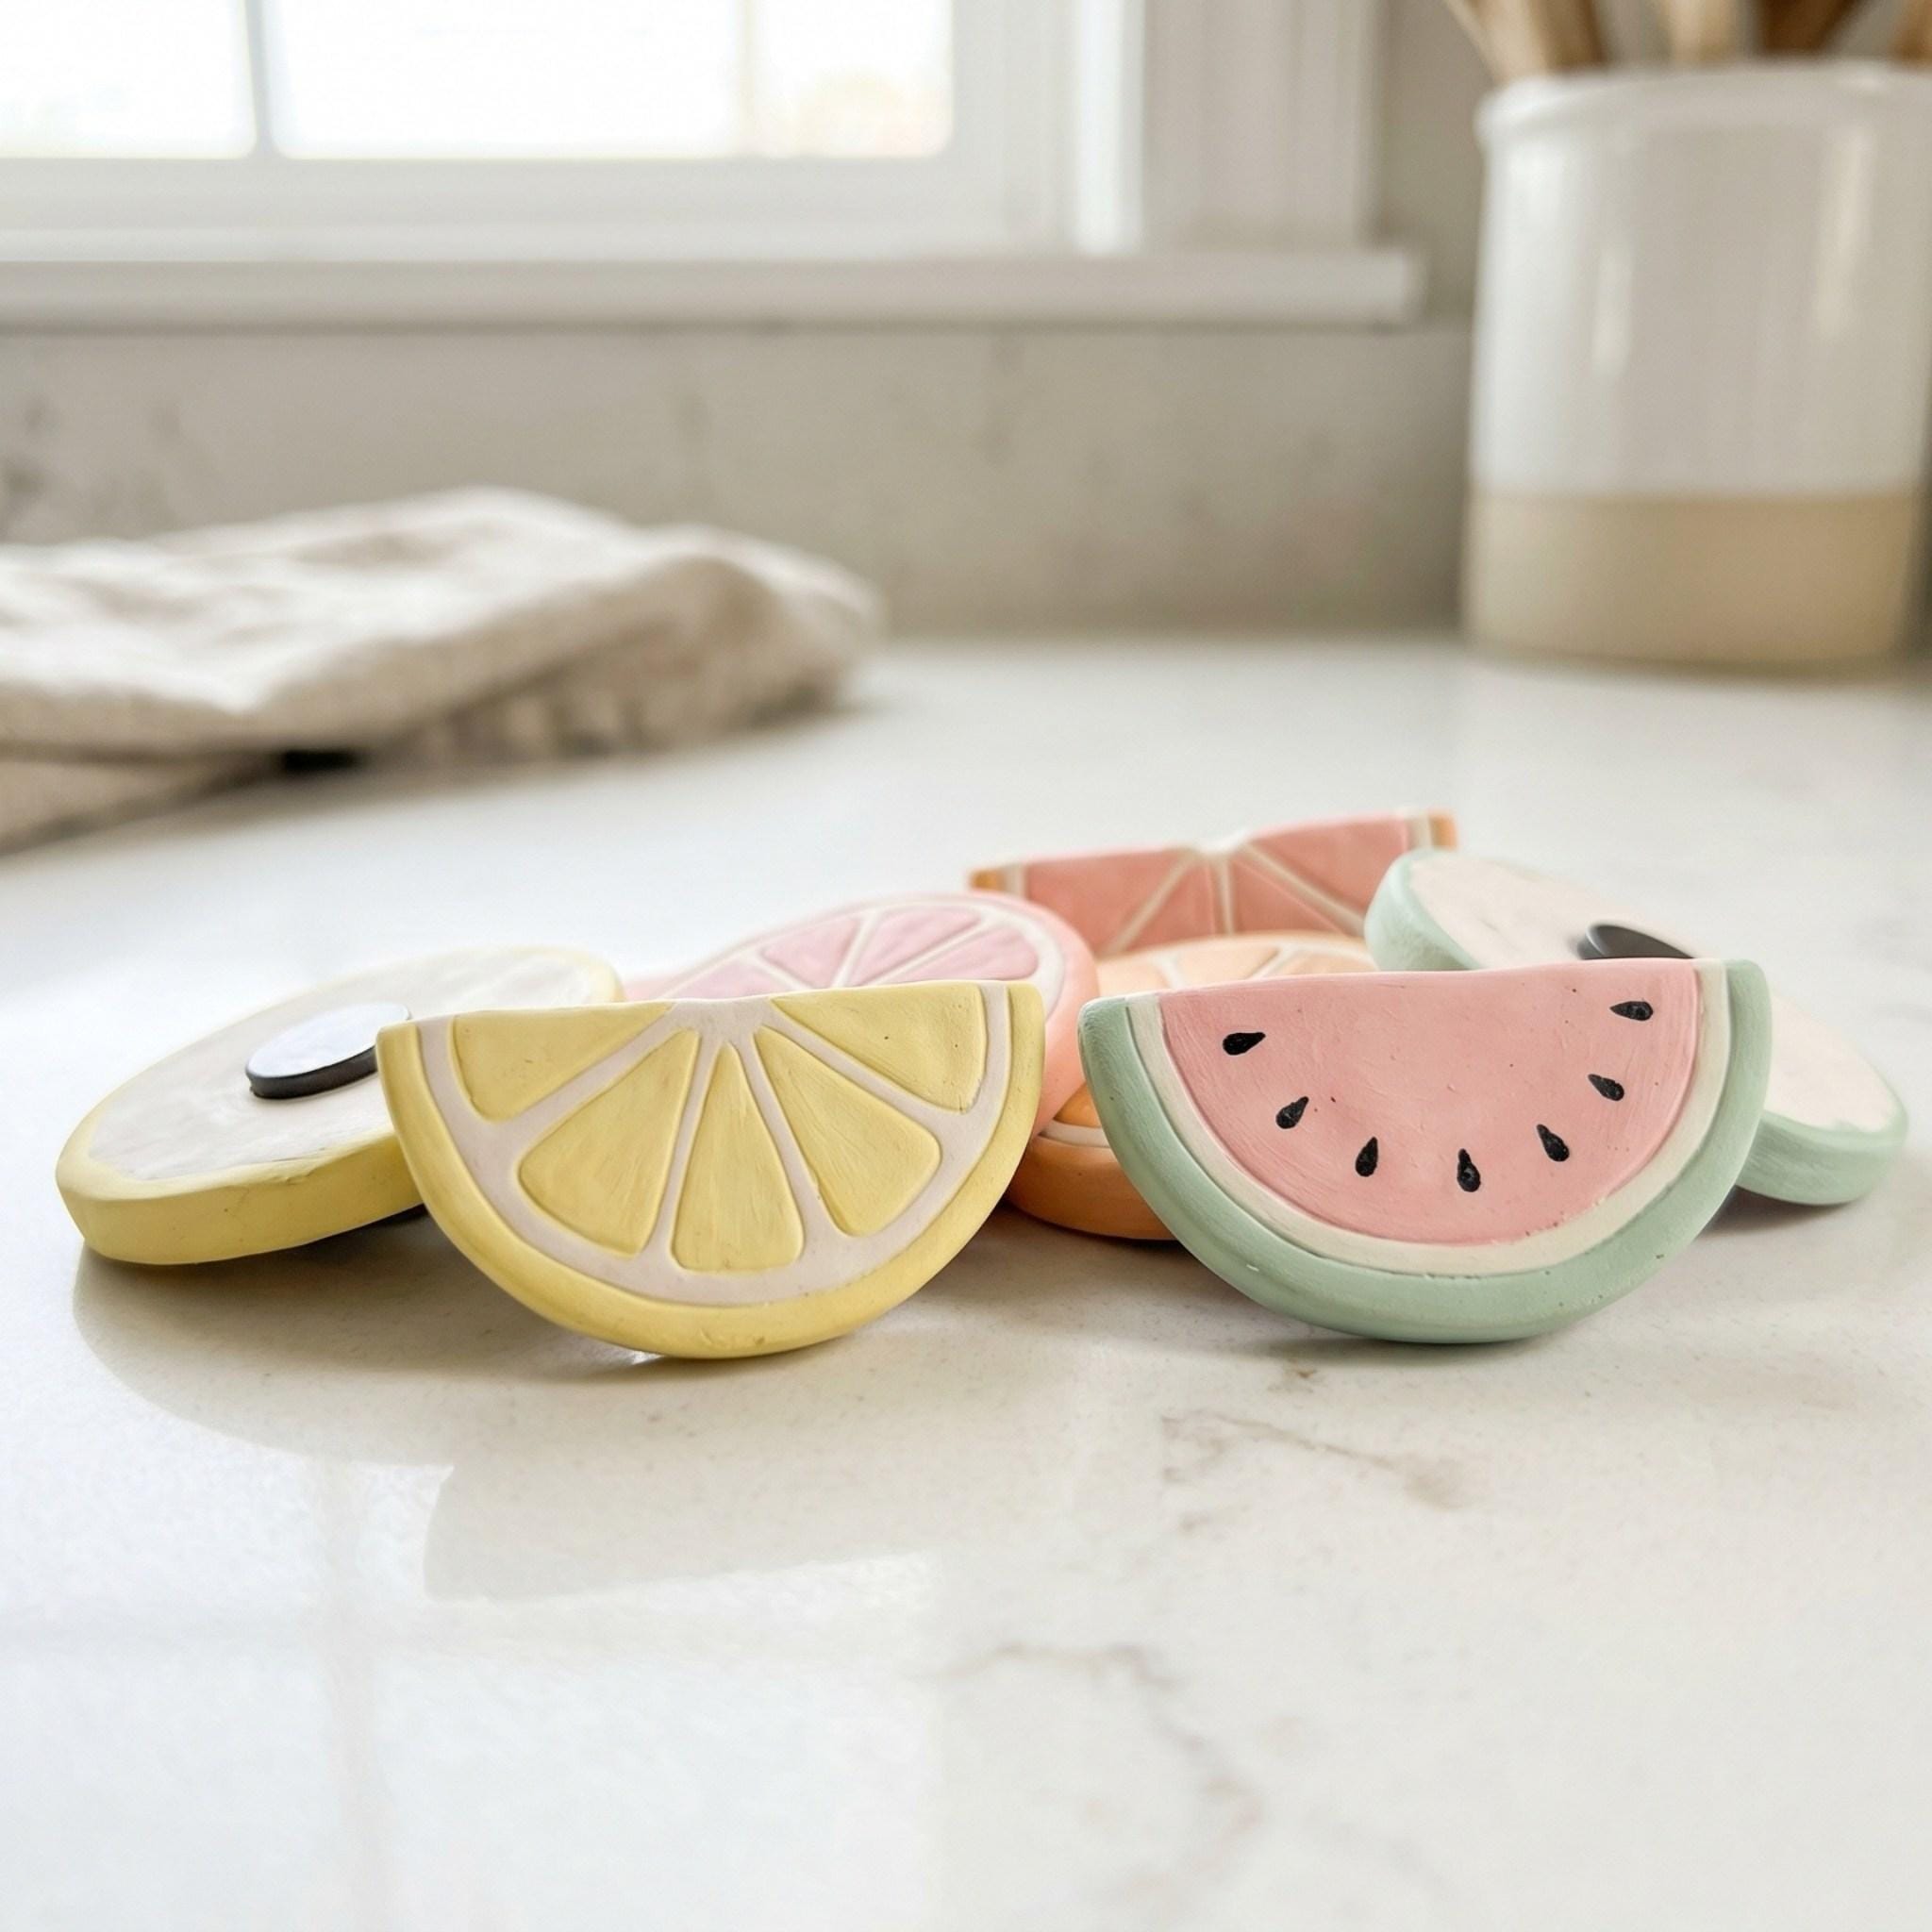
4. Pastel Fruit Slices
Supplies Needed: White Air Dry Clay, Craft Knife or Cookie Cutters, Acrylic Paints & Fine Brush, Small Round Ceramic Magnets, Strong Industrial Craft Glue, Varnish.
For a fresh summer vibe, shape your clay into tiny lemons, oranges, or watermelons. Next, paint them using bright pastel colors. Indeed, these cheerful fruit slices look incredibly cute holding up your grocery lists.
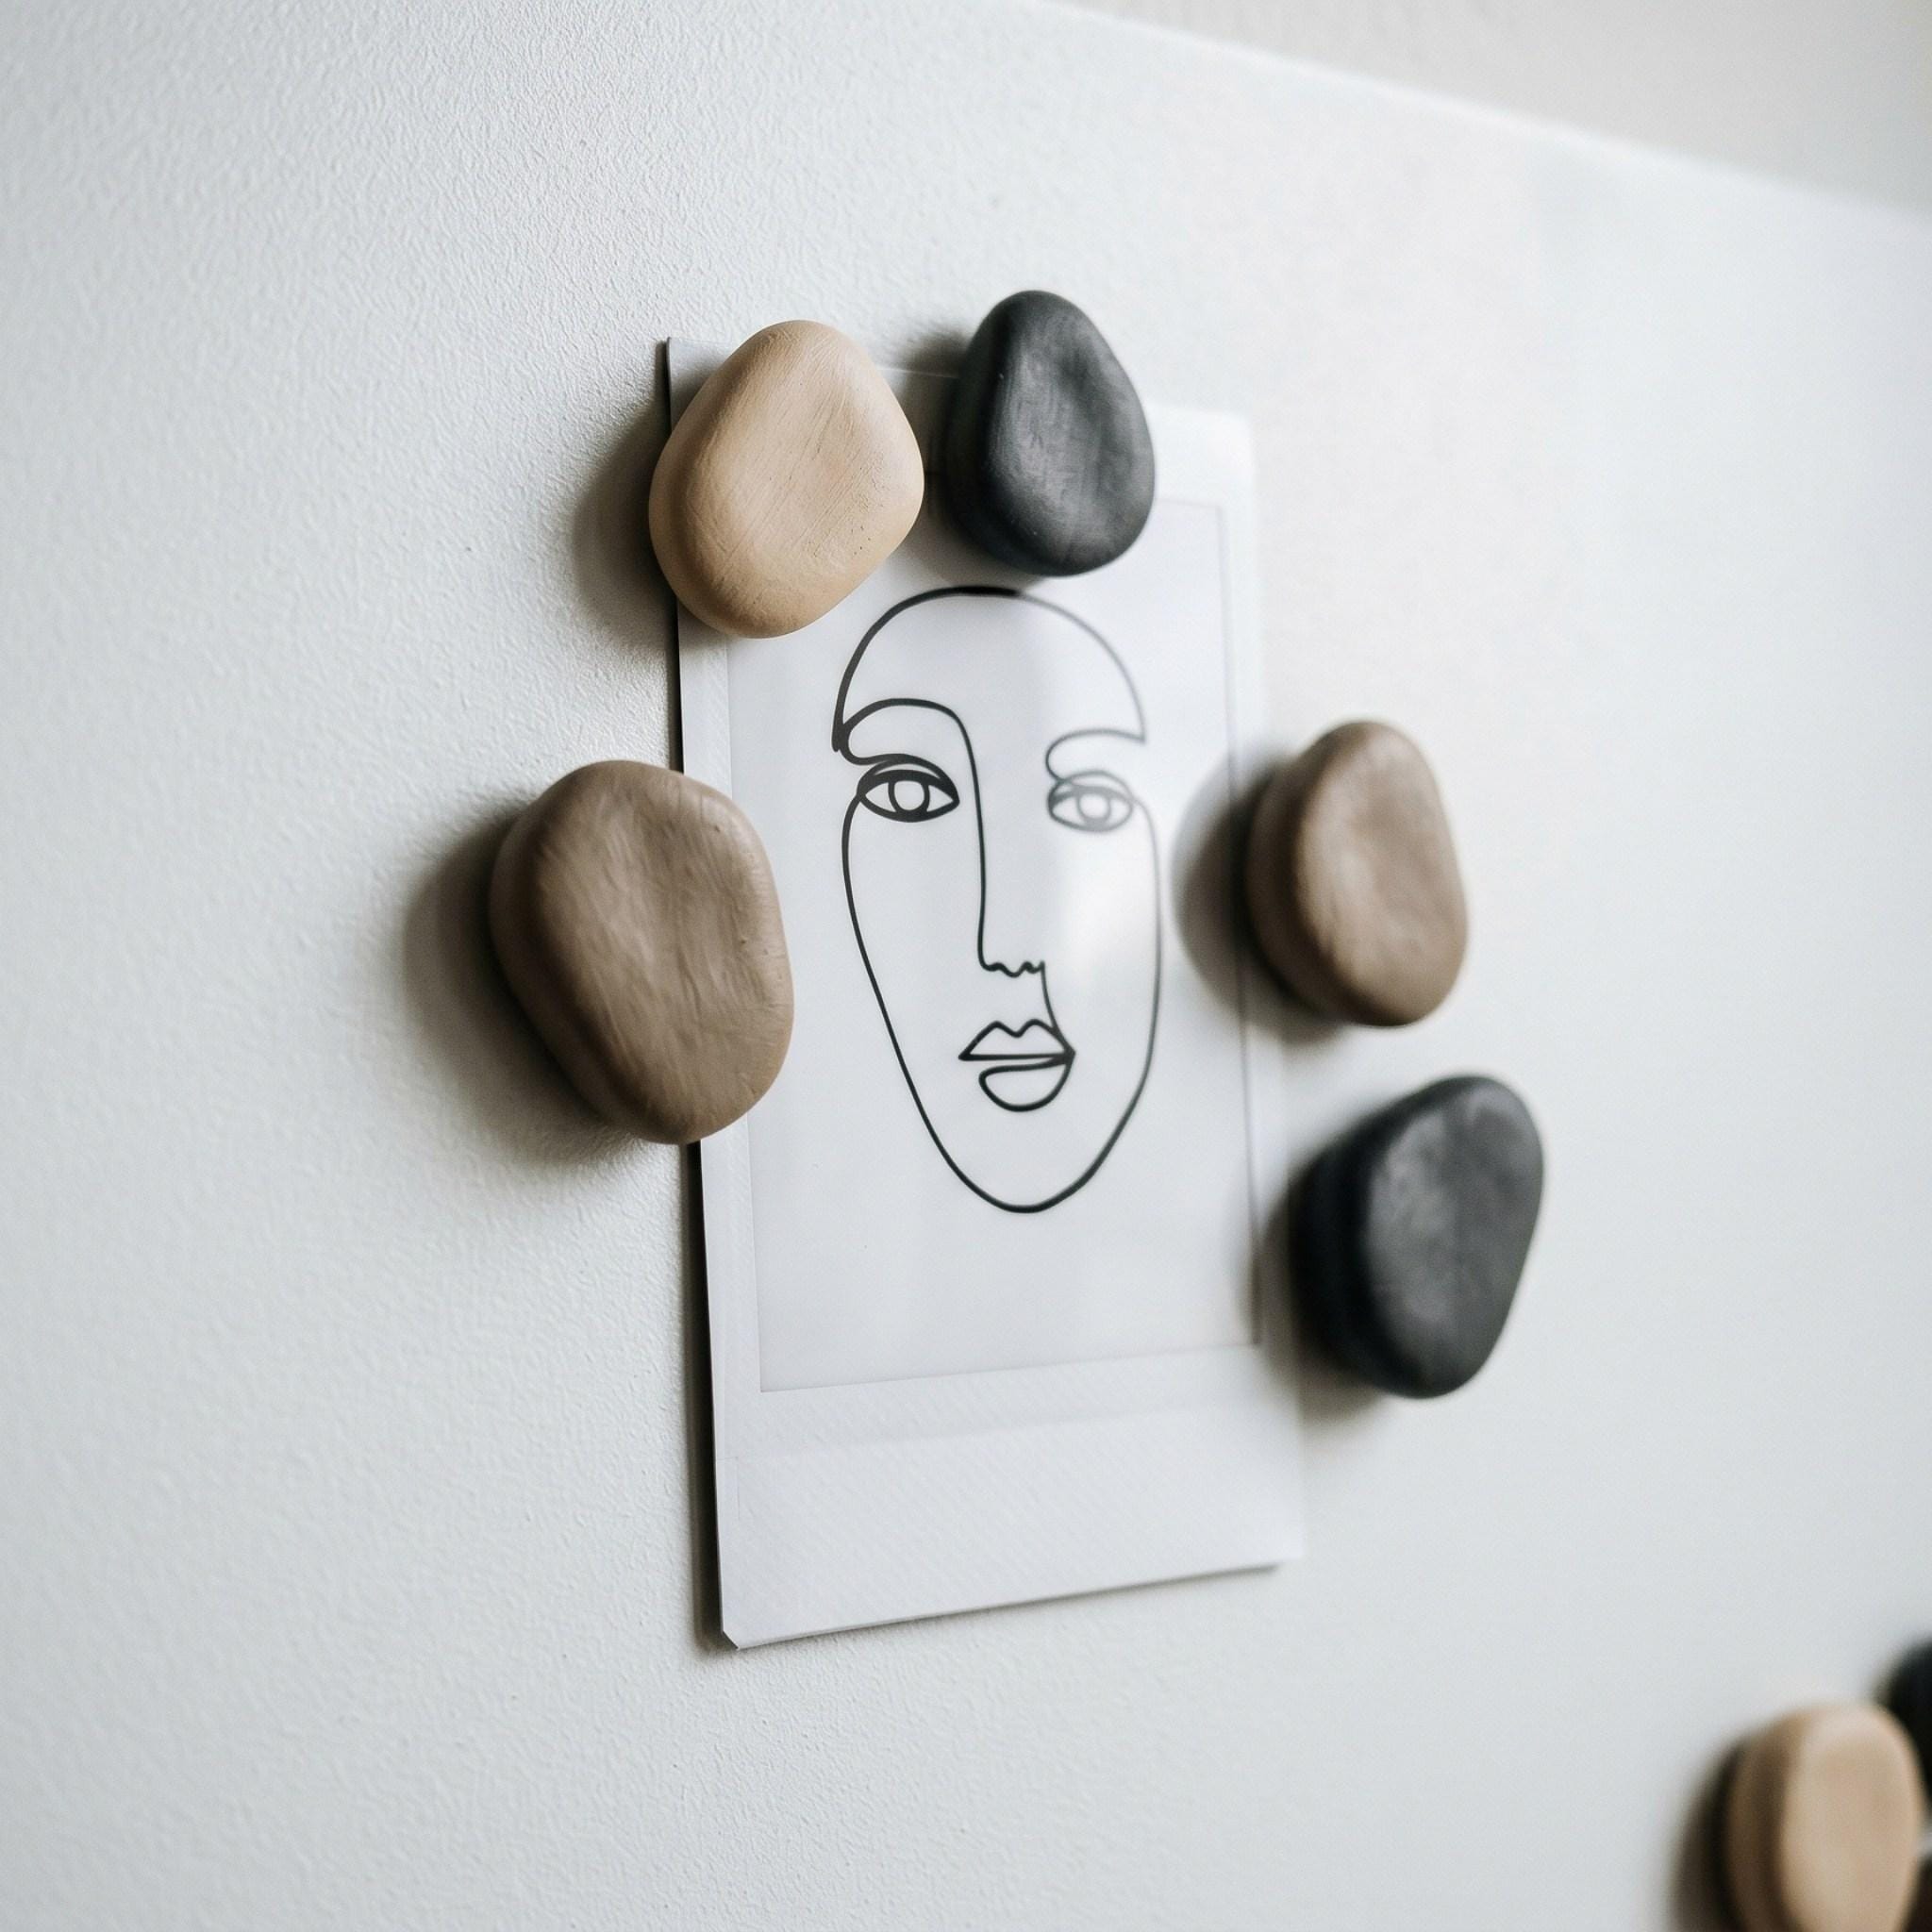
5. Abstract Organic Forms
Supplies Needed: White Air Dry Clay, Craft Knife, Acrylic Paints & Fine Brush, Small Round Ceramic Magnets, Strong Industrial Craft Glue, Varnish.
Finally, you do not need perfect shapes at all. Instead, cut freehand, pebble-like abstract blobs. Paint them in solid neutral colors like beige and charcoal. Ultimately, this creates a highly sophisticated and modern gallery look on your fridge.
Frequently Asked Questions About Decorative Clay Magnets
What kind of glue works best for decorative clay magnets?
Generally, you should avoid hot glue because it can peel off smooth surfaces easily. Therefore, always use an industrial-strength craft glue or a clear epoxy. Consequently, your heavy clay pieces will never fall off the fridge door.
Why did my air dry clay crack?
Usually, air dry clay cracks if it dries too quickly or if it lacks moisture. Therefore, keep your clay slightly damp while kneading. Additionally, let it dry slowly away from direct sunlight or heavy heaters.
Do I have to seal air dry clay?
Yes, absolutely. Air dry clay remains slightly porous even after it dries. Therefore, applying a good quality varnish protects the paint from chipping. Ultimately, it also seals your delicate crafts against typical kitchen humidity.
Quick Reference: All Supplies at a Glance
Ready to start rolling? Here’s everything from this guide in one place before you head to checkout.
🏺 CLAY BASE
- White Air Dry Clay (used throughout) | Check Air Dry Clay on Amazon
🌿 BOTANICAL ADD-INS
- Small Dried Leaves or Pressed Flowers | View Pressed Botanicals on Amazon
✂️ SHAPING & CUTTING TOOLS
- Smooth Acrylic Rolling Pin | See Rolling Pins on Amazon
- Precision Craft Knife | Check Craft Knives on Amazon
- Small Metal Cookie Cutters | View Cookie Cutters on Amazon
🔩 HARDWARE & ASSEMBLY
- Small Round Ceramic Magnets | View Ceramic Magnets on Amazon
- Strong Industrial Craft Glue | See Craft Glue on Amazon
🎨 PAINT & FINISHING
- Acrylic Paints & Fine Brush | Check Acrylic Paints on Amazon
- Water-Based Matte or Gloss Varnish | View Varnish on Amazon
Important Crafting Safety Notes:
Keep small ceramic magnets strictly away from pets and young children. If swallowed, magnets can cause severe internal injuries. Therefore, always supervise children closely if they are helping you with this craft.
A note on the craft knife: Always cut away from your body and keep fingers clear of the blade path when trimming shapes freehand. Work on a stable, flat surface, and store the knife safely out of reach of children between steps.
Which design will look best on your fridge — the earthy botanical imprint, or the playful pastel fruit slices? We would love to see your finished decorative clay magnets, so share a photo in the comments below!



[…] If you enjoy seasonal makes, our 20 cozy DIY fall decorations offer warm color ideas, while these easy decorative clay magnets pair beautifully with the daisy project […]