

Are you looking to elevate your letter writing or invitation design? Learning how to make custom wax seals is undeniably a simple and deeply rewarding weekend activity. Whether you are sending wedding invitations or just upgrading your daily journaling routine, custom wax seals add a premium, personalized touch to any paper. In this complete guide, we will walk you through the essential tools, step-by-step instructions, and stunning design ideas. Therefore, you can start making your own beautiful creations today.
This blog post contains affiliate links. As an Amazon Associate, I earn from qualifying purchases. The content on some of these projects may be enhanced with structural craft inspirations.
Key Facts:
- Technique: Wax sealing
- Difficulty: Easy
- Seal press time: 15–20 seconds per seal
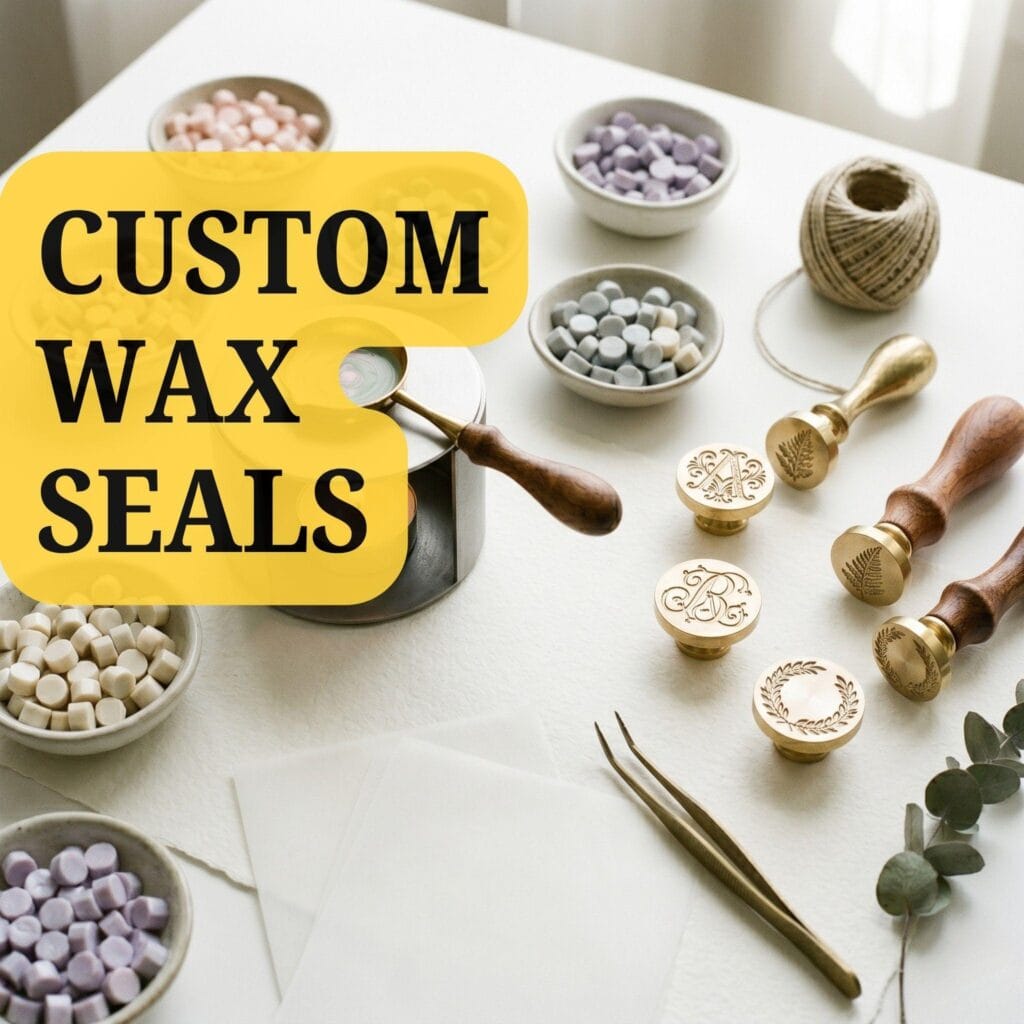
Essential Materials for Custom Wax Seals
| Supply | Spec / Size | Used For |
|---|---|---|
| Sealing Wax Beads | flexible beads work best; unlike traditional brittle wax, they won’t… | |
| Melting Spoon | a small metal spoon with a heat-safe handle, made specifically for… | |
| Tealight Candle & Melting Furnace | the mini stove keeps the process hands-free and controlled | |
| Brass Stamp | choose a design you love, like a monogram, botanical leaf, or… | |
| Heat-Safe Silicone Mat | perfect for practicing or making seals in advance | |
| Wooden Toothpicks | stirs the melting wax gently without introducing air bubbles |
Before you light your first candle, let’s set up a calm and organized workspace. You only need a few basic tools to start creating beautiful custom wax seals at home:
A few foundational tools are used throughout every single design in this guide, marked with a (used throughout) tag below.
🕯️ Wax & Melting Basics
- Sealing Wax Beads (used throughout) — flexible beads work best; unlike traditional brittle wax, they won’t crack in the mail |
Check Sealing Wax Beads on Amazon - Melting Spoon (used throughout) — a small metal spoon with a heat-safe handle, made specifically for melting wax |
View Melting Spoon on Amazon - Tealight Candle & Melting Furnace (used throughout) — the mini stove keeps the process hands-free and controlled |
See Melting Furnace on Amazon
🖋️ Stamps & Base Tools
- Brass Stamp (used throughout) — choose a design you love, like a monogram, botanical leaf, or celestial moon |
Check Brass Stamps on Amazon - Heat-Safe Silicone Mat (used throughout) — perfect for practicing or making seals in advance | View Silicone Mat on Amazon
- Wooden Toothpicks (used throughout) — stirs the melting wax gently without introducing air bubbles |
See Wooden Toothpicks on Amazon
🌿 Decorative Embellishments
- Dried Flowers (Lavender or Baby’s Breath) — presses into the wax edge for a romantic, botanical look | Check Dried Flowers on Amazon
- Gold Leaf Flakes — scatters into the melting wax for a subtle sparkle | View Gold Leaf Flakes on Amazon
- Metallic Markers — highlights the raised details of a cooled, stamped design | See Metallic Markers on Amazon
- Gold Foil Flakes — suspends visibly inside translucent clear wax for a glass-like effect | Check Gold Foil Flakes on Amazon
- Flat-Back Pearls — locks into the wax border for an elegant, bridal accent | View Flat-Back Pearls on Amazon
- Fine-Tip Tweezers — places small embellishments like pearls precisely before the wax sets | See Fine-Tip Tweezers on Amazon
🎀 Wrapping & Finishing
- Vellum Paper — wraps translucently around invitations before sealing | Check Vellum Paper on Amazon
- Silk Ribbon or Jute Twine — ties the vellum-wrapped bundle before the wax locks it shut | View Silk Ribbon on Amazon
- Double-Sided Adhesive Dots — attaches pre-made seals to envelopes without re-melting wax | See Adhesive Dots on Amazon
Step-by-Step Instructions for Custom Wax Seals
Creating perfect custom wax seals takes a little bit of practice. However, the process is incredibly relaxing and fun.
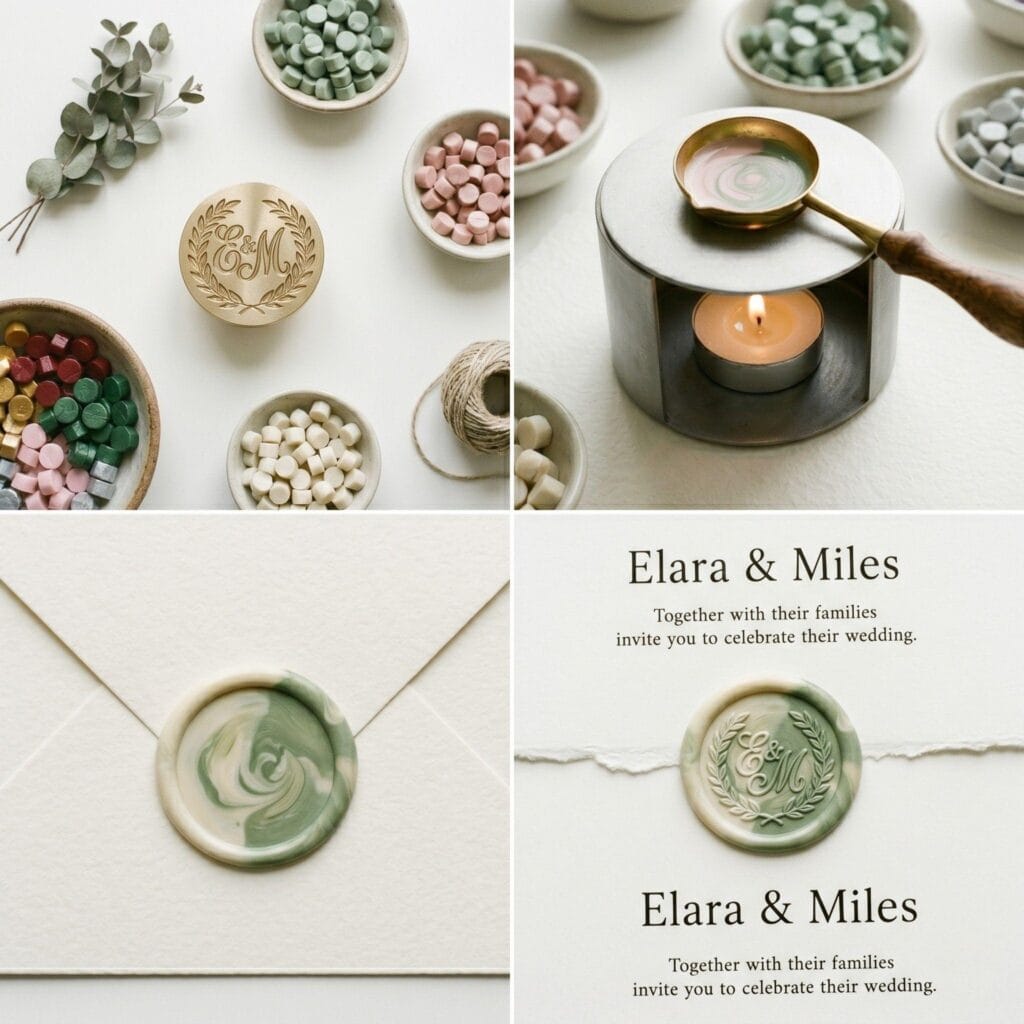
Step 1: Set Up Your Station
First, prepare your workspace carefully. Place a heat-safe silicone mat or your envelope directly on a flat surface. Next, light your tealight candle and place your melting furnace over it. Finally, rest your melting spoon gently on the furnace.
Step 2: Melt the Wax
Next, place 3 to 4 wax beads into the melting spoon. Wait a few minutes for the wax to melt completely. Furthermore, you can stir it gently with a toothpick if needed. However, do not let the wax boil or bubble. Consequently, boiling will create ugly air pockets in your final seal.
Step 3: Pour the Wax
Once the wax is smooth and fluid like honey, carefully remove the spoon from the heat. Subsequently, pour the melted wax onto your envelope or silicone mat in a small, circular motion. Try to create a circle slightly smaller than your brass stamp.
Step 4: Stamp and Reveal
Immediately press your brass stamp firmly into the center of the hot wax pool. Leave the stamp resting there for about 15 to 20 seconds. Once the wax has cooled and hardened completely, gently lift the stamp to reveal your design.
7 Aesthetic Custom Wax Seals: Design Ideas to Try
1. Dried Botanical Blooms
Supplies Needed: Sealing Wax Beads, Brass Stamp, Melting Spoon, Tealight Candle & Melting Furnace, Dried Flowers.
- Melt the sealing wax beads in the melting spoon over the tealight furnace.
- Pour your wax onto the surface.
- Drop a tiny piece of dried lavender or baby’s breath onto the edge of the wax pool just before pressing the stamp.
- Press the brass stamp into the wax to seal the flower in place.
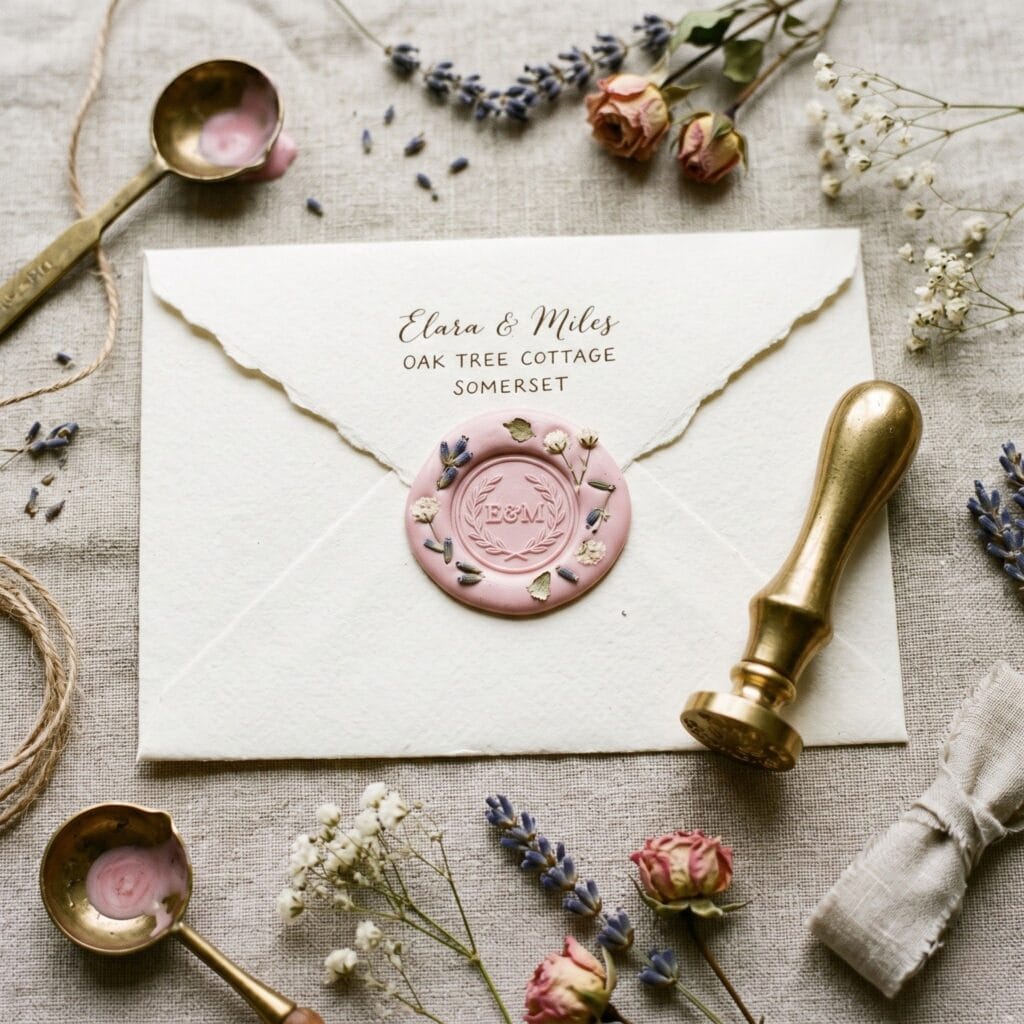
Add an organic, romantic touch to your letters. First, pour your wax. Just before pressing the stamp, drop a tiny piece of dried lavender or baby’s breath onto the edge of the wax pool. As a result, the flower becomes permanently embedded in your seal.
2. Gold Leaf & Metallic Highlights
Supplies Needed: Sealing Wax Beads, Brass Stamp, Melting Spoon, Tealight Candle & Melting Furnace, Gold Leaf Flakes, Metallic Markers.
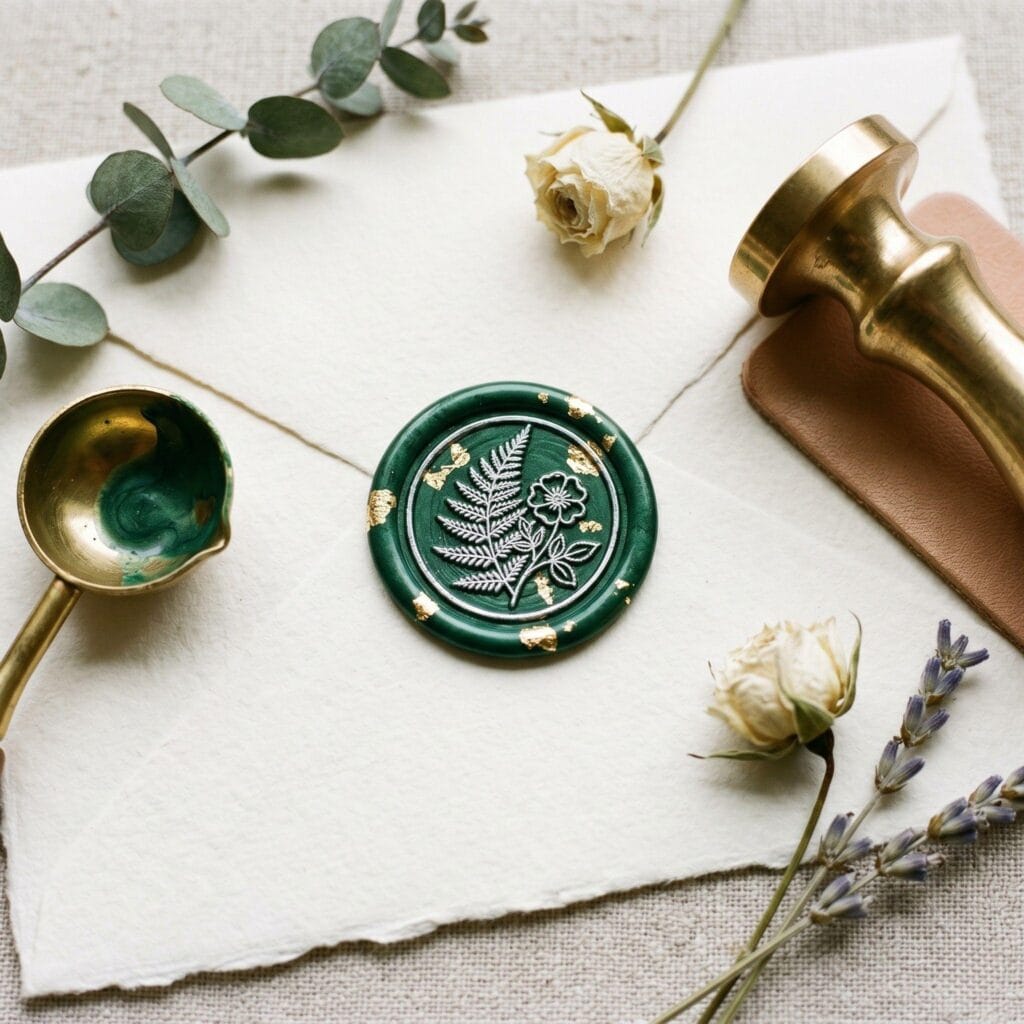
Bring ultimate luxury to your stationery. You can drop tiny pieces of gold leaf into your melting spoon for a scattered sparkle. Alternatively, wait until your seal is completely cool. Then, gently rub a metallic marker over the raised areas of your stamped design. Moreover, these metallic custom wax seals look incredibly professional.
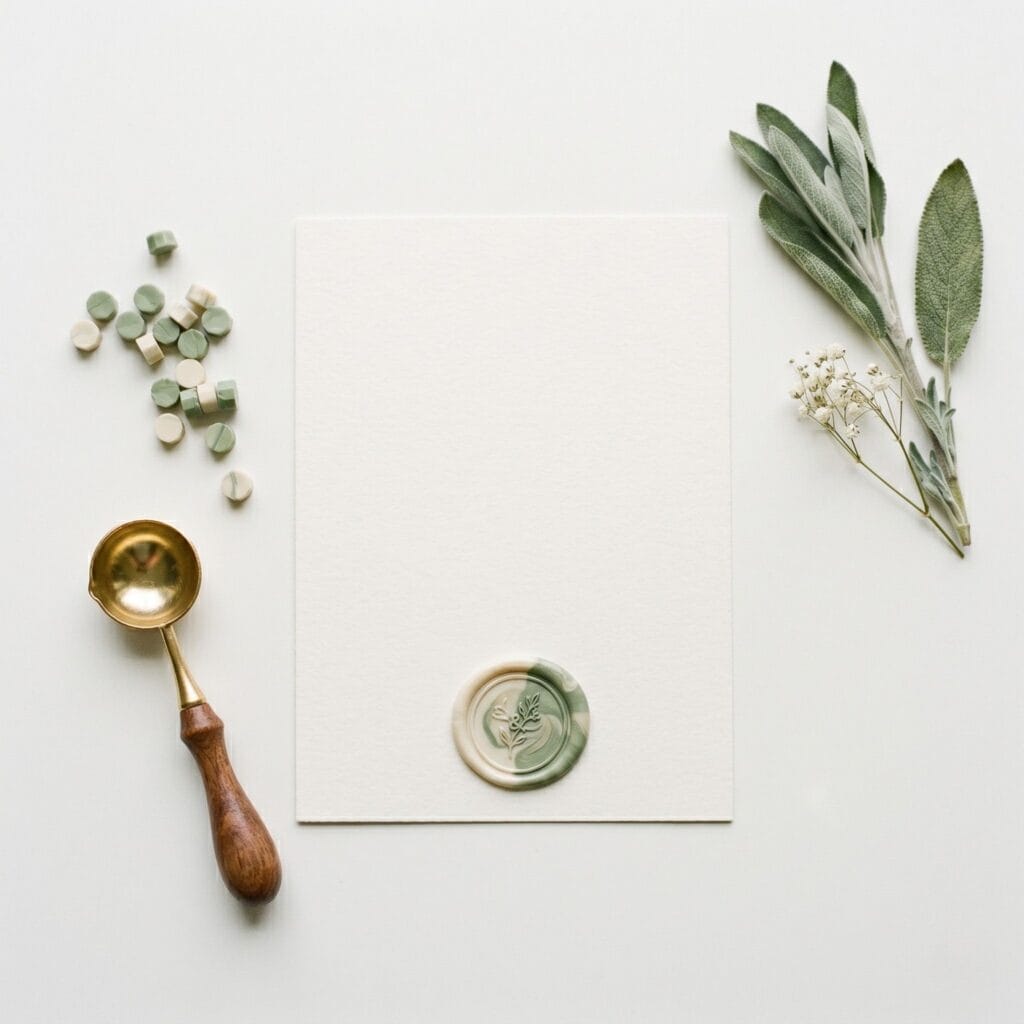
3. Marbled Two-Tone Wax
Supplies Needed: Sealing Wax Beads (two colors), Brass Stamp, Melting Spoon, Tealight Candle & Melting Furnace.
Create a stunning artistic texture effortlessly. Place two different colored beads (like cream and sage green) into your spoon. Melt them together, but do not stir them completely. Consequently, when you pour the wax, the colors will swirl together, creating a beautiful marbled effect.
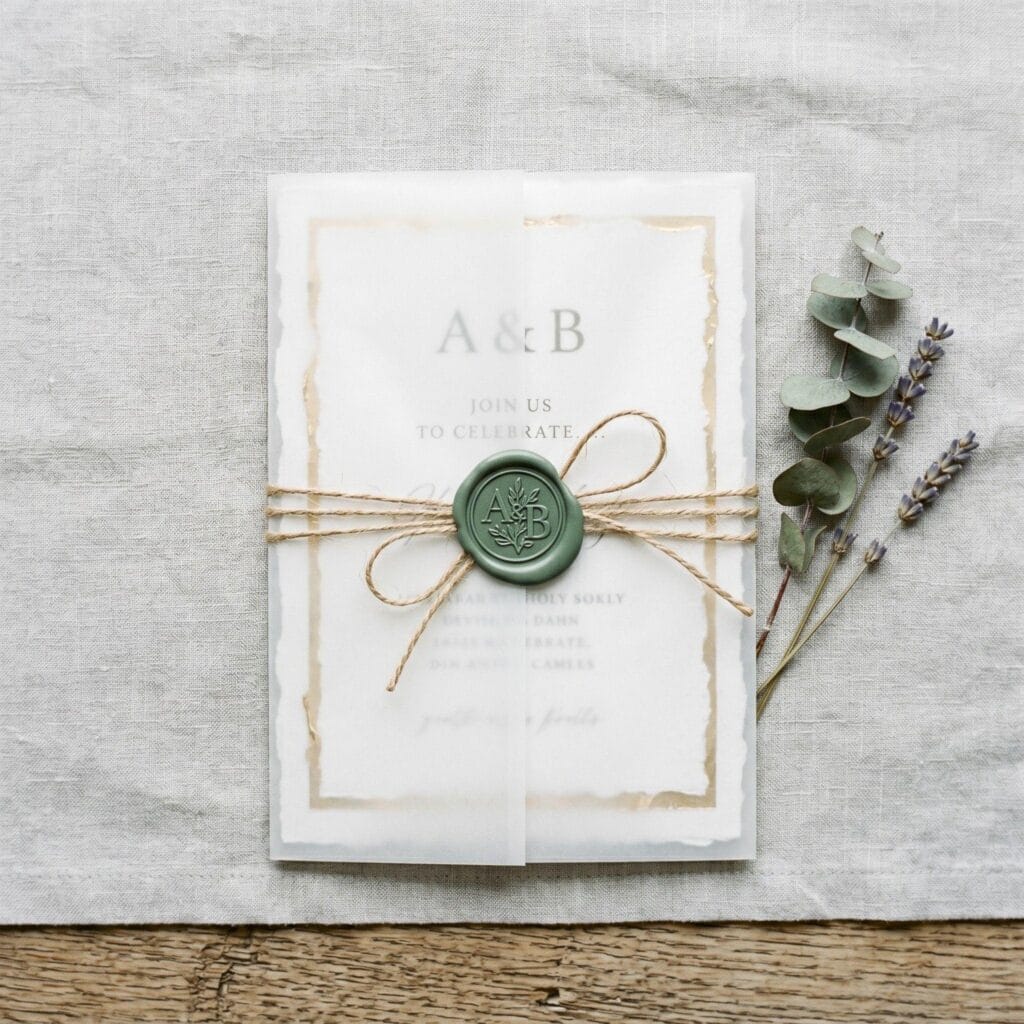
4. Vellum & Twine Wrap Seal
Supplies Needed: Sealing Wax Beads, Brass Stamp, Melting Spoon, Tealight Candle & Melting Furnace, Vellum Paper, Silk Ribbon or Jute Twine.
This style is perfect for elegant invitations. First, wrap your card in translucent vellum paper. Next, tie it together with a thin silk ribbon or jute twine. Finally, pour your melted wax directly over the center knot and stamp it. Therefore, this locks the entire package together beautifully. Additionally, if you love hosting beautiful events, pair your sealed invitations with our 7 gorgeous DIY stamped napkins you will absolutely love for a complete table aesthetic.
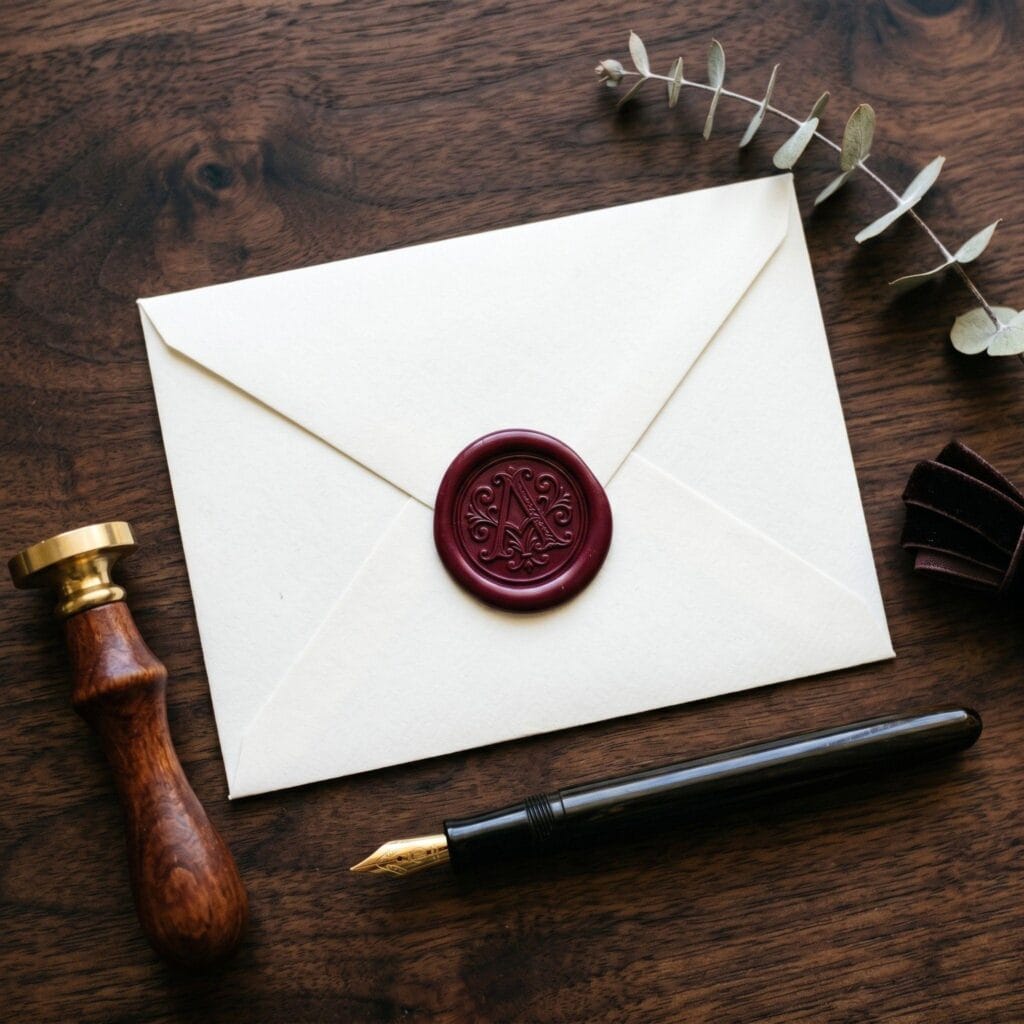
5. Classic Vintage Monogram
Supplies Needed: Sealing Wax Beads, Brass Stamp (monogram design), Melting Spoon, Tealight Candle & Melting Furnace.
Sometimes, simple is truly the best option. Choose deep, rich colors like dark burgundy, navy blue, or antique gold. Then, use a classic single-initial monogram stamp. Undoubtedly, these traditional custom wax seals are perfect for formal letters and holiday greeting cards.
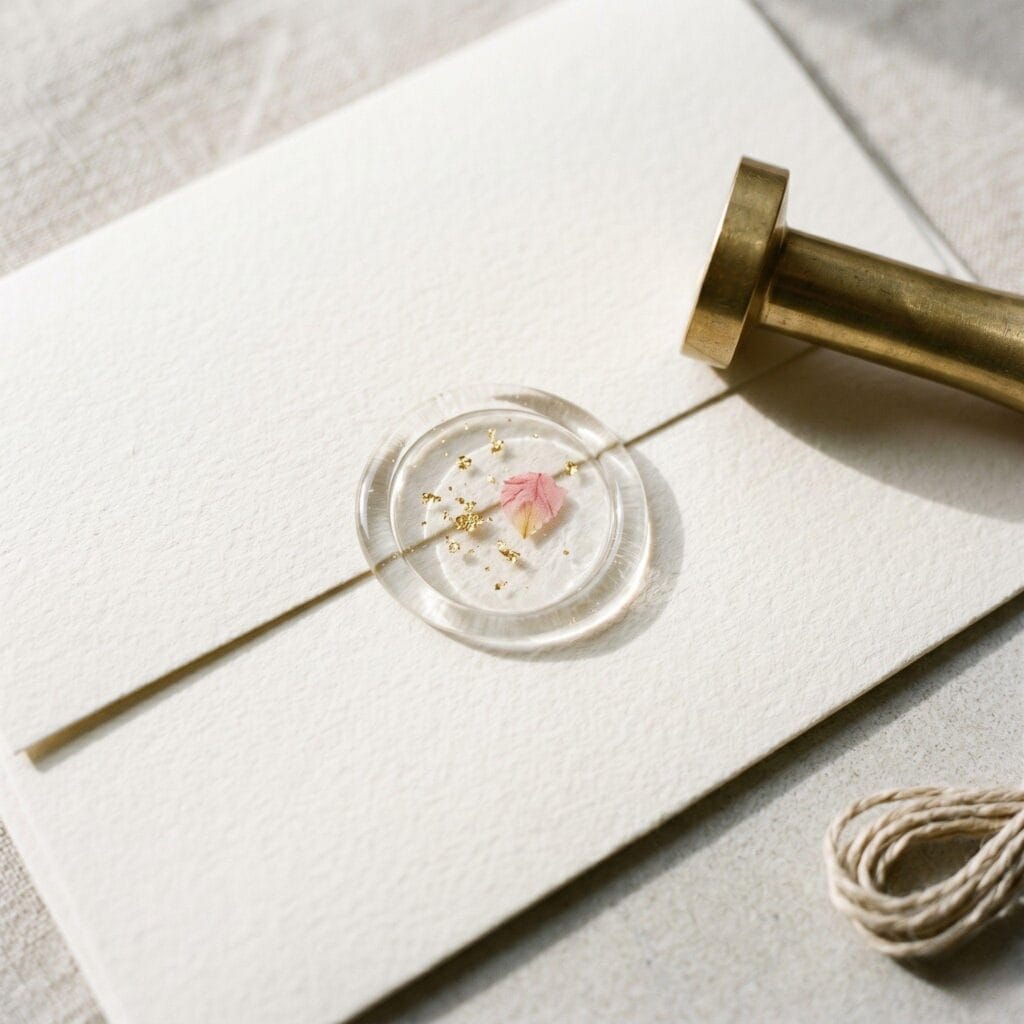
6. Translucent Clear Wax
Supplies Needed: Sealing Wax Beads (clear/translucent), Brass Stamp, Melting Spoon, Tealight Candle & Melting Furnace, Gold Foil Flakes, Dried Flowers.
For a highly modern, glass-like look, use translucent clear sealing wax. Before stamping, place a single piece of gold foil or a tiny dried petal strictly on the paper. Next, pour the clear wax over it. As a result, the embedded item will float beautifully inside the clear seal.
7. Elegant Pearl Accents: DIY Perfect Custom Wax Seals
Supplies Needed: Sealing Wax Beads, Brass Stamp, Melting Spoon, Tealight Candle & Melting Furnace, Flat-Back Pearls, Fine-Tip Tweezers.
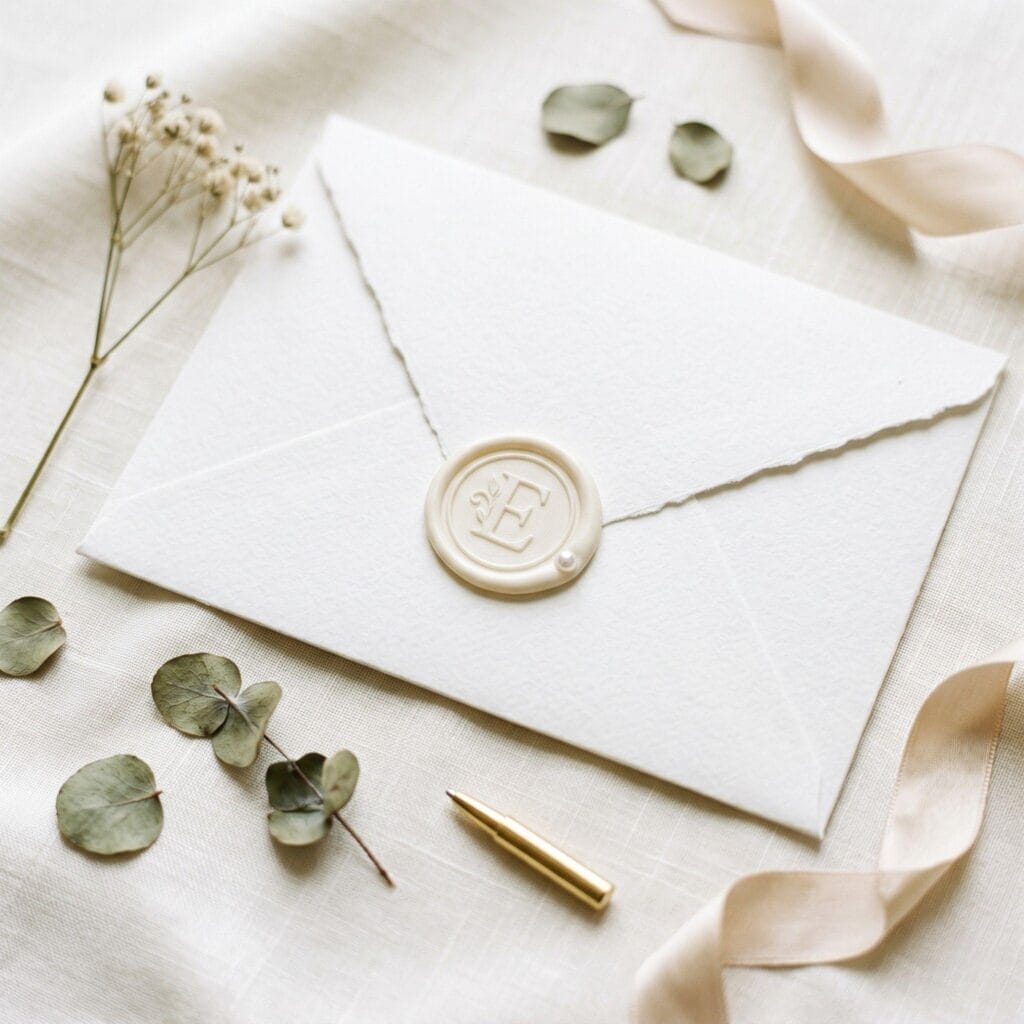
Add a highly refined, bridal touch to your craft. First, pour your hot wax onto the paper. Next, carefully and quickly drop a single tiny flat-back pearl near the edge of the wax pool using tweezers. Finally, press your stamp down immediately to lock the pearl into the beautiful wax border.
Expert Pro-Tips for Perfect Custom Wax Seals
- Chill Your Stamp: First, if you are making multiple custom wax seals in a row, your brass stamp will get too hot and start sticking. Therefore, keep an ice pack nearby and rest your stamp on it between pours.
- Make Them in Advance: Are you nervous about ruining your expensive envelopes? You can pour your wax directly onto a heat-safe silicone baking mat. Once they cool, peel them off and attach them to your envelopes later using double-sided adhesive dots. Furthermore, if you enjoy working with premium textures and materials, explore these 15 brilliant scrap leather projects you will love to try to upgrade your desk accessories.
- Clean the Spoon While Hot: Finally, to change wax colors easily, carefully wipe the inside of your melting spoon with a thick, folded paper towel while the metal is still warm.
Quick Reference: All Supplies at a Glance
Ready to light your candle? Here’s everything from this guide in one place.
🕯️ Wax & Melting Basics
- Sealing Wax Beads (used throughout) | Check Sealing Wax Beads on Amazon
- Melting Spoon (used throughout) | View Melting Spoon on Amazon
- Tealight Candle & Melting Furnace (used throughout) | See Melting Furnace on Amazon
🖋️ Stamps & Base Tools
- Brass Stamp (used throughout) | Check Brass Stamps on Amazon
- Heat-Safe Silicone Mat (used throughout) | View Silicone Mat on Amazon
- Wooden Toothpicks (used throughout) | See Wooden Toothpicks on Amazon
🌿 Decorative Embellishments
- Dried Flowers (Lavender or Baby’s Breath) | Check Dried Flowers on Amazon
- Gold Leaf Flakes | View Gold Leaf Flakes on Amazon
- Metallic Markers | See Metallic Markers on Amazon
- Gold Foil Flakes | Check Gold Foil Flakes on Amazon
- Flat-Back Pearls | View Flat-Back Pearls on Amazon
- Fine-Tip Tweezers | See Fine-Tip Tweezers on Amazon
🎀 Wrapping & Finishing
- Vellum Paper | Check Vellum Paper on Amazon
- Silk Ribbon or Jute Twine | View Silk Ribbon on Amazon
- Double-Sided Adhesive Dots | See Adhesive Dots on Amazon
Important Crafting Safety Notes:
- Fire Safety: First and foremost, this project requires an open flame. Therefore, never leave your lit tealight candle unattended. Always keep loose paper and dried flowers safely away from the flame.
- Burn Hazards: Additionally, melted sealing wax and the brass melting spoon become extremely hot. Consequently, handle the spoon strictly by its wooden handle. If hot wax drips onto your skin, run it under cold water immediately.
- Proper Ventilation: Finally, while modern sealing wax is generally safe, melting large amounts of wax can produce light fumes. Therefore, always craft in a well-ventilated room, and never allow the wax to boil or smoke.
- Small Parts & Embellishments: Flat-back pearls, gold leaf flakes, and dried botanical pieces are small enough to pose a choking hazard. Keep loose embellishments and finished seals away from young children and pets until you’re confident they’re securely set in the wax.
Which design will you seal your next letter with — the romantic dried botanical bloom, or the modern translucent clear wax? We’d love to see your finished custom wax seals, so share a photo in the comments below!



[…] decorative sealing wax separate from candle wax. Our custom wax seal stationery crafts use decorative wax for paper projects, while DIY candle making requires wax and fragrance […]