A set of DIY photo coasters makes a personal gift for weddings, housewarmings, anniversaries, and family holidays. Use wedding snapshots, travel photographs, children’s artwork, or old family portraits, then turn them into small pieces of table decor that invite people to pick them up and remember the moment.
Affiliate Disclosure: This post contains affiliate links. As an Amazon Associate, I earn from qualifying purchases. If you buy through these links, I may earn a commission at no additional cost to you. For the full terms covering this site and its content, see our Terms and Conditions.
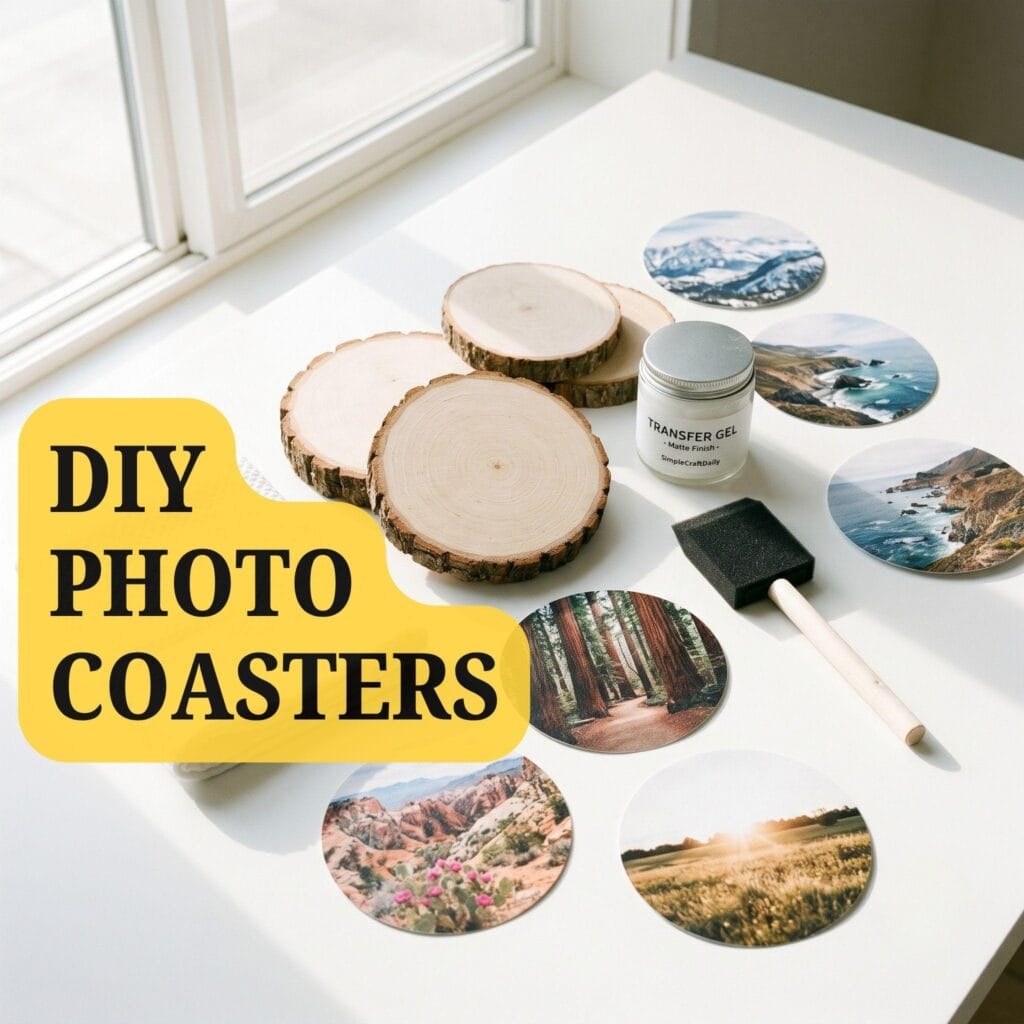
This guide covers the basic supplies, a dependable photo-transfer method, and eight design directions for wood coasters finished with an optional resin glaze. Work with laser-printed copies of your images, allow enough drying time, and seal each surface with a finish rated for hot and wet drinkware so it can handle condensation from a cold glass and the occasional warm mug.
Essential Materials & Tools
Gather your supplies before starting your DIY photo coasters. A small foam brush, plastic gift card, clean washcloth, sharp scissors, and a ruler keep the transfer work neat. Choose smooth, unfinished wood slices or square wood blanks with a level surface; deep cracks and loose bark make it difficult for the image to adhere evenly.
✨ Required Base Transfer Supplies
- Smooth Unfinished Wood Blanks — Natural birch or pine blanks — bark edges add a rustic look to the finished coaster. | Check Smooth Unfinished Wood Blanks on Amazon
- Laser Copy Paper — Plain, uncoated copy paper for your toner copy — print at home or at a local copy shop — because the wet transfer step of this method smears inkjet dye. Skip coated photo paper unless the transfer medium’s label explicitly permits it. | Check Price on Amazon
- Mod Podge — Photo Transfer Medium does the IMAGE TRANSFER; a separate water-resistant topcoat protects the finished coaster — two distinct products. | View Mod Podge on Amazon
- Foam Brush — Use this simple tool to spread the glue evenly. | Find Foam Brush on Amazon
- Soft Washcloth — A damp cloth you already own — NOT a required purchase, listed only so the step reads completely. | See Price on Amazon
- Clear Sealant — A water-resistant clear sealer rated for hot and wet drinkware; follow the label’s coat count, dry time, and full cure time (Step 5). | See Clear Sealant on Amazon
- Sharp Scissors — Sharp scissors make it easier to trim each image about 1/8 inch smaller than the wood blank. | View on Amazon
- Rubber Brayer or Plastic Card — Presses the photo flat in Step 2 so no air bubbles stay trapped under it. | See Rubber Brayer or Plastic Card on Amazon
- Metal Ruler — Measures and trims the photo to fit the coaster in Step 1. | Explore Metal Ruler on Amazon
- Small Cork Pads — Four small pads on each underside prevent the coaster from scratching a wood table. | Explore Small Cork Pads on Amazon
🎨 Optional Design Supplies
- Wood Stain — OPTIONAL — used only by its specific design variation. | Find on Amazon
- Craft Paint — OPTIONAL — used only by its specific design variation. | Check Craft Paint on Amazon
- Dried Flowers — OPTIONAL — used only by its specific design variation. | Check Price on Amazon
- Decoupage Glue — OPTIONAL — design variation only. | View on Amazon
- Archival Paint Pen — OPTIONAL — design variation only. | Find on Amazon
- Painter’s Tape — OPTIONAL — design variation only. | Check Painter’s Tape on Amazon
💧 Optional Resin Glaze Supplies & Safety
- Epoxy Resin Kit — OPTIONAL — glossy resin-topcoat variation only; resin needs gloves and ventilation. | Check Price on Amazon
- Resin Mixing Cups & Stir Sticks — OPTIONAL resin-glaze supply: measure the resin and hardener precisely and stir slowly for the full recommended time (Idea 8). | Find Resin Mixing Cups on Amazon
- Nitrile Gloves — OPTIONAL resin-glaze supply: nitrile gloves keep uncured epoxy off your skin while you measure, mix, and pour. | Find Nitrile Gloves on Amazon
- Parchment Paper — OPTIONAL resin-glaze supply: protects the work surface under curing coasters so drips don’t bond them to the table. | Find Parchment Paper on Amazon
- Resin Heat Gun or Heat Tool — OPTIONAL resin-glaze supply: pass it briefly over the wet surface to release bubbles — the low-temperature default over an open-flame torch (Idea 8). | Find Resin Heat Gun on Amazon
- Clear Storage Box — OPTIONAL resin-glaze supply: cover curing coasters with a clean box to keep dust off the wet resin. | Find Clear Storage Box on Amazon
Optional Studio Upgrades
Never required to finish the projects above — convenience upgrades for makers who want them.
⚡ Studio Tools & Workshop Equipment
Optional studio upgrades — every project above can be completed without these.
- Paper Trimmer — A durable paper trimmer produces clean, repeatable photo edges when preparing multiple coaster images. | See Price on Amazon
Laser Printer
A dedicated laser printer lets frequent makers produce toner copies at home and reverse text-based images before transfer.
I earn a commission if you make a purchase, at no additional cost to you.
Step-by-Step Instructions
Photo transfers reward a slow hand and a full curing period. Print the image with a laser printer or toner copier, reversing it first when the photo includes readable text. Inkjet prints can bleed when they meet the wet transfer medium, while toner holds its shape as the paper is rubbed away.
Preflight check: run one test transfer on a scrap blank first; confirm the blank is bare, smooth, and dry; mirror the image only when it contains readable text; and treat the transfer medium’s label as the authority for dry times and substrate compatibility.
Step 1: Prep and Cut the Photos
Measure each wood blank and trim the photograph about 1/8 inch smaller on every side, unless you want the image to run to the edge.
- A narrow wood border gives the coaster a finished frame and leaves room for paint, stain, dried flowers, or a hand-lettered date.
Step 2: Apply the Medium
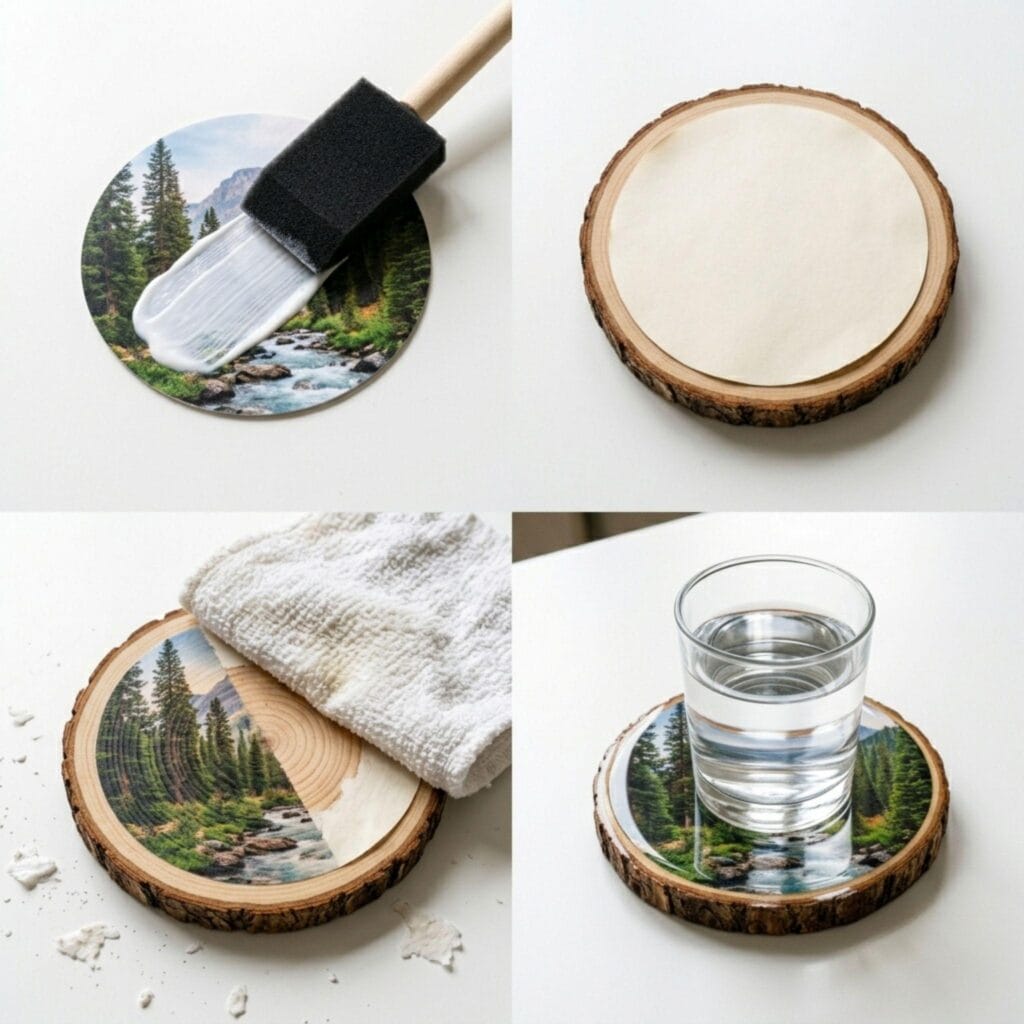
Brush a smooth, medium-thick coat of Mod Podge Photo Transfer Medium over the printed side of the laser copy.
- Cover the entire image, especially the corners, then place the photo face-down on the wood.
- Press from the center outward with a plastic card or brayer until trapped air and excess medium squeeze out at the edges.
- Wipe away the squeeze-out with a damp cloth before it dries.
Step 3: Let the Transfers Dry
Leave the piece flat for at least 24 hours in a dry room.
- The transfer medium needs that time to cure through the paper and bond with the wood grain.
- Moving it early can lift the corners or leave cloudy patches where the image has not fully set.
Step 4: Reveal the Photo
Dampen a soft washcloth with water and press it over the paper for 30 to 60 seconds.
- Rub the softened paper away with the pad of your finger using light, small circles.
- Let the surface dry between passes so any remaining paper fibers show as a pale haze, then dampen and rub again until the transferred image looks clear.
- Avoid scrubbing hard enough to wear through the toner.
Step 5: Seal the Finished Coasters
After the coaster dries completely, brush on a water-resistant clear sealer — a polyurethane or spar-urethane finish rated for hot and wet drinkware — using the label’s coat count, dry time, and full cure time instead of a fixed number of coats.
- Seal the front, edges, and underside to reduce warping from moisture.
- Add four small cork or silicone pads underneath so the finished coaster does not scratch a wood table.
8 Aesthetic DIY Photo Coasters: Design Ideas
1. Vintage Black & White Photos
Use black-and-white family photographs for a quiet, familiar look that works with painted furniture, warm wood, and neutral table linens. A close-up portrait, an old wedding photograph, or a candid kitchen snapshot prints especially well because the grayscale image keeps its detail against the uneven tones of natural wood.
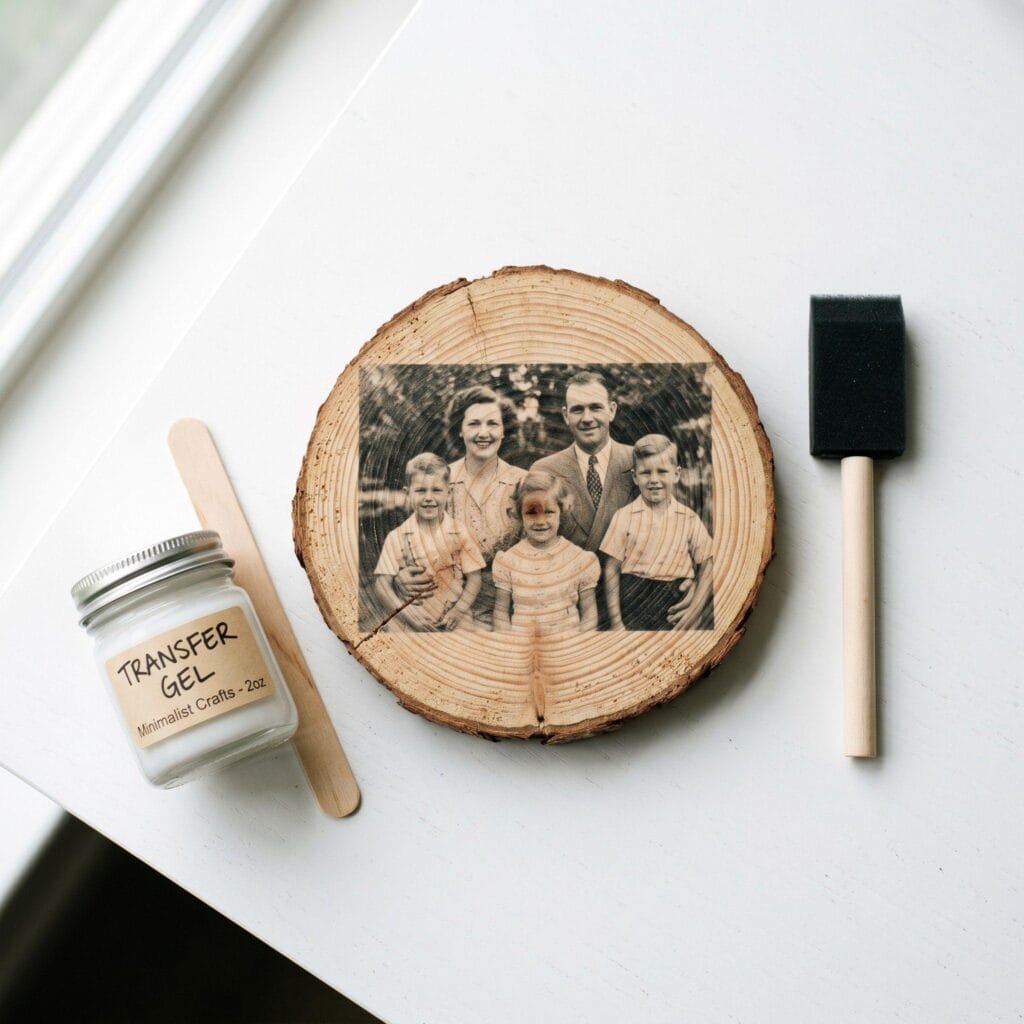
2. Minimalist Polaroid Style
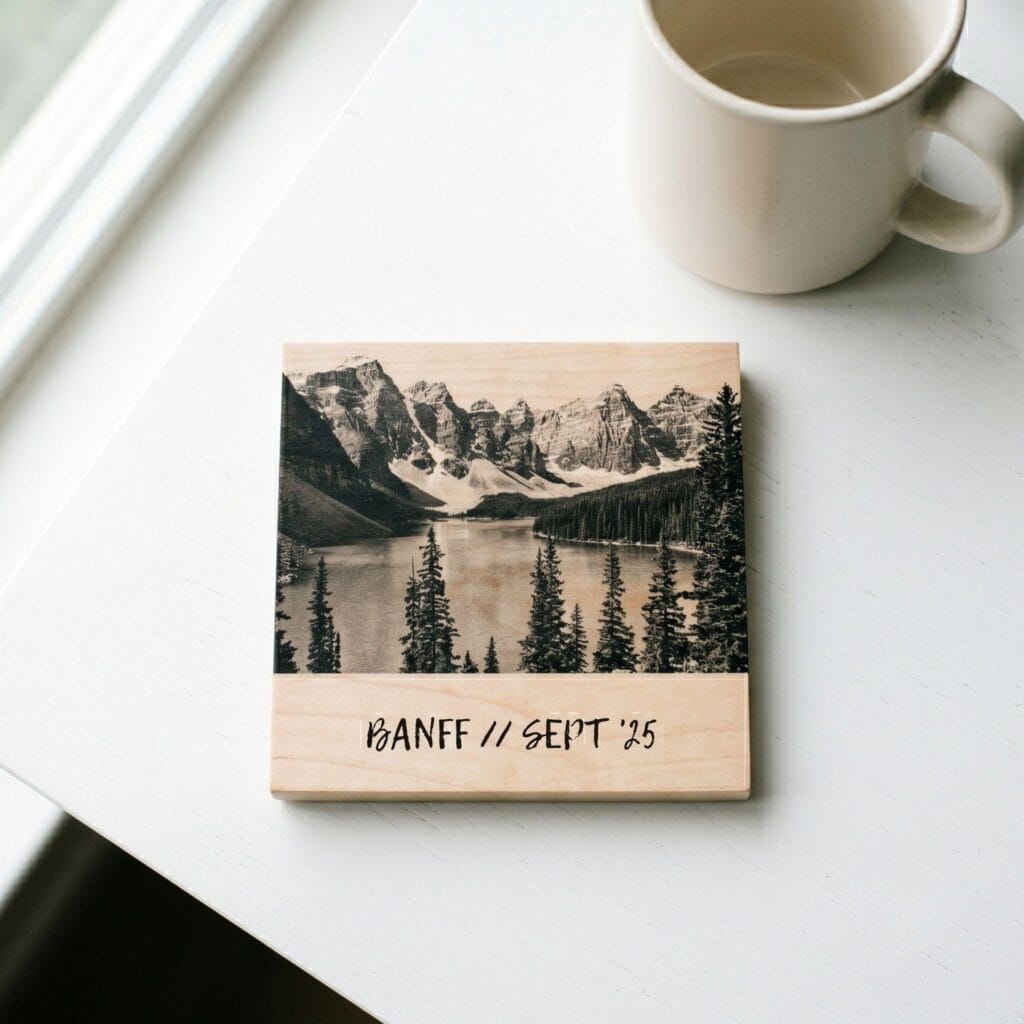
Square wooden blanks suit a Polaroid-inspired layout. Trim the image with a wider white margin along the bottom edge, then write the year, location, or a short name beneath it with a fine-tip archival pen. Keep the writing clear of the wet transfer medium, or add it after the image has cured and before the final seal coat.
3. Travel Landscapes
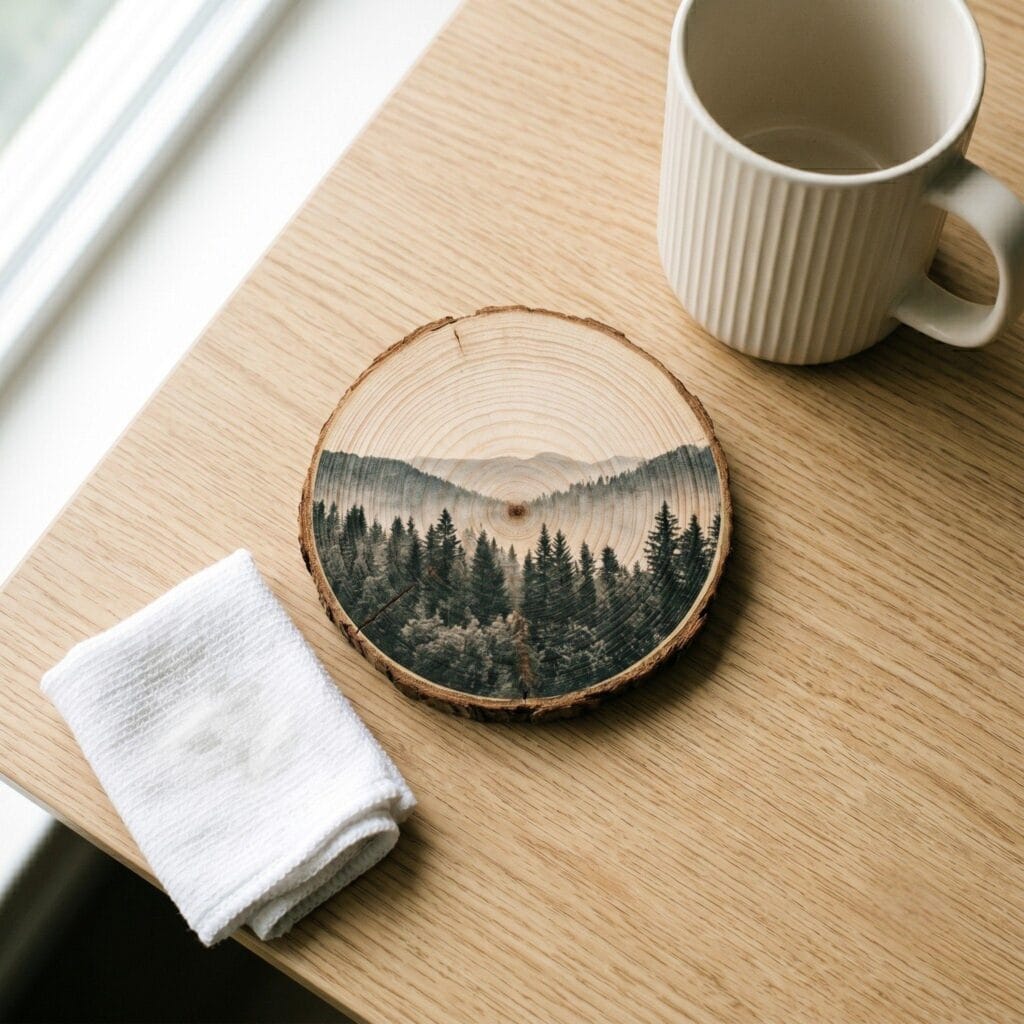
Landscape photographs make especially good use of round wood slices. Choose pine trees, lakes, mountain ridges, beach grass, or sunset silhouettes, and position the horizon where the grain naturally leads the eye. The rings and knots in the wood become part of the scene, giving every coaster a slightly different surface.
4. Botanical Pressed Edge
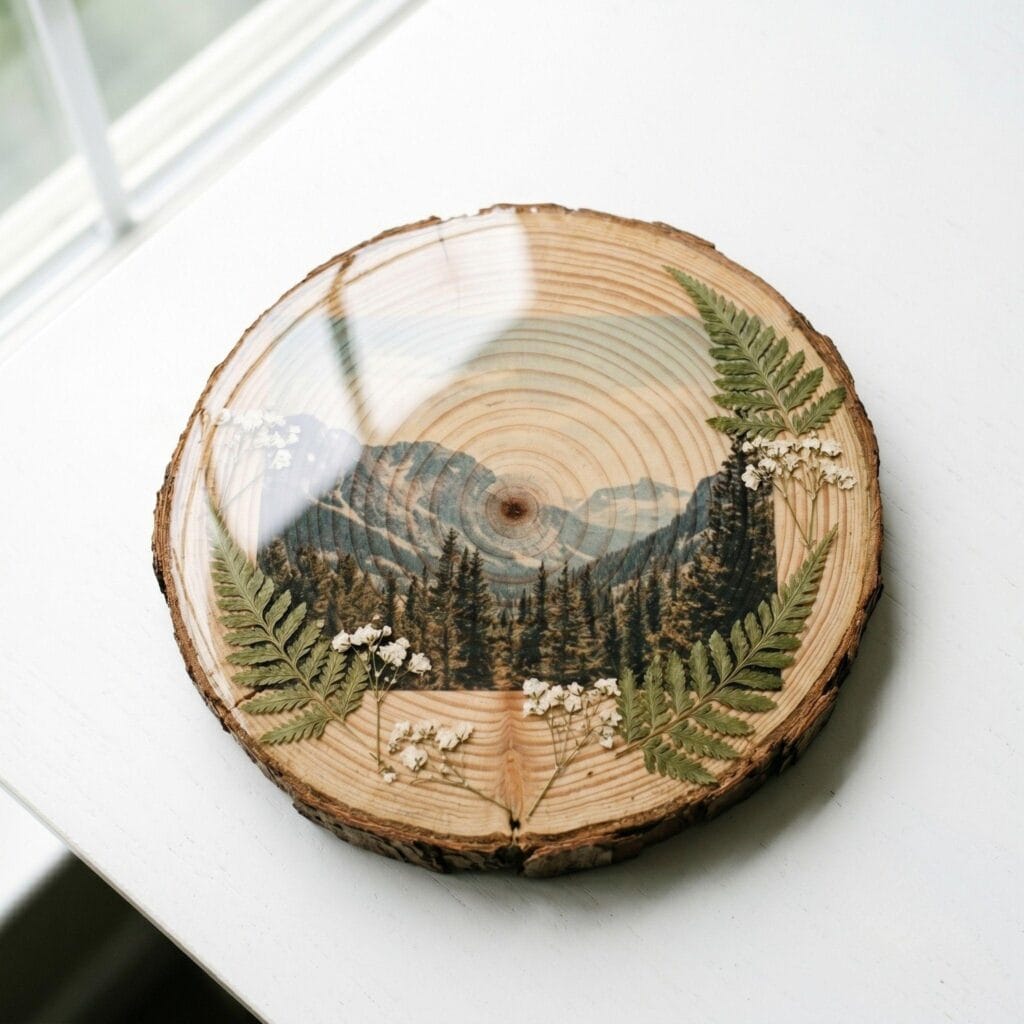
Frame a small photograph with pressed flowers for a soft botanical finish. Arrange fully dried baby’s breath, fern tips, or tiny viola blossoms around the outer edge after the photo transfer has cured. Fix the delicate pieces in place with a thin coat of decoupage glue, let them dry flat, and cover them with clear sealer or resin so no petals catch on a glass.
5. Sepia Tone on Birch Wood
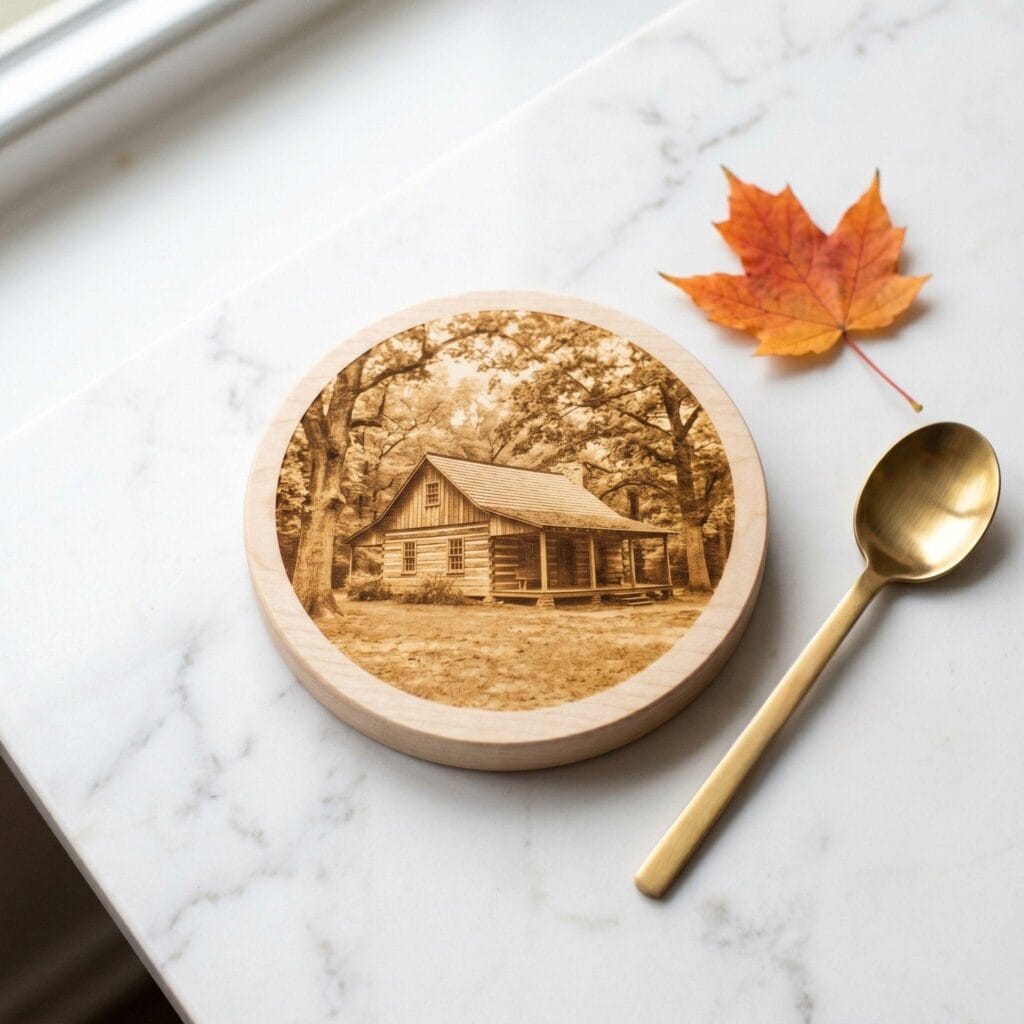
Warm sepia photographs pair well with pale birch slices and honey-colored wood stain. Choose images with strong shadows, such as an old porch, a bicycle, a picnic table, or a tree-lined road. The brown tones settle naturally beside the grain and give the set an autumnal, well-used feel. Stain the blank before any transfer work and let it dry completely per the stain label; transfer only once the wood no longer feels damp, then seal the finished coaster. Test your exact stain and transfer medium on a scrap first — some media need bare, absorbent wood — and if adhesion suffers, stain only the exposed border after the transfer instead.
6. Geometric Painted Borders
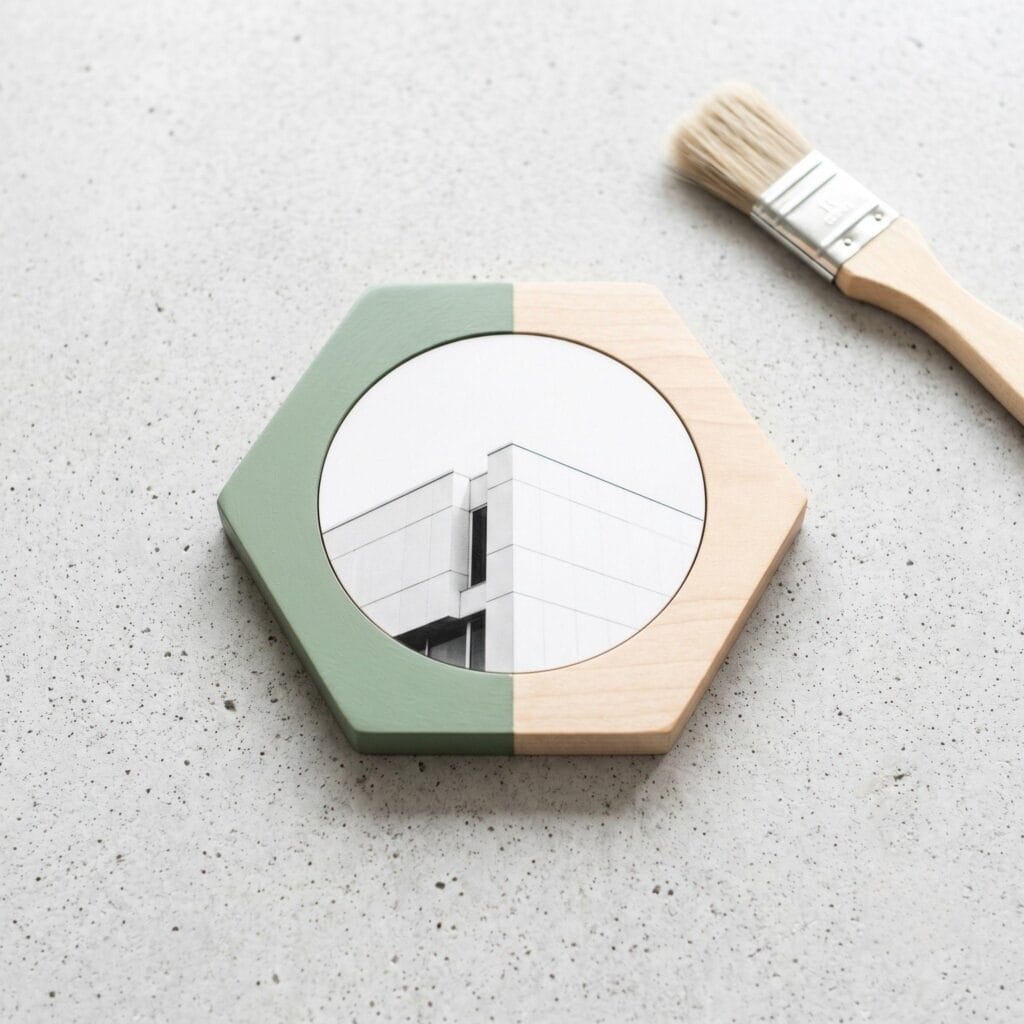
For a cleaner contemporary design, center a circular photo on a square coaster and paint the exposed border in matte black, deep forest green, or navy. Use painter’s tape to keep the painted edge crisp, then remove the tape while the paint is still slightly tacky. Add the painted border only after the photo transfer has dried, and seal the finished coaster once the paint is fully dry. Match the coaster color with our 15 brilliant scrap leather projects you will love to try for a coordinated tabletop arrangement.
7. Custom Typography
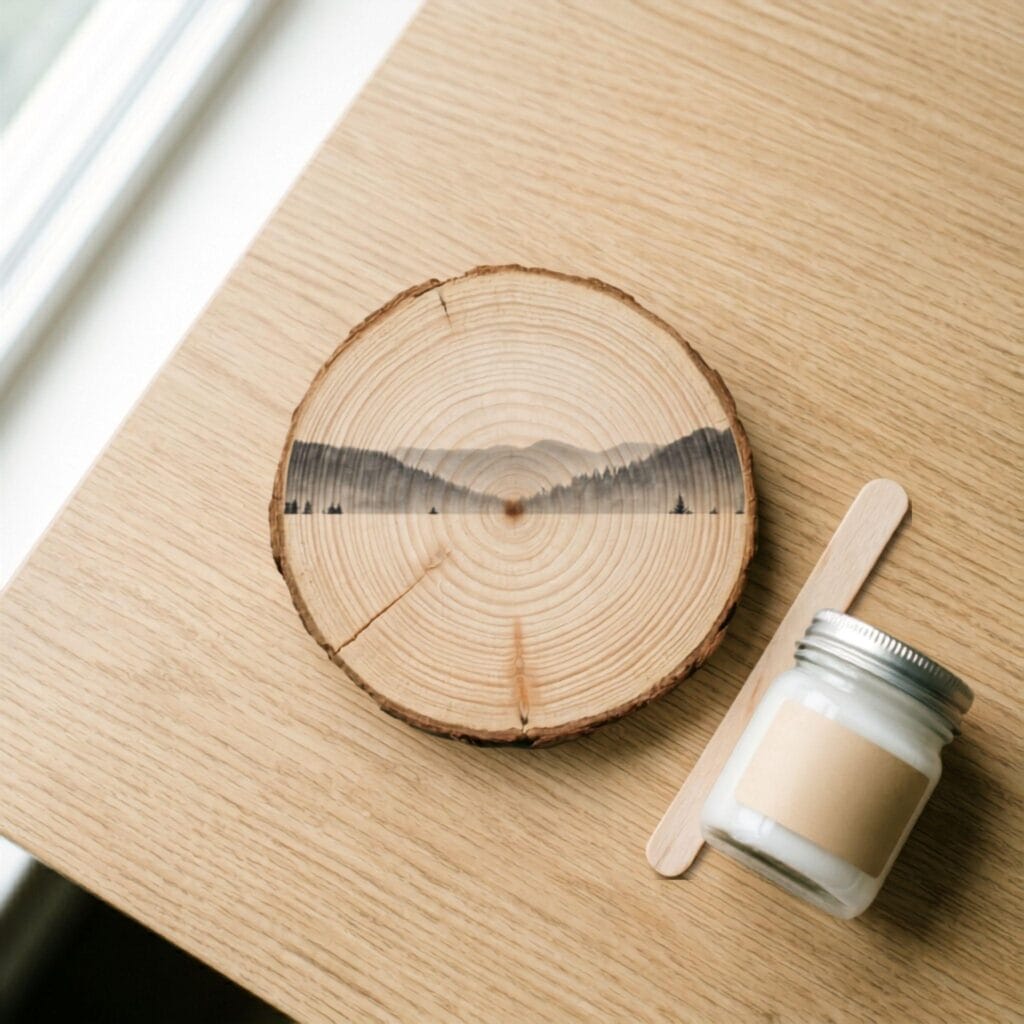
Add a date, a place name, initials, or a short line from a favorite song beneath the image. A wedding date, the coordinates of a first home, or the name of a childhood lake gives the set a specific story without crowding the photograph. Use a simple typeface and keep the lettering at least 1/4 inch from the coaster edge so the design remains easy to read. Letter with the paint pen after the transfer has cured, then brush the final sealer over the writing so it will not rub off.
8. Resin Glaze Finish
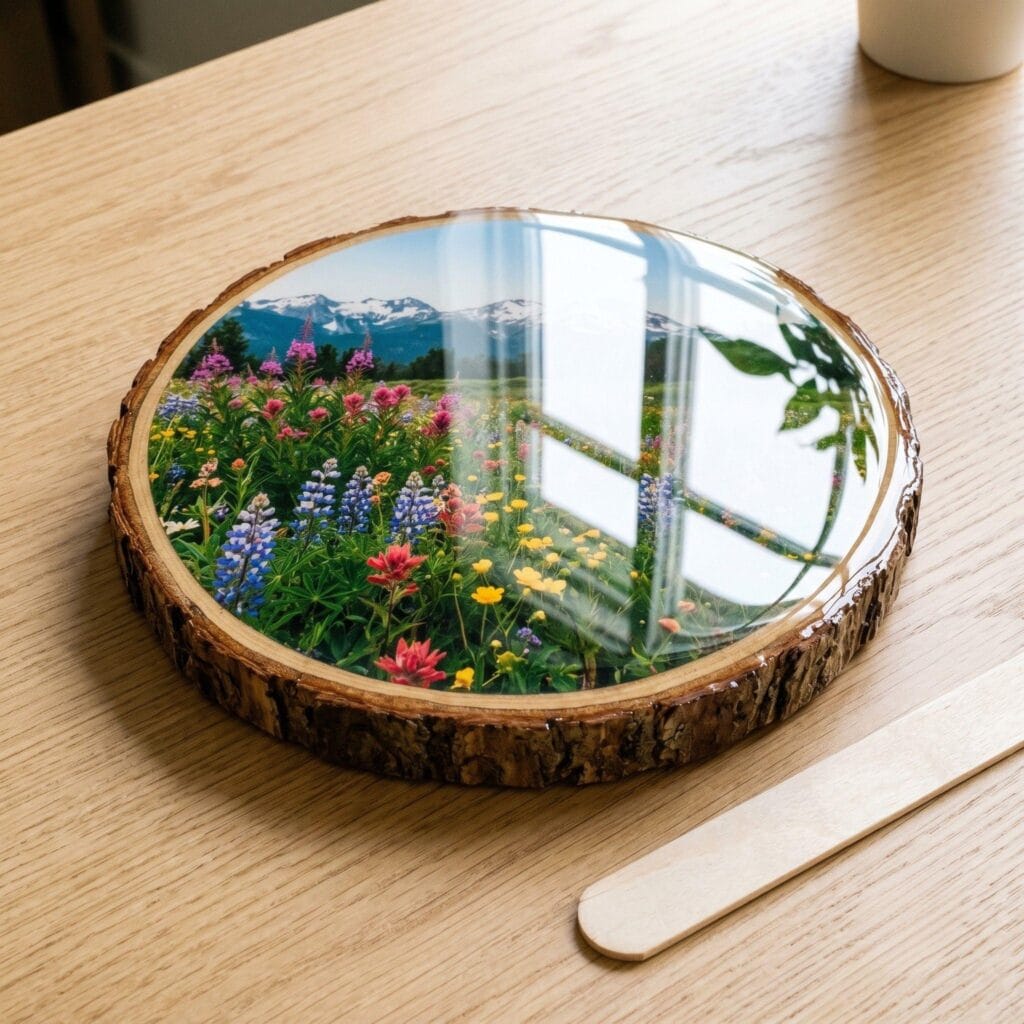
Pouring a clear epoxy resin topcoat creates a thick, glassy surface over the photograph. Measure the resin and hardener precisely according to the manufacturer’s ratio, stir slowly for the full recommended time, and pour it over a level coaster protected with parchment paper underneath. Pass a resin heat gun briefly over the surface to release bubbles — an open-flame torch kept constantly moving is the alternative — then cover the pieces with a clean box while the resin cures. Pair the finished resin coasters with 7 gorgeous DIY stamped napkins you will absolutely love for a polished table setting.
Expert Pro-Tips for Perfect Coasters
- Mirror Your Images: The transfer process flips your image backward. Always mirror the image horizontally before printing. This is vital for text.
- Patience with Peeling: Also, do not rub the wet paper too hard. If you apply too much pressure, you will erase the ink.
- Re-wet if Cloudy: Sometimes a cloudy white layer appears after drying. When that happens, simply wet your finger, then gently rub away the leftover paper fibers.
Safety First
- Ventilate. Decoupage medium, clear sealer and the epoxy glaze variation all need airflow. Work away from food-prep areas and follow the label’s ventilation and cure directions.
- Handle the epoxy glaze with care. For the resin-glaze variation only: nitrile gloves, a ventilated room, thin pours, and a full cure before any mug touches the surface.
- Check the label before serving. Only a sealer rated for hot and wet drinkware belongs on a coaster. Follow its full cure time — not this article’s — before the coaster sees use.
Frequently Asked Questions
Can I use inkjet prints instead of laser prints?
For this transfer method, use a laser or toner copy — the wet transfer step smears inkjet dye. A local copy shop can print toner copies if you don’t own a laser printer.
Why do I mirror my images before printing?
The transfer flips the image as the paper is rubbed away, so mirror text-based photos horizontally first.
What do I do if the transfer looks cloudy?
A thin white layer is leftover paper fibers — after the coaster dries, wet your finger and gently rub until the image clears.
Which sealer should I use?
A water-resistant polyurethane or spar-urethane sealer rated for hot and wet drinkware; follow the label’s coat count, dry time, and full cure time.
How long should the coasters cure before use?
Let each stage finish fully — the transfer medium dry to the touch, the sealer cured per its label, and resin-glaze coasters fully cured before a mug touches them.
“Which of these How to Make Gorgeous DIY Photo Coasters (8 Easy Ideas) ideas are you excited to try first, or do you have a creative tip of your own to share? Drop a comment below—I’d love to hear your thoughts and see what you create!”