

Are you looking for beautiful, minimalist decor for your space? Working with raw, industrial textures brings a unique, modern character to any room, but buying high-end concrete pieces from boutique design stores can be incredibly expensive. We designed these stunning DIY cement crafts to help you achieve that luxurious artisan look at home. Using fine white cement and specialized aesthetic molds ensures professional-grade results. Each project ranges from easy to intermediate and requires only simple, accessible materials. You can transform your living room styling completely on a budget, giving your home the feel of a modern artisan studio. If you love working with raw textures, check out our DIY marine animal crafts post for more aesthetic inspiration!
This post contains affiliate links. As an Amazon Associate, I earn from qualifying purchases. If you buy through these links, I may earn a commission at no additional cost to you.
Key Facts:
- Technique: Cement Crafts
- Total time: 24 hours
- Makes: 12 Cement Crafts
Essential Supplies for DIY Cement Crafts
| Supply | Spec / Size | Used For |
|---|---|---|
| Fine White Cement Powder | The smooth, premium base for most designs in this guide | |
| Standard Grey Cement | A raw, industrial-textured base for the bookends, soap dish, wall… | |
| Mold Release Oil | Lightly coats molds and inner forms so cured cement releases cleanly | |
| Round Silicone Coaster Mold | For the Minimalist Concrete Coasters | |
| Large Hexagon Silicone Mold | For the Geometric Marble Jewelry Dish | |
| Square Silicone Mold | For the Concrete and Wood Bookends |
A few foundational materials are used throughout nearly every project in this guide, marked with a (used throughout) tag below.
🧱 Cement & Casting Base
Fine white cement gives the cleanest, most premium finish, while standard grey cement suits the more industrial, raw-textured pieces.
- Fine White Cement Powder (used throughout): The smooth, premium base for most designs in this guide | Check Fine White Cement Powder price on Amazon
- Standard Grey Cement (used throughout): A raw, industrial-textured base for the bookends, soap dish, wall panel, and candle vessel | Check Standard Grey Cement price on Amazon
- Mold Release Oil (used throughout): Lightly coats molds and inner forms so cured cement releases cleanly | Check Mold Release Oil price on Amazon
🧊 Molds & Casting Forms
Each design uses its own mold shape. Most are flexible silicone, though a few projects repurpose plastic household containers as improvised molds.
- Round Silicone Coaster Mold: For the Minimalist Concrete Coasters | Check Round Silicone Coaster Mold price on Amazon
- Large Hexagon Silicone Mold: For the Geometric Marble Jewelry Dish | Check Large Hexagon Silicone Mold price on Amazon
- Square Silicone Mold: For the Concrete and Wood Bookends | Check Square Silicone Mold price on Amazon
- Small Cube Silicone Molds: For the Air Plant Cube Planters | Check Small Cube Silicone Molds price on Amazon
- Small Cylinder Molds: For the Brass Wire Photo Holders | Check Small Cylinder Molds price on Amazon
- Fluted/Ridged Silicone Soap Dish Mold: For the Fluted Soap Dish | Check Fluted Silicone Soap Dish Mold price on Amazon
- Silicone Cone Mold: For the Gold-Dipped Ring Cones | Check Silicone Cone Mold price on Amazon
- Mini Bowl Silicone Mold: For the Terrazzo Effect Mini Bowl | Check Mini Bowl Silicone Mold price on Amazon
- Thick Cylindrical Silicone Mold: For the Concrete Candle Vessels | Check Thick Cylindrical Silicone Mold price on Amazon
- Long Boat-Shaped Silicone Mold: For the Minimalist Incense Burners | Check Long Boat-Shaped Silicone Mold price on Amazon
- Plastic Mixing Bowls, Two Sizes: The outer and inner forms for the double-mold technique, used in the Jewelry Dish and Succulent Centerpiece Bowl | Check Plastic Mixing Bowls price on Amazon
- Plastic Test Tube: Presses a clean planting hole for the Air Plant Cube | Check Plastic Test Tube price on Amazon
- Square Silicone Tray Mold: Casts the flat, flexible base for the Textured Wall Art Panel | Check Square Silicone Tray Mold price on Amazon
⚖️ Weighting & Mixing Tools
- Heavy Stones or Rocks (used throughout): Weighs down inner molds so they do not float while the outer cement sets | Check Decorative River Rocks price on Amazon
- Fine Sandpaper (used throughout): Smooths cured edges and removes manufacturing burrs | Check Fine Sandpaper price on Amazon
- Heavy-Grit Sandpaper: Aggressively sands the terrazzo bowl’s surface to reveal embedded chips | Check Heavy-Grit Sandpaper price on Amazon
🔗 Hardware & Embeds
- Raw Brass Wire: Forms the photo-holder stem, bent with jewelry pliers | Check Raw Brass Wire price on Amazon
- Jewelry Pliers: Bends brass wire into a secure photo-holding loop | Check Jewelry Pliers price on Amazon
- Wooden Skewer: Presses a clean incense-stick hole into wet cement | Check Wooden Skewers price on Amazon
- Raw Oak Wood Blocks: Bonds to cured cement to form two-tone bookends | Check Raw Oak Wood Blocks price on Amazon
- Strong Construction Adhesive: Bonds the wood block to the cured cement cube | Check Strong Construction Adhesive price on Amazon
- Cotton Wick: The wick base for the concrete candle vessel | Check Cotton Candle Wicks price on Amazon
- Natural Soy Wax: Fills the sealed candle vessel | Check Natural Soy Wax price on Amazon
🎨 Color & Finishing
- Black Cement Pigment: Creates the subtle marbled swirl in the jewelry dish | Check Black Cement Pigment price on Amazon
- Colorful Glass or Shell Chips: Embeds into wet cement for the terrazzo effect | Check Colorful Glass Chips price on Amazon
- Liquid Gold Leaf Paint: Paints the metallic half of the ring cones | Check Liquid Gold Leaf Paint price on Amazon
- Fine Detail Brush: Applies gold leaf paint precisely | Check Fine Detail Brush price on Amazon
- Painter’s Masking Tape: Creates a sharp, clean line for the two-tone gold cone finish | Check Painter’s Masking Tape price on Amazon
- Waterproof Stone & Concrete Sealer: Protects coasters, jewelry dishes, soap dishes, and candle vessels from stains, moisture, and hot wax | Check Waterproof Stone & Concrete Sealer price on Amazon
🌿 Natural & Specialty Items
- Burlap or Jute Fabric: Presses a fossilized textile texture into the wall art panel | Check Burlap Fabric price on Amazon
- Small Tillandsia Air Plant: The finished planting element for the cube planter | Check Small Tillandsia Air Plant price on Amazon
- Succulent Soil & Small Succulents: Plants the centerpiece bowl | Check Succulent Soil price on Amazon
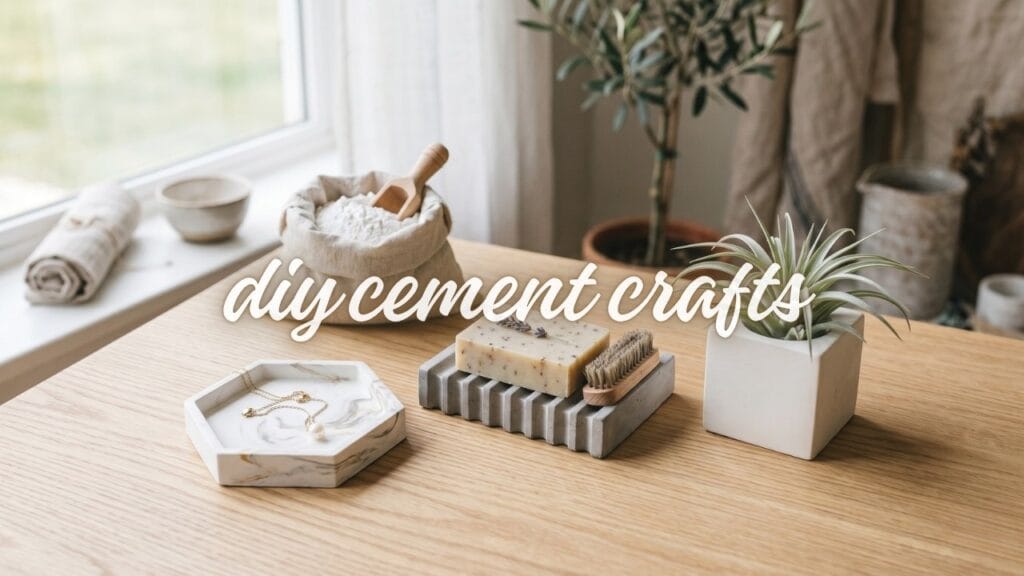
The Ultimate Masterclass: How to Cast Perfect Cement Crafts
Want to achieve professional results every time? Here is the foundational Double-Mold (Inner Form) Technique. This method creates perfect walls and hollow centers (like bowls or trays), making it the secret to high-end DIY cement crafts. Several ideas below reference this technique directly, so mastering it once saves time across the entire guide.
Step 1: Mix the Cement. Mix fine white cement with water in a bowl, stirring until it reaches a smooth, pancake-batter consistency. Ensure no dry lumps remain in the mixture.
Step 2: Prepare the Molds. You need a larger outer mold and a slightly smaller inner container to create the hollow cavity. Lightly oil the inside of the outer mold and the outside of the inner container so the cured cement releases cleanly.
Step 3: Pour the Base. Slowly pour the wet cement mixture into the large outer mold, filling it about halfway. Gently tap the mold against the table surface to release any trapped air bubbles.
Step 4: Create the Wall Structure. Carefully press the smaller oiled container directly into the center of the wet cement. It will naturally want to float, so place heavy stones inside this inner container to weigh it down, forcing the cement up the sides to create perfectly even walls.
Step 5: Cure Completely. Leave the mold undisturbed on a flat surface. Do not touch or move the molds for at least 24 hours to prevent hairline cracking.
Step 6: Demold and Finish. Once fully cured, gently remove the inner weighted container first, then peel away the outer silicone mold. Use fine sandpaper to smooth the top edges and remove any manufacturing burrs. Your flawless base is ready for your aesthetic DIY cement crafts.
12 Aesthetic Ideas for DIY Cement Crafts
These projects offer a sustainable, brutalist, yet elegant look. Explore these twelve unique interior styling ideas complete with specific supply lists and step-by-step casting instructions.
1. Minimalist Concrete Coasters: DIY Cement Crafts
- Mix the white cement and water to a smooth, pancake-batter consistency.
- Pour the mixture slowly into the round silicone mold and tap it gently on the table to release trapped air bubbles.
- Let it cure completely for 24 hours.
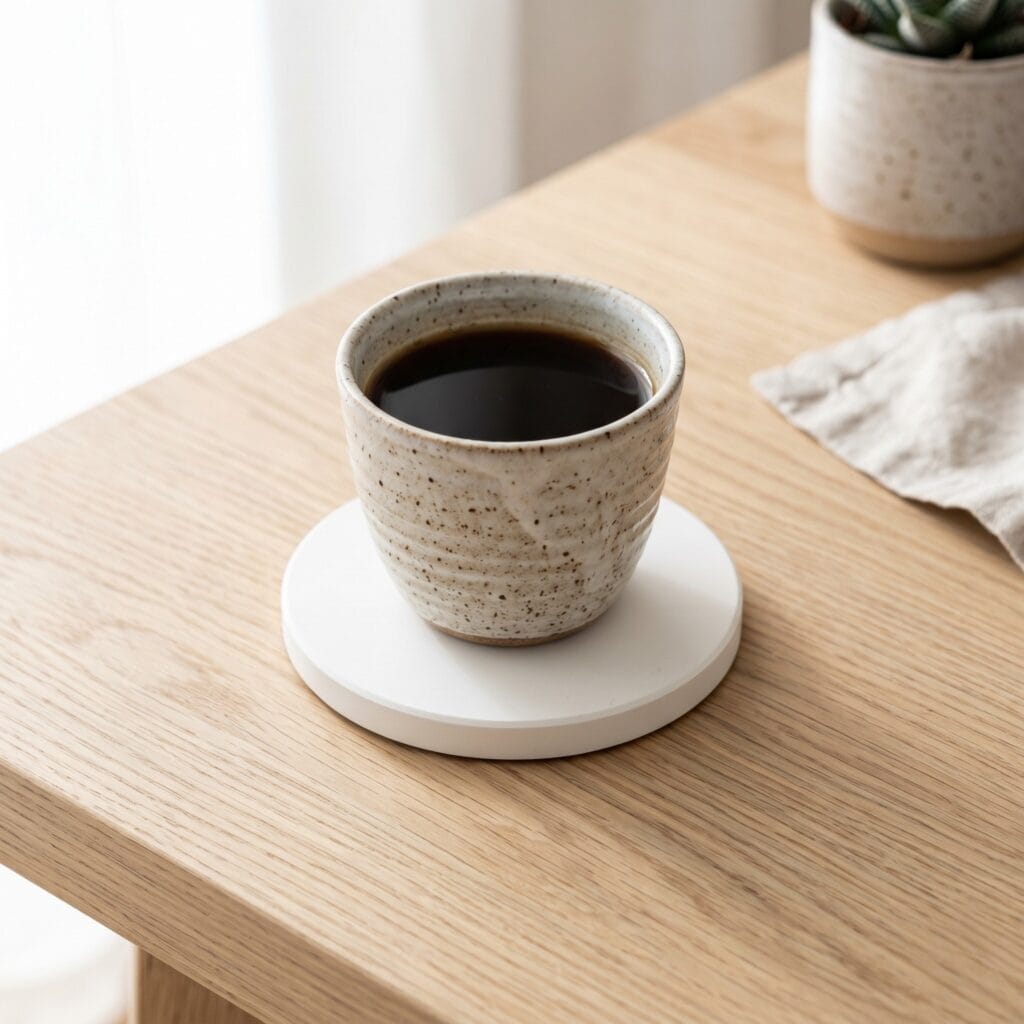
Protect your coffee table with a modern, industrial touch. These coasters are highly durable and fit any minimalist aesthetic seamlessly.
Supplies Needed: Fine White Cement Powder, Round Silicone Coaster Mold, Mixing Bowl & Stir Stick, Fine Sandpaper, Matte Stone Sealer.
How to Make It: Mix the white cement and water to a smooth, pancake-batter consistency. Pour the mixture slowly into the round silicone mold and tap it gently on the table to release trapped air bubbles. Let it cure completely for 24 hours. Demold the piece, sand the edges smooth, and apply a coat of matte stone sealer to prevent coffee stains.
2. Geometric Marble Jewelry Dish
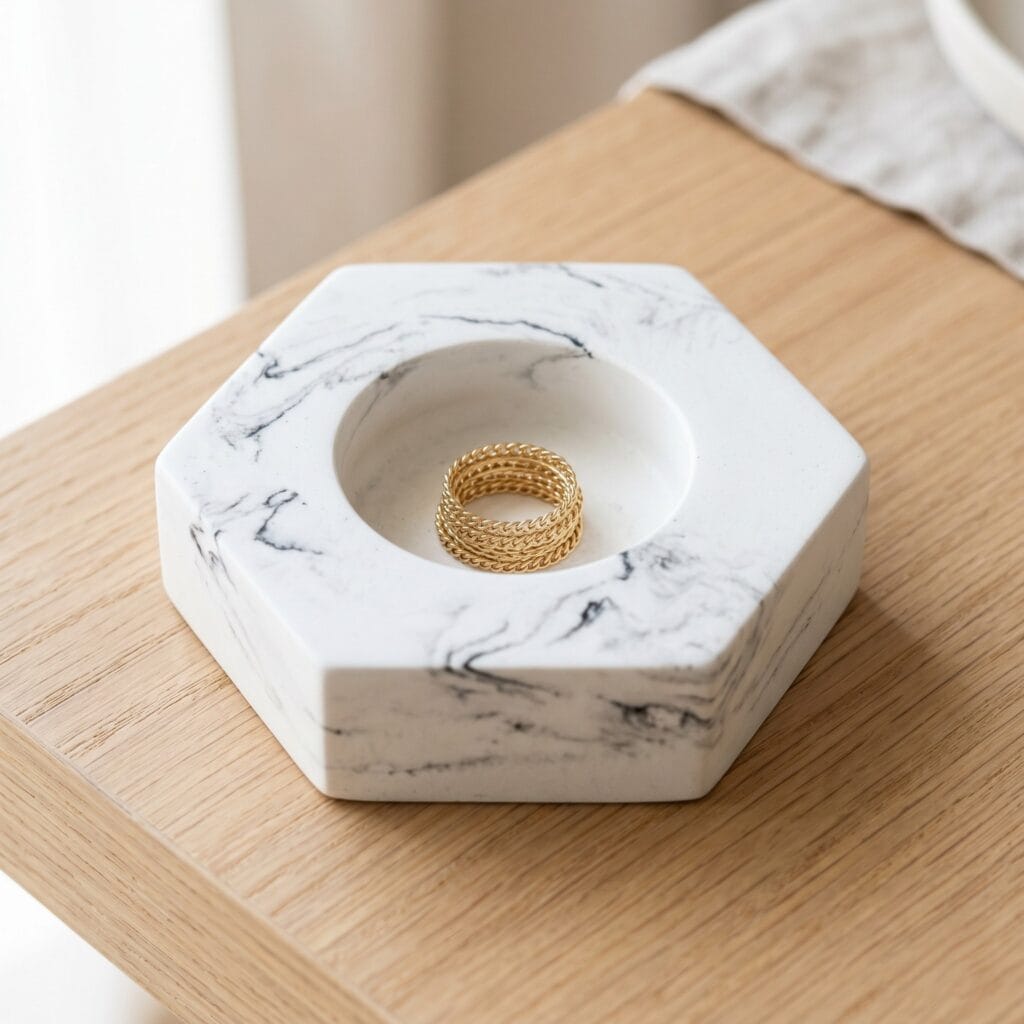
Organize your dresser beautifully. Utilizing an inner form technique guarantees a perfectly leveled well for your rings.
Supplies Needed: Fine White Cement Powder, Large Hexagon Silicone Mold, Plastic Mixing Bowls (Two Sizes), Black Cement Pigment, Heavy Stones or Rocks, Matte Stone Sealer.
How to Make It: Prepare your white cement mixture. Drop a tiny amount of black pigment into the wet batter and use a toothpick to swirl it gently, creating a subtle marble effect. Pour the marbled mixture into the large hexagon mold and follow the Double-Mold (Inner Form) Technique from our Masterclass above to create the inner well. After 24 hours of curing, remove the weighted inner container, demold the outer tray, and seal your flawless marble-effect dish.
3. Concrete and Wood Bookends: DIY Cement Crafts
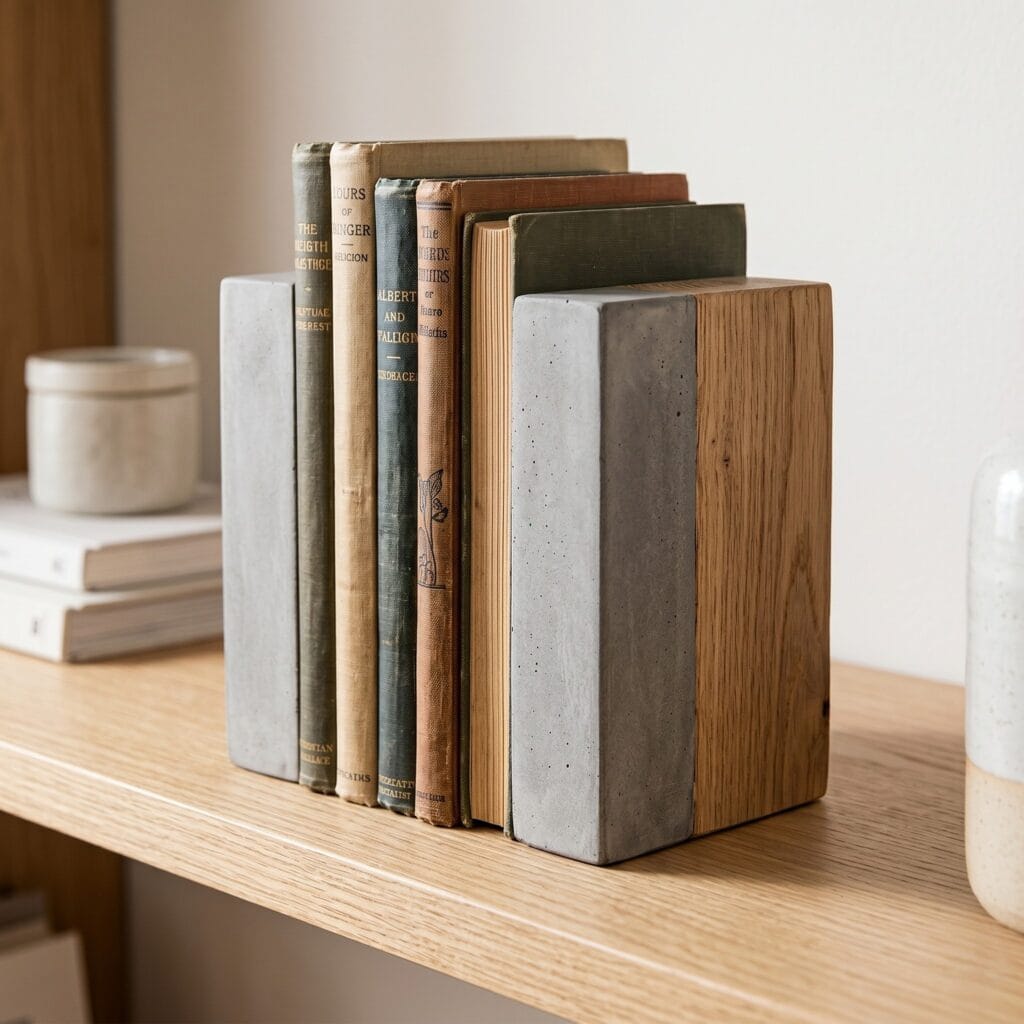
Add weight and modern character to your bookshelves. Mixing cold concrete with warm wood creates a brilliant, high-contrast design.
Supplies Needed: Standard Grey Cement, Square Silicone Mold, Raw Oak Wood Blocks, Strong Construction Adhesive, Fine Sandpaper.
How to Make It: Mix and pour the grey cement to fill exactly half of your square mold. Let it cure fully for 24 hours and remove the concrete cube. Apply a thick layer of strong construction adhesive to the top of the concrete and press the raw oak wood block firmly onto it to create a heavy two-tone bookend.
4. Air Plant Cube Planters
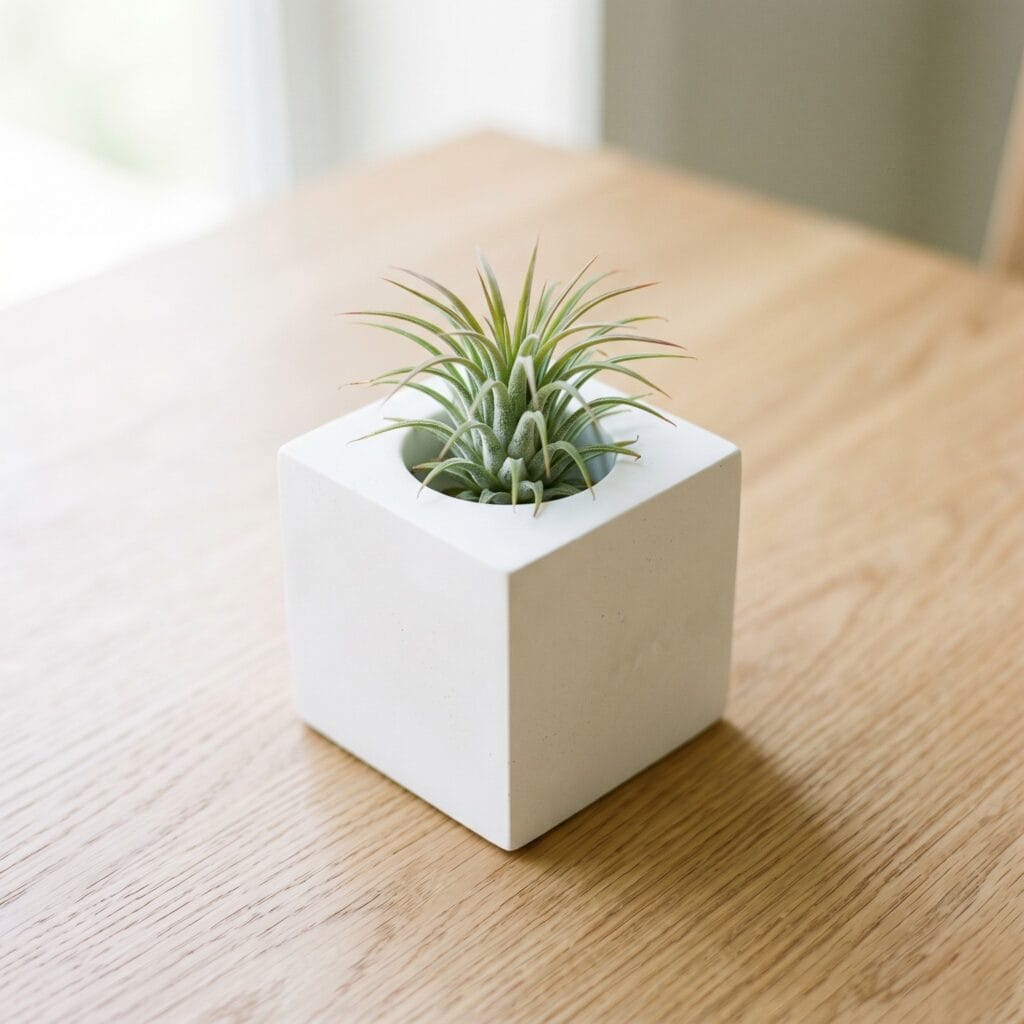
Bring minimalist greenery to your desk. Air plants require no soil, pairing perfectly with the clean lines of raw concrete.
Supplies Needed: Fine White Cement Powder, Small Cube Silicone Molds, Plastic Test Tube, Small Tillandsia Air Plant, Fine Sandpaper.
How to Make It: Pour the mixed white cement into the small cube mold — this uses a smaller-scale variation of the Double-Mold Technique from our Masterclass above, using a test tube instead of a full inner bowl. Secure the tube with tape across the top of the mold so it does not float up as the cement sets. Once the cement dries completely, remove the tube and the silicone mold, then place your air plant inside the clean resting cavity.
5. Brass Wire Photo Holders: DIY Cement Crafts
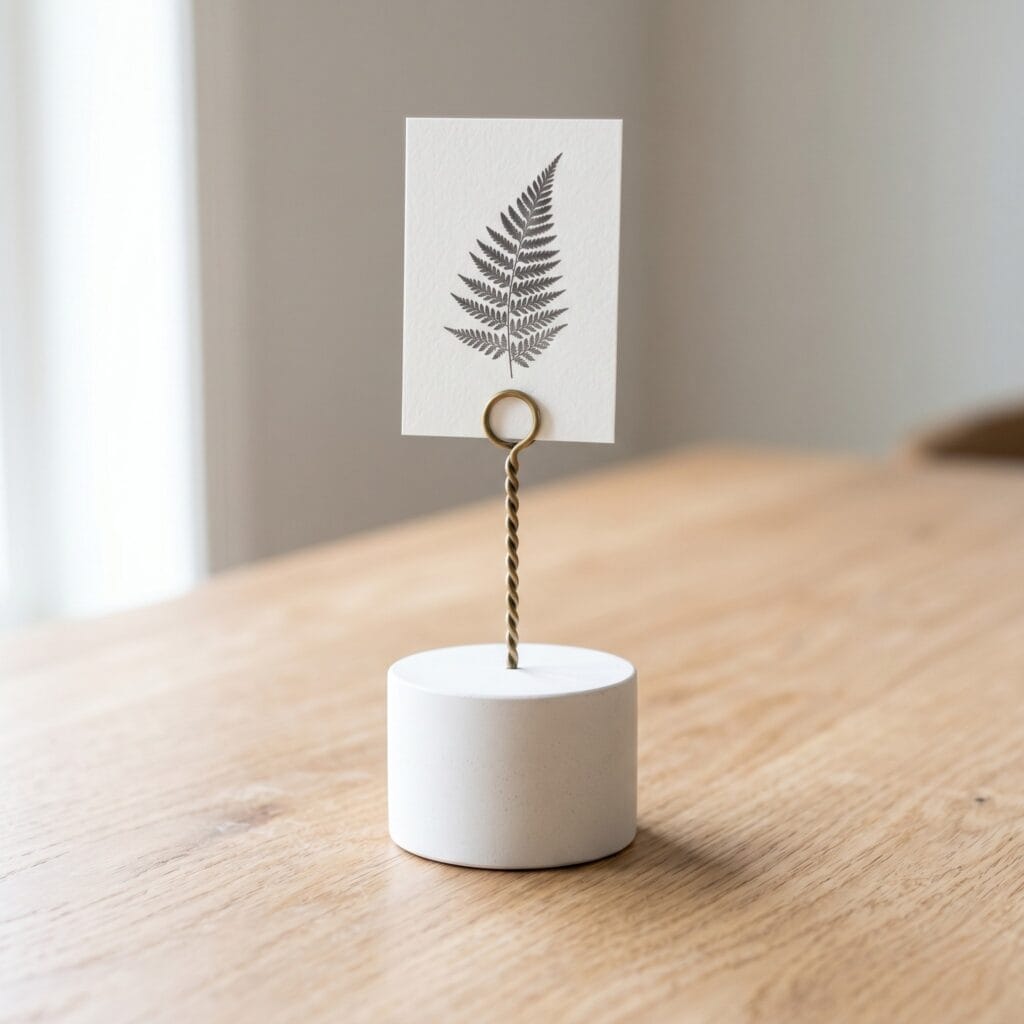
Display your favorite memories elegantly. Raw brass adds a sophisticated metallic contrast against the matte white base.
Supplies Needed: Fine White Cement Powder, Small Cylinder Molds, Raw Brass Wire, Jewelry Pliers, Fine Sandpaper.
How to Make It: Use jewelry pliers to bend one end of the raw brass wire into a tight double loop to hold the photo. Pour your wet cement mixture into the cylinder mold and carefully insert the straight bottom end of the brass wire deep into the center. Prop the wire perfectly upright until the cement dries completely. If you want to display beautiful paper art in these holders, check out our guide on how to make paper hibiscus flowers!
6. Fluted Soap Dish
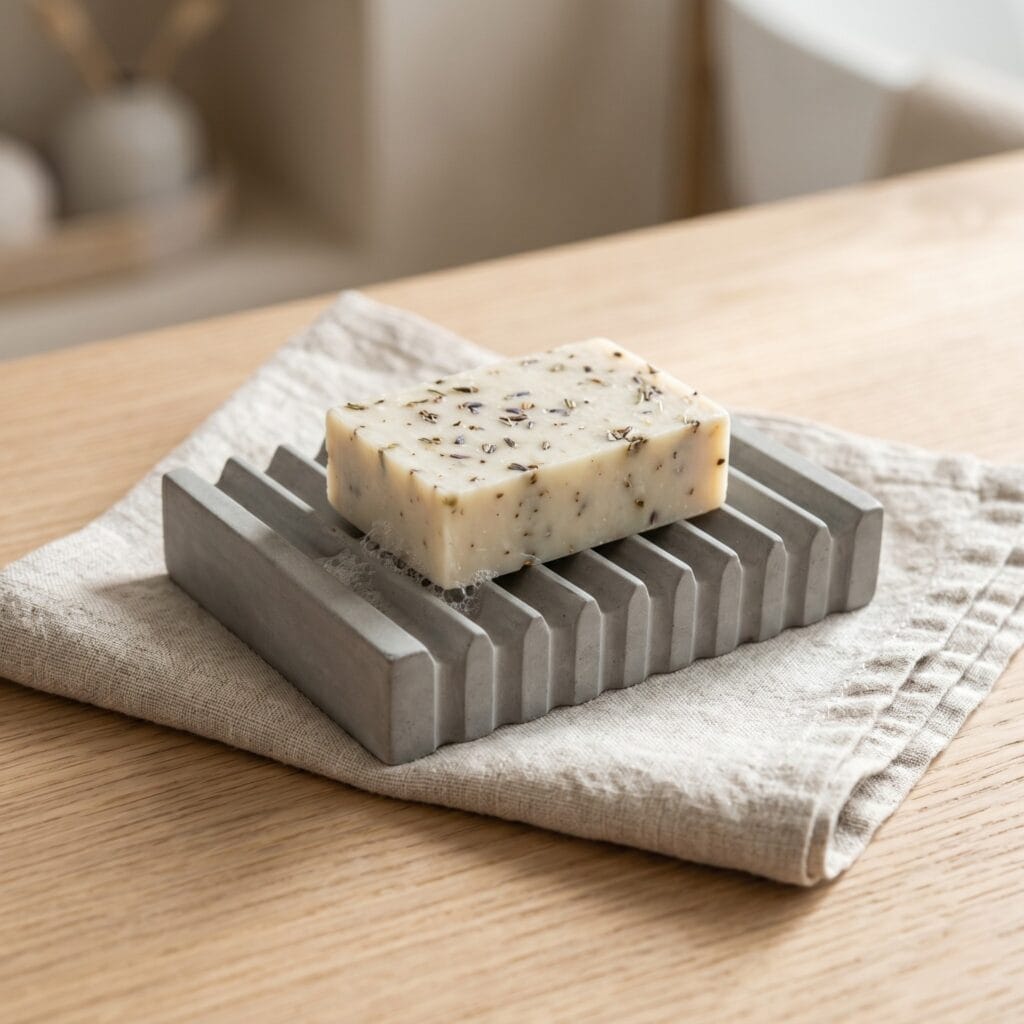
Instantly upgrade your bathroom aesthetic. The fluted texture elevates the soap bar, allowing it to dry perfectly between uses.
Supplies Needed: Standard Grey Cement, Fluted/Ridged Silicone Soap Dish Mold, Fine Sandpaper, Waterproof Concrete Sealer.
How to Make It: Mix the grey cement thoroughly to avoid dry lumps and pour it slowly into the fluted mold, ensuring the deep ridges are completely filled. Tap the mold firmly against your table to release all air bubbles that could otherwise ruin the grooved texture. After a full 24-hour cure, demold the dish gently and apply two coats of waterproof sealer to protect the cement from water degradation over time.
7. Gold-Dipped Ring Cones: DIY Cement Crafts
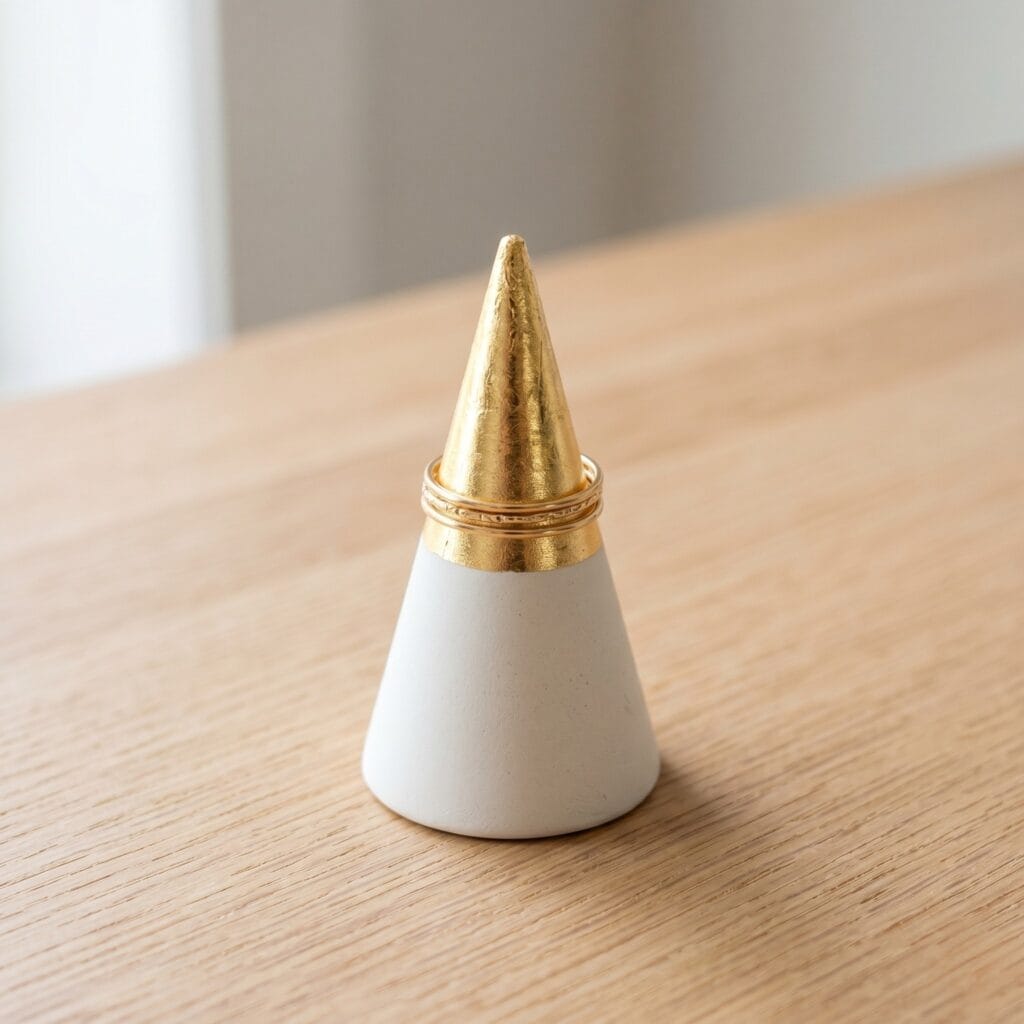
Keep your rings safe on a beautiful sculptural piece. This elegant two-tone design makes a fantastic handmade gift.
Supplies Needed: Fine White Cement Powder, Silicone Cone Mold, Liquid Gold Leaf Paint, Fine Detail Brush, Painter’s Masking Tape.
How to Make It: Cast your cement cone using the silicone mold and let it dry completely. Apply a strip of masking tape diagonally across the middle of the solid white cone. Use a fine brush to paint the top half with liquid gold leaf paint. Peeling away the tape reveals a stunning, crisp line separating the raw matte white and the brilliant metallic gold.
8. Textured Wall Art Panel
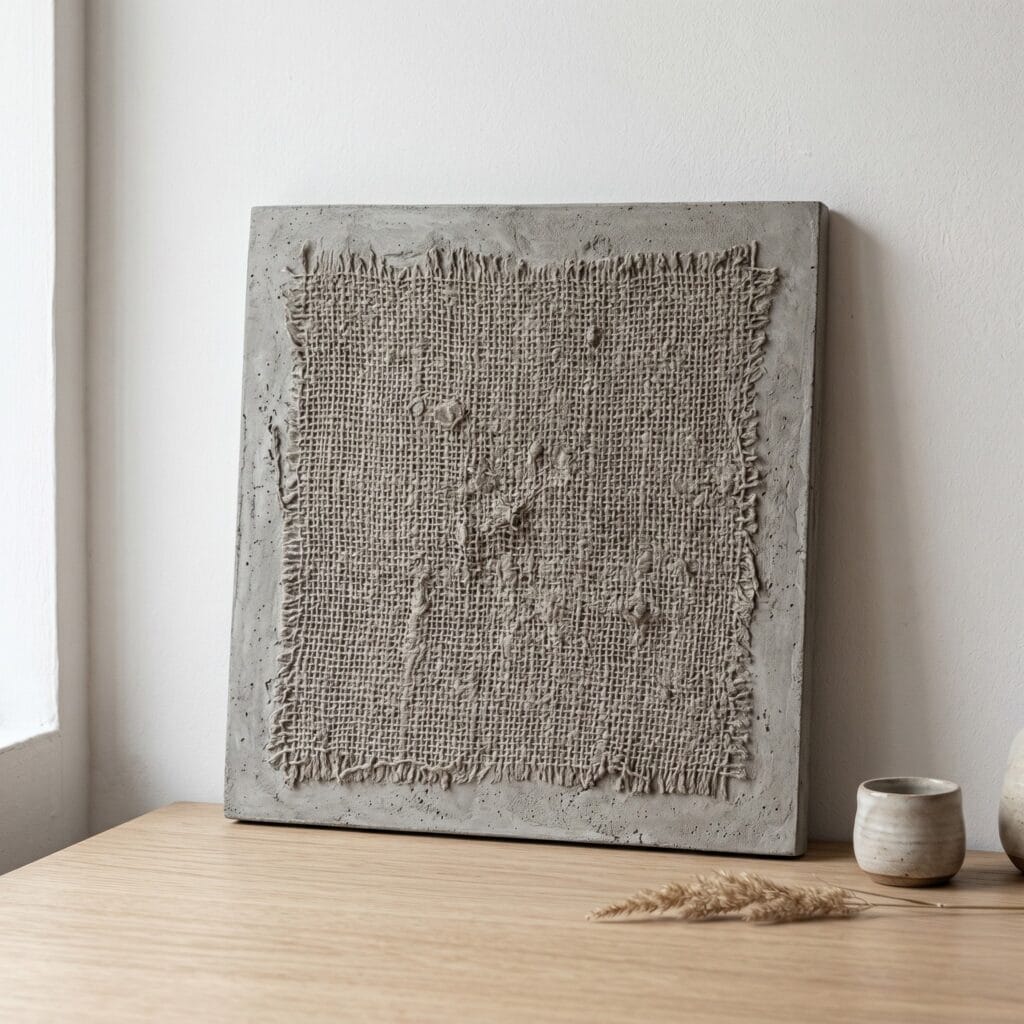
Add depth to empty walls with this unique textural art piece. Pressing heavy fabric into the wet mixture gives the concrete an organic, wabi-sabi fossilized texture.
Supplies Needed: Standard Grey Cement, Shallow Square Baking Pan, Burlap or Jute Fabric, Fine Sandpaper.
How to Make It: Pour a one-inch layer of grey cement into a plastic-lined shallow square pan. Before the cement hardens, press the piece of heavily textured burlap firmly onto the wet top surface. Place a heavy book over the fabric to keep it pressed flat. Once dry, peel off the fabric to reveal a beautiful textile impression on your modern wall panel.
9. Minimalist Incense Burners: DIY Cement Crafts
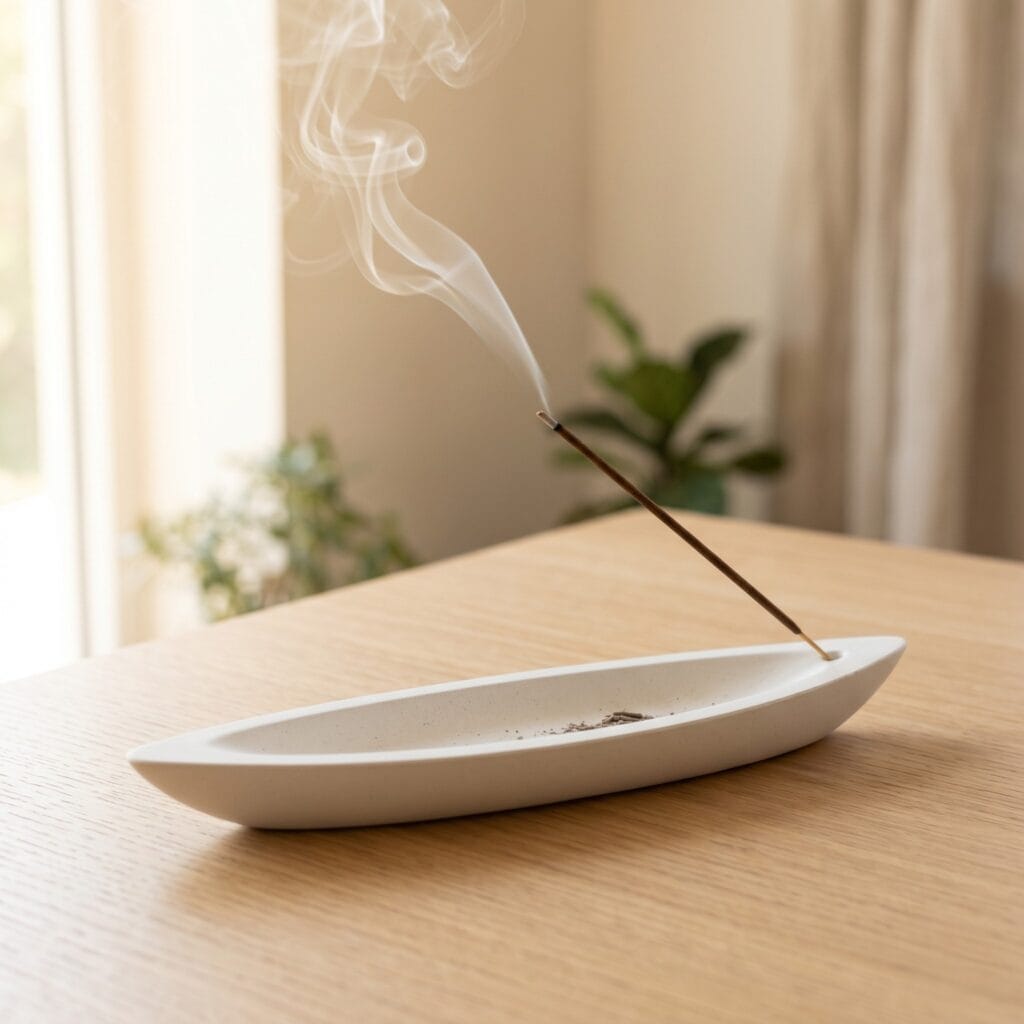
Complete your meditation corner with a functional decor piece. The heavy concrete base catches falling ash and prevents the burner from tipping over.
Supplies Needed: Fine White Cement Powder, Long Boat-Shaped Silicone Mold, Wooden Skewer, Fine Sandpaper.
How to Make It: Pour the white cement mixture into the long boat-shaped mold and tap out the air bubbles completely. While the cement is still wet, press the tip of a wooden skewer into one end at a 45-degree angle. Leave the skewer in place for about an hour, then twist and gently pull it out before the cement fully hardens to leave a perfectly sized hole for your incense sticks.
10. Terrazzo Effect Mini Bowl
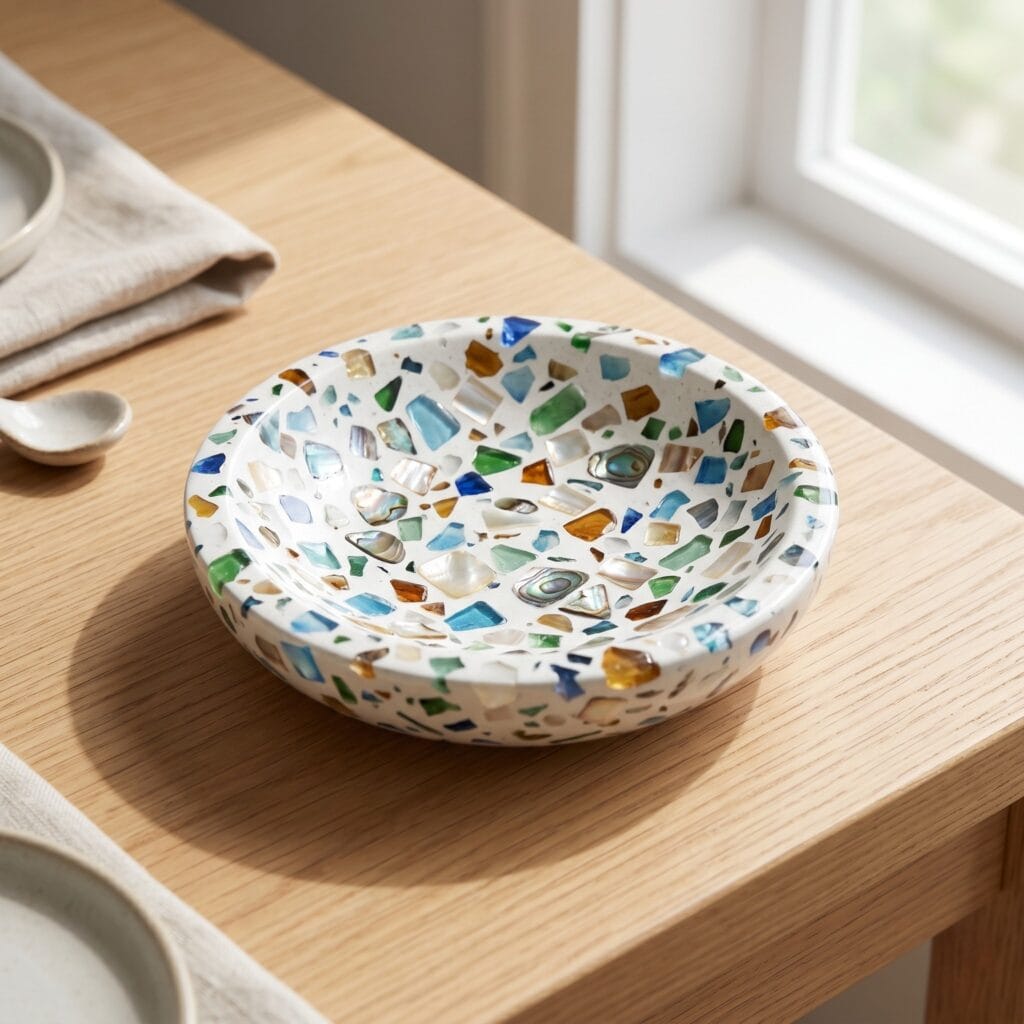
Embrace the beauty of classic Italian design. You can easily customize this colorful project to match your room’s specific color palette.
Supplies Needed: Fine White Cement Powder, Colorful Glass or Shell Chips, Mini Bowl Silicone Mold, Heavy-Grit Sandpaper, Fine Sandpaper.
How to Make It: Mix colorful glass or shell chips directly into your wet white cement batter. Pour the mixture into the mini bowl mold and let it cure. Use heavy-grit sandpaper to aggressively sand the surface of the dry bowl to reveal the hidden colorful chips beneath the top layer of cement. Finish with fine sandpaper for a smooth, high-end polished terrazzo look.
11. Concrete Candle Vessels: DIY Cement Crafts
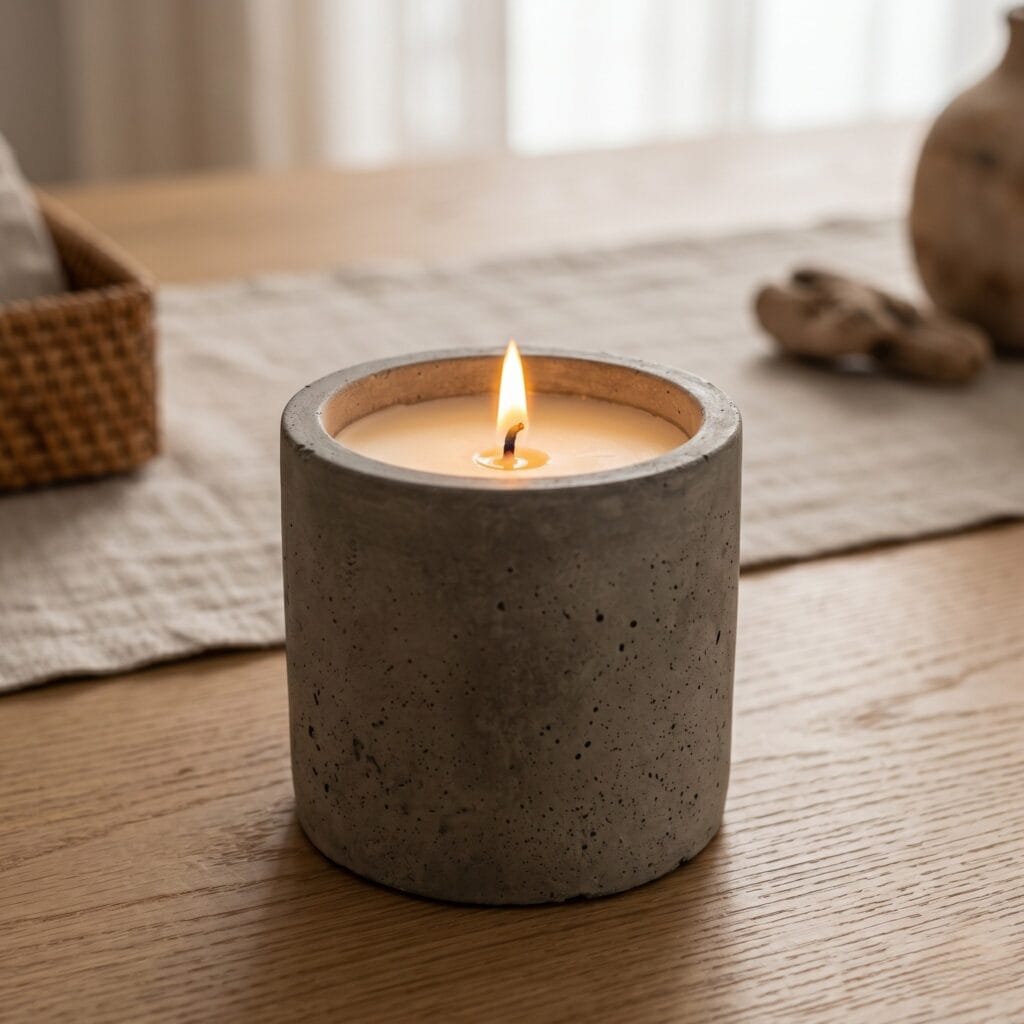
Create your own luxury candle brand at home. Concrete is highly heat-resistant, making it an excellent, safe vessel for hot wax.
Supplies Needed: Standard Grey Cement, Thick Cylindrical Silicone Mold, Cotton Wick, Natural Soy Wax, Waterproof Concrete Sealer.
How to Make It: Cast your concrete cylinder and let it cure completely. Seal the inside of the concrete vessel thoroughly with two coats of waterproof sealer so the melted hot wax does not seep through the porous walls. Secure a cotton wick to the bottom center and pour in your melted soy wax. Pair this aesthetic candle with a handmade accessory from our 15 brilliant scrap leather projects to make a matching leather matchbox sleeve!
12. Succulent Centerpiece Bowl
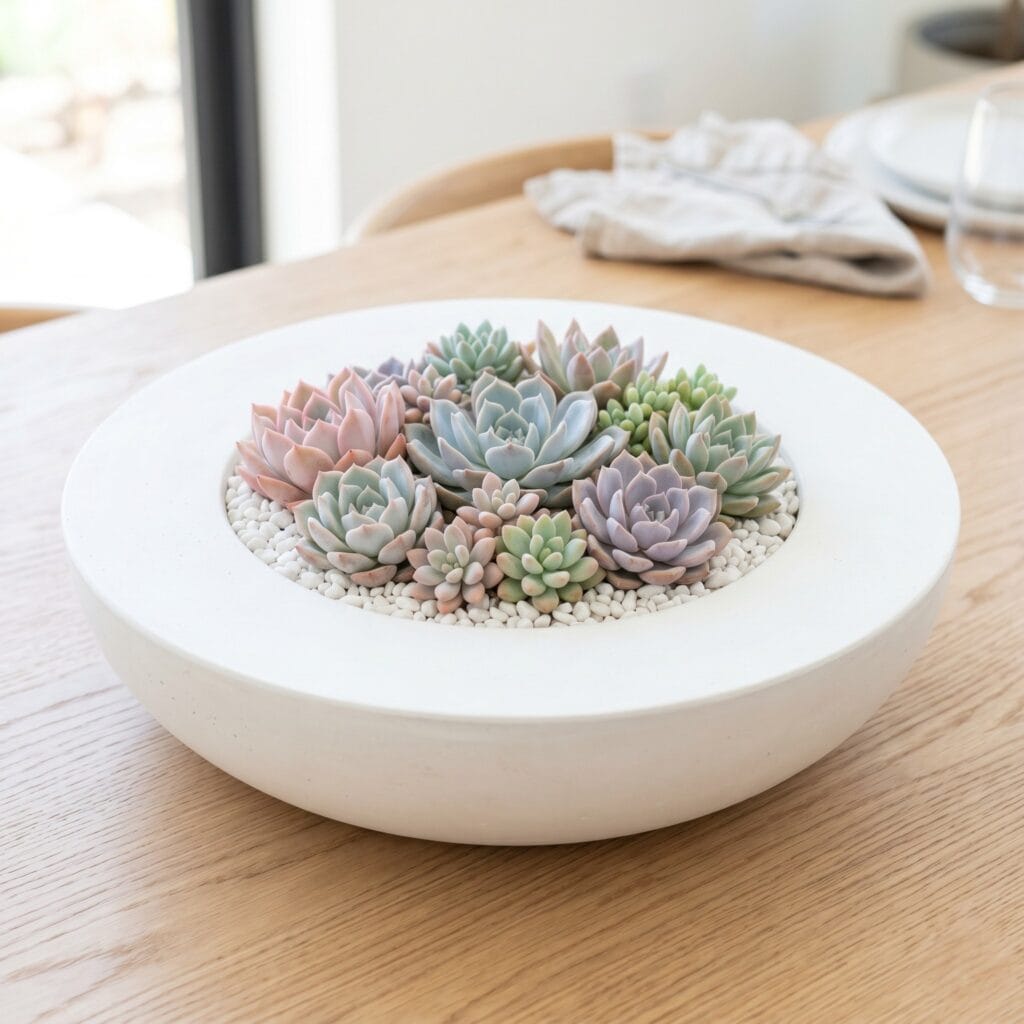
Design a breathtaking focal point for your dining table. This large-scale concrete planter makes outdoor gatherings feel incredibly chic.
Supplies Needed: Fine White Cement Powder, Plastic Mixing Bowls (Two Sizes), Heavy Stones or Rocks, Succulent Soil & Small Succulents, Fine Sandpaper.
How to Make It: Follow the Double-Mold (Inner Form) Technique from our Masterclass above, using your large plastic mixing bowl as the outer mold and the medium bowl as the inner form, weighted down with heavy rocks. Once cured and demolded after 24 hours, fill the hollow well with succulent soil and arrange your plants. To create an entire aesthetic tablescape, pair this beautiful heavy planter with our stunning layered resin art ideas!
Final Thoughts on Cement Crafts
Producing raw, modern objects for your home is a highly satisfying process. Try casting one of these DIY cement crafts this weekend to nourish your creativity while upgrading your decor. Which piece of modern concrete will you cast first? Leave your thoughts in the comments below!
🧱 Cement & Casting Base
- Fine White Cement Powder | Check Fine White Cement Powder price on Amazon
- Standard Grey Cement | Check Standard Grey Cement price on Amazon
- Mold Release Oil | Check Mold Release Oil price on Amazon
🧊 Molds & Casting Forms
- Round Silicone Coaster Mold | Check Round Silicone Coaster Mold price on Amazon
- Large Hexagon Silicone Mold | Check Large Hexagon Silicone Mold price on Amazon
- Square Silicone Mold | Check Square Silicone Mold price on Amazon
- Small Cube Silicone Molds | Check Small Cube Silicone Molds price on Amazon
- Small Cylinder Molds | Check Small Cylinder Molds price on Amazon
- Fluted/Ridged Silicone Soap Dish Mold | Check Fluted Silicone Soap Dish Mold price on Amazon
- Silicone Cone Mold | Check Silicone Cone Mold price on Amazon
- Mini Bowl Silicone Mold | Check Mini Bowl Silicone Mold price on Amazon
- Thick Cylindrical Silicone Mold | Check Thick Cylindrical Silicone Mold price on Amazon
- Long Boat-Shaped Silicone Mold | Check Long Boat-Shaped Silicone Mold price on Amazon
- Plastic Mixing Bowls, Two Sizes | Check Plastic Mixing Bowls price on Amazon
- Plastic Test Tube | Check Plastic Test Tube price on Amazon
- Square Silicone Tray Mold | Check Square Silicone Tray Mold price on Amazon
⚖️ Weighting & Mixing Tools
- Heavy Stones or Rocks | Check Decorative River Rocks price on Amazon
- Fine Sandpaper | Check Fine Sandpaper price on Amazon
- Heavy-Grit Sandpaper | Check Heavy-Grit Sandpaper price on Amazon
🔗 Hardware & Embeds
- Raw Brass Wire | Check Raw Brass Wire price on Amazon
- Jewelry Pliers | Check Jewelry Pliers price on Amazon
- Wooden Skewer | Check Wooden Skewers price on Amazon
- Raw Oak Wood Blocks | Check Raw Oak Wood Blocks price on Amazon
- Strong Construction Adhesive | Check Strong Construction Adhesive price on Amazon
- Cotton Wick | Check Cotton Candle Wicks price on Amazon
- Natural Soy Wax | Check Natural Soy Wax price on Amazon
🎨 Color & Finishing
- Black Cement Pigment | Check Black Cement Pigment price on Amazon
- Colorful Glass or Shell Chips | Check Colorful Glass Chips price on Amazon
- Liquid Gold Leaf Paint | Check Liquid Gold Leaf Paint price on Amazon
- Fine Detail Brush | Check Fine Detail Brush price on Amazon
- Painter’s Masking Tape | Check Painter’s Masking Tape price on Amazon
- Waterproof Stone & Concrete Sealer | Check Waterproof Stone & Concrete Sealer price on Amazon
🌿 Natural & Specialty Items
- Burlap or Jute Fabric | Check Burlap Fabric price on Amazon
- Small Tillandsia Air Plant | Check Small Tillandsia Air Plant price on Amazon
- Succulent Soil & Small Succulents | Check Succulent Soil price on Amazon
QUICK REFERENCE: ALL SUPPLIES AT A GLANCE
Ready to start casting your first piece? Here’s everything from this guide in one place before you shop.
Important Crafting Safety Notes:
Creating artisan objects with cement is extremely enjoyable, but working with powdered materials requires proper precautions. Always wear a dust mask when mixing dry cement to avoid inhaling fine particles. Wet cement can severely dry out your skin, making protective gloves essential during the mixing and pouring process. Keep liquid concrete away from children and pets.
A note on hot wax: The Concrete Candle Vessels project involves pouring melted soy wax. Melt wax using a proper double-boiler method and never leave it unattended over direct heat. Pour slowly, and keep children and pets out of the room while handling hot wax.
A note on glass and shell chips: When sanding the Terrazzo Effect Mini Bowl, wear safety glasses to protect against flying mineral or glass dust. Wear a dust mask for this specific step, as heavy-grit sanding of embedded chips creates finer, sharper particles than plain cement dust.
A note on paints and sealers: Several finishing products in this guide — gold leaf paint, matte stone sealer, and waterproof concrete sealer — release chemical fumes. Work in a well-ventilated space when applying any of these liquids.
A note on small and sharp components: Raw brass wire ends, wooden skewers, and small finished pieces like the ring cones and jewelry dish present a poke or choking hazard. Keep these items away from young children and pets both during and after crafting.
Ready to transform raw materials into boutique-quality decor? Which of these 12 minimalist designs are you going to cast first? Drop your favorite project in the comments below!



[…] amigurumi shaping, compact stuffing, and a reinforced hanging loop. If you enjoy larger DIY cement crafts for upgrading your home, these portable yarn makes offer a relaxing change of pace; readers who love crochet angels and […]