

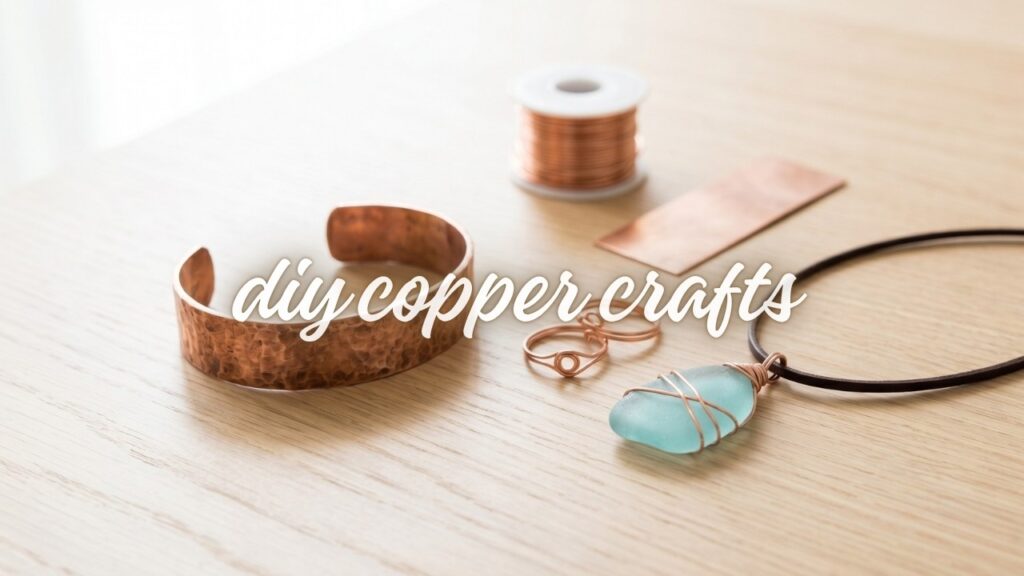
Creating your own DIY copper jewelry brings a warm, earthy element to any wardrobe without the high boutique price tag. Raw copper wire and sheet metal are easy to shape, affordable to buy, and naturally acquire a gorgeous vintage patina over time. Whether you want to bend sleek wire rings or hammer textured wrist cuffs, working with raw copper requires only a few essential hand tools and basic jewelry techniques. Below, you will find our complete studio supply guide, foundational techniques, and 10 sculptural jewelry ideas to craft this weekend.
Looking for a modern display tray to organize your handmade metal accessories? Check out our guide on DIY Cement Crafts to Upgrade Your Home to make a matching geometric jewelry dish.
This post contains affiliate links. As an Amazon Associate, I earn from qualifying purchases. If you buy through these links, I may earn a commission at no additional cost to you.
Key Facts:
- Technique: Copper Jewelry Ideas
- Makes: 10 project ideas
- Difficulty: Easy
Essential Supplies for DIY Copper Jewelry
| Supply | Spec / Size | Used For |
|---|---|---|
| 🧶 18-Gauge Bare Copper Wire | structured yet pliable wire ideal for rings, hoops, and wire wrapping | |
| 🧶 14-Gauge Solid Copper Wire | thick dead-soft wire designed for sturdy hair pins and heavy… | |
| 🧶 22-Gauge Soft Copper Wire | fine, flexible wire for weaving, stone cage wrapping, and braided… | |
| 📄 Raw Copper Sheet Blanks & Strips | pre-cut metal discs and flat strips for metal stamping and cuffs | |
| 🧪 Thin Raw Copper Tubing | hollow metal pipe for modern geometric tube beads and bar necklaces | |
| ✂️ Flush Wire Cutters | trims copper wire cleanly with a flat, burr-free end |
Working with raw metal is deeply satisfying and requires only a handful of foundational tools. A few core items are used throughout nearly every project in this guide, marked with a (used throughout) tag below.
🧶 COPPER WIRE & SHEET BLANKS
Choosing the correct wire gauge ensures your jewelry holds its shape while remaining easy to bend and wrap.
- 🧶 18-Gauge Bare Copper Wire (used throughout) — structured yet pliable wire ideal for rings, hoops, and wire wrapping |
Check Price for 18-Gauge Bare Copper Wire on Amazon - 🧶 14-Gauge Solid Copper Wire — thick dead-soft wire designed for sturdy hair pins and heavy geometric frames |
Find 14-Gauge Solid Copper Wire on Amazon - 🧶 22-Gauge Soft Copper Wire — fine, flexible wire for weaving, stone cage wrapping, and braided accents |
View 22-Gauge Soft Copper Wire on Amazon - 📄 Raw Copper Sheet Blanks & Strips — pre-cut metal discs and flat strips for metal stamping and cuffs |
Explore Raw Copper Sheet Blanks on Amazon - 🧪 Thin Raw Copper Tubing — hollow metal pipe for modern geometric tube beads and bar necklaces |
Check Availability for Thin Raw Copper Tubing on Amazon
🛠️ JEWELRY PLIERS & CUTTERS
Precision hand tools protect your metal from scratches while forming smooth curves and clean cuts.
- ✂️ Flush Wire Cutters (used throughout) — trims copper wire cleanly with a flat, burr-free end | Find Flush Wire Cutters on Amazon
- 🌀 Round-Nose Pliers (used throughout) — forms smooth rounded loops, curves, and custom jump rings |
View Round-Nose Pliers on Amazon - 📐 Flat-Nose Pliers (used throughout) — grips wire securely for sharp angular bends and closing clasps |
Check Price for Flat-Nose Pliers on Amazon
🔨 SHAPING & METALWORKING TOOLS
Hardening soft wire and adding hand-hammered textures requires a solid anvil surface and specialized tools.
- 🧱 Steel Jewelry Block (used throughout) — provides a dense anvil surface for hammering, hardening, and stamping metal |
Explore Steel Jewelry Blocks on Amazon - 🔨 Ball-Peen Chasing Hammer (used throughout) — creates dimpled wabi-sabi textures and hardens soft wire shapes |
Check Price for Ball-Peen Chasing Hammers on Amazon - 📁 Metal Needle Files (used throughout) — smooths rough burrs and sharp wire ends to keep jewelry comfortable |
Find Metal Needle Files on Amazon - 💍 Ring Mandrel & Sizer — forms round, accurately sized wire rings without distorting the metal | View Ring Mandrels on Amazon
- 🔪 Mini Pipe Cutter — slices thin copper tubing smoothly without crushing the hollow inner channel |
Check Price for Mini Pipe Cutters on Amazon - 🔤 Metal Letter Stamp Set — indents crisp letters and numbers into sheet metal charms | Explore Metal Letter Stamp Sets on Amazon
💎 ACCENTS & HARDWARE
Combine raw metal with natural stone, leather, and hypoallergenic findings for finished jewelry pieces.
- 👂 Hypoallergenic Earring Hooks — converts wire loops into wearable drop earrings | Find Hypoallergenic Earring Hooks on Amazon
- 🌊 Authentic Sea Glass Pieces — frosted ocean gems ideal for wire-wrapped pendants | View Authentic Sea Glass Pieces on Amazon
- 🪵 Soft Leather Cord — balances raw metal tubing with natural suede or leather texture | Check Price for Soft Leather Cord on Amazon
- 🧻 Fine-Grit Sandpaper — polishes raw copper surfaces and softens cut tube edges | Explore Fine-Grit Sandpaper on Amazon
Core Techniques for DIY Copper Jewelry
Mastering five core wireworking skills will allow you to build every project in this roundup. Learn these steps once, then apply them across all 10 designs.
1. Cutting Wire with Flush Cutters
Flush cutters have one flat side and one angled side. Position the flat side of the jaw against the wire piece you intend to keep. Squeeze the handles firmly in one motion. This orientation produces a flush, flat cut on your main wire, leaving the angled pinch burr on the scrap piece you discard.
2. Making Clean Wrapped Loops
Grip the wire 1 inch from the end using flat-nose pliers and bend it 90 degrees. Place round-nose pliers inside the bend, wrap the short wire tail up and over the top barrel to form a circle, then pull the tail around the base stem. Wrap the remaining tail tightly around the stem two to three times, snip the excess flush, and tuck the end with flat-nose pliers.
3. Filing & Smoothing Sharp Wire Ends
Freshly cut wire ends can scratch the skin if left raw. Hold the wire end firmly against your work table. Stroke a fine metal needle file across the sharp rim at a 45-degree angle, rotating the wire as you file. Continue until the tip feels smooth and rounded to the touch.
4. Work-Hardening & Hammering Texture
Raw copper wire is soft when unworked. Lay your shaped wire piece flat on a steel jewelry block. Strike the metal evenly with the flat face of a ball-peen hammer to stiffen its structure (work-hardening). To add visual interest, switch to the rounded ball end of the hammer and tap gently across the surface to create a dimpled texture.
5. Forming Smooth Metal Curves
Never force soft wire into curves using sharp plier jaws, which leave deep tool marks. Instead, press the wire firmly around smooth cylindrical objects such as a ring mandrel, wooden dowel, or glass bottle. Use steady thumb pressure to wrap the wire around the mandrel to establish a clean, natural curve.
10 Aesthetic Ideas for DIY Copper Jewelry
These 10 project blueprints range from fast weekend stackable rings to hand-stamped statement charms. Follow the step-by-step instructions to expand your handmade jewelry collection.
1. Minimalist Wire Wrap Rings
Supplies Needed: 18-gauge bare copper wire, flush wire cutters, round-nose pliers, flat-nose pliers, ring mandrel. (See Core Techniques 1, 3, and 5.)
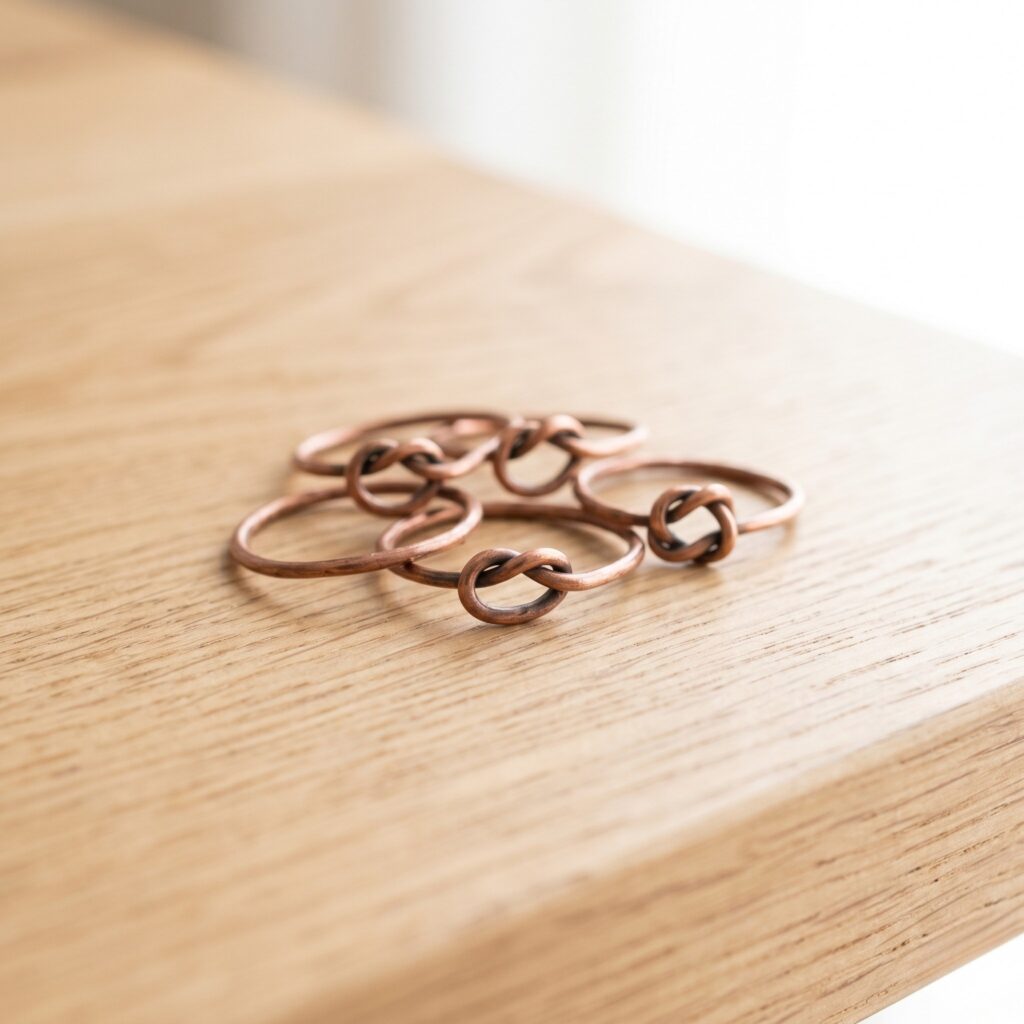
The Concept: Stackable wire rings featuring delicate center knots. Using structured 18-gauge wire ensures the band maintains its shape through daily wear.
Quick Steps:
- Cut a 5 to 6-inch length of 18-gauge copper wire using your flush cutters.
- Center the wire against your ring mandrel at your target ring size, wrapping both tails around to the back.
- Cross the two tails over the front center and twist them around each other twice to form a clean decorative knot.
- Wrap each remaining tail tightly around the ring band twice, trim the excess wire flush, and tuck the sharp ends inward with flat-nose pliers. File any exposed tips smooth.
2. Hammered Copper Cuff Bracelets
Supplies Needed: Thick flat copper strip blank, steel jewelry block, ball-peen chasing hammer, metal needle files. (See Core Techniques 3 and 4.)
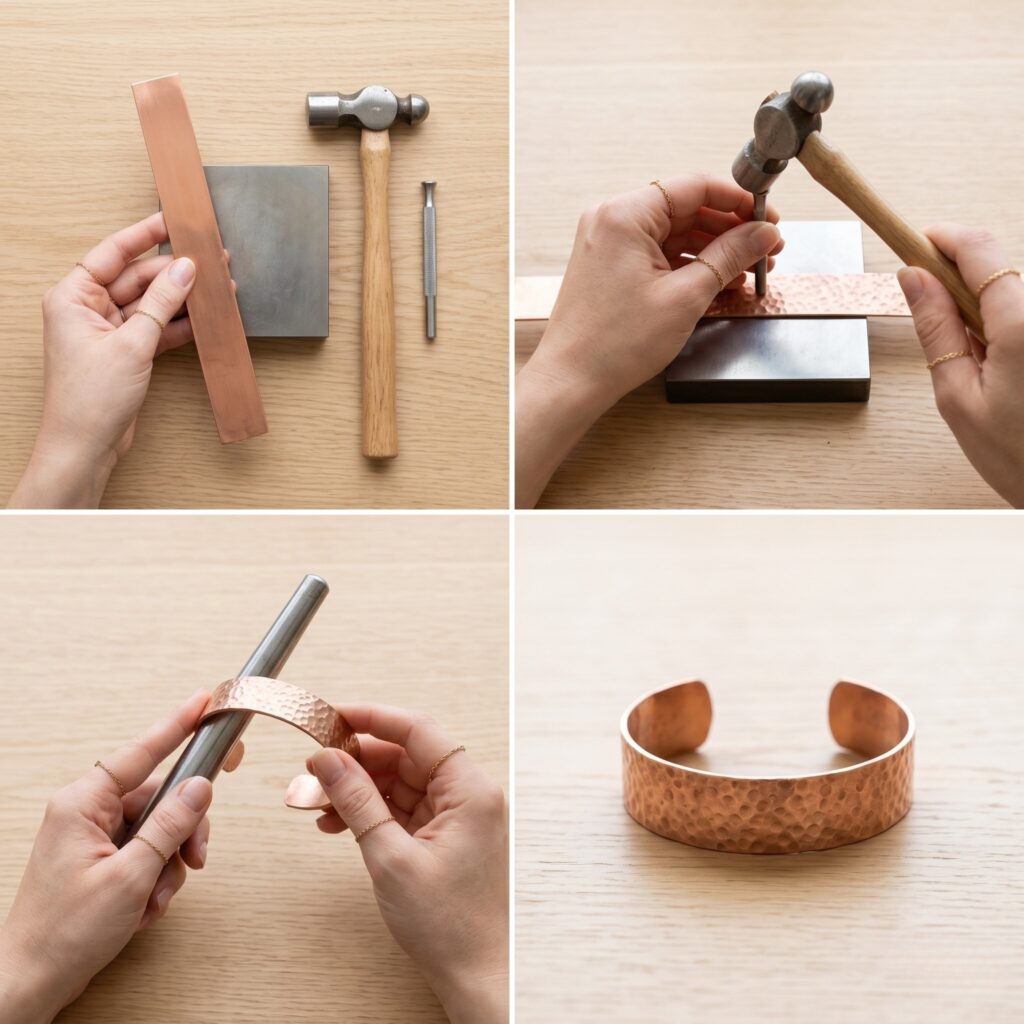
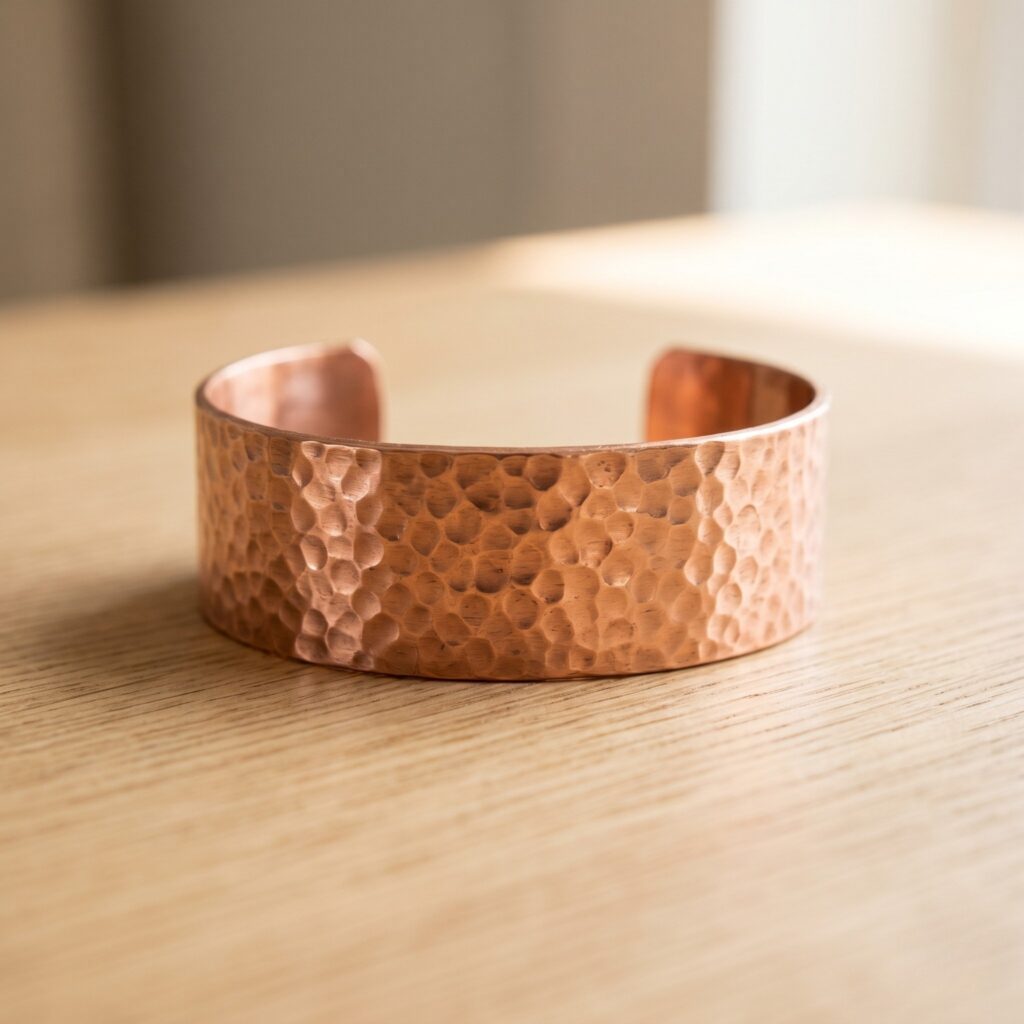
The Concept: A wide metal cuff bracelet with a dimpled wabi-sabi finish. Leaving a 1-inch opening at the back allows the bracelet to slide comfortably onto your wrist.
Quick Steps:
- Measure your wrist circumference and subtract 1 inch for the wrist gap. Trim your copper strip blank to this exact length (typically 5.5 to 6 inches).
- Round both ends of the flat copper strip using needle files so no sharp corners touch your skin.
- Place the copper strip flat on your steel jewelry block. Strike the metal evenly with the ball end of your chasing hammer to apply a dimpled texture across the entire surface.
- Gently bend the textured copper strip around a thick wooden dowel or bracelet mandrel to form a smooth C-shape cuff.
Safety Tip: Wear protective eyewear while hammering metal on a steel block to guard against stray metal scale.
3. Raw Copper Tube Necklaces
Supplies Needed: Thin raw copper tubing, mini pipe cutter, fine-grit sandpaper, necklace chain. (See Core Technique 3.)
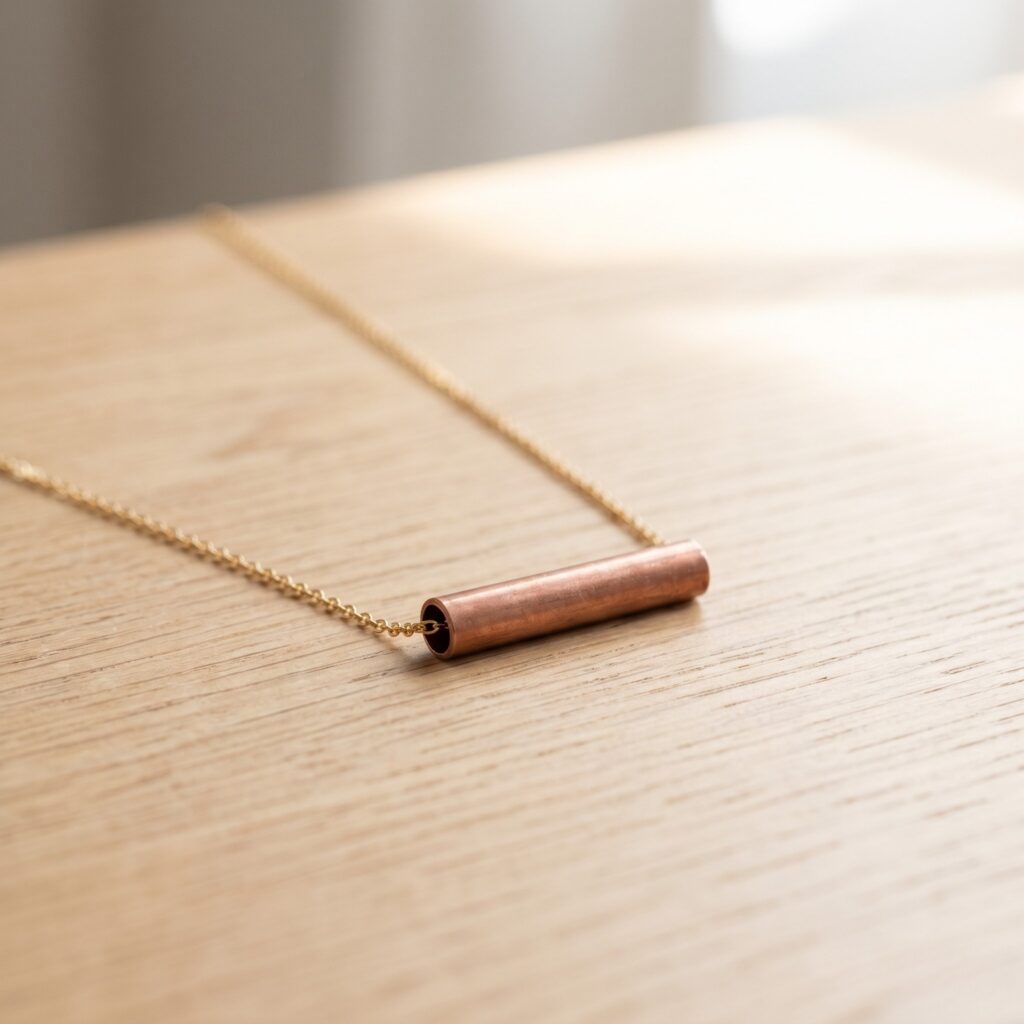
The Concept: Minimalist industrial necklace featuring a short copper tube bead floating on a delicate metal chain.
Quick Steps:
- Clamp your mini pipe cutter onto the thin copper tubing at a 30 to 40 mm (1 to 1.5-inch) mark. Rotate the cutter around the tube, tightening the blade slightly with each pass until it cuts through cleanly.
- Roll fine-grit sandpaper into a tight tube and smooth the inner rim of both cut openings to remove sharp metal burrs.
- Sand the outer tube surface to remove factory oxidation and reveal shiny raw metal.
- Thread your necklace chain directly through the hollow copper tube bead.
Safety Tip: Thoroughly file and sand every cut edge of the tube before wearing to prevent skin irritation.
4. Geometric Triangle Earrings
Supplies Needed: 18-gauge bare copper wire, flat-nose pliers, round-nose pliers, flush wire cutters, hypoallergenic earring hooks. (See Core Techniques 1, 2, and 3.)
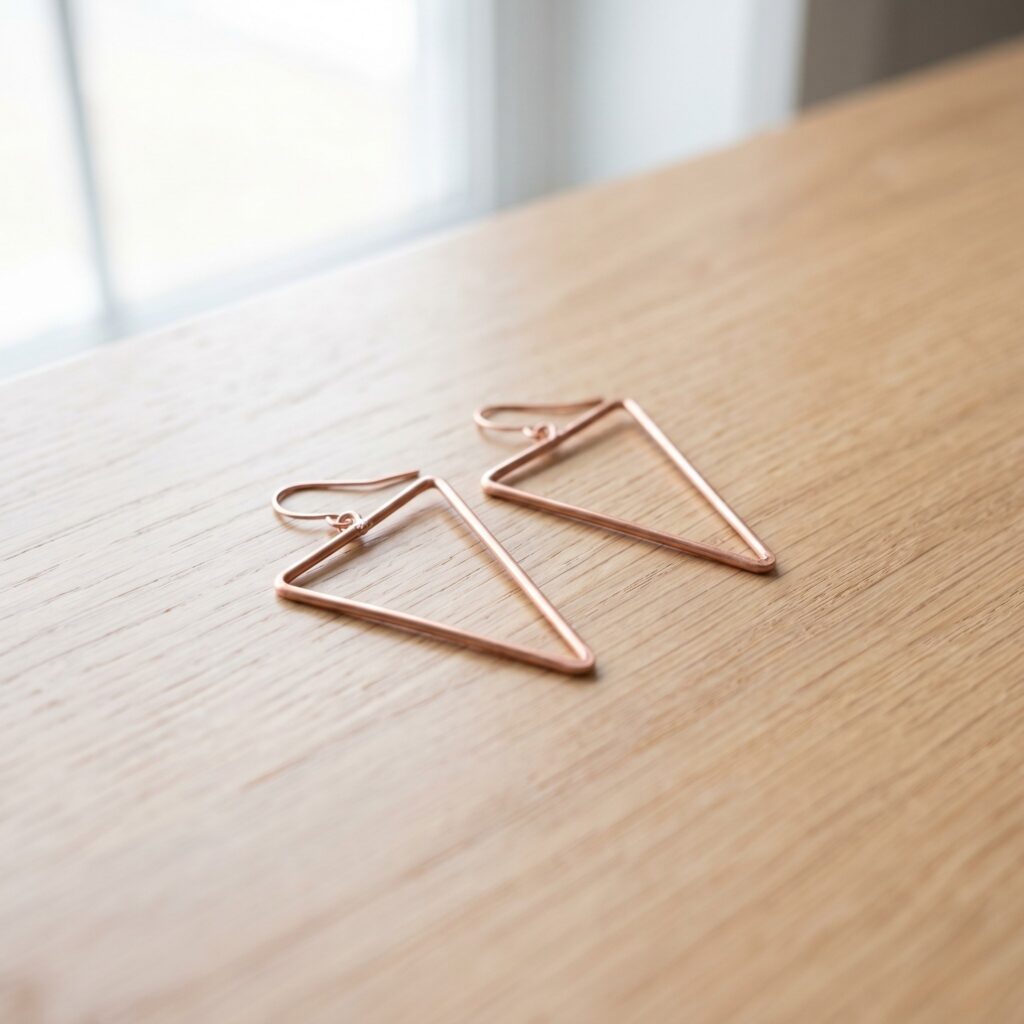
The Concept: Modern open-frame geometric earrings crafted from crisp wire bends and suspended from comfortable hooks.
Quick Steps:
- Cut a 4-inch piece of 18-gauge copper wire. Mark three 1-inch segments along the wire using a fine marker.
- Use flat-nose pliers to make a sharp 60-degree bend at the first mark, then make a second 60-degree bend at the second mark to form an equilateral triangle.
- Bring the two wire ends together at the top point. Use round-nose pliers to bend one end into a small loop, then wrap the second tail around the loop base to lock the frame.
- Trim excess wire, file the tip, and attach a hypoallergenic earring hook to the top loop. Repeat for the second earring.
5. Sea Glass Wrapped Pendants
Supplies Needed: 22-gauge soft copper wire, authentic sea glass piece, round-nose pliers, flat-nose pliers, flush wire cutters. (See Core Techniques 1 and 2.)
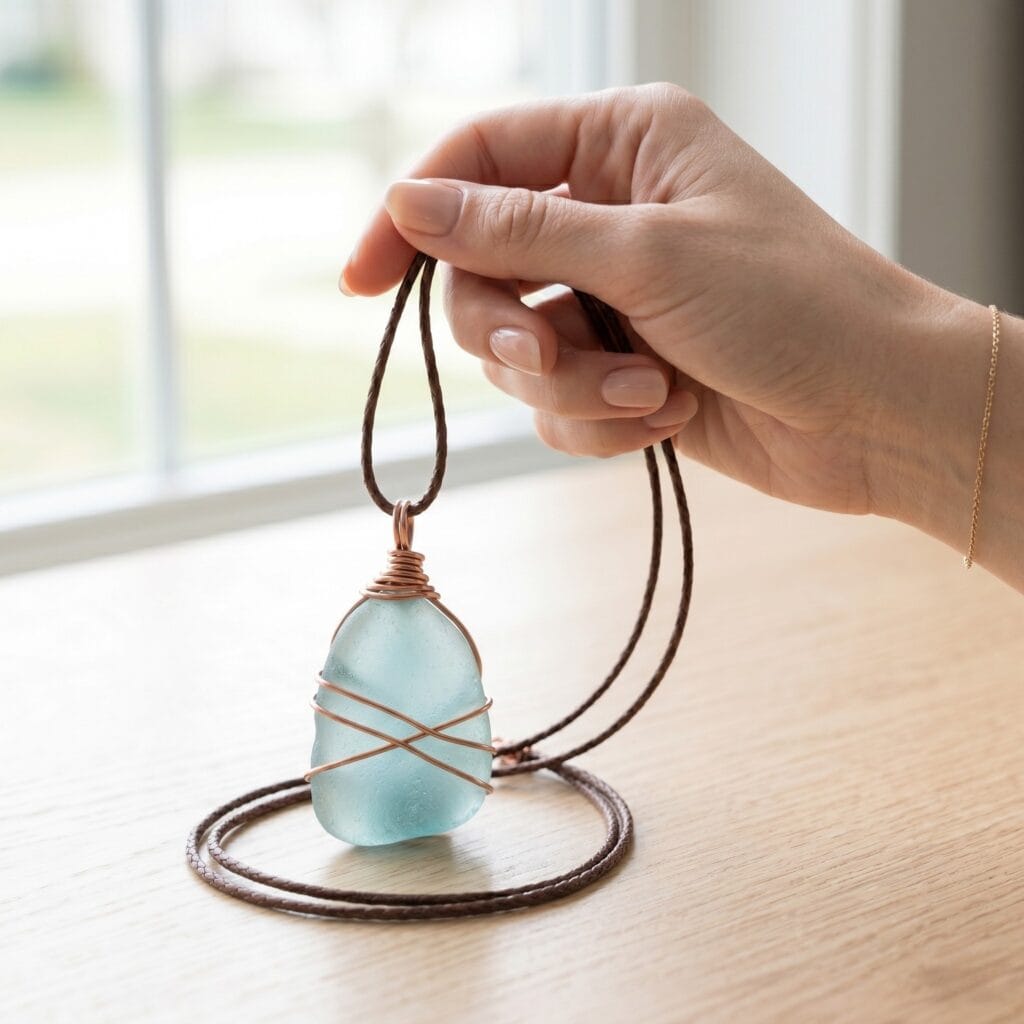
The Concept: Organic ocean glass secured inside an intricate wire cage, hanging as a coastal focal pendant.
Quick Steps:
- Cut a 10 to 14-inch piece of 22-gauge soft copper wire depending on the size of your glass piece.
- Find the middle of the wire and cross the two lengths across the bottom edge of the sea glass.
- Twist the wires around each other at key corners to create a secure cage that cradles the stone without slipping.
- Bring both wire tails to the top center of the glass, twist them together, and form a wrapped hanging loop using round-nose pliers. Snip and tuck the ends.
6. Minimalist Copper Hair Pins
Supplies Needed: 14-gauge solid copper wire, flush wire cutters, round-nose pliers, ball-peen chasing hammer, steel jewelry block, metal needle files. (See Core Techniques 3, 4, and 5.)
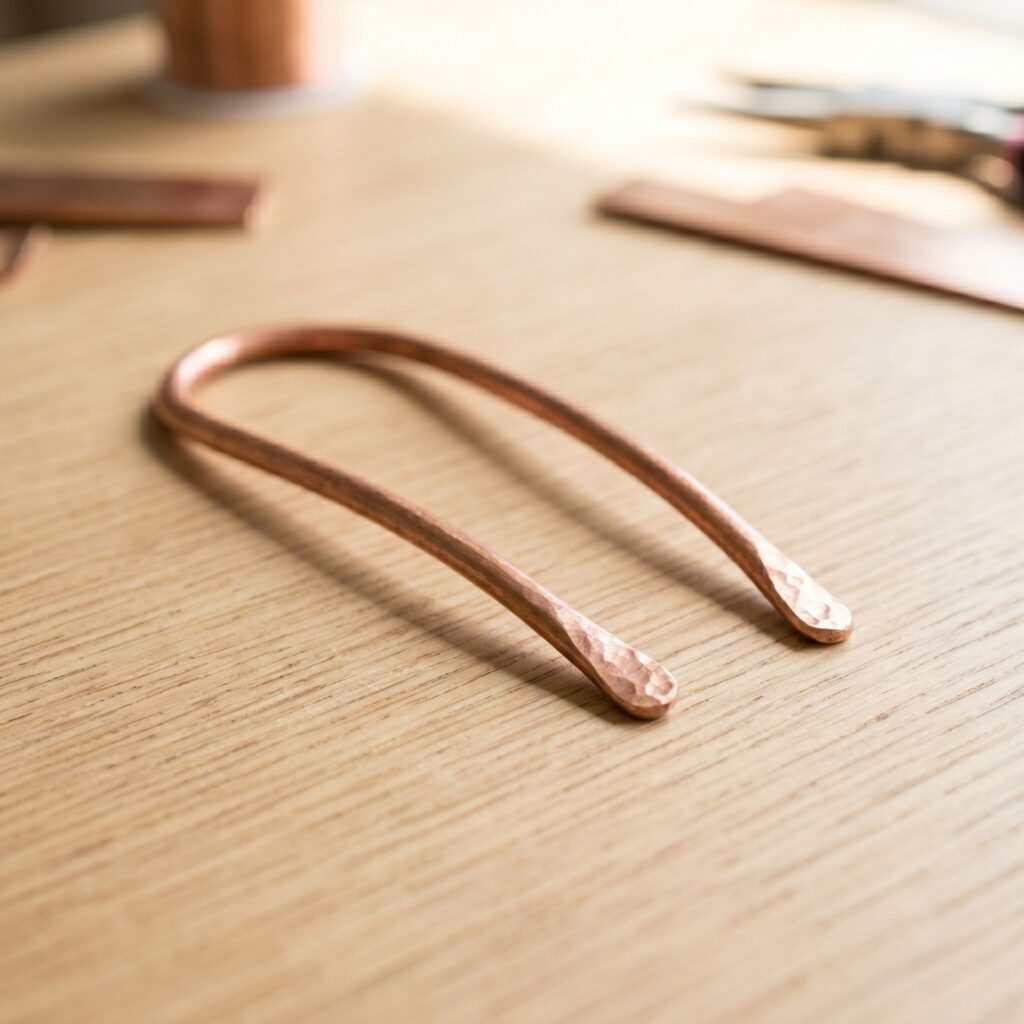
The Concept: A heavy U-shaped hair pin designed to secure buns and updos. Work-hardening the copper keeps the pin rigid under tension.
Quick Steps:
- Cut a 6 to 7-inch length of thick 14-gauge copper wire.
- Bend the wire precisely in half around a 1-inch cylinder to create a smooth U-shape arch.
- Flare the two open ends outward slightly using round-nose pliers to prevent the tips from pulling hair.
- File both leg tips into completely rounded, burr-free ends. Lightly hammer the top curve on your steel block to work-harden the arch.
7. Boho Copper Hoop Earrings
Supplies Needed: 18-gauge bare copper wire, round-nose pliers, flat-nose pliers, flush wire cutters, metal needle files. (See Core Techniques 1, 3, and 5.)
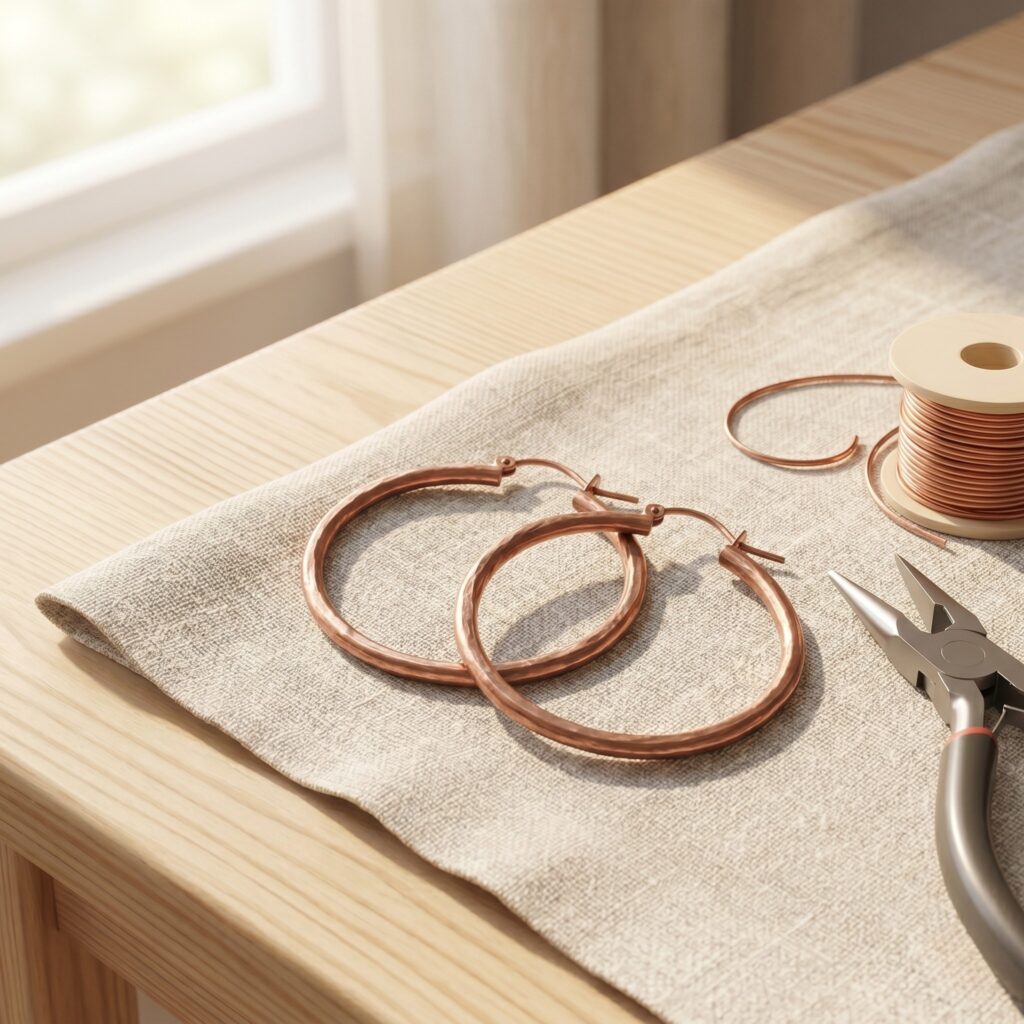
The Concept: Classic open-hoop wire earrings featuring a built-in latch mechanism made entirely from the main wire strand.
Quick Steps:
- Wrap 18-gauge copper wire twice around a 1.5-inch medicine bottle or cylindrical form, then snip into two individual open rings.
- Use round-nose pliers to bend a small 90-degree eyelet loop at one end of the wire hoop.
- Bend the opposite tail up 90 degrees with flat-nose pliers to form a latch pin that slips through the eyelet.
- File the latch pin end until completely smooth so it passes comfortably through pierced ears.
8. Braided Copper Wire Bracelets
Supplies Needed: 22-gauge soft copper wire, 14-gauge copper core wire, flush wire cutters, flat-nose pliers, metal needle files. (See Core Techniques 1, 3, and 4.)
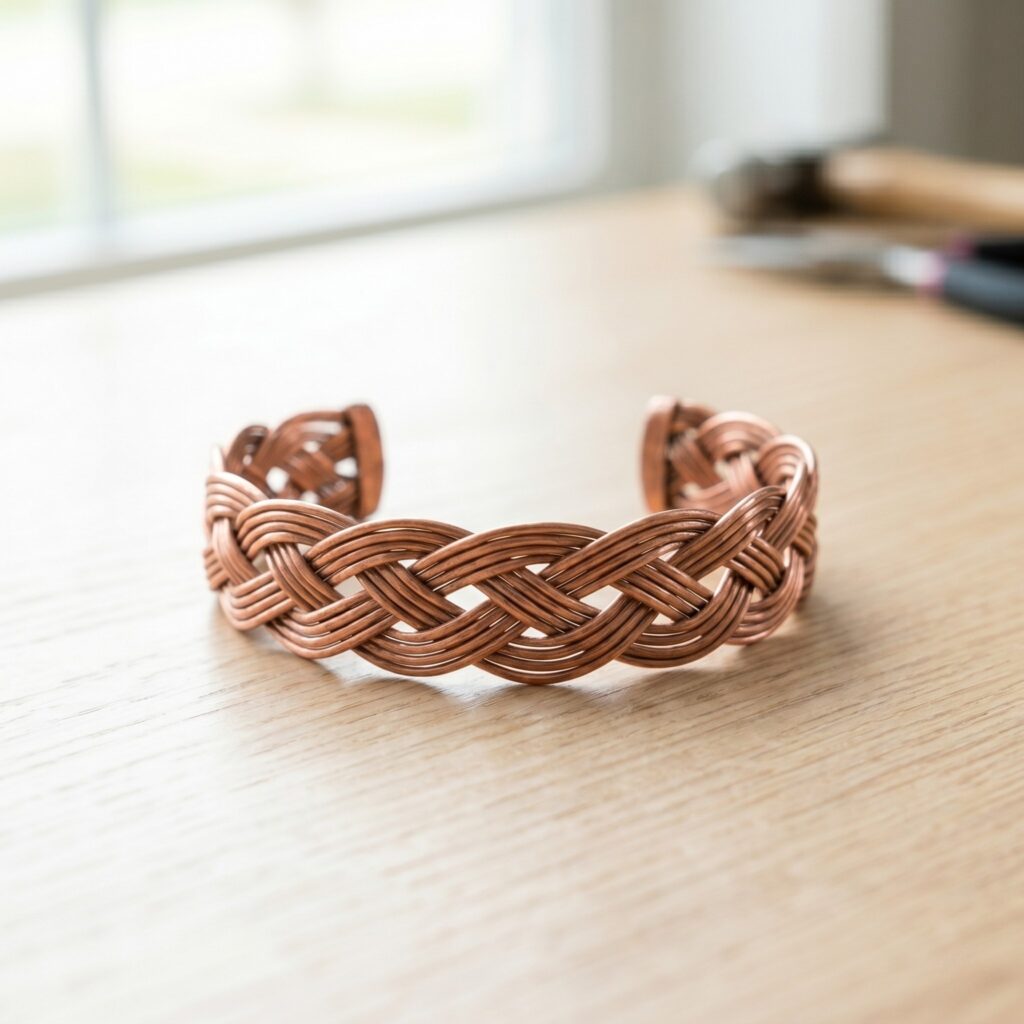
The Concept: Woven wire textile bracelet constructed by braiding fine copper strands over a sturdy core wire to maintain structural rigidity.
Quick Steps:
- Cut three 10-inch strands of 22-gauge soft wire and one 6-inch strand of thick 14-gauge core wire.
- Twist the top ends of the three thin wires together and secure them in a bench vice or tape them firmly to your table.
- Braid the three wires tightly and evenly until the woven length equals your wrist circumference.
- Wrap the finished braid tightly around the thick 14-gauge core wire, trim the ends flush, and fold the core tips into smooth protective end loops using flat-nose pliers.
9. Copper and Leather Chokers
Supplies Needed: Soft leather cord, thin raw copper tubing, mini pipe cutter, jewelry end clasps, flat-nose pliers. (See Core Technique 3.)
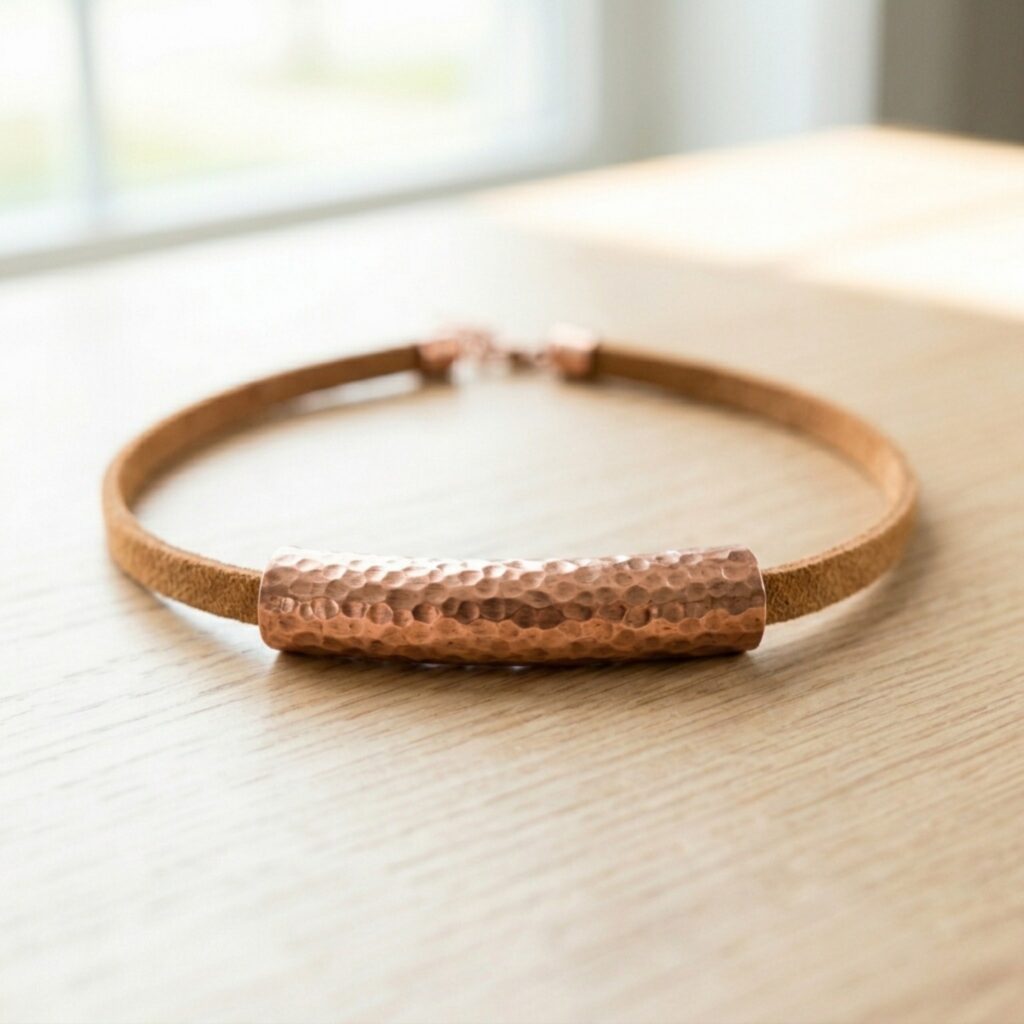
The Concept: A contrast choker combining organic suede or leather cord with a center-slid copper tube bead.
Quick Steps:
- Cut a length of soft leather cord to fit comfortably around the neck.
- Slice a 2-inch segment of copper tubing using your mini pipe cutter and smooth both inner rims with sandpaper.
- Slide the copper tube bead onto the center of the leather cord.
- Attach fold-over metal end clasps to both leather ends and crimp them shut using flat-nose pliers. If you love working with leather, check out our guide on Brilliant Scrap Leather Projects for matching accessory ideas!
10. Stamped Initial Copper Charms
Supplies Needed: Raw copper sheet blanks (with pre-drilled holes), metal letter stamp set, steel jewelry block, ball-peen chasing hammer, jump rings, flat-nose pliers. (See Core Techniques 2 and 4.)
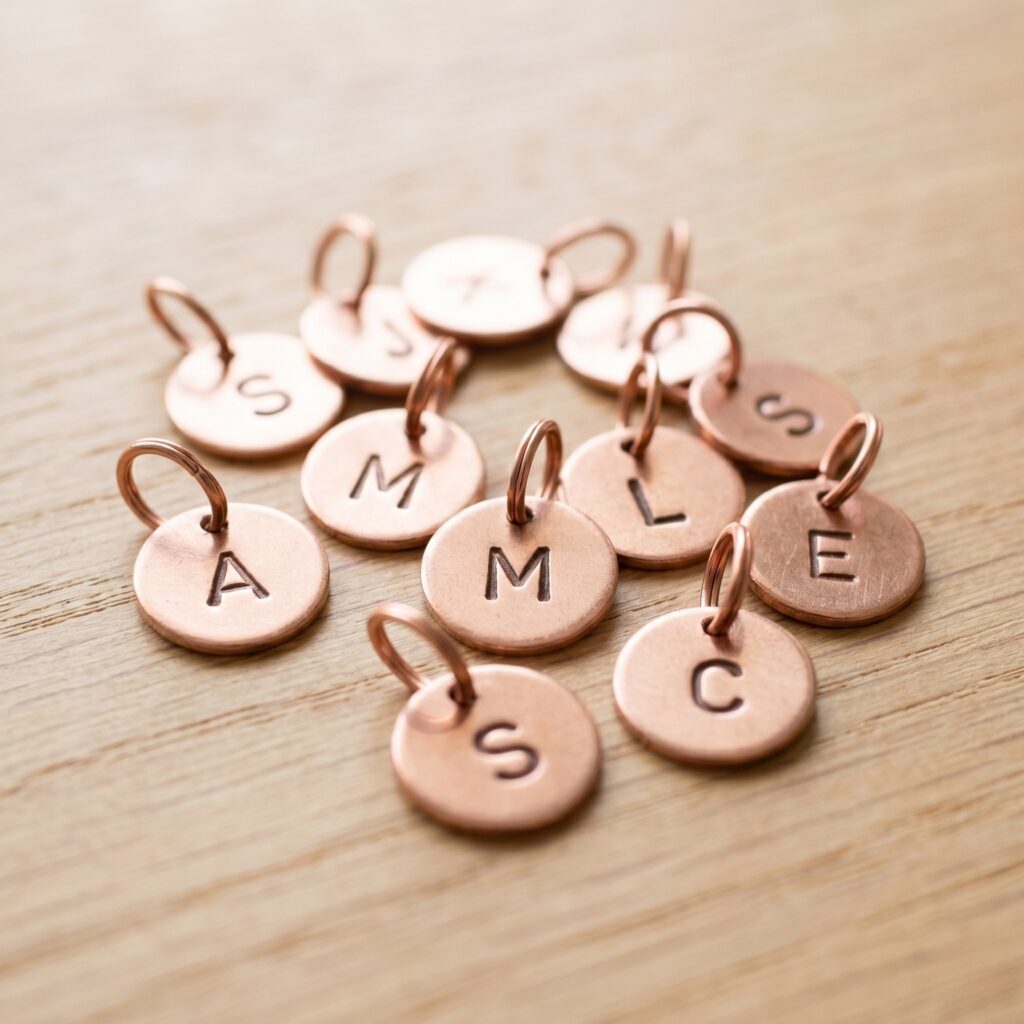
The Concept: Personalized initial disc pendants created by hand-stamping metal letter impressions onto flat copper blanks.
Quick Steps:
- Place a pre-drilled copper disc blank flat on your steel jewelry block.
- Hold your chosen metal letter stamp perfectly vertical against the center of the disc.
- Strike the top of the stamp once firmly with your hammer to indent the metal without creating double shadow lines.
- Open a copper jump ring with flat-nose pliers, thread it through the disc hole, and close the ring securely.
Safety Tip: Keep your fingers positioned low on the stamp shank to keep your striking area clear of the hammer.
Care & Maintenance for Raw Copper Jewelry
Raw copper naturally reacts with air and skin oils over time, developing a warm antique patina. If you prefer a bright, polished rose-gold shine, clean your copper pieces periodically using a simple kitchen solution. Submerge the metal in a small bowl of lemon juice mixed with one teaspoon of table salt for 30 seconds, rinse thoroughly under clean water, and dry completely with a soft cloth. Store your clean copper jewelry in sealed plastic ziplock bags or dry cloth pouches to slow down natural oxidation between wears.
Which copper jewelry piece are you excited to forge first? Share your design ideas and questions in the comments below!
QUICK REFERENCE: ALL SUPPLIES AT A GLANCE
Here is every tool, wire gauge, and accent featured across this guide in one quick list for easy shopping.
COPPER WIRE & SHEET BLANKS
- 🧶 18-Gauge Bare Copper Wire | Check Price for 18-Gauge Bare Copper Wire on Amazon
- 🧶 14-Gauge Solid Copper Wire | Find 14-Gauge Solid Copper Wire on Amazon
- 🧶 22-Gauge Soft Copper Wire | View 22-Gauge Soft Copper Wire on Amazon
- 📄 Raw Copper Sheet Blanks & Strips | Explore Raw Copper Sheet Blanks on Amazon
- 🧪 Thin Raw Copper Tubing | Check Availability for Thin Raw Copper Tubing on Amazon
JEWELRY PLIERS & CUTTERS
- ✂️ Flush Wire Cutters | Find Flush Wire Cutters on Amazon
- 🌀 Round-Nose Pliers | View Round-Nose Pliers on Amazon
- 📐 Flat-Nose Pliers | Check Price for Flat-Nose Pliers on Amazon
SHAPING & METALWORKING TOOLS
- 🧱 Steel Jewelry Block | Explore Steel Jewelry Blocks on Amazon
- 🔨 Ball-Peen Chasing Hammer | Check Price for Ball-Peen Chasing Hammers on Amazon
- 📁 Metal Needle Files | Find Metal Needle Files on Amazon
- 💍 Ring Mandrel & Sizer | View Ring Mandrels on Amazon
- 🔪 Mini Pipe Cutter | Check Price for Mini Pipe Cutters on Amazon
- 🔤 Metal Letter Stamp Set | Explore Metal Letter Stamp Sets on Amazon
ACCENTS & HARDWARE
- 👂 Hypoallergenic Earring Hooks | Find Hypoallergenic Earring Hooks on Amazon
- 🌊 Authentic Sea Glass Pieces | View Authentic Sea Glass Pieces on Amazon
- 🪵 Soft Leather Cord | Check Price for Soft Leather Cord on Amazon
- 🧻 Fine-Grit Sandpaper | Explore Fine-Grit Sandpaper on Amazon
Important Crafting Safety Notes:
Metalworking at home is a rewarding creative pursuit, but basic studio safety precautions should always be followed. Always wear shatterproof safety glasses when snipping wire or hammering metal to prevent flying metal scale and sharp wire snippets from hitting your eyes. When using needle files or sandpaper on raw copper, wear a lightweight dust mask and wipe down your work surface with a damp cloth afterward to trap fine metallic particles. Always file raw wire ends until completely smooth before wearing to prevent skin scratches.
Tool & Household Safety: Keep your hands and fingers clear of the striking zone when using heavy chasing hammers or metal stamps on a steel block. When cleaning oxidized copper with lemon-salt baths or metal polish, work in a well-ventilated space and avoid contact with your eyes. Always sweep your workspace for stray wire clippings and store sharp cutters, needle files, and small copper charms safely out of reach of children and pets.



[…] with a few controlled bends, loops, and spirals, then build from there. If you have enjoyed our DIY copper jewelry guide or practiced with these DIY wire flower crafts, these pendant frames will make your wire control […]