

Printed quotes disappear into the room. DIY embroidered wall art puts your own hand, color choices, and slightly varied stitch rhythm on the wall, where every letter feels considered. These ten short quote ideas use approachable lettering stitches and small motifs that give a plain hoop real warmth.
Start with a phrase you want to see often, then let the thread carry the mood through serif letters, soft florals, or a clean graphic border. Our DIY embroidered hoop art wall decor guide is a helpful companion for hoop setup, while these beautiful crochet flower ideas can inspire soft floral shapes for stitched borders.
Affiliate Disclosure: This post contains affiliate links. As an Amazon Associate, I earn from qualifying purchases. If you buy through these links, I may earn a commission at no additional cost to you.
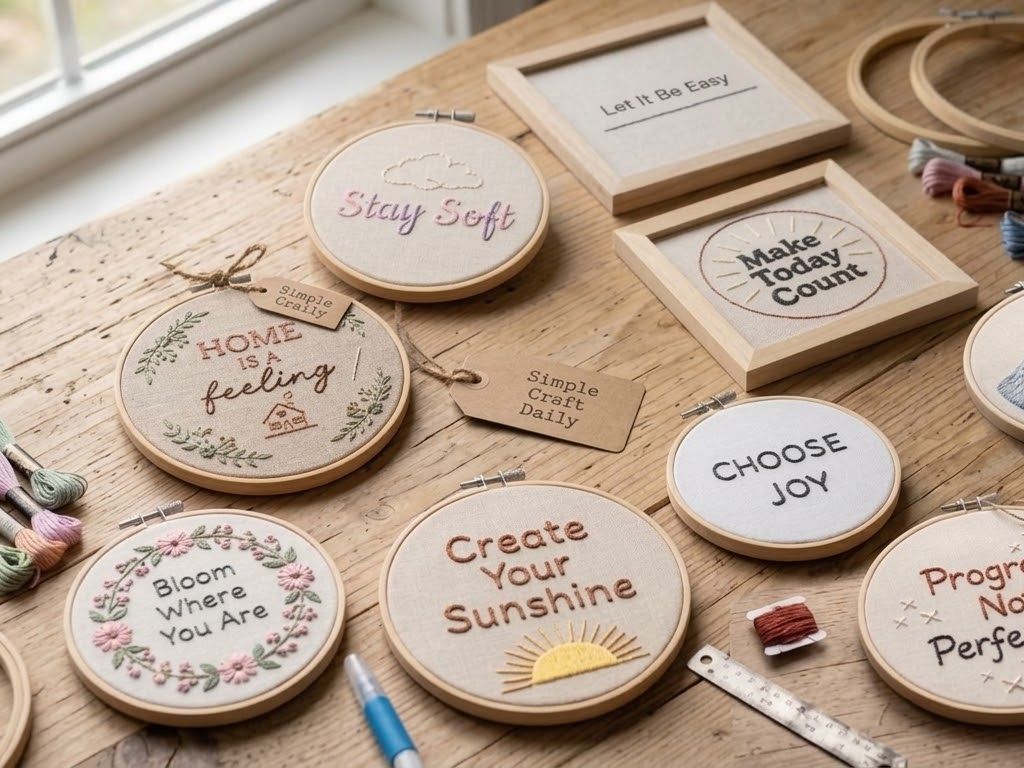
Essential Materials for DIY Embroidered Wall Art
Stable cotton, separated floss strands, firm hoop tension, and accurate measuring give stitched lettering clean edges. Use two strands for fine script, three strands for stronger block letters and small motifs, and pull each stitch only until it lies flat against the fabric.
A beginner hand embroidery kit is useful if you are building your tool collection from scratch. However, check its hoop sizes and floss colors before planning a larger quote design, since the 8-inch and 10-inch projects need more fabric than many small kits include.
🧵 Fabric, Floss and Hoops
- Unbleached Cotton Embroidery Fabric — Medium-weight cotton stays smooth under lettering, floral stitches, and repeated tightening in the hoop | [Check Price on Amazon]
- Six-Strand Cotton Embroidery Floss — Separate the six-strand floss before threading so two- and three-strand lettering remains even | [See Embroidery Floss on Amazon]
- Bamboo Embroidery Hoops in Assorted Sizes — Use 5-inch and 6-inch hoops for compact phrases, 7-inch and 8-inch hoops for fuller compositions, and a 10-inch hoop for a family-room statement piece | [View Bamboo Embroidery Hoops on Amazon]
- Beginner Hand Embroidery Kit with Hoop and Floss — A practical starting set for practicing back-stitch, split stitch, chain stitch, and French knots before stitching your final quote | [Find Beginner Embroidery Kit on Amazon]
✂️ Marking and Stitching Tools
- Embroidery Needles, Sizes 3 to 9 — A size 7 or 8 sharp embroidery needle carries standard two- to three-strand lettering floss through cotton without making oversized holes | [Check Embroidery Needles on Amazon]
- 6-Inch Clear Sewing Ruler — A transparent ruler centers quote baselines, measures border spacing, and keeps stacked lettering aligned | [View Clear Sewing Ruler on Amazon]
- Water-Soluble Embroidery Transfer Pen — A fine washable line keeps text centered and gives borders an accurate path |
[See Price on Amazon] - Water-Soluble Embroidery Stabilizer Sheets — Use printable wash-away stabilizer when narrow script, dark fabric, or tightly spaced letters make direct tracing difficult | [View Embroidery Stabilizer on Amazon]
- Embroidery Scissors with Fine Point Blades — Fine tips clip floss tails close to the reverse side and trim backing fabric with control | [Check Latest Price on Amazon]
🖼️ Finishing and Hanging Supplies
- Acid-Free Cotton Backing Felt — A cream felt circle covers the laced hoop back and protects thread tails from dust and snagging |
[Find Backing Felt on Amazon] - Cotton Twill Tape — Use natural twill tape for a soft hanging loop or a tidy wrapped hoop edge | [View Cotton Twill Tape on Amazon]
- Small Shallow Shadow-Box Frame — A shallow frame mounts fully dry embroidered fabric without compressing the stitched surface | [Find Shadow-Box Frame on Amazon]
- Saw-tooth Picture Hangers — Reserve small saw-tooth hardware for rigid framed textile panels rather than lightweight embroidery hoops | [See Saw-tooth Picture Hangers on Amazon]
10 DIY Embroidered Wall Art Quote Ideas
Choose a short phrase with enough open space around each word. First, cut fabric at least 4 inches wider and taller than the hoop, center the quote with the 6-inch clear sewing ruler, and transfer it before placing the fabric in the hoop.
Next, stitch the lettering from the center outward so the composition stays balanced. Secure every tail beneath at least three back stitches, remove washable markings only after the stitching is complete, and finish the hoop only when the rinsed fabric is fully dry.
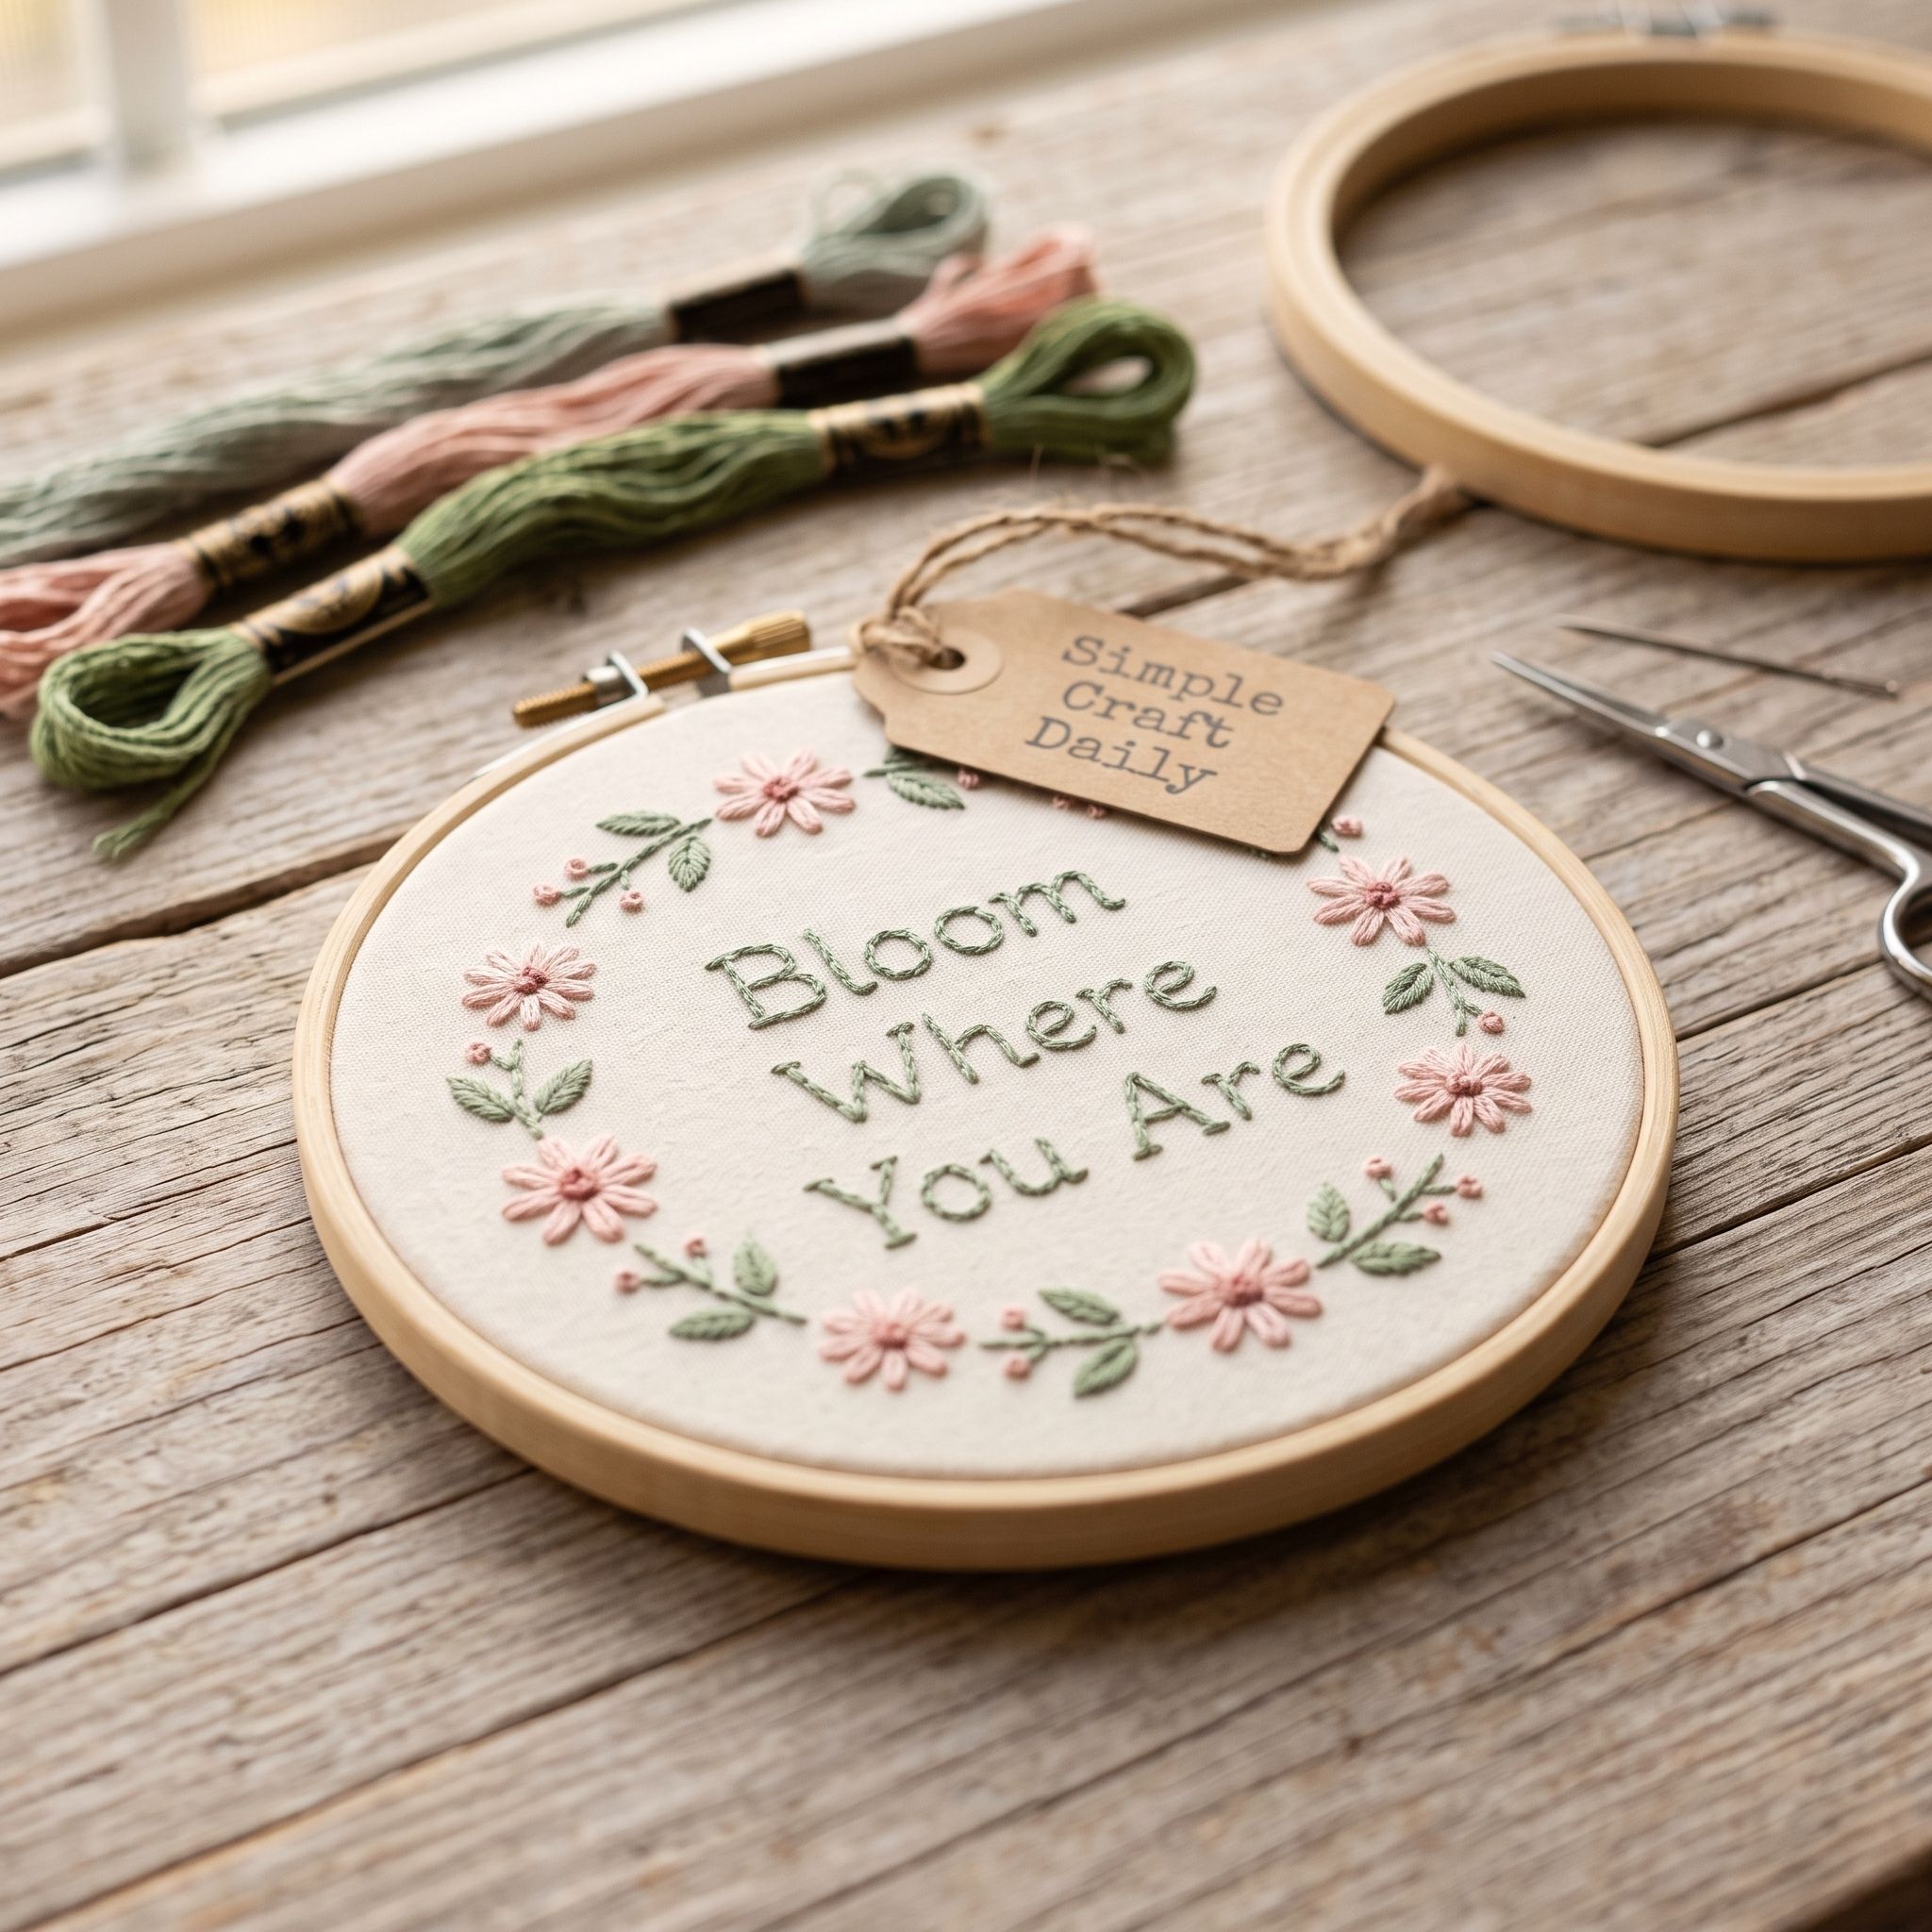
1. DIY Embroidered Wall Art: Bloom Where You Are
Supplies Needed: 6-inch bamboo embroidery hoop, 18 x 18 inch unbleached cotton embroidery fabric, sage, blush, and warm ivory cotton embroidery floss, size 7 embroidery needle, water-soluble transfer pen, fine-point embroidery scissors, cream backing felt.
For this botanical diy embroidered wall art, place the cotton in the 6-inch hoop with the screw at the top. Draw “Bloom Where You Are” as a 23-character quote centered inside a 4-inch-wide oval, then tighten the hoop until the fabric gives a quiet drum-like tap.
Separate two strands of warm ivory floss and back-stitch the serif letters with stitches about 1/8 inch long. Subsequently, use three strands of sage and blush floss for lazy-daisy flowers and small leaf accents around the oval. Clip each tail with the fine-point scissors after weaving it beneath three reverse stitches.
Rinse the marked fabric in cool water after all thread ends are secured. Air-dry it flat for 12 to 24 hours, re-tighten the dry fabric in the hoop, lace the back with leftover floss, and cover the lacing with a cream felt circle.
2. Choose Joy Script Hoop
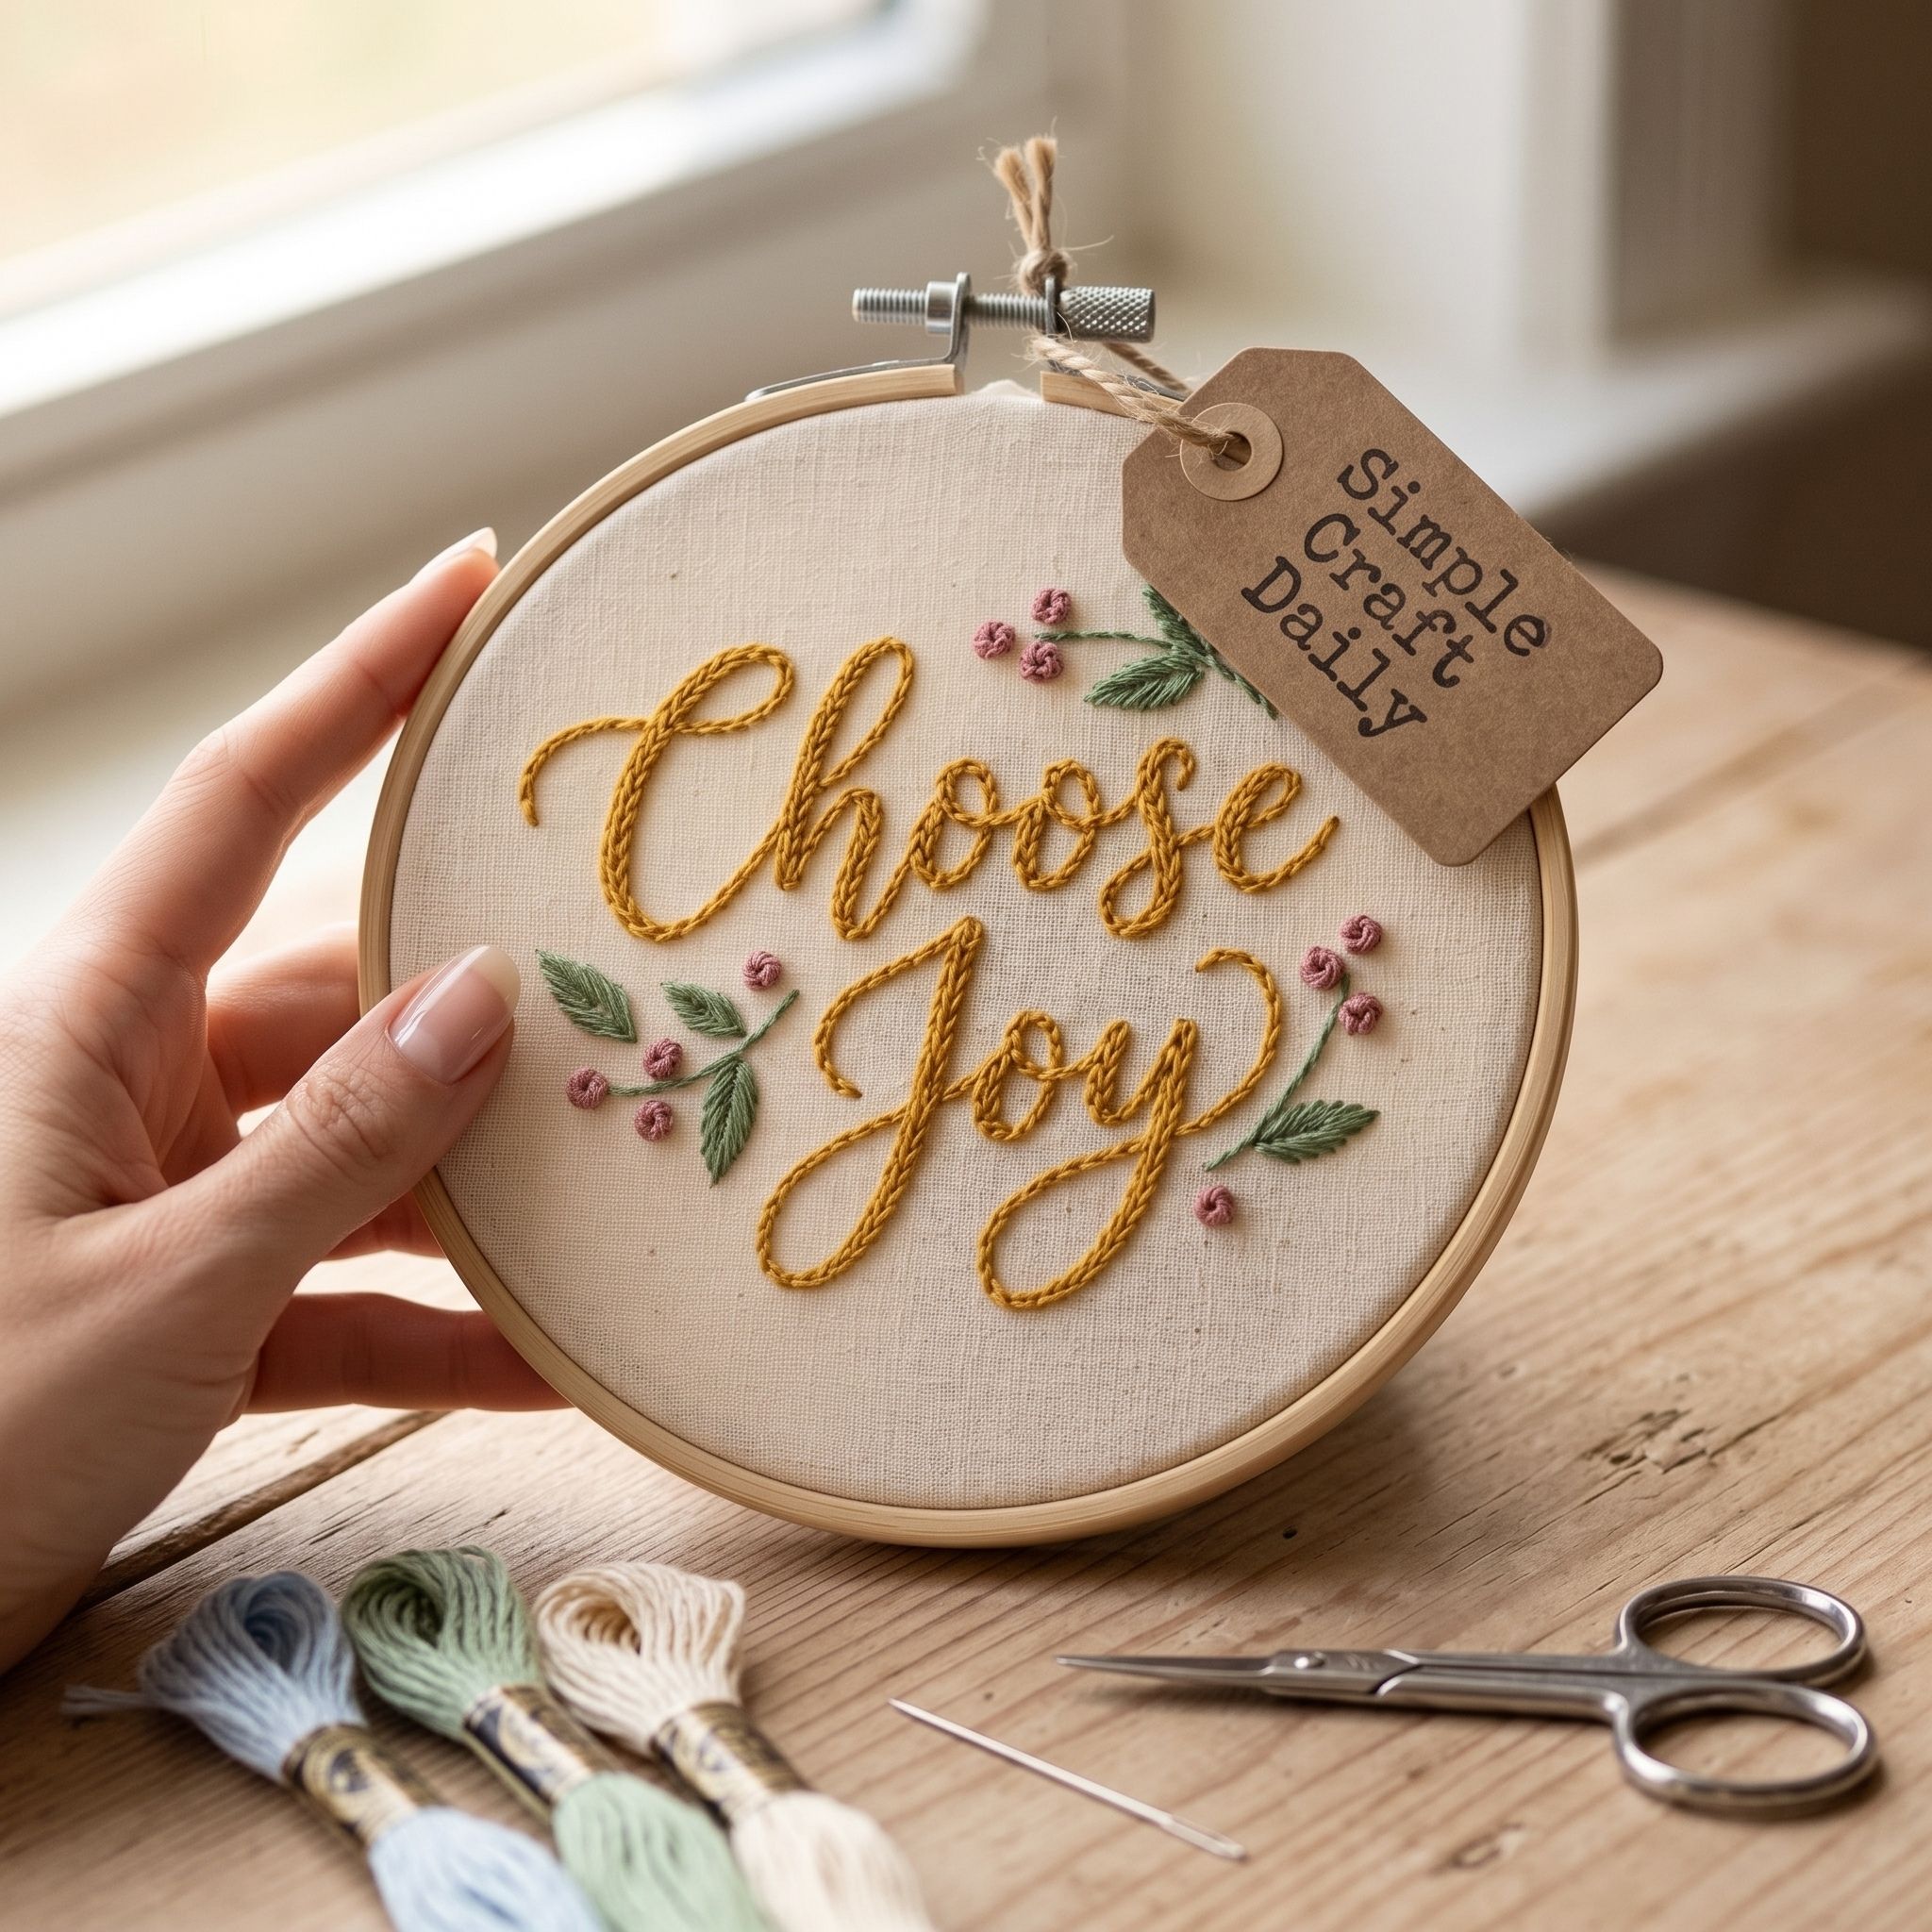
Supplies Needed: 5-inch bamboo embroidery hoop, 14 x 14 inch unbleached cotton embroidery fabric, mustard and dusty pink cotton embroidery floss, size 8 embroidery needle, water-soluble transfer pen, fine-point embroidery scissors, cream backing felt.
Stretch the 14 x 14 inch cotton square in the 5-inch hoop and transfer “Choose Joy” at least 3/4 inch from the inside hoop edge. Thread two strands of mustard floss through the size 8 needle, then chain stitch the phrase with small, consistent loops.
After the script is complete, add six to eight dusty pink French knots as restrained confetti. Keep each knot at least 1/4 inch away from the letter paths so the words remain easy to read. Use the fine-point scissors to trim thread tails after securing them under reverse stitches.
Remove the transfer lines with a cool-water rinse, then dry the fabric flat for 12 to 24 hours. Finally, tighten the dry hoop, trim the excess cotton to a 1-inch border, lace the back with remaining floss, and hand stitch the cream felt circle over the lacing.
3. DIY Embroidered Wall Art: Make Today Count
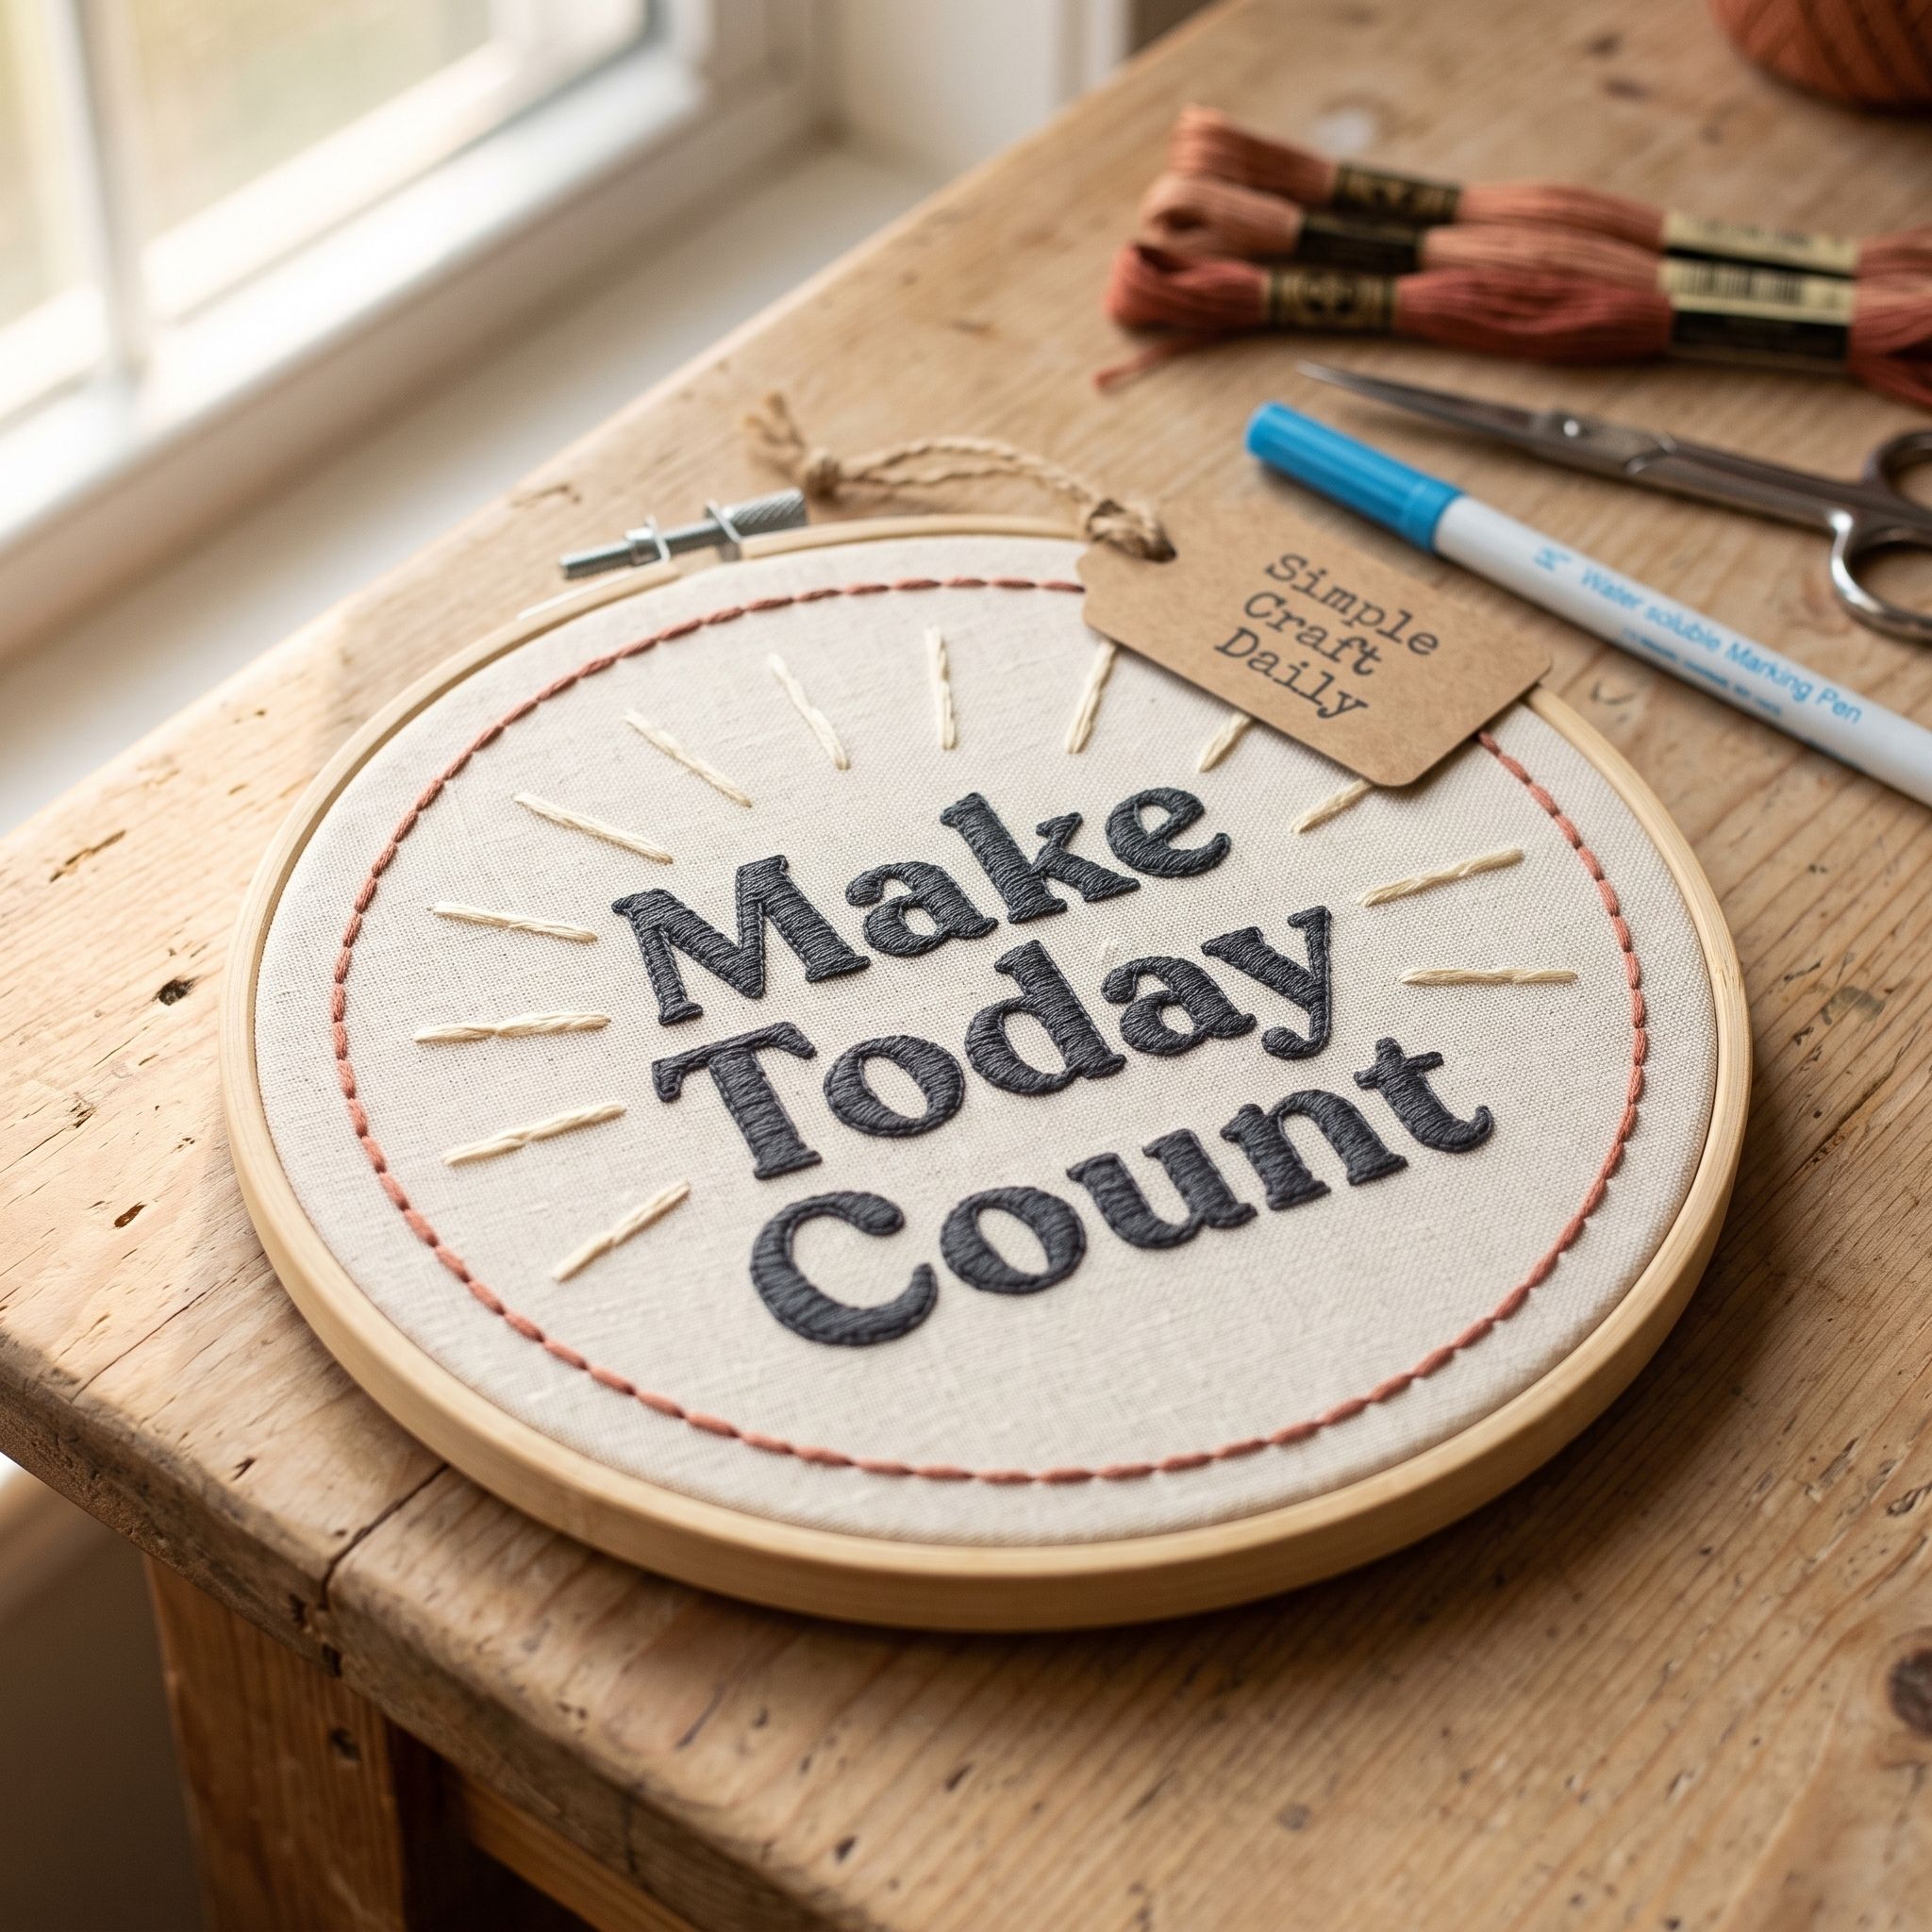
Supplies Needed: 8-inch bamboo embroidery hoop, 20 x 20 inch unbleached cotton embroidery fabric, terracotta, cream, and charcoal cotton embroidery floss, size 7 embroidery needle, 6-inch clear sewing ruler, water-soluble transfer pen, fine-point embroidery scissors, cream backing felt.
Mount the cotton in the 8-inch hoop and mark “MAKE / TODAY / COUNT” as three centered text lines. Use the 6-inch clear sewing ruler to leave at least 3/4 inch between lines. Thread two strands of charcoal floss through the size 7 needle and stitch the block letters before adding any border.
Use split stitch around rounded letter curves and back-stitch along straight letter edges. Next, thread three strands of terracotta floss and mark a thin border at least 1/2 inch inside the hoop. Add evenly spaced running-stitch sun rays along the upper border, leaving the cream fabric visible between each ray.
Secure tails beneath three reverse stitches and trim them with fine-point scissors. Rinse away the transfer pen with cool water, dry flat for 12 to 24 hours, then tighten the fabric and finish the reverse side with cream backing felt.
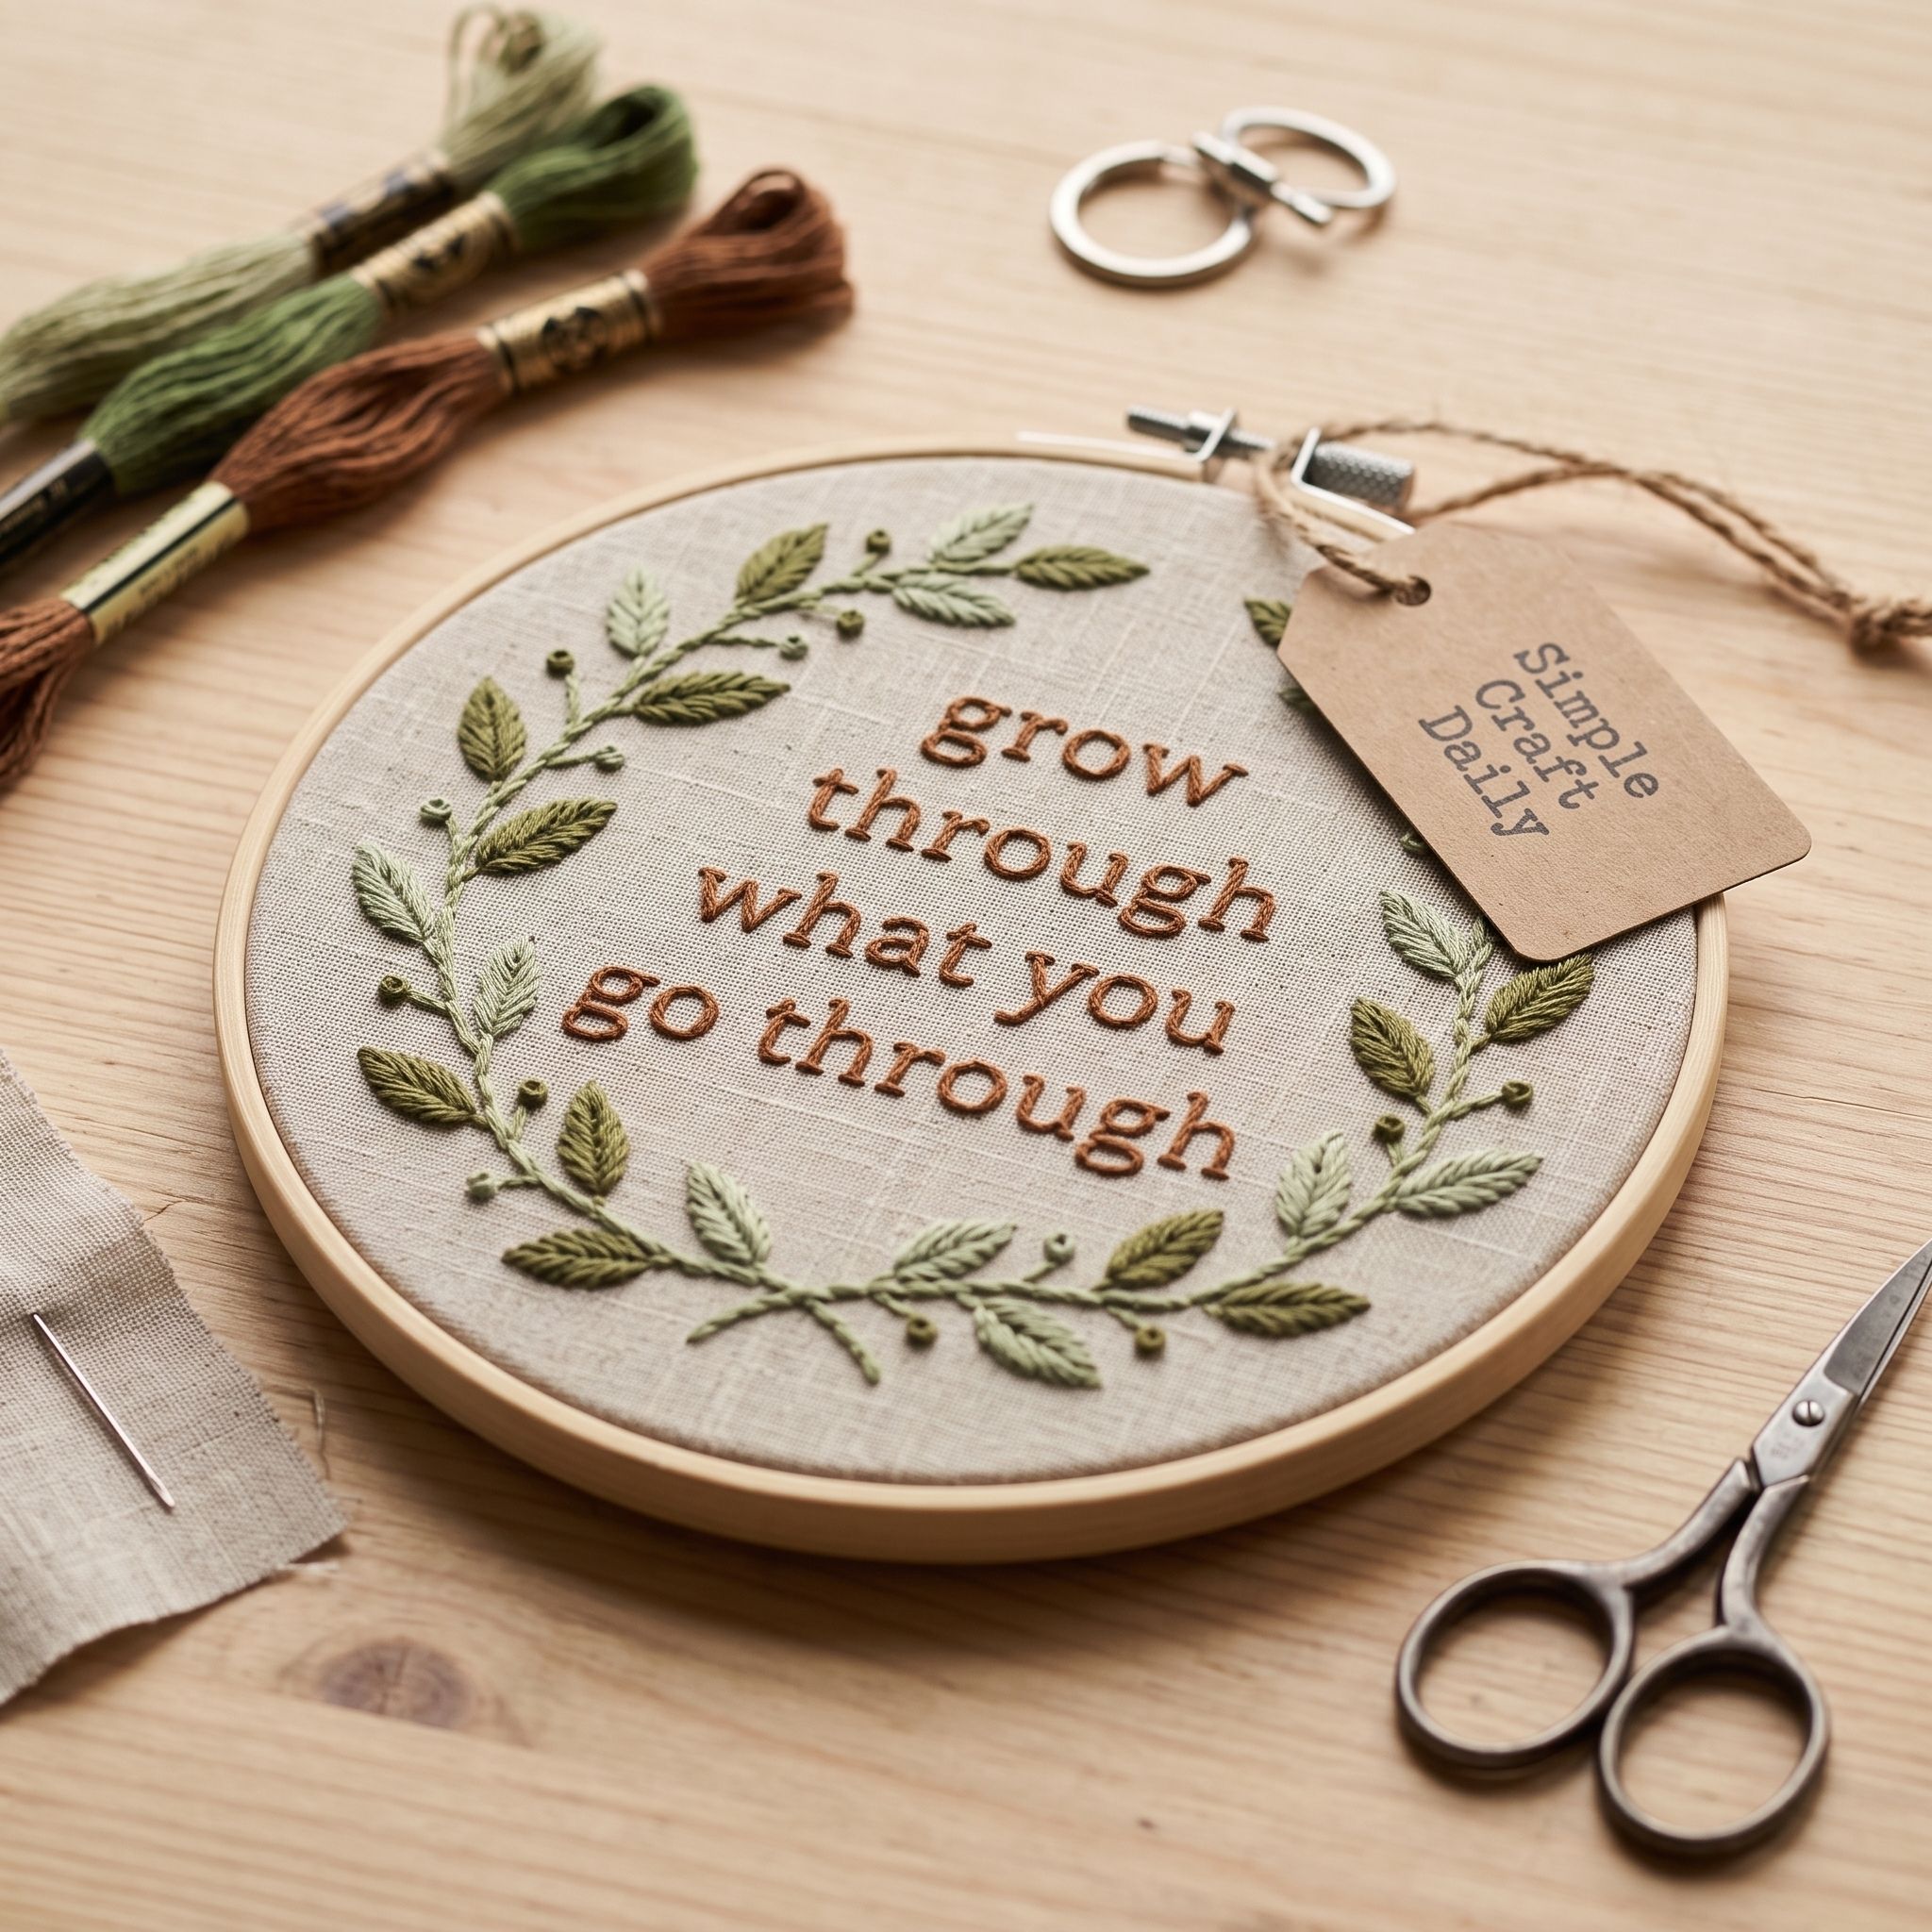
4. Grow Through What You Go Through
Supplies Needed: 8-inch bamboo embroidery hoop, 20 x 20 inch unbleached cotton embroidery fabric, olive, sage, and dark brown cotton embroidery floss, size 7 embroidery needle, water-soluble transfer pen, fine-point embroidery scissors, cream backing felt.
Place the cotton in the 8-inch hoop and use the transfer pen to draw staggered lowercase words on faint baselines. The baseline keeps the lettering level even when each line shifts slightly left or right. Thread two strands of dark brown floss through the size 7 needle and back-stitch every word first.
Then work a thin climbing vine around the lettering, never through the letters themselves. Use two strands of olive floss for the stem and detached-chain leaves. Alternate olive and sage leaves so the vine has gentle depth without crowding the words.
Secure each floss tail under three back stitches, then trim it close with the fine-point scissors. Cool-rinse the transfer marks, air-dry the piece flat for 12 to 24 hours, and only then tighten the hoop and cover the laced back with cream felt.
5. DIY Embroidered Wall Art: Stay Soft
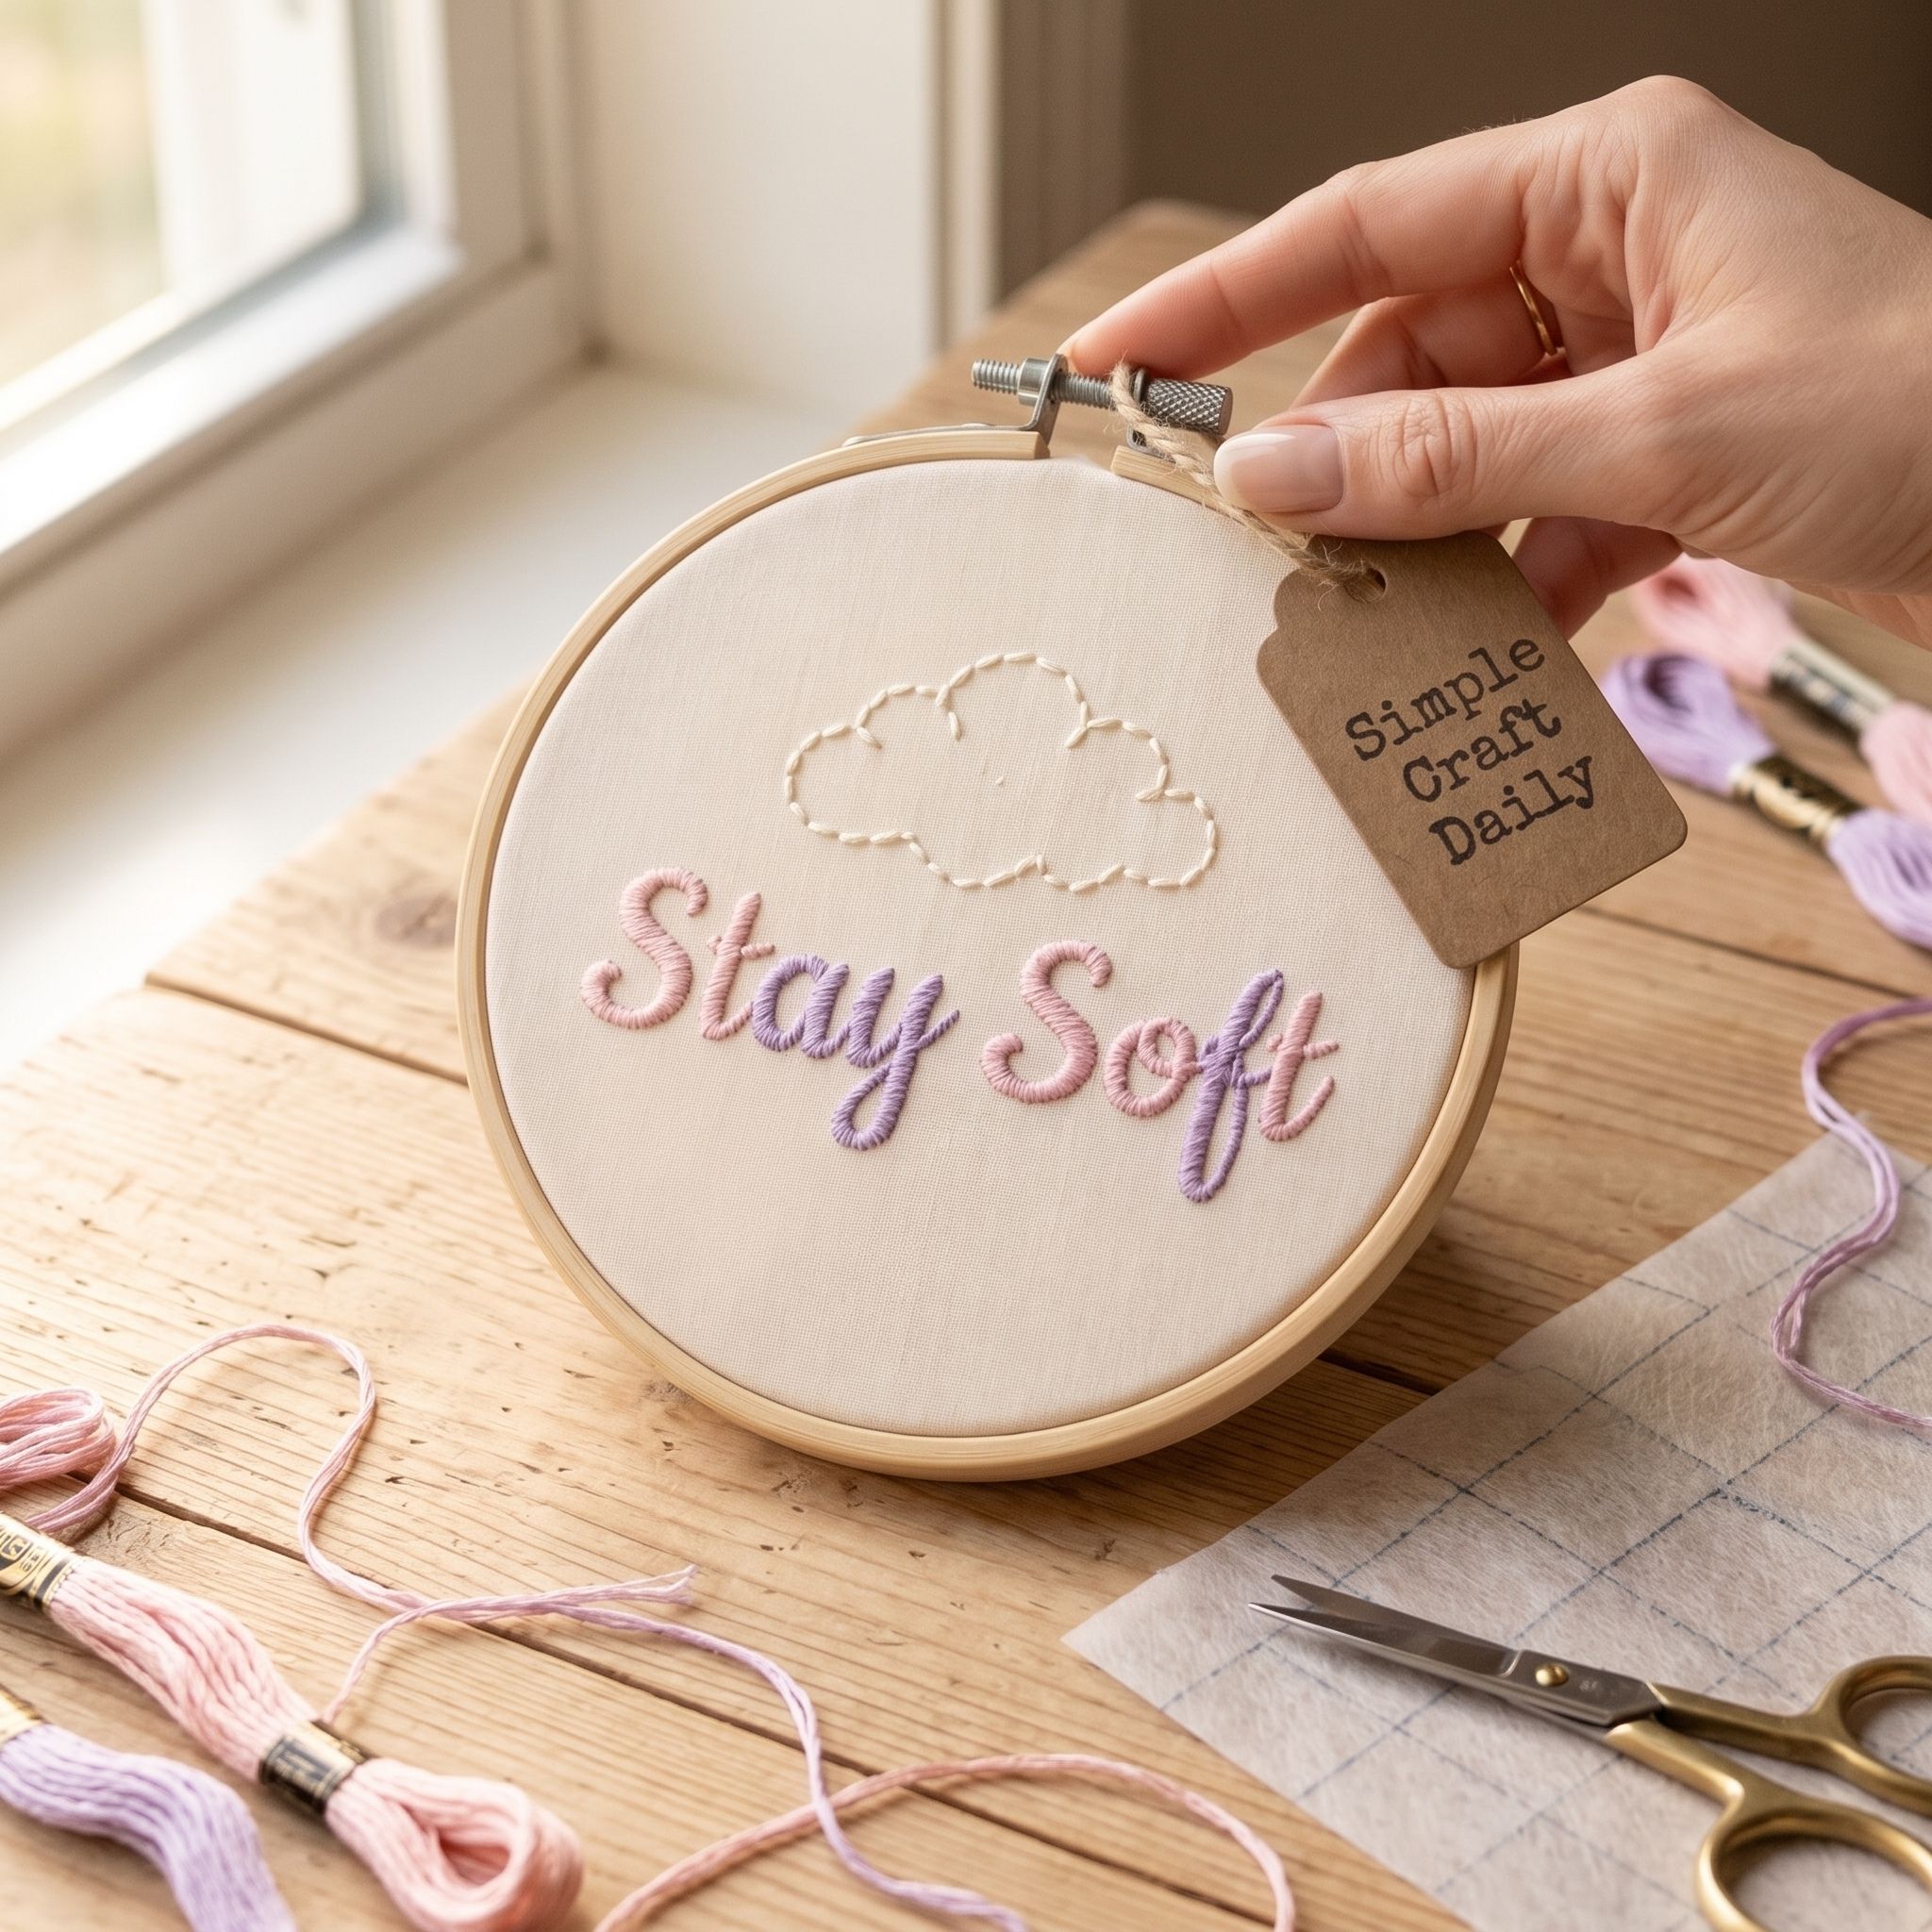
Supplies Needed: 5-inch bamboo embroidery hoop, 14 x 14 inch unbleached cotton embroidery fabric, pale pink, lavender, and cream cotton embroidery floss, size 8 embroidery needle, water-soluble stabilizer sheet, fine-point embroidery scissors, cream backing felt.
Place the water-soluble stabilizer sheet on the cotton and transfer “Stay Soft” in rounded letters. Set the fabric in the 5-inch hoop. Use three strands of pale pink floss and a size 8 needle to outline each letter with split stitch before filling it.
Fill the letters with satin stitches no longer than 1/4 inch. Keep the stitches parallel and smooth, but do not pull them tightly enough to pucker the cotton. After this step, stitch a small lavender cloud beside the phrase and use cream floss for three short rain lines.
Secure the tails beneath reverse stitches and clip them with the embroidery scissors. Dissolve the stabilizer completely in cool water according to its label directions, dry the fabric flat for 12 to 24 hours, and finish the dry hoop with a cream felt backing.
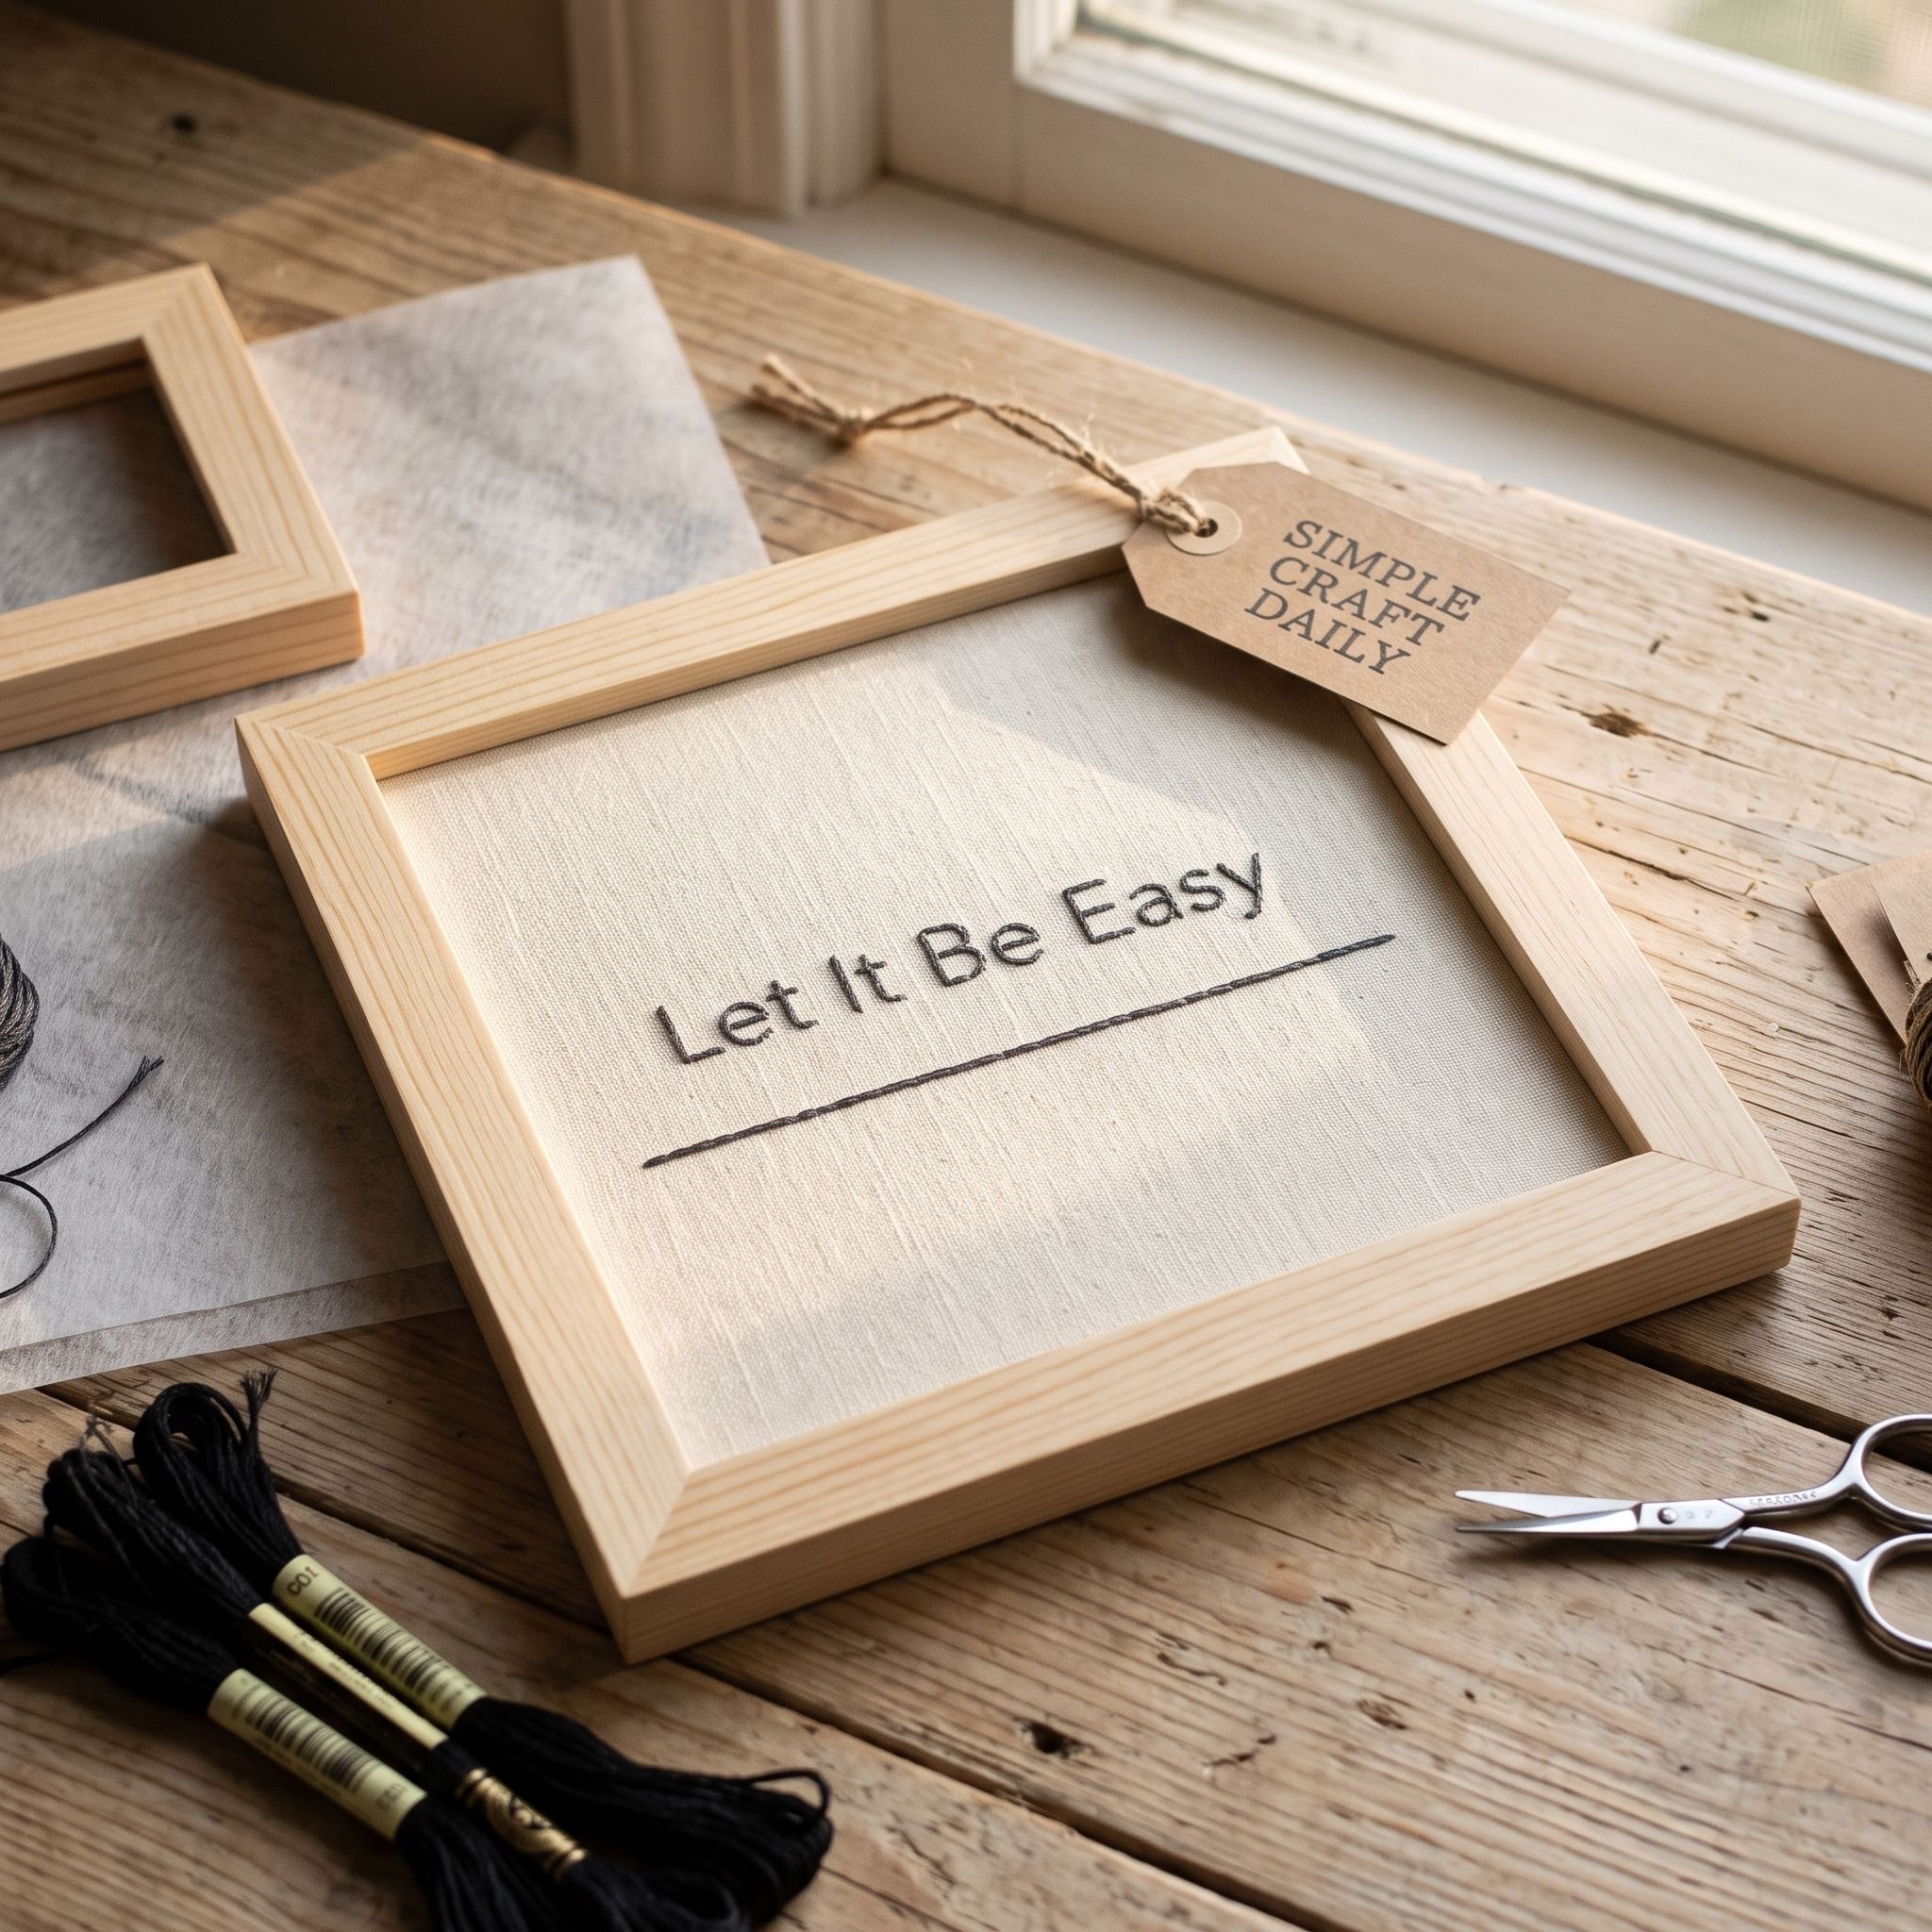
6. Let It Be Easy Minimalist Panel
Supplies Needed: 18 x 18 inch unbleached cotton embroidery fabric, charcoal cotton embroidery floss, size 8 embroidery needle, water-soluble stabilizer sheet, fine-point embroidery scissors, small shallow shadow-box frame, saw-tooth picture hanger.
Cut the cotton to fit the shadow-box frame with a 1-inch margin on every side. Apply a water-soluble stabilizer sheet, then transfer “Let It Be Easy” with a narrow center line and even letter spacing. The stabilizer keeps the fine lettering guide visible while you stitch.
Thread two strands of charcoal floss through the size 8 needle and back-stitch the phrase with 1/8-inch stitches. Add one thin horizontal accent line 3/8 inch below the words. Secure thread ends on the reverse side, then use fine-point scissors to trim loose tails.
Rinse out the stabilizer in cool water and dry the panel flat for 12 to 24 hours. Mount only completely dry fabric in the shallow frame. Finally, attach the saw-tooth picture hanger to the frame back with its included screws, centered along the top rail.
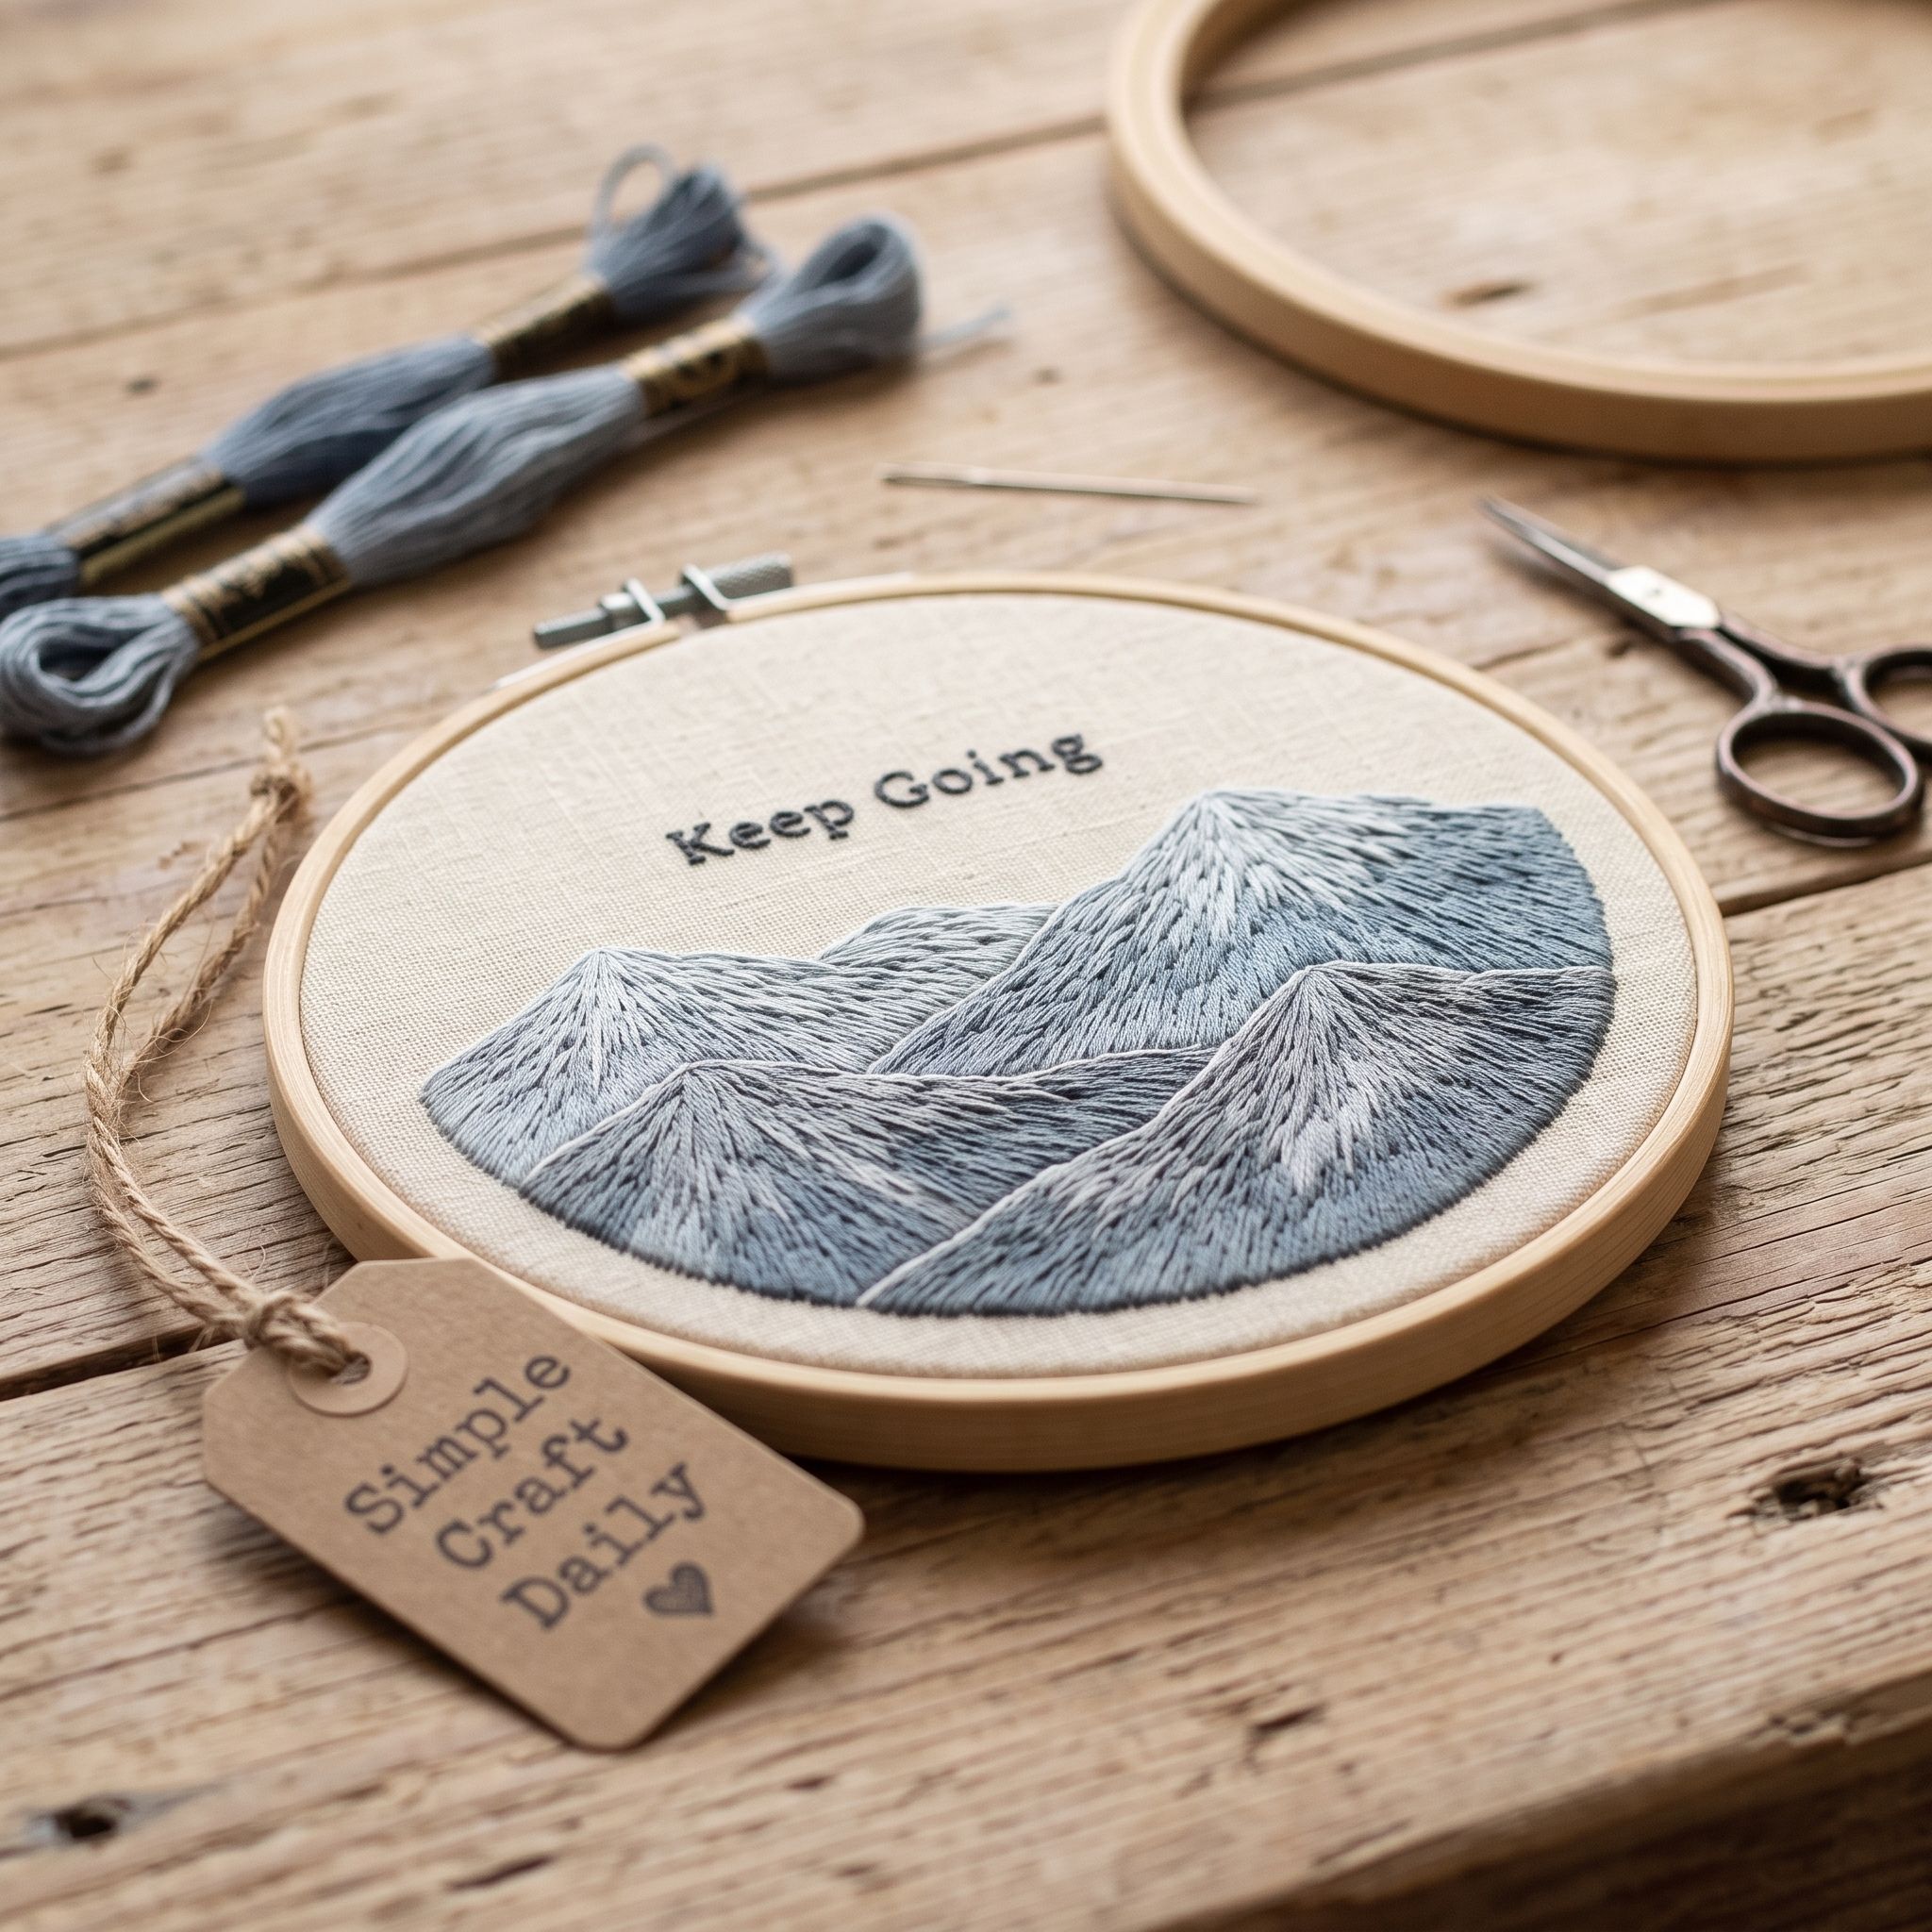
7. Keep Going Mountain Hoop
Supplies Needed: 7-inch bamboo embroidery hoop, 18 x 18 inch unbleached cotton embroidery fabric, muted blue, gray, cream, and charcoal cotton embroidery floss, size 7 embroidery needle, water-soluble transfer pen, fine-point embroidery scissors, cream backing felt.
Stretch the cotton in the 7-inch hoop and transfer “Keep Going” across the upper third of the design. Keep the lettering clear of the mountain skyline. Use two strands of charcoal floss in the size 7 needle and back-stitch the quote before beginning the landscape.
Draw three overlapping mountain ridges below the words. Use three strands of muted blue and gray floss for long-and-short stitch shading, beginning at each peak and working downward in 1/4-inch sections. At each color boundary, alternate short stitches from both shades so the transition looks softly blended.
Add cream floss snowcaps with short angled stitches, secure all tails, and trim them with the fine-point scissors. Next, rinse the transfer pen away, dry the fabric flat for 12 to 24 hours, and finish the tightened hoop with cream felt.
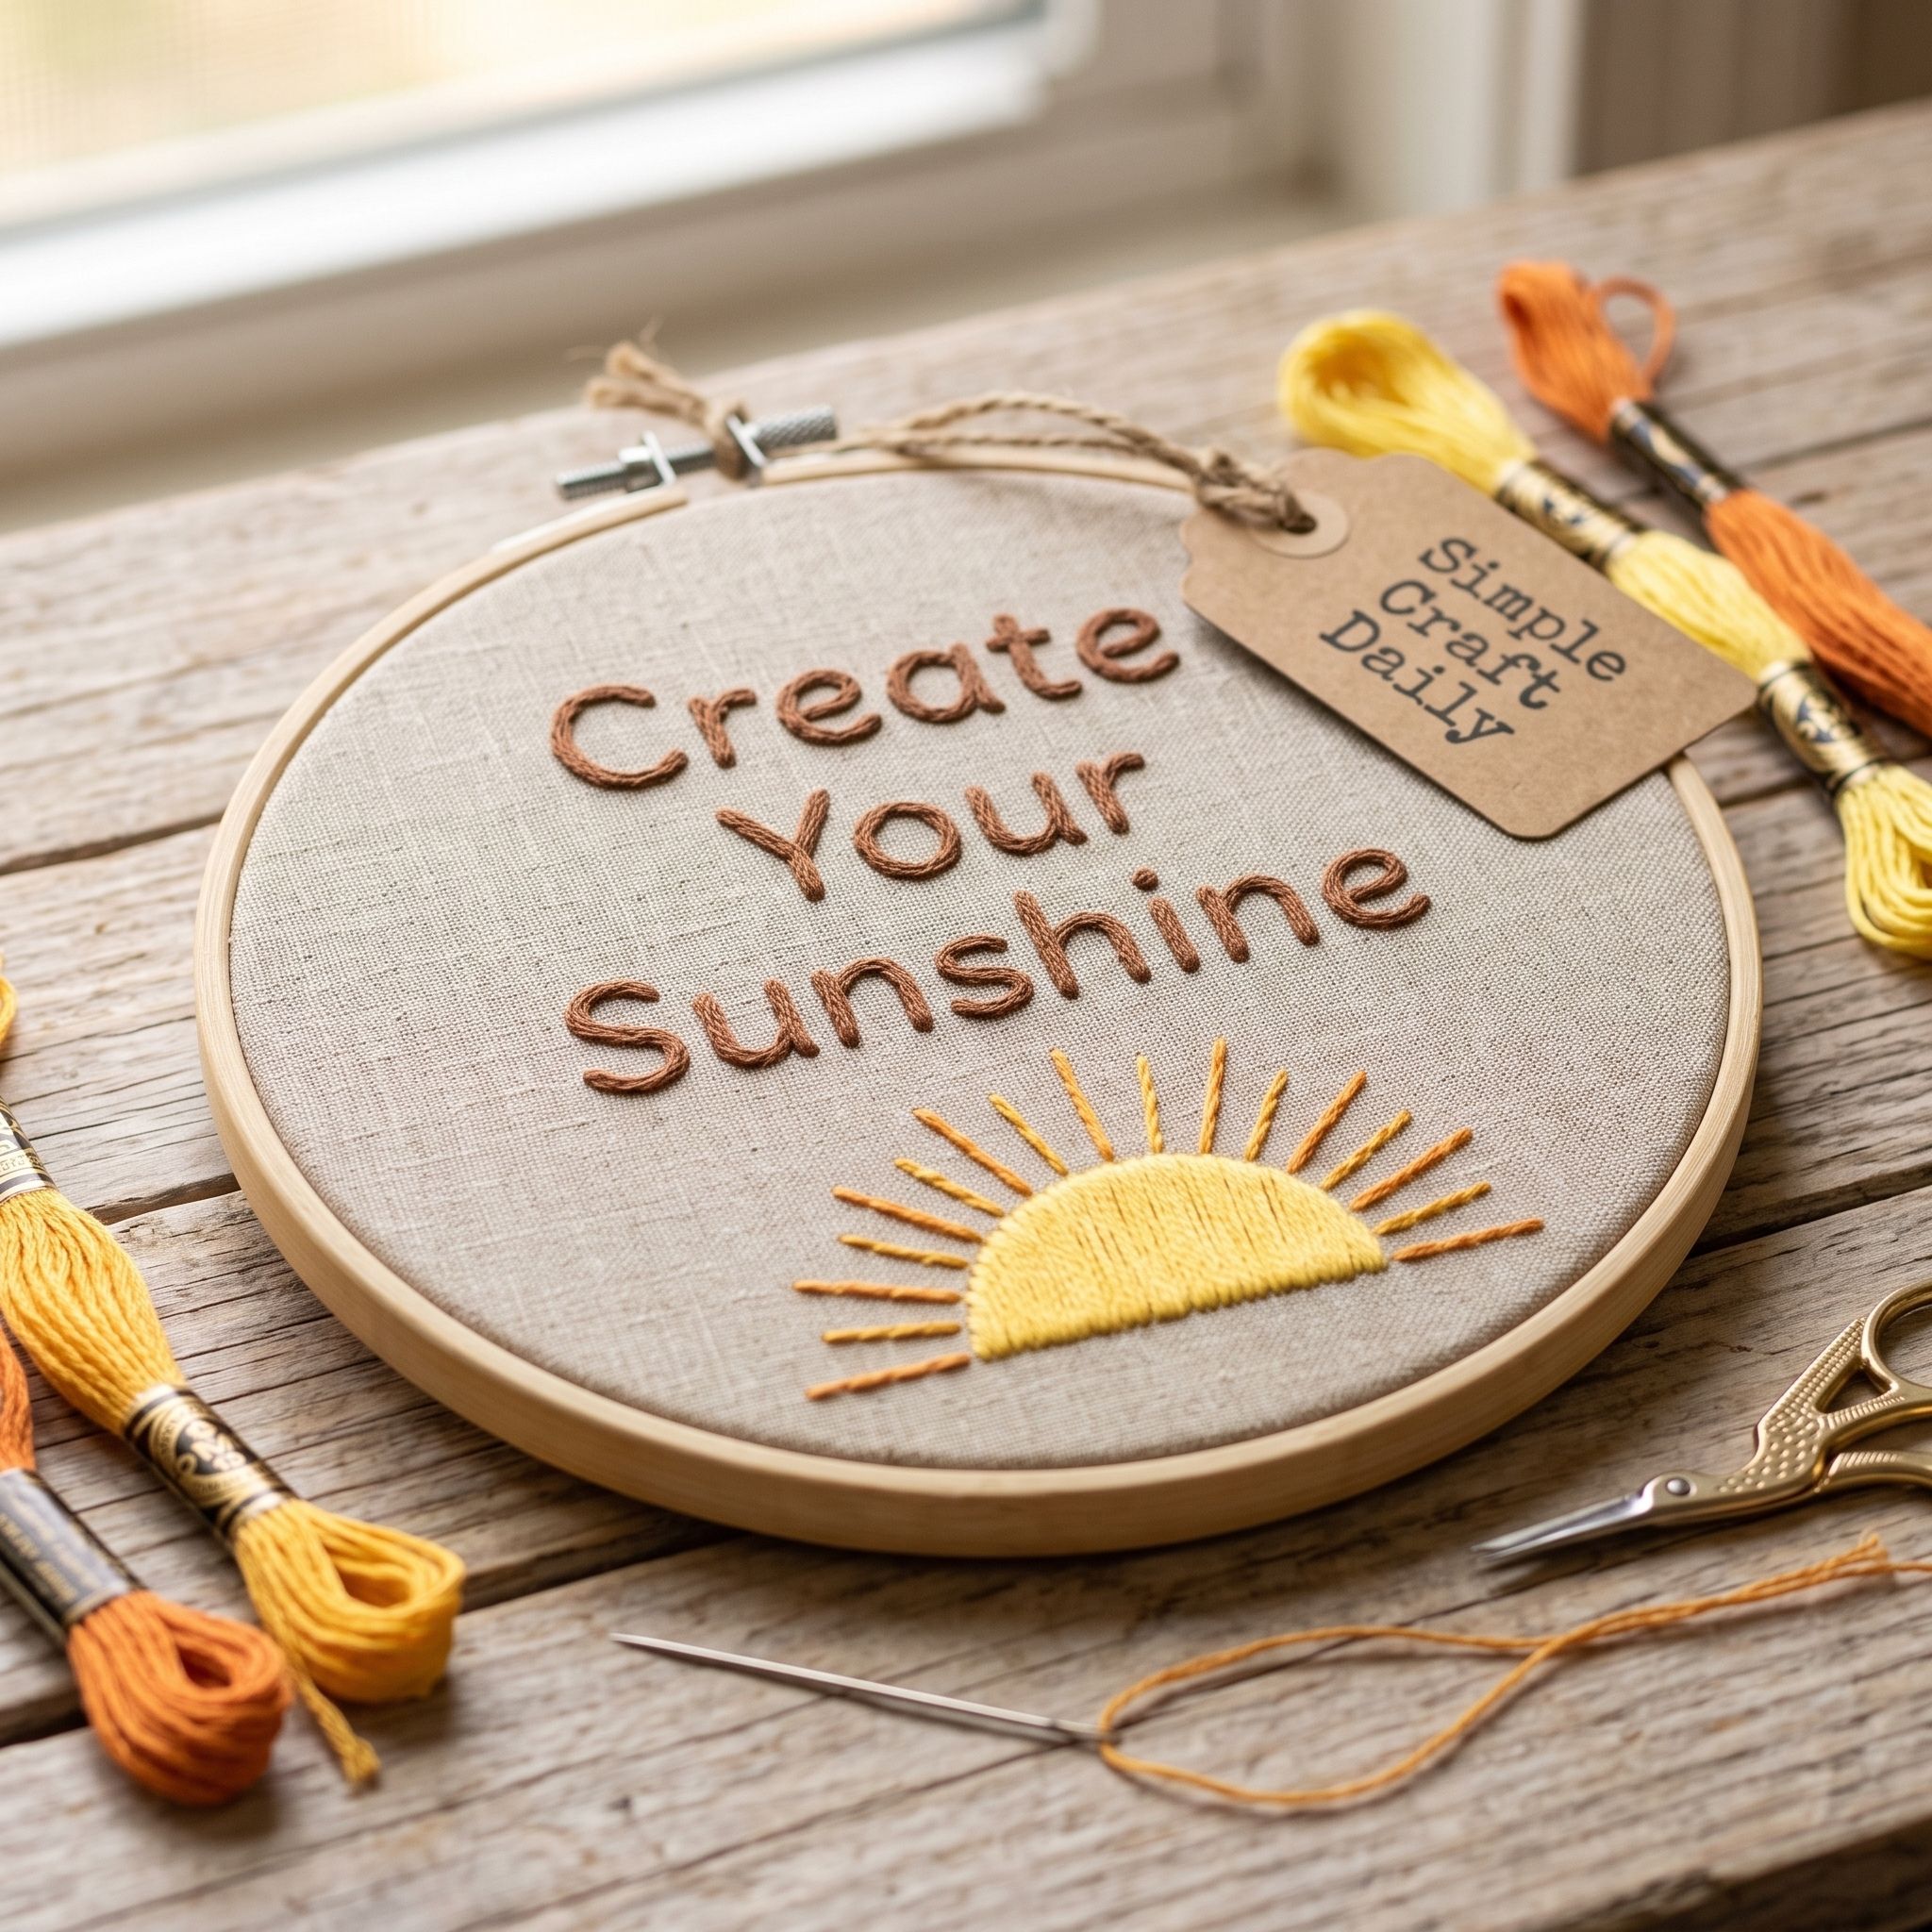
8. DIY Embroidered Wall Art: Create Your Sunshine
Supplies Needed: 8-inch bamboo embroidery hoop, 20 x 20 inch unbleached cotton embroidery fabric, buttercup yellow, warm orange, and brown cotton embroidery floss, size 7 embroidery needle, water-soluble transfer pen, fine-point embroidery scissors, cream backing felt.
Use the transfer pen to draw “Create Your Sunshine” in rounded lettering across the upper and center area of the 8-inch hoop. Sketch a sun behind the lower-right edge of the quote, leaving at least 1/2 inch of open fabric around the most readable letters.
Thread two strands of brown floss through the size 7 needle and back-stitch the lettering. Then fill the sun circle with three strands of buttercup yellow using satin stitch. Use warm orange floss for evenly spaced straight-stitch rays, each about 3/8 inch long.
Secure every floss tail beneath at least three back stitches before clipping it with fine-point scissors. Cool-rinse the transfer guide, dry the fabric flat for 12 to 24 hours, and finish the dry, re-tightened hoop with cream backing felt.
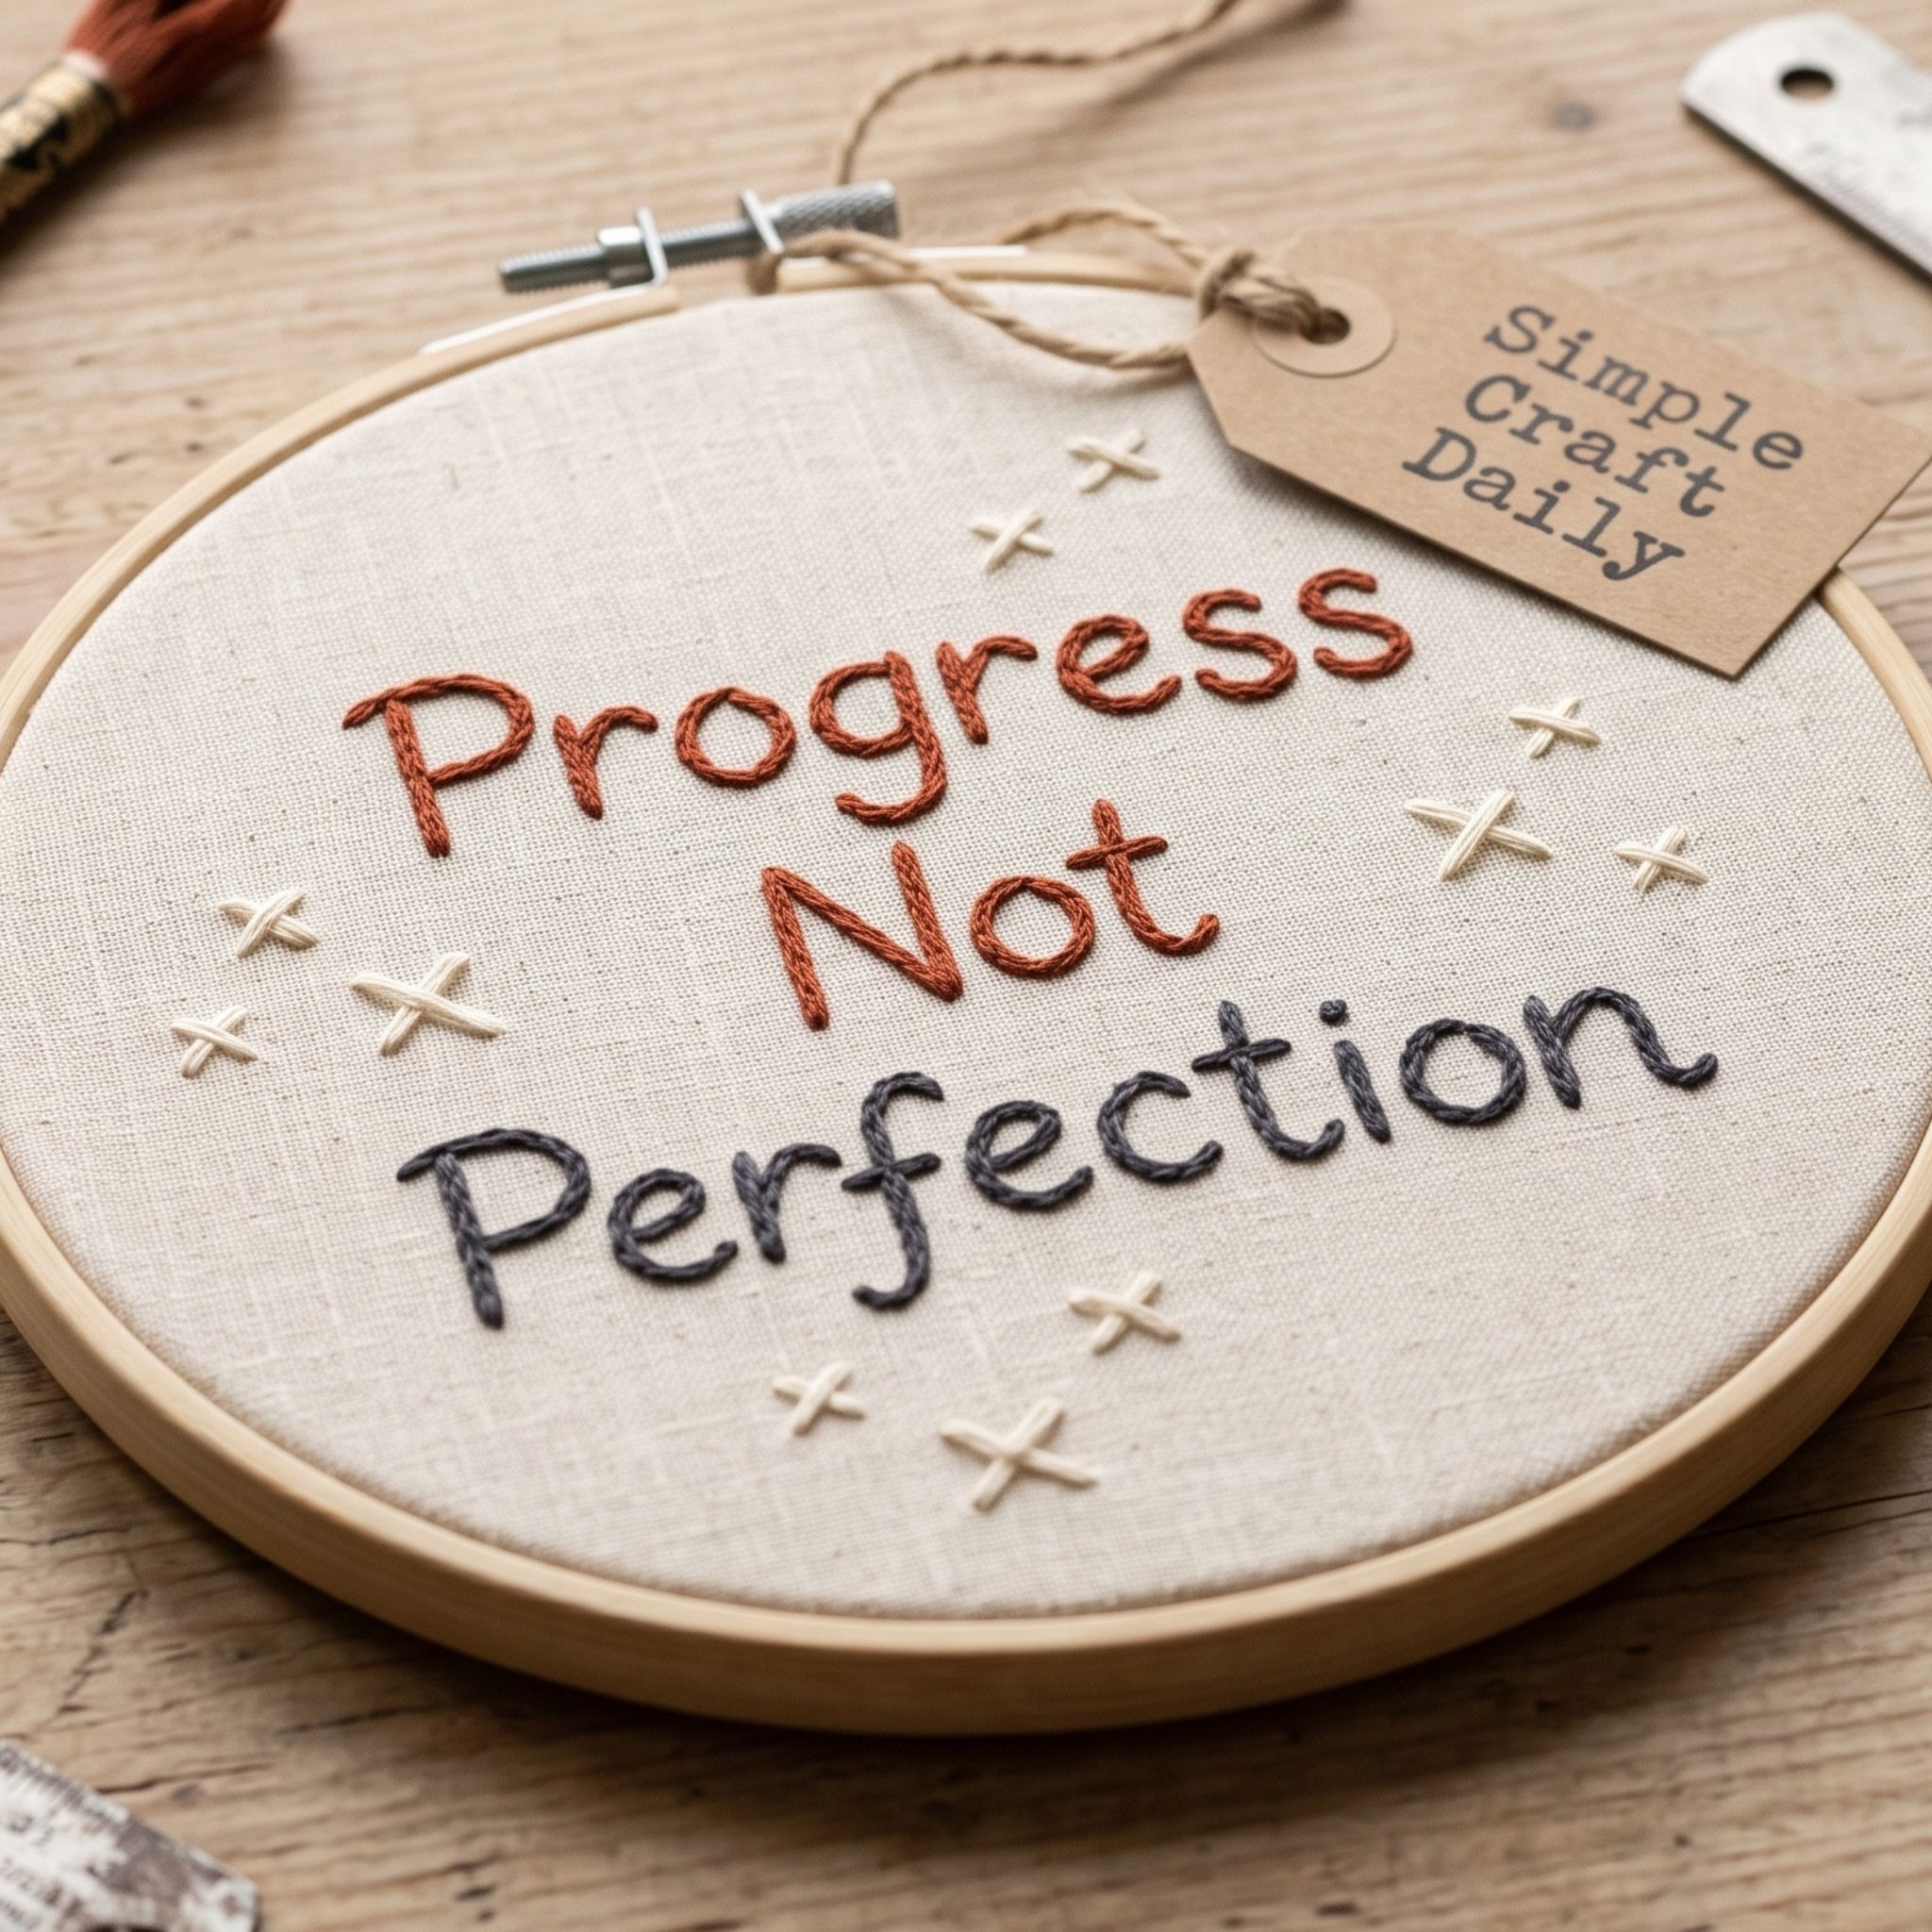
9. Progress Not Perfection
Supplies Needed: 8-inch bamboo embroidery hoop, 20 x 20 inch unbleached cotton embroidery fabric, rust, cream, and charcoal cotton embroidery floss, size 7 embroidery needle, water-soluble transfer pen, fine-point embroidery scissors, cream backing felt.
For a modern diy embroidered wall art piece, place the cotton in the 8-inch hoop and lightly mark a 1/2-inch grid with the transfer pen. Center “PROGRESS / NOT PERFECTION” across two lines, using the grid to keep both baselines level.
Thread two strands of charcoal floss through the size 7 needle and use split stitch for the lettering. Add scattered mending-style crosses around the outside of the text with rust and cream floss. Make each cross from two 3/8-inch straight stitches that meet at the center.
Before removing any marks, test the floss colorfastness on an unused cotton fabric off-cut with a damp cloth. If the colors remain stable, wipe away the grid with a clean damp cloth, then dry flat for 12 to 24 hours. Tighten the dry hoop, lace the reverse side, and cover it with cream felt.
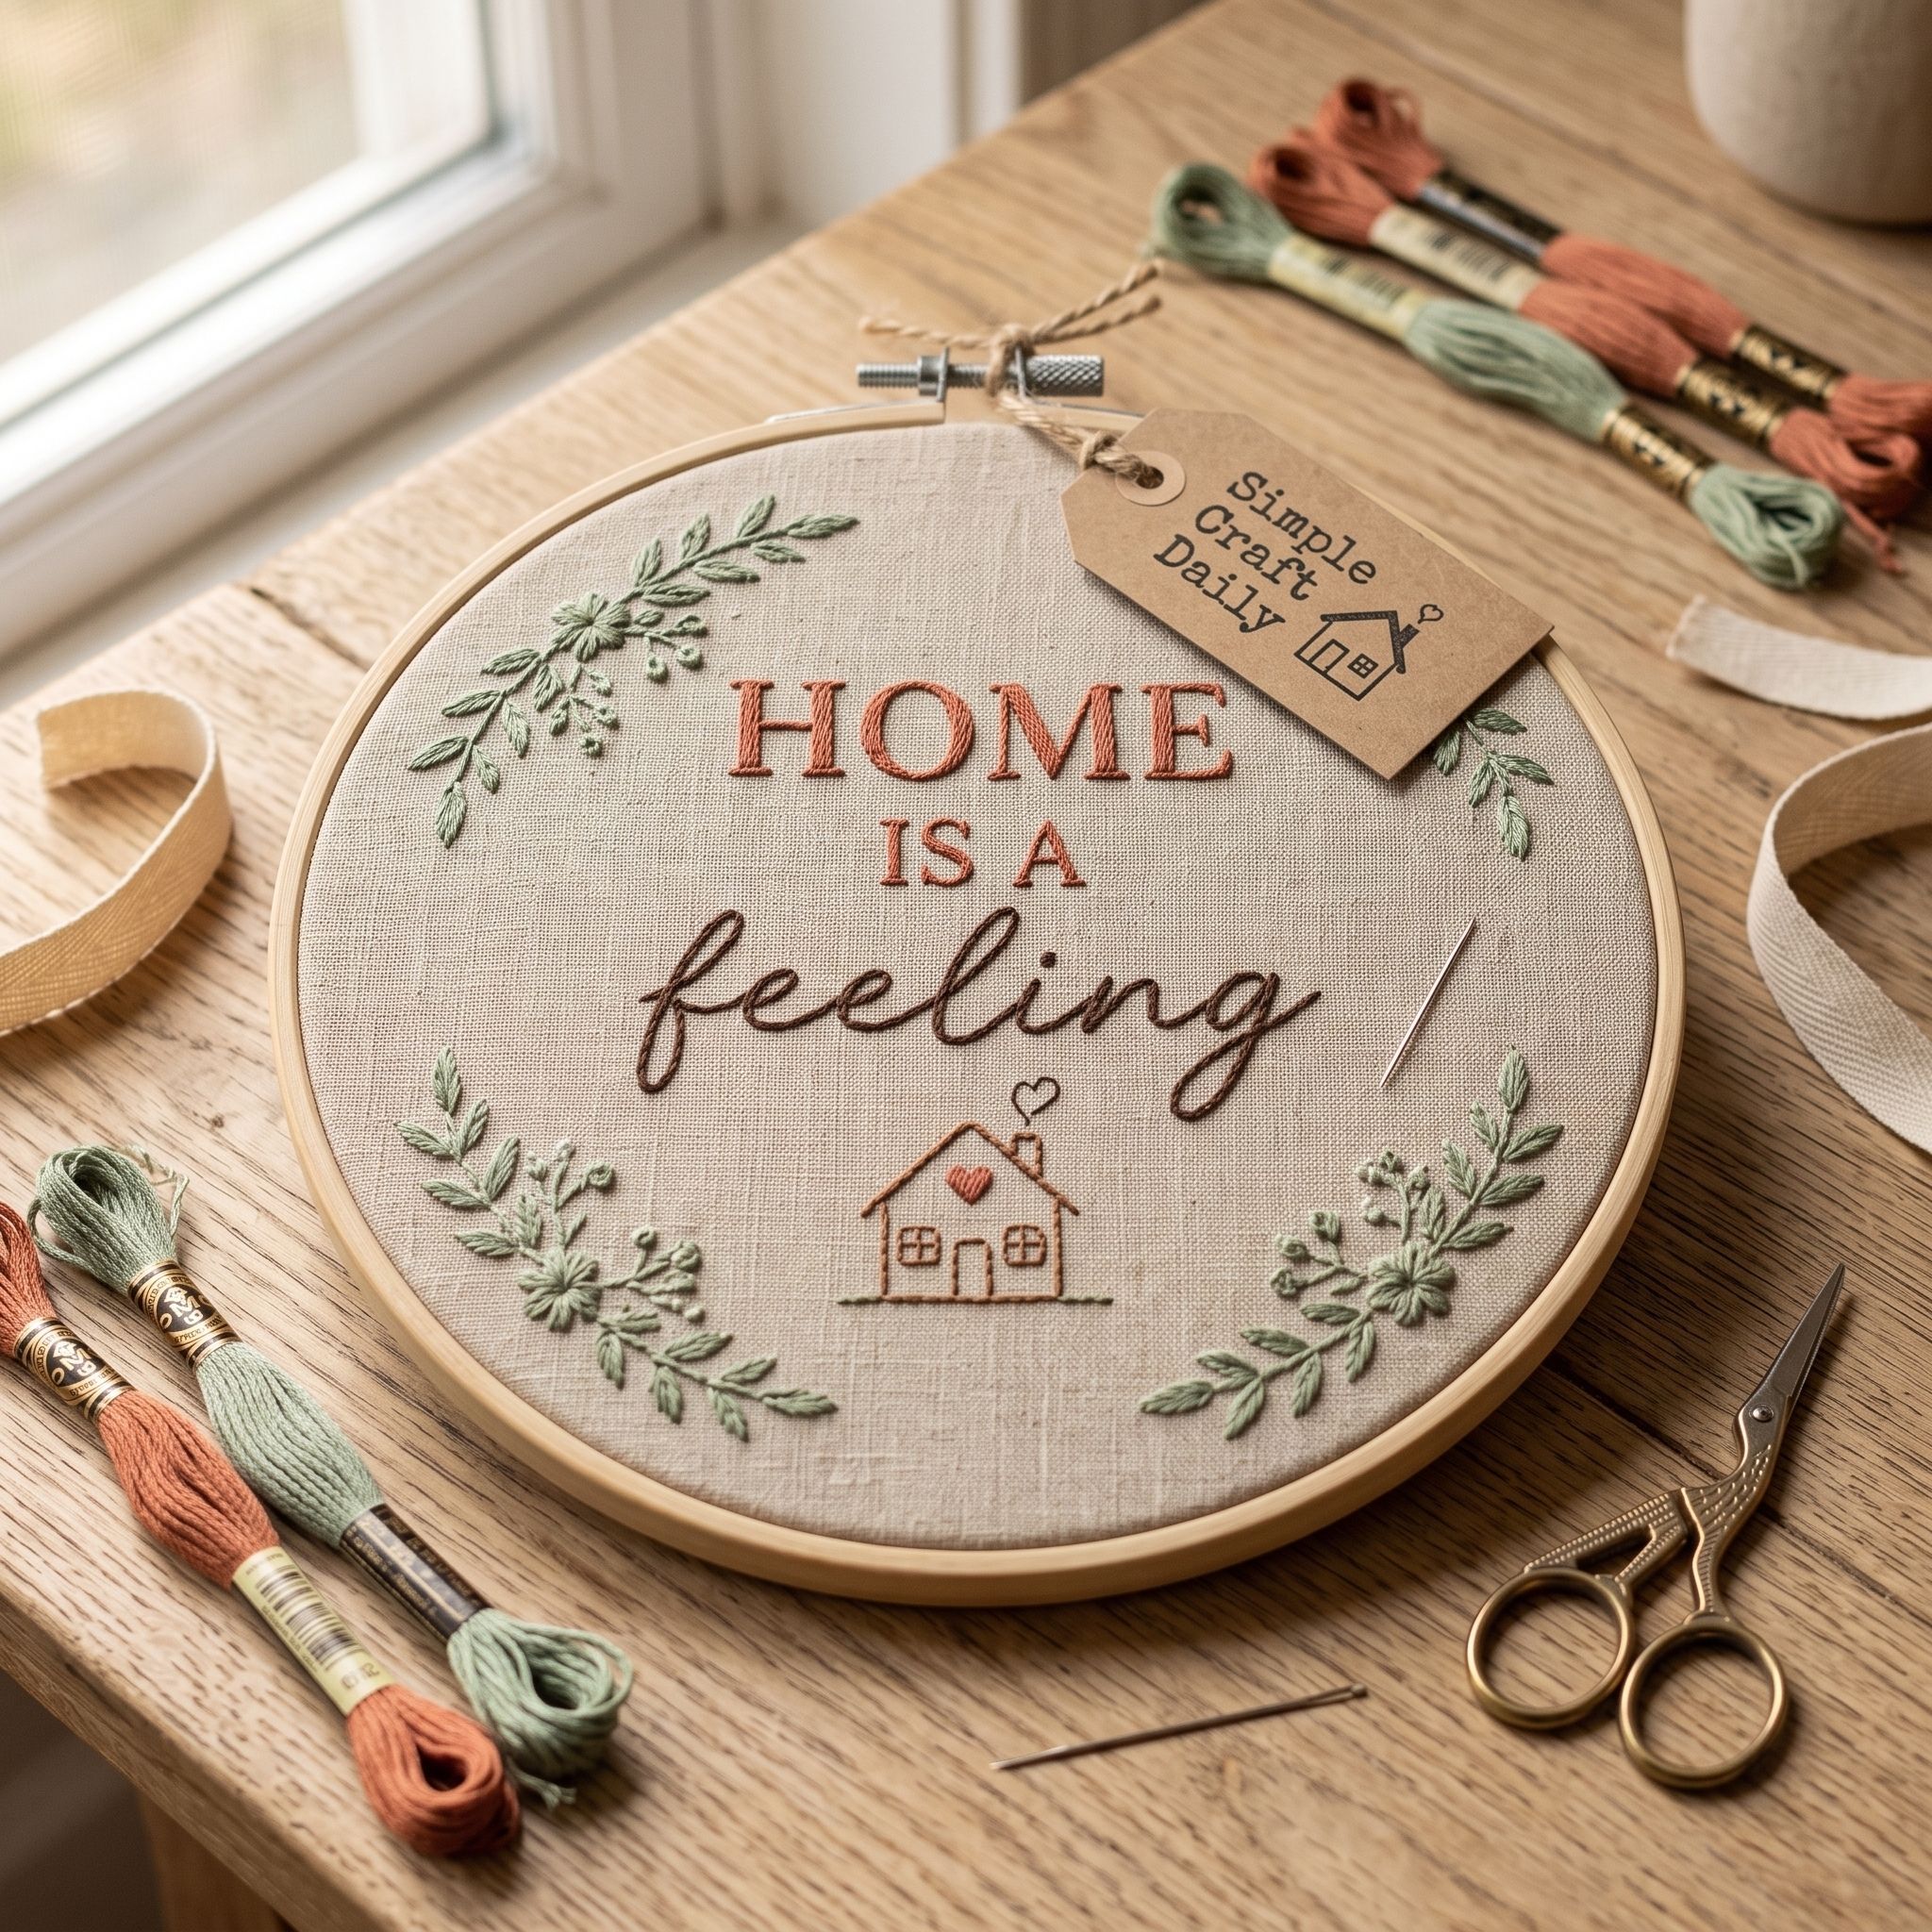
10. DIY Embroidered Wall Art: Home Is a Feeling
Supplies Needed: 10-inch bamboo embroidery hoop, 24 x 24 inch unbleached cotton embroidery fabric, terracotta, sage, cream, and dark brown cotton embroidery floss, size 7 embroidery needle, water-soluble transfer pen, fine-point embroidery scissors, cream backing felt, natural cotton twill tape.
Stretch the 24 x 24 inch cotton in the 10-inch hoop and transfer “Home Is a Feeling” as a centered 6-inch-wide composition. Use faint baselines for the serif words and a gentle guide for the script word “feeling.” Thread two strands of dark brown floss through the size 7 needle and complete all lettering first.
Next, stitch a small house outline beneath the phrase in terracotta floss. Add muted sage and cream floral corners with detached-chain leaves and lazy-daisy petals, keeping each motif outside the lettering space. Use the fine-point scissors after each color change to clip secured tails neatly.
Rinse away transfer marks, then air-dry the hoop flat for 12 to 24 hours. Re-tighten the dry fabric, trim it to a 1-inch border, and lace the back with remaining thread. Cover the lacing with cream backing felt, then stitch a 5-inch natural cotton twill tape loop to the upper reverse side for hanging.
DIY Embroidered Wall Art Finishing Tips
Remove washable pen lines or stabilizer first, then dry the textile fully before trimming or mounting it. Never seal, glue, or frame wet fabric because trapped moisture can stain the backing and loosen the stretched surface.
For a hoop, re-tighten the fabric after it dries and position the screw at the top for display. Trim the extra fabric to a 1-inch border, lace opposite edges across the reverse side, and stitch acid-free cotton backing felt over the lacing. Add a cotton twill tape loop only after the felt is secured.
For framed panels, mount the dry textile smoothly before attaching saw-tooth hardware to the frame. If you want more practice controlling stitch placement across different textiles, this easy beginner guide to embroidering on knitting offers useful guidance. Pair finished hoops with creative mosaic art ideas for home and garden for a handmade wall display with contrasting texture.
FAQ: DIY Embroidered Wall Art
These small adjustments prevent the most common lettering and finishing problems.
Why does my DIY embroidered wall art pucker?
Puckering usually comes from loose hoop tension or stitches pulled tighter than the surrounding fabric. Tighten the hoop before each stitching session, then use short, relaxed stitches. Satin stitches should stay under 1/4 inch when possible.
If a letter has already pulled the fabric inward, loosen the last few stitches with the needle tip and re-stitch them with less tension. Do not force the fabric flat by stretching the hoop harder, since that can distort the lettering.
How do I transfer DIY embroidered wall art lettering neatly?
First, mark a vertical center line and one horizontal baseline with the 6-inch clear sewing ruler. For pale cotton, trace your design lightly with a water-soluble transfer pen. Keep the guide line inside the planned stitch path so it disappears beneath the floss.
Use printable wash-away stabilizer for narrow script, dark fabric, or close letter spacing. Apply it smoothly without wrinkles, stitch directly through it, and dissolve it in cool water after every thread tail is secured.
Can I wash DIY embroidered wall art after stitching?
Yes, if you need to remove washable pen marks or water-soluble stabilizer. Test floss colorfastness on a fabric off-cut first. Then rinse the finished textile in cool water without soaking the wooden hoop.
Blot the fabric between clean towels and dry it flat for 12 to 24 hours. After it is fully dry, return it to the hoop and adjust the tension before adding felt, twill tape, or a frame.
How should I hang an embroidery hoop safely?
Lightweight hoops can hang from the top screw on a small picture nail, provided the screw is snug and faces upward. A sewn cotton twill loop gives a softer hanging method for larger hoops.
Use saw-tooth hardware only on rigid framed panels. Keep all textile work away from bathroom moisture, kitchen steam, and strong direct sunlight so the cotton and floss stay clean and color-rich.
Quick Reference: DIY Embroidered Wall Art Supplies
For your convenience, here is a quick summary of all materials and tools used in this tutorial:
🧵 Fabric, Floss and Hoops
- Unbleached Cotton Embroidery Fabric | [Check Price on Amazon]
- Six-Strand Cotton Embroidery Floss | [See Embroidery Floss on Amazon]
- Bamboo Embroidery Hoops in Assorted Sizes | [View Bamboo Embroidery Hoops on Amazon]
- Beginner Hand Embroidery Kit with Hoop and Floss | [Find Beginner Embroidery Kit on Amazon]
✂️ Marking and Stitching Tools
- Embroidery Needles, Sizes 3 to 9 | [Check Embroidery Needles on Amazon]
- 6-Inch Clear Sewing Ruler | [View Clear Sewing Ruler on Amazon]
- Water-Soluble Embroidery Transfer Pen | [See Price on Amazon]
- Water-Soluble Embroidery Stabilizer Sheets | [View Embroidery Stabilizer on Amazon]
- Embroidery Scissors with Fine Point Blades | [Check Latest Price on Amazon]
🖼️ Finishing and Hanging Supplies
- Acid-Free Cotton Backing Felt | [Find Backing Felt on Amazon]
- Cotton Twill Tape | [View Cotton Twill Tape on Amazon]
- Small Shallow Shadow-Box Frame | [Find Shadow-Box Frame on Amazon]
- Saw-tooth Picture Hangers | [See Saw-tooth Picture Hangers on Amazon]
Important Crafting Safety Notes
Crafting is a rewarding creative activity, but maintaining a safe workshop environment is essential for yourself, your family, and your pets. Please review these safety precautions before starting:
• Personal Protective Equipment (PPE) & Safe Handling: Use a thimble if repeated hand stitching causes finger soreness, and place needles point-down in a pincushion whenever you pause. Wear safety glasses when attaching saw-tooth hangers or tightening hardware screws. Use heat-resistant protection and caution around hot glue tools, and wear nitrile gloves and a particle mask when sanding frames or using chemical sealants.
• Room Ventilation & Fume Safety: Work beside open windows or with active airflow when using marking sprays, adhesives, sealants, or heat-curing materials. Allow any glued, sealed, or framed piece to off-gas completely in an airy area away from everyday living spaces.
• Child & Pet Safety (Choking & Swallowing Prevention): Needles, loose floss, hoop screws, saw-tooth hangers, staples, beads, safety eyes, split rings, clasps, and jump rings can injure or obstruct a child or pet. Keep all raw materials and unfinished hoops out of reach. For projects handled by children, use securely embroidered details instead of detachable plastic eyes or small hardware.
• Sharp Tool Storage & Clean Work Area: Store embroidery scissors, rotary cutters, craft knives, bent-tip yarn needles, snips, and pliers in secure latching cases or high cabinets immediately after use. Subsequently, inspect and sweep or vacuum the floor for dropped needles, pins, thread clippings, and hardware.
• Certified, Quality & Non-Toxic Supplies: Choose ACMI AP-certified non-toxic marking supplies, lead-free and nickel-free hardware, and quality fabric and floss intended for hand embroidery. Follow each manufacturer’s directions for cure times, temperatures, and disposal. Never reuse kitchen utensils or food containers for craft chemicals.
For more detailed guidance on safe crafting practices, liability disclosures, and website usage, please review our Terms and Conditions.
“Which quote will you stitch first? Share your color palette, favorite phrase, or lettering tip in the comments below—I’d love to see what you make.”


