
Useful gifts beat shelf clutter every time. These homemade Father’s Day crafts turn simple materials into phone stands, key trays, desk organizers, and other pieces Dad can reach for every day.
A clean stain, a smooth leather edge, or a carefully sealed photo makes a handmade gift feel considered. If you enjoyed our personalized polymer clay gift ideas or need inspiration for stained pine, these DIY wooden sign projects offer a useful starting point.
Affiliate Disclosure: This post contains affiliate links. As an Amazon Associate, I earn from qualifying purchases. If you buy through these links, I may earn a commission at no additional cost to you.
Key Facts:
- Total time: Roughly 45 minutes to 2 hours of active work per project, with finish times from one afternoon to about three days once drying and curing are included.
- Difficulty: Beginner to intermediate.
- Makes: 10 separate Father’s Day gift projects.
- Core techniques: Sanding, folding leather, stitching, molding, sealing, and decoupage.
- Best for: Adults and teens; supervised kids can help with clay stamping, photo-coaster placement, and simple embroidery.
Essential Materials for Homemade Father’s Day Crafts
These shared supplies cover the wood, leather, rope, clay, casting mix, and coaster projects below. Each project also has its own Supplies Needed quote, so you can make one useful gift without gathering every material on this list.
| Supply | Spec / Size | Used For |
|---|---|---|
| Unfinished pine boards | 1/2 in thick, 6 to 12 in long | Phone stand, opener plaque, grill rack |
| Vegetable-tanned leather | 4 to 5 oz scraps | Valet tray, cord wrap, hanging loop |
| Natural cotton rope | 1/4 in diameter | Coiled catchall basket |
| Fine casting or plaster-grade mix | Small-mold casting mix | Molded desk caddy |
| White air-dry clay | 1/4 in rolled thickness | Personalized key dish |
| Cork coaster blanks | 4 in round set | Photo coaster set |
🪵 Wood, Leather, and Rope Basics
- Unfinished Pine Craft Boards — Lightweight, sandable boards that accept stain evenly after careful surface prep | [Check Price on Amazon]
- Water-Based Wood Stain — Adds warm color to pine before the clear protective finish is applied | [See Water-Based Wood Stain on Amazon]
- Clear Matte Acrylic Sealer — Protects dry stained wood, cured clay, and cured casting mix without a glossy plastic look | [View Clear Matte Acrylic Sealer on Amazon]
- 120 and 220 Grit Sandpaper Sheets — Starts with shaping rough edges, then smooths surfaces before finishing | [Find Sandpaper Sheets on Amazon]
- Vegetable-Tanned Leather Scraps — Cuts, stamps, folds, and burnishes cleanly for durable organizers | [Check Vegetable-Tanned Leather Scraps on Amazon]
- Leather Snap Fastener Kit — Provides matched snaps and setting pieces for secure folded tray corners | [See Price on Amazon]
- Natural Cotton Rope — Forms soft, sturdy coils that will not scratch a desk or nightstand | [View Natural Cotton Rope on Amazon]
- Heavy-Duty Sewing Thread — Holds repeated stitches in rope coils and tool-roll pockets | [Check Heavy-Duty Sewing Thread on Amazon]
🧱 Casting, Clay, and Coaster Supplies
- Fine Casting or Plaster-Grade Mix — Choose a small-mold product labeled “casting mix” or “plaster,” then follow its printed water ratio and full cure schedule for the desk caddy | [Check Fine Casting Mix on Amazon]
- Reusable Silicone Cup Molds — Flexible walls release cured casting mix without prying at the finished edges | [View Reusable Silicone Cup Molds on Amazon]
- Small Plastic Inner Cups — Create the open cavity inside a desk caddy when pressed into the wet casting mix and held in place | [Find Small Plastic Inner Cups on Amazon]
- White Air-Dry Clay — Makes a smooth decorative dish after slow, complete drying | [See White Air-Dry Clay on Amazon]
- Cork Coaster Blanks — Absorbent, heat-resistant bases for a coordinated photo coaster set | [Find Cork Coaster Blanks on Amazon]
- Water-Resistant Decoupage Sealer — Bonds paper prints and protects the coaster surface from ordinary splashes | [Check Price on Amazon]
Follow each product label for drying and cure windows, especially with wet media. In addition, keep casting mix, sealers, stain, and decoupage products away from food preparation tools and kitchen surfaces.
🧰 Optional Optional Long-Term Workshop Upgrades
- Optional Upgrade: Compact Cordless Rotary Tool Kit — An optional precision tool for smoothing cured casting mix, refining wood edges, and drilling small pilot holes; every project step also has a hand-tool alternative using sandpaper, a hand drill, or a chisel | [View Compact Cordless Rotary Tool Kit on Amazon]
- Heavy-Duty Sewing Machine — An optional studio fixture that gives rope and canvas seams consistent stitch length | [See Heavy-Duty Sewing Machine on Amazon]
10 Homemade Father’s Day Crafts He Can Use Every Day
Choose the project that fits his daily routine, then make it independently from start to finish. First prepare the surface or material, then assemble, dry or cure the piece fully, and add hardware only when the finish is stable.
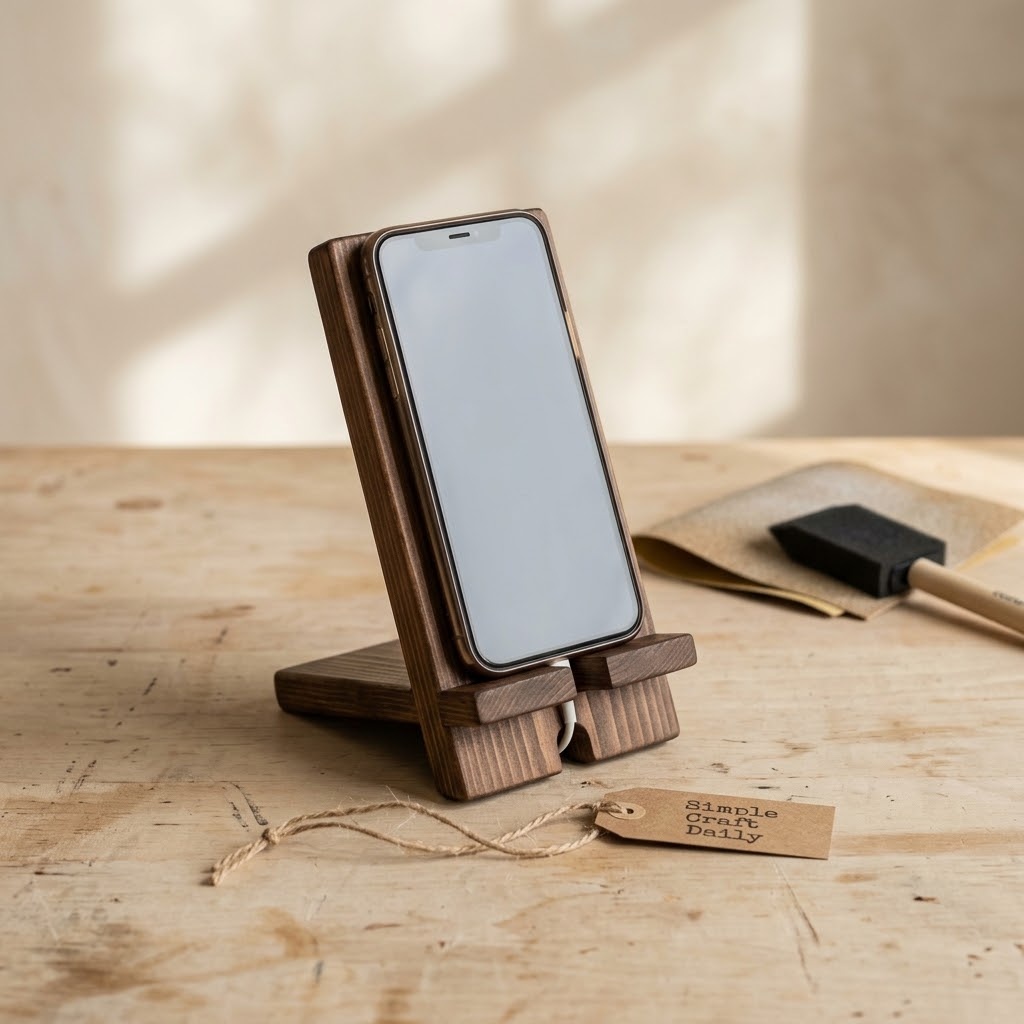
1. Homemade Father’s Day Craft: Stained Wood Phone Stand
Supplies Needed: Unfinished Pine Craft Board, ruler, pencil, hand saw, sharp chisel or hand drill with a bit sized for waste removal, 120 and 220 grit sandpaper sheets, water-based wood stain, clear matte acrylic sealer, foam brush.
- Use the pencil and ruler to mark a 6 by 3 inch pine rectangle, then measure the phone with its case and add about 1/8 inch of clearance for the centered phone slot.
- Cut the board, then saw two parallel kerfs 1 inch deep at the measured slot width and cut a 1/4 inch cable notch at the lower back edge.
- Remove the wood between the kerfs with a sharp chisel, or use a hand drill to remove most of the waste before cleaning the edges with the chisel.
- Dry-fit the phone in its case, then sand cut edges with 120 grit and smooth all faces with 220 grit.
- Brush on a thin coat of water-based stain, let it dry for the label-specified time, then apply clear matte acrylic sealer and cure it for 24 hours.
Cut the slot 1 inch deep and angle its back wall slightly toward the rear so the phone leans securely. Next, measure the actual thickness of the phone while it remains inside its case, add about 1/8 inch of clearance, and set the two parallel kerfs that far apart before removing the waste; widen the opening carefully with 120-grit paper only if the fit still pinches.
For these homemade Father’s Day crafts, a quiet matte finish looks more intentional than a heavy glossy coat. Wipe away sanding dust with a dry cloth, stain with the grain, and let the stain dry fully before the sealer touches the wood.
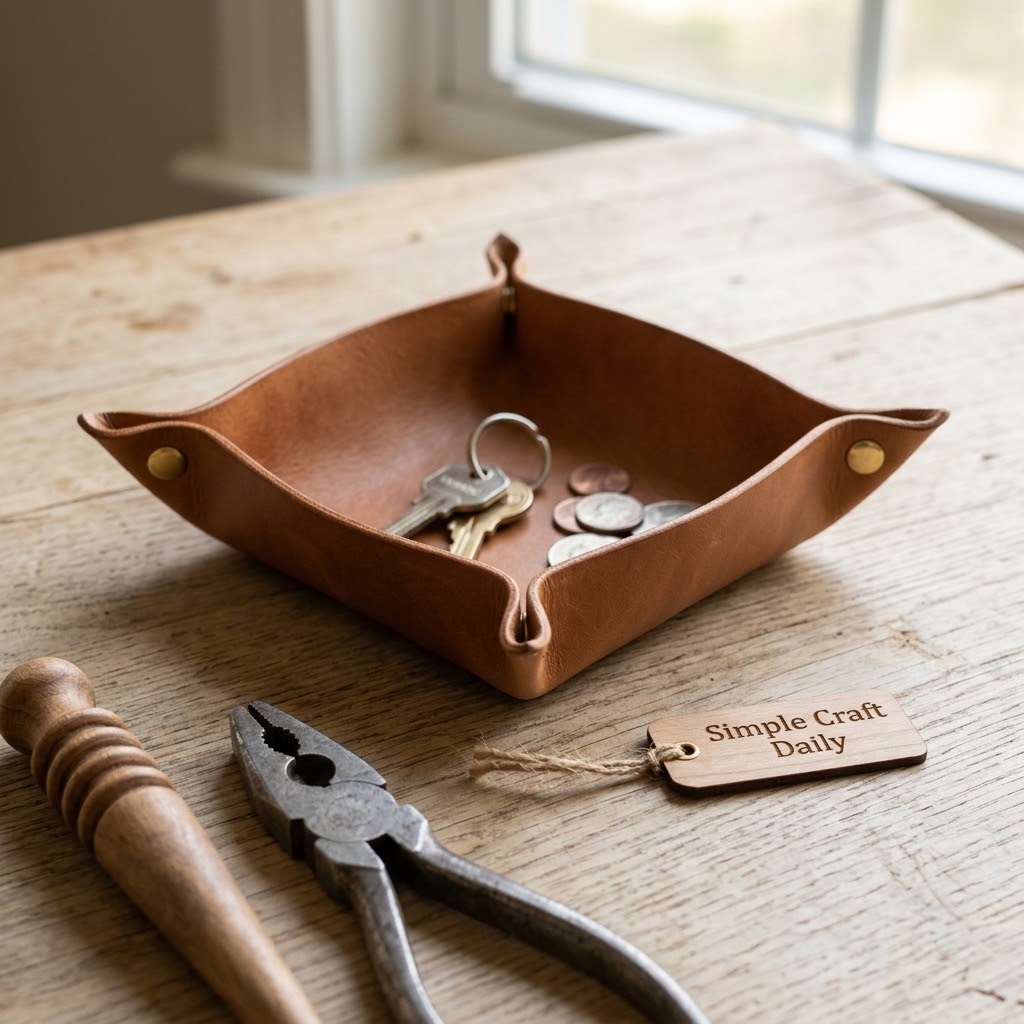
2. Leather Valet Tray for Keys and Coins
Supplies Needed: Vegetable-tanned leather scraps, ruler, leather shears, hole punch, leather snap fastener kit, burnishing cloth.
- Cut one 8 by 8 inch leather square with leather shears.
- Mark a point 1 inch in from both edges at each corner.
- Fold one corner upward so its two marked points meet.
- Punch matching snap holes through both folded leather layers, then repeat for the remaining three corners.
- Set one snap at each corner, rub the cut edges with a burnishing cloth, and test the tray shape.
Fold each corner upward so the two marked points meet before punching. Then set the snap cap on the outside face and the socket or stud on the inside according to the kit diagram, and give each corner a firm pull test.
The mechanical snap holds the tray corners under daily use, while glue can crack at a repeatedly flexed fold. Burnish the dry leather edges with brisk, even strokes until they feel smooth rather than fuzzy.
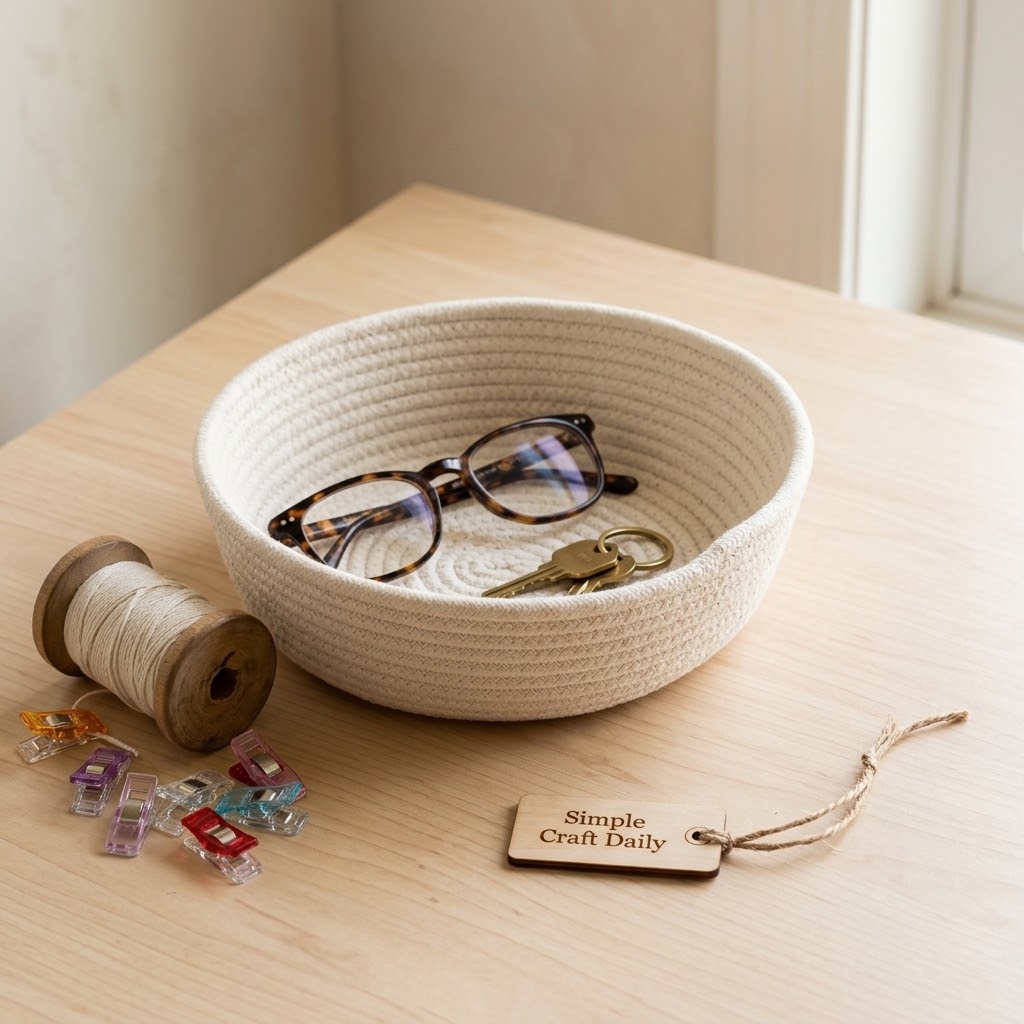
3. Homemade Father’s Day Rope Catchall Basket
Supplies Needed: Natural cotton rope, heavy-duty sewing thread, sewing needle or sewing machine, fabric clips, scissors.
- Coil the rope into a flat 3 inch spiral and secure it with fabric clips.
- Zigzag stitch across the joined coils to build a 6 inch round base.
- Lift the outer rope edge gradually while stitching to form 2 inch-high sides.
- Backstitch the thread ends three times and trim them close with scissors.
- Inspect the basket on a flat surface for a steady, low profile.
Use a wide zigzag stitch that catches both rope coils with every pass. If hand sewing, take a stitch every 1/4 inch through adjacent coils and keep the tension firm without crushing the rope.
Keep this homemade Father’s Day craft low and wide for keys, watches, loose change, or earbuds. For another storage variation, see these knotted rope basket projects.
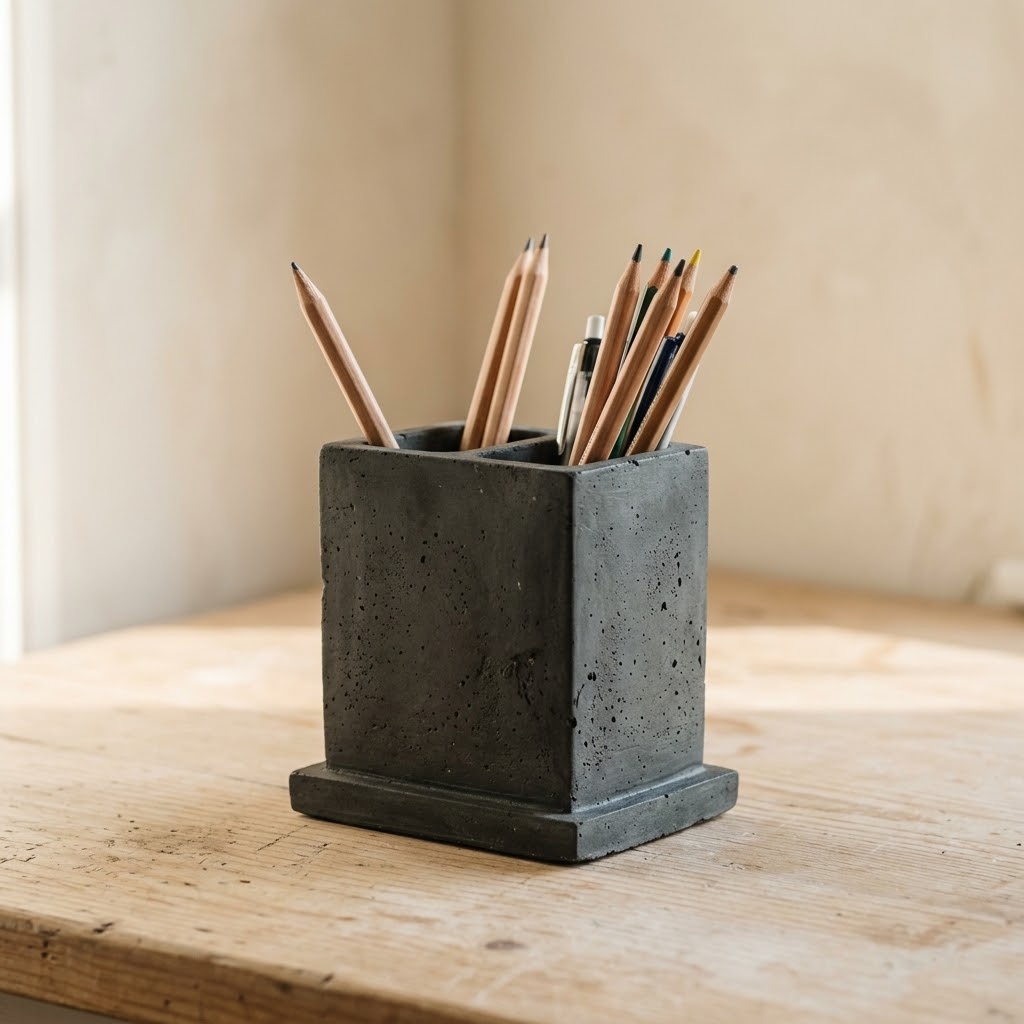
4. Casting-Mix Desk Caddy with Felt Feet
Supplies Needed: Fine casting or plaster-grade mix suitable for small molds, reusable silicone cup mold, small plastic inner cup or container, clean weights or pebbles, measuring container, silicone stir stick, 220 grit sandpaper, felt pads, clear matte acrylic sealer.
- Cover the work surface and place the silicone cup mold on a level tray.
- Measure the fine casting or plaster-grade mix and water at the exact ratio printed on its label.
- Mix with the silicone stir stick until no dry powder remains, then fill the silicone mold about three-quarters full.
- Press a small plastic inner cup into the wet casting mix to form the cavity, center it, and weigh it down with clean weights or pebbles so it cannot rise.
- Tap the tray for 60 seconds, leave the mold undisturbed for the label-specified set period, remove the inner cup after the mix has set, then sand, seal, dry, and attach felt pads.
Use the silicone stir stick to scrape the measuring container sides and bottom while mixing so dry pockets do not weaken the caddy. Subsequently, choose an inner cup that leaves casting-mix walls at least 3/8 inch thick and keep its rim above the wet mixture so it can be removed cleanly after setting.
The surface may feel firm before the casting mix has developed enough strength for sanding, so follow the manufacturer’s full cure guidance for the exact product labeled “casting mix” or “plaster.” After the specified cure, lift out the inner cup, sand rough cured edges with 220 grit, apply a thin sealer coat, let it dry for the label-specified period, and attach felt pads only after the finish is dry.
Wear a dust mask while sanding cured casting mix; the CDC guidance on silica dust explains why airborne mineral dust needs careful control. These homemade Father’s Day crafts also pair well with our DIY cement crafts for a coordinated desk set.
5. Homemade Father’s Day Craft: Personalized Clay Key Dish
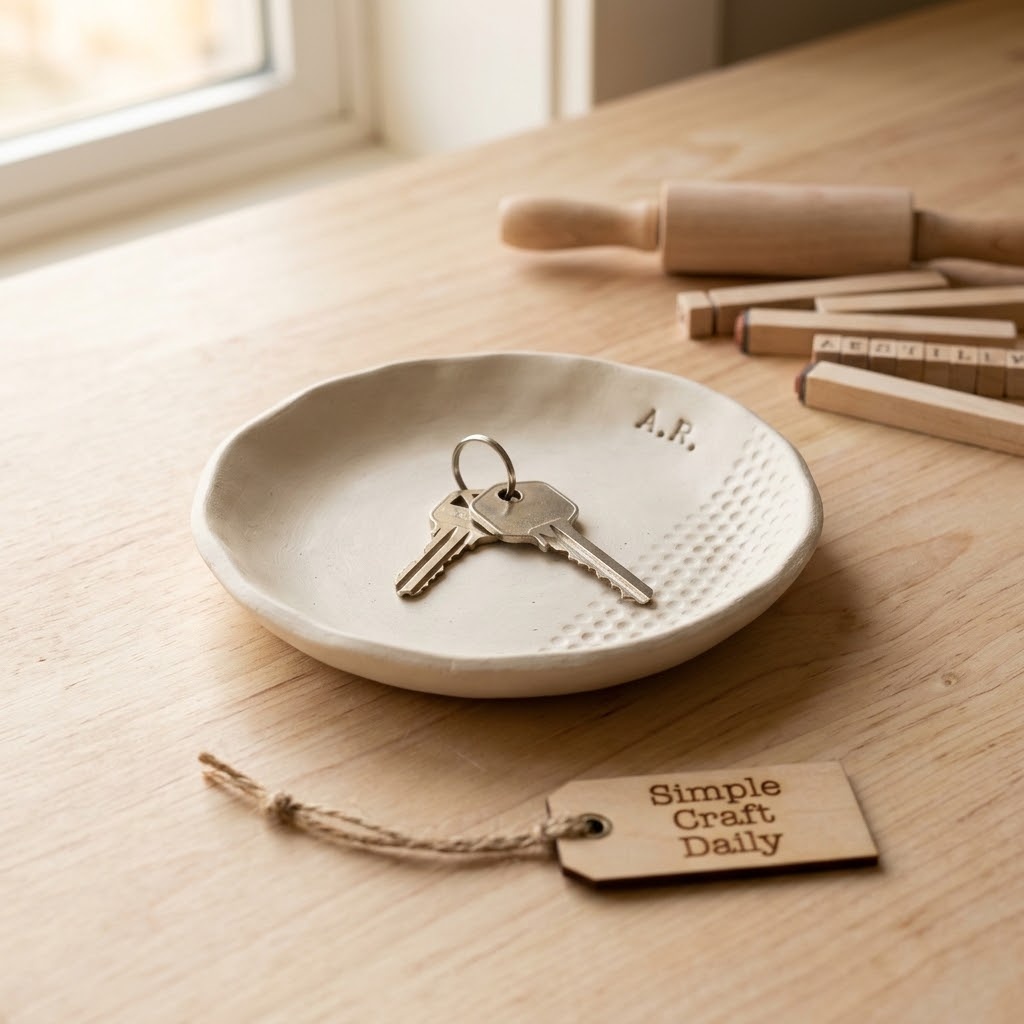
Supplies Needed: White air-dry clay, acrylic roller, letter stamps, small bowl form, craft knife, 220 grit sandpaper, clear matte acrylic sealer.
- Roll white air-dry clay to a 1/4 inch thickness.
- Cut a 5 inch circle with a craft knife.
- Stamp initials or a short message 1/2 inch inside the edge.
- Drape the clay circle over an upside-down small bowl form.
- Dry the dish for 24 to 48 hours, sand rough edges, then seal and cure for 24 hours.
Press stamps straight down and lift them without twisting so the letters remain sharp. First let the dish dry on the bowl for 12 hours, then move it onto a flat surface to dry the underside evenly for the remaining 12 to 36 hours.
Air-dry clay and polymer clay require different finishing methods, so do not bake this dish. Once fully dry, sand lightly with 220 grit and add a thin matte sealer coat; the same personalized approach appears in our personalized polymer clay gift ideas.
6. Mounted Bottle Opener and Cap Catcher
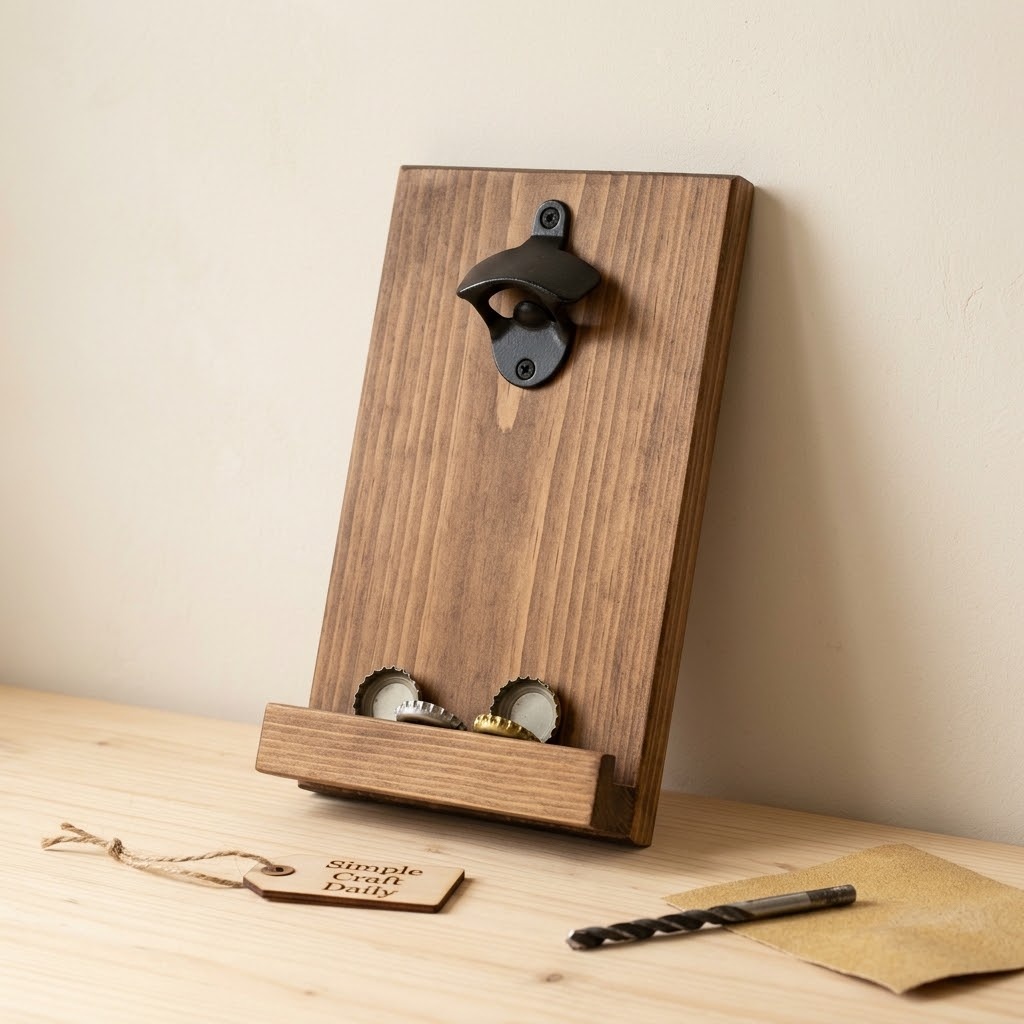
Supplies Needed: Unfinished pine craft board, metal bottle opener, wood screws, drill with pilot bit, 120 and 220 grit sandpaper sheets, water-based wood stain, clear matte acrylic sealer, wall-hanging hardware, shallow cap-catching container.
- Sand a 12 by 5 inch pine board with 120 grit and then 220 grit.
- Apply water-based wood stain and let it dry completely.
- Seal the dry stain and cure the sealer for 24 hours.
- Mark the bottle opener holes, drill pilot holes, and drive the wood screws.
- Install wall-hanging hardware and mount a shallow cap-catching container below the opener.
Place the opener about 2 inches below the top edge so there is room for a hanger behind the board. Next, drill pilot holes slightly narrower than the screw shafts to reduce the chance of splitting the pine.
Do not attach the opener or wall hardware to wet stain or uncured sealer. A fully cured surface resists scuffs around the screw heads and keeps the project looking tidy through repeated use.
7. Homemade Father’s Day Canvas Tool Roll
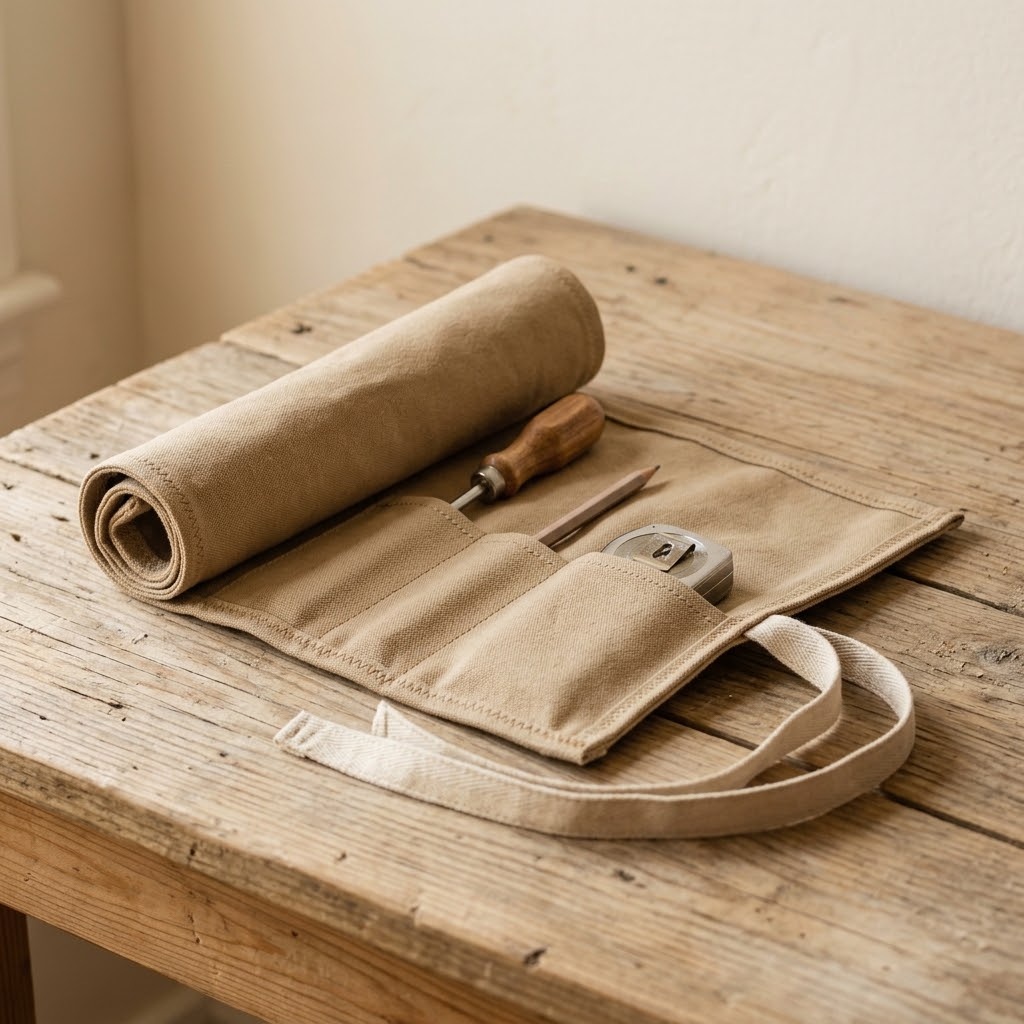
Supplies Needed: Medium-weight cotton canvas, heavy-duty sewing thread, fabric scissors, ruler, pins or fabric clips, sewing machine or hand needle, cotton twill tape.
- Cut one 18 by 14 inch canvas rectangle and two 24 inch lengths of cotton twill tape.
- Fold and stitch a 1/2 inch hem along all four canvas edges.
- Fold the lower edge upward by 6 inches and clip it into position.
- Stitch vertical pocket lines 1 1/2 inches apart.
- Attach the twill tape at the outer edges, then test the fit with tools or pens.
Use medium-weight canvas so the roll stays flexible enough to close while still supporting pocket seams. Backstitch at the top and bottom of every pocket line because these points take the most pulling force.
A sewing machine makes this homemade Father’s Day craft faster, although a hand needle and evenly spaced backstitches work well for a small roll. If you use a machine, select a manufacturer-approved needle and fabric setting before stitching the hems and pockets.
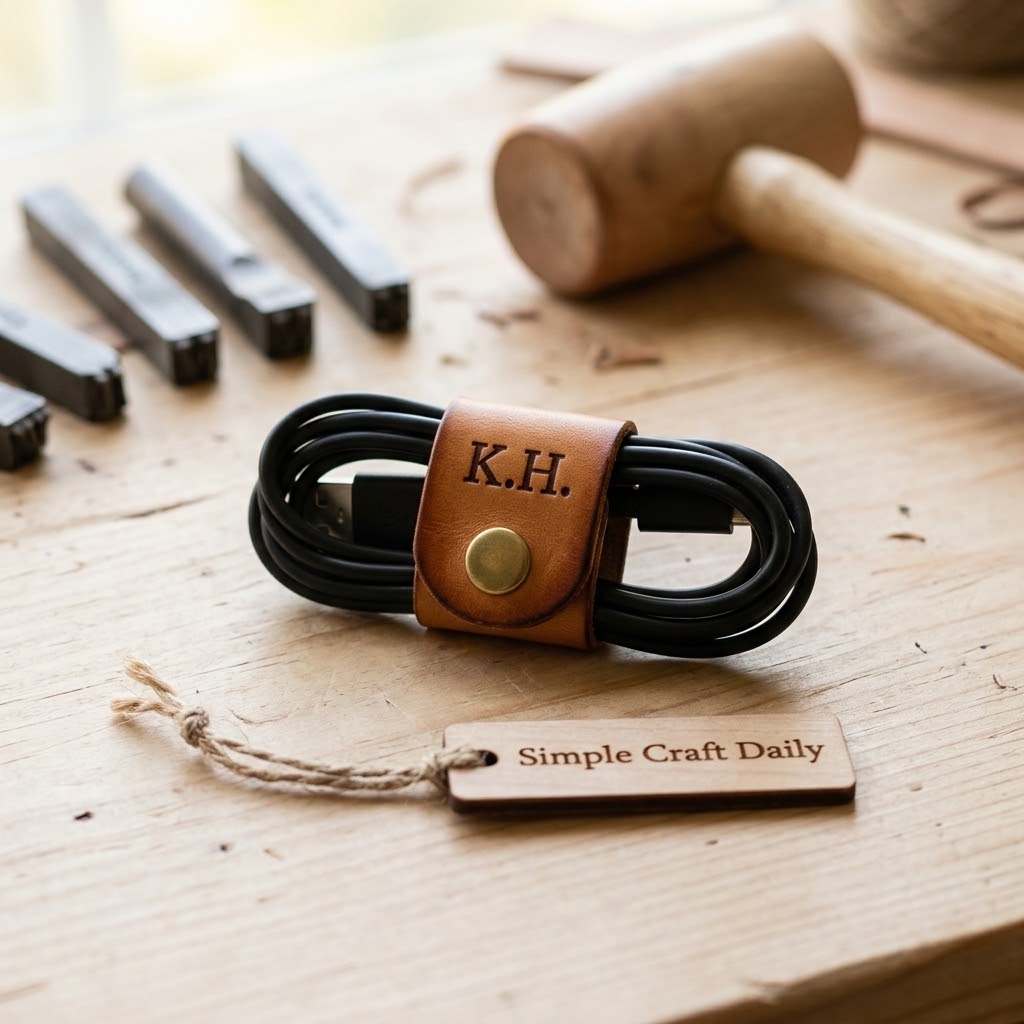
8. Hand-Stamped Leather Cable Organizer
Supplies Needed: Vegetable-tanned leather scraps, letter stamps, mallet, cutting mat, utility knife, hole punch, leather snap fastener kit, edge burnisher.
- Cut a 6 by 1 1/2 inch leather strip on a cutting mat.
- Round each corner with the utility knife.
- Stamp initials near one end using letter stamps and a mallet.
- Punch matching snap holes 1/2 inch from each end.
- Set the snap, use the edge burnisher on every cut edge, and test it around a coiled cable.
Place the leather grain-side up before stamping and strike the stamp with two controlled mallet taps. Keep the snap centered on the strip so it closes flat around a charging cord without twisting.
After the snap is installed, rub the edge burnisher briskly along every cut edge until the leather feels smooth rather than fuzzy. For more small-scale projects that make good use of leftovers, browse these leather scrap DIY ideas.
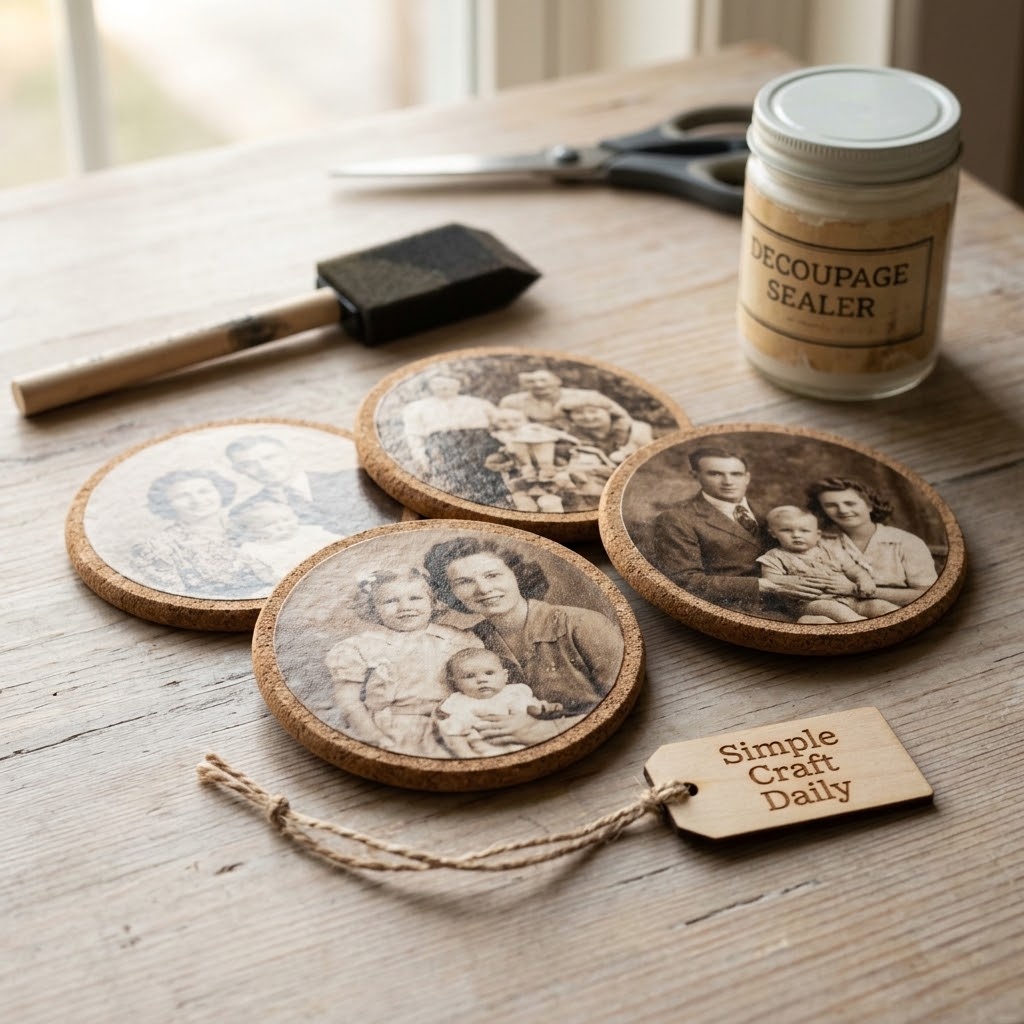
9. Homemade Father’s Day Photo Coaster Set
Supplies Needed: Four cork coaster blanks, laser-printed photos, scissors, water-resistant decoupage sealer, foam brush, wax paper, felt pads.
- Trim four laser-printed photos to match the coaster faces.
- Brush a thin sealer coat onto one cork coaster and smooth the print over it.
- Dry each coaster flat on wax paper for 30 minutes.
- Apply three thin sealer coats, allowing 30 minutes of drying between coats.
- Allow the final coat to cure for 24 hours, then attach felt pads.
Use laser prints because inkjet images can smear when wet sealer touches them. Smooth each photo from the center outward with the foam brush, pressing out air bubbles before the adhesive coat begins to grab.
Thin coats dry more evenly than one thick puddled layer, so keep the foam brush lightly loaded. These homemade Father’s Day crafts are water-resistant only to the limits stated on the exact sealer label; therefore, do not assume dishwasher safety.
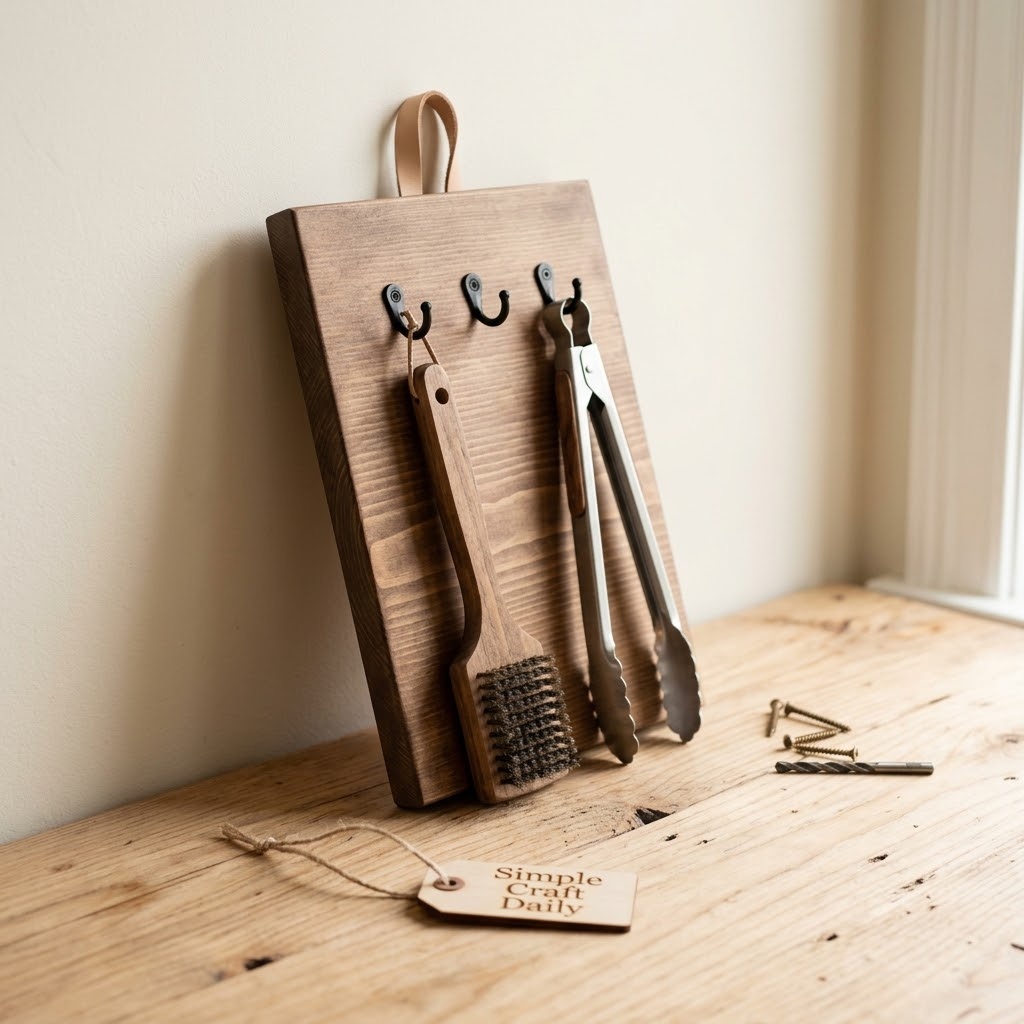
10. Wood Grill Tool Rack with Leather Loop
Supplies Needed: Unfinished pine craft board, cup hooks, wood screws, vegetable-tanned leather scrap, drill with pilot bit, 120 and 220 grit sandpaper sheets, water-based wood stain, clear matte acrylic sealer, wall anchors or wall-framing screws.
- Sand a 16 by 4 inch pine board with 120 grit and then 220 grit.
- Stain the board and allow it to dry fully.
- Seal the stained board and let the sealer cure for 24 hours.
- Mark cup-hook locations 3 inches apart and drill pilot holes.
- Install the hooks, fasten a leather hanging loop, and secure the rack to wall framing or suitable anchors.
Round the board corners during the first sanding stage so there are no sharp edges near the grill area. Then keep the cup hooks at least 1 inch from the board edges, and twist each hook straight into its pilot hole.
Cut the leather loop 5 inches long, fold it in half, and fasten both ends to the back of the board with wood screws. Consequently, make a secure wall connection before the rack carries grill tools, especially heavier tongs or cast-iron brushes.
Homemade Father’s Day Crafts: Frequently Asked Questions (FAQ)
Which Homemade Father’s Day Crafts Are Best for Kids?
Supervised kids can safely help with clay stamping, placing and smoothing photos on coaster blanks, and simple hand stitching on the rope basket with an adult guiding the needle. Adults should complete all cutting, sealing, and cure-time decisions for these projects.
Photo coaster placement and clay stamping work well when an adult pre-cuts the materials and handles the craft knife and sealer. Casting-mix pouring, knife and saw work, drill use, snap setting, and wall-mounted projects are adult-only tasks. Keep small snaps, screws, felt pads, and loose clay scraps away from young children and pets, since they can become choking hazards.
How Long Should Homemade Father’s Day Crafts Dry or Cure?
Expect roughly 45 minutes to 2 hours of active work for one project, while drying and curing can extend the finished timeline from one afternoon to about three days. Product-label instructions determine the exact drying and curing schedule.
Surface-dry material may feel ready to touch, yet full cure takes longer and provides the strength needed for sanding, sealing, or attaching hardware. Allow stained wood to dry fully before applying acrylic sealer, and allow the sealer to cure before mounting hardware. Air-dry clay generally needs 24 to 48 hours plus about 24 hours after sealing, while a fine casting or plaster-grade mix must follow its label-specific water ratio, set time, and full cure schedule. Finally, handle every piece gently until its specified cure window has passed.
Can I Make These Father’s Day Crafts Without Power Tools?
Yes, several projects work without power tools. Use pre-cut pine, hand sanding, a hand saw, a hand drill, a sharp chisel, pre-punched leather, hand stitching, and ready-made cork blanks to keep the setup simple.
The leather tray, cable organizer, clay dish, rope basket, and photo coasters need no power tool. The optional cordless rotary tool is never required: use sandpaper for smoothing, a hand drill for pilot holes, and a chisel for the phone-stand slot. However, wall-mounted projects still need an adult to install screws, drill pilot holes, and choose framing or wall anchors that match the load.
How Can I Personalize a Handmade Gift Without Making It Too Busy?
Use one clear personal detail, such as initials, a meaningful photo, a favorite stain color, or a short stamped date. A single mark placed with care gives useful homemade Father’s Day crafts a personal finish without crowding the design.
Keep lettering at least 1/2 inch from a leather or clay edge, and use high-contrast photos for coaster projects. On wood, let the grain remain visible instead of adding heavy painted decoration over the stain.
Quick Reference: Shared Supplies at a Glance
For your convenience, here is a quick summary of the shared materials and tools featured in this post. Project-specific items live in each project’s Supplies Needed block, and safety gear is covered in the Important Crafting Safety Notes:
🪵 Wood, Leather, and Rope Basics
- Unfinished Pine Craft Boards | [Check Price on Amazon]
- Water-Based Wood Stain | [See Water-Based Wood Stain on Amazon]
- Clear Matte Acrylic Sealer | [View Clear Matte Acrylic Sealer on Amazon]
- 120 and 220 Grit Sandpaper Sheets | [Find Sandpaper Sheets on Amazon]
- Vegetable-Tanned Leather Scraps | [Check Vegetable-Tanned Leather Scraps on Amazon]
- Leather Snap Fastener Kit | [See Price on Amazon]
- Natural Cotton Rope | [View Natural Cotton Rope on Amazon]
- Heavy-Duty Sewing Thread | [Check Heavy-Duty Sewing Thread on Amazon]
🧱 Casting, Clay, and Coaster Supplies
- Fine Casting or Plaster-Grade Mix | [Check Fine Casting Mix on Amazon]
- Reusable Silicone Cup Molds | [View Reusable Silicone Cup Molds on Amazon]
- Small Plastic Inner Cups | [Find Small Plastic Inner Cups on Amazon]
- White Air-Dry Clay | [See White Air-Dry Clay on Amazon]
- Cork Coaster Blanks | [Find Cork Coaster Blanks on Amazon]
- Water-Resistant Decoupage Sealer | [Check Price on Amazon]
🧰 Optional Optional Long-Term Workshop Upgrades
- Optional Upgrade: Compact Cordless Rotary Tool Kit — Every project has hand-tool alternatives using sandpaper, a hand drill, or a chisel | [View Compact Cordless Rotary Tool Kit on Amazon]
- Heavy-Duty Sewing Machine | [See Heavy-Duty Sewing Machine on Amazon]
Important Crafting Safety Notes
Crafting is a rewarding creative activity, but maintaining a safe workshop environment is essential for yourself, your family, and your pets. Please review these safety precautions before starting:
• Personal Protective Equipment (PPE) & Safe Handling: Wear safety glasses when cutting wood, drilling pilot holes, clipping hardware, or setting snaps. Cut leather and canvas on a stable cutting mat with sharp shears or a utility knife directed away from your body, and keep fingers clear of saw and drill paths. Wear nitrile gloves when handling wet casting mix, stain, sealers, or decoupage products, plus a particle dust mask when sanding wood, cured casting mix, clay, or dried sealers. Mineral dust and wood dust should never be breathed in.
• Room Ventilation & Fume Safety: Work with stain, acrylic sealer, decoupage products, and casting mix in a well-ventilated room with open windows, cross-ventilation, or active exhaust. Allow stained, sealed, and decoupaged pieces to dry and off-gas in an airy location away from bedrooms, food, and everyday living spaces.
• Child & Pet Safety (Choking & Swallowing Prevention): Small snaps, screws, cup hooks, felt pads, leather scraps, clay pieces, and wall-mounting hardware can cause choking or intestinal obstruction. Keep every loose component out of reach of babies, toddlers, and pets. Supervised children may help with clay stamping, photo placement, and simple embroidery, while adults must handle sharp blades, saws, drills, snap setting, wet casting mix, and all wall installation tasks.
• Sharp Tool Storage & Clean Work Area: Store rotary cutters, craft knives, utility blades, scissors, sewing needles, snips, drill bits, and pliers in secure latching cases or high cabinets after use. Wipe wet casting-mix residue from the work surface with a damp cloth before it hardens, and use a HEPA vacuum or damp cloth to collect dry dust, dropped pins, screws, and sharp off-cuts. Do not dry sweep cured casting-mix dust, because sweeping can put fine particles back into the air.
• Certified, Quality & Non-Toxic Supplies: Choose ACMI AP-certified non-toxic art materials where possible and lead-free, nickel-free hardware for frequently handled gifts. Follow every manufacturer instruction for mixing ratios, cure times, operating temperatures, and disposal. Never reuse kitchen utensils, measuring cups, or cookware for casting mix, stain, sealers, or other craft chemicals.
For more detailed guidance on safe crafting practices, liability disclosures, and website usage, please review our Terms and Conditions.
“Which practical Father’s Day gift will you make first? Share your personalization ideas or favorite handmade gift tradition in the comments below—I’d love to see what you create!”